iPad updates are a great way to improve your tablet’s performance, fix bugs, and enhance security. But sometimes, updates can get stuck or even fail and display error codes. If your iPad won’t update, this guide shows you how to get things running again.
1. Keep Waiting
If you’ve just initiated an update on your iPad, give it some time. iPadOS updates take longer than you’d expect due to several factors, with the two most common being:
- Server Load: Right after a new update is released, Apple’s servers can be overwhelmed with requests, slowing things down to a crawl.
- Update Size: Larger updates take more time to download and install. Major version upgrades—e.g., iOS 16 to 17—are also notorious for taking a significant amount of time to complete.
If the iPad appears stuck on “Verifying,” “Downloading,” or “Preparing,” wait at least 30 minutes before beginning any troubleshooting. The same applies if the device is seemingly frozen during the installation phase of an update.
2. Connect to a Power Source
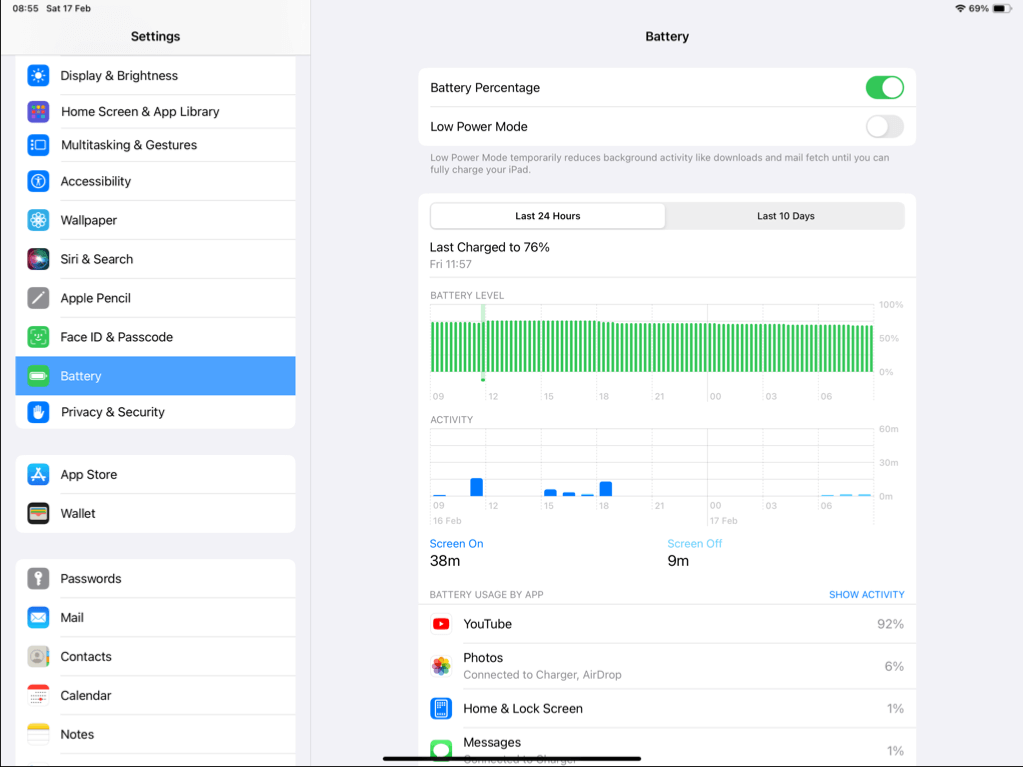
You can update an iPad using battery power if it has fifty percent or more charge. However, if there’s a lot of ongoing background activity, your iPad may slow down updates to conserve battery life. Because of that, it’s always a good idea to plug the device into a power source during updates.
If that’s not possible, ensure that Low Power Mode is inactive on your iPad. To do that, open the Settings app, tap Battery, and disable the Low Power Mode switch if active.
3. Check the Apple System Status
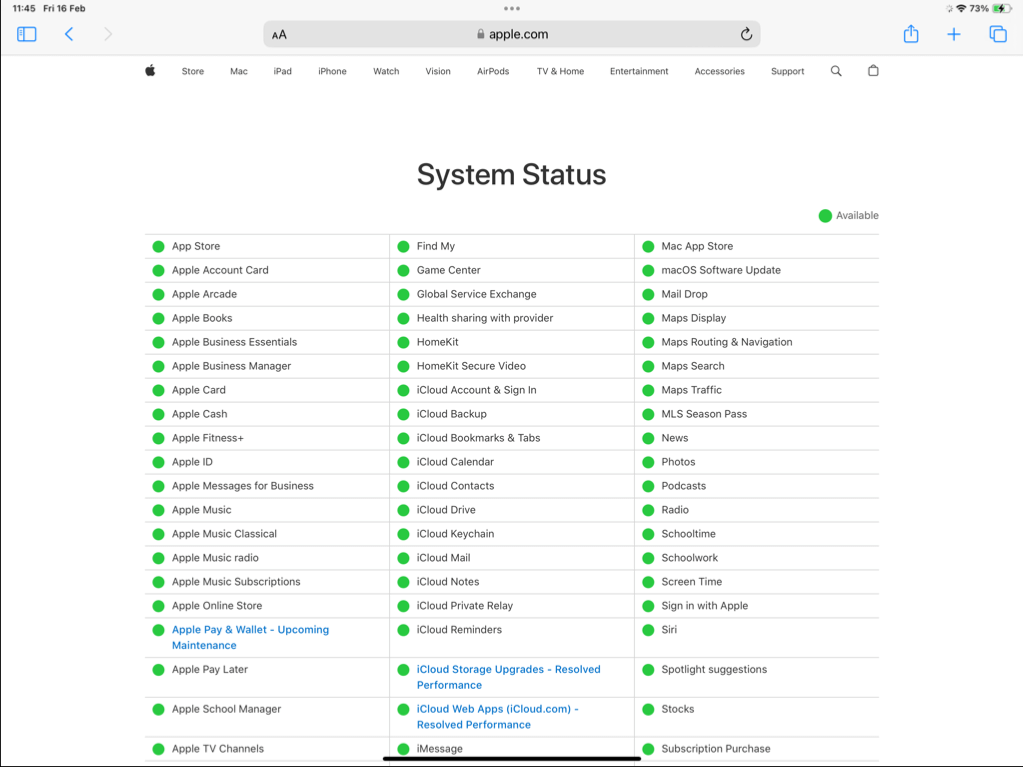
If there’s a server outage or maintenance work in progress, it could be the reason behind an update that repeatedly fails on your iPad. Check the Apple System Status page—if one or more systems appear unavailable, your best option is to wait until Apple gets them back online.
4. Check Your Internet
A stable Wi-Fi connection plays a huge factor in performing successful iPadOS updates. To rule out potential issues with the internet, start by using a speed testing service—like Fast.com—to ensure your internet connection is fast and stable.
If the results don’t look good, restart the router, switch to another Wi-Fi network (if possible), or contact your internet service provider. If internet slowdowns are isolated to your iPad only, actions like toggling Airplane mode on and off, restarting the device, or initiating a network settings reset can patch things up.
5. Remove and Redownload the Update
A corrupt system software download file is another reason for a repeatedly failing iPad update. Thankfully, Apple makes it easy to remove and redownload the update file. Just:
- Open the Settings app.
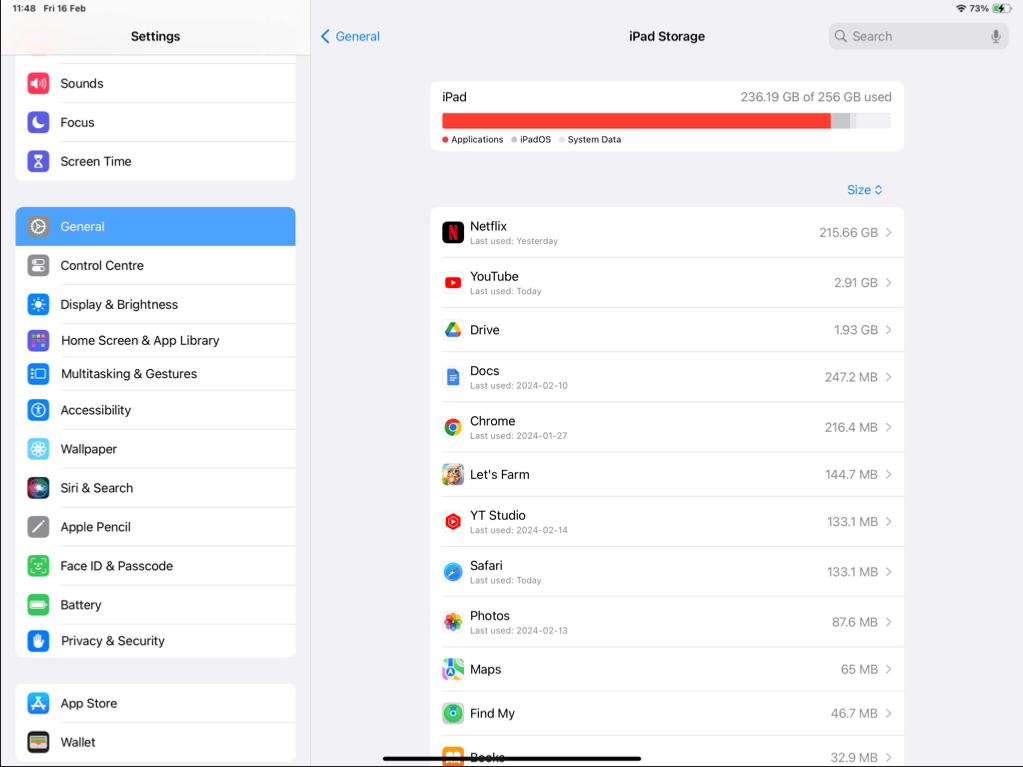
- Go to General > iPad Storage.
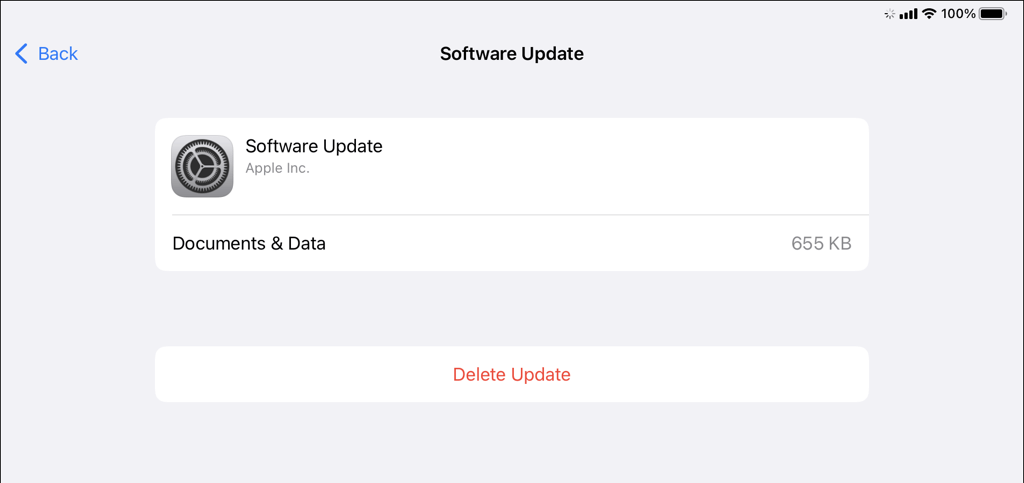
- Locate and tap the Software Update entry.
- Tap Delete Update.
- Go back to Settings > General > Software Update to download the update again.
6. Force-Restart Your iPad
If your iPad gets stuck at the Apple logo installing an update, performing a force-restart should unfreeze the device and allow the system software update to resume. Assuming that you’ve already waited at least 3o minutes, here’s how that works:
- iPads Without a Home Button: Press and release the Volume Up button, press and release the Volume Down, then press and hold the Top button until the device reboots.
- iPads With a Home Button: Press and hold the Home and the Top buttons until the device reboots and you see the Apple logo.
7. Free Up Storage
Insufficient storage on your iPad is a common reason for problematic iPadOS updates. Go to Settings > General > iPad Storage to see how much space is available. You can then uninstall or offload unused apps or delete large media files and old iMessage attachments from the same screen to make room for the update.
8. Update via Mac/PC
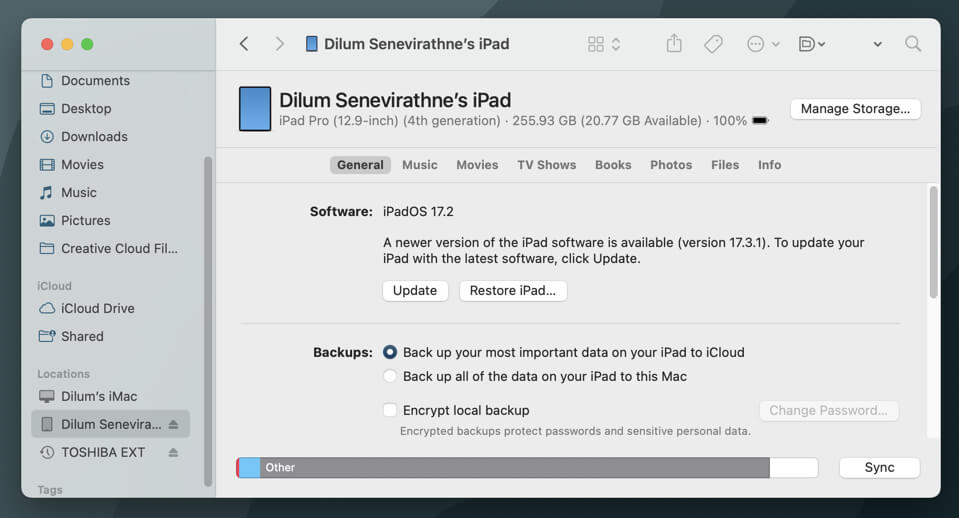
If none of the above methods work, try updating your iPad via a Mac or PC. Consider it a workaround that bypasses your iPad’s internet connection or storage issues.
Mac (With macOS Catalina or Later)
- Connect your iPad to your Mac.
- Open Finder and select your iPad from the sidebar.
- Under the General tab, select Update.
PC or Mac (With macOS Mojave or Earlier)
- Connect your iPad to your computer.
- Open iTunes and choose your iPad.
- Under Summary, select Check for Update.
9. Update in Recovery Mode
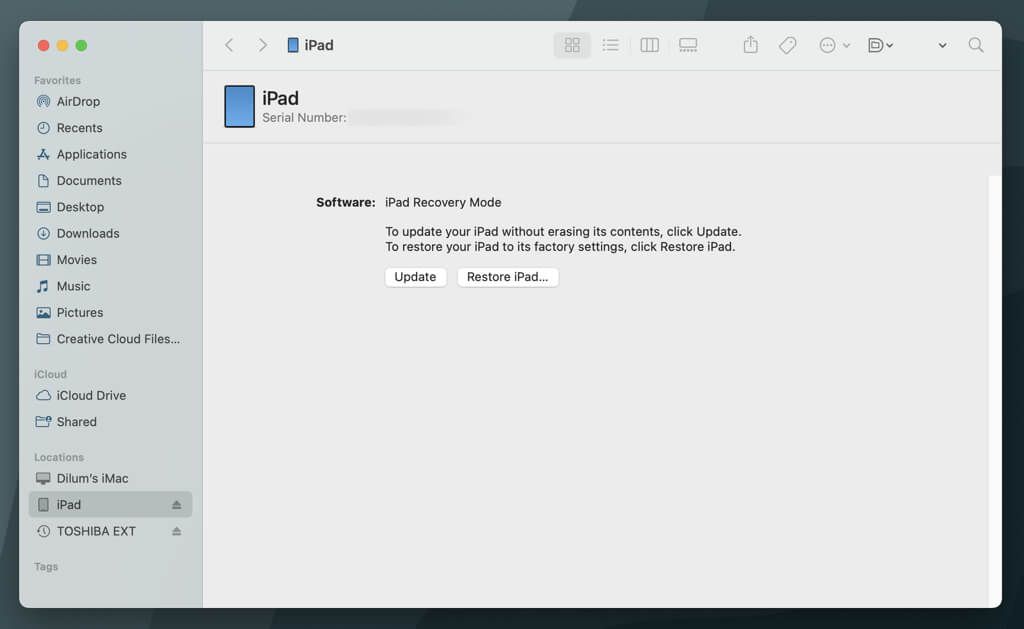
Recovery Mode is a special bootable environment on the iPad that only loads the bare minimum to get the device operational. It allows you to get around conflicts with background processes that may cause updates to fail. To enter Recovery Mode, you must use a Mac or PC. Here’s how:
- Connect your iPad to your computer and open Finder or iTunes.
- Boot your iPad into Recovery Mode:
- iPads Without a Home Button: Press and release the Volume Up button, press and release the Volume Down, then press and hold the Top button until the device boots into Recovery Mode.
- iPads With a Home Button: Press and hold the Home and the Top buttons until the device boots into Recovery Mode.
- Select the Update button in Finder or iTunes.
For more information, check our complete guide to using Recovery Mode on the iPad.
10. Reset All Settings
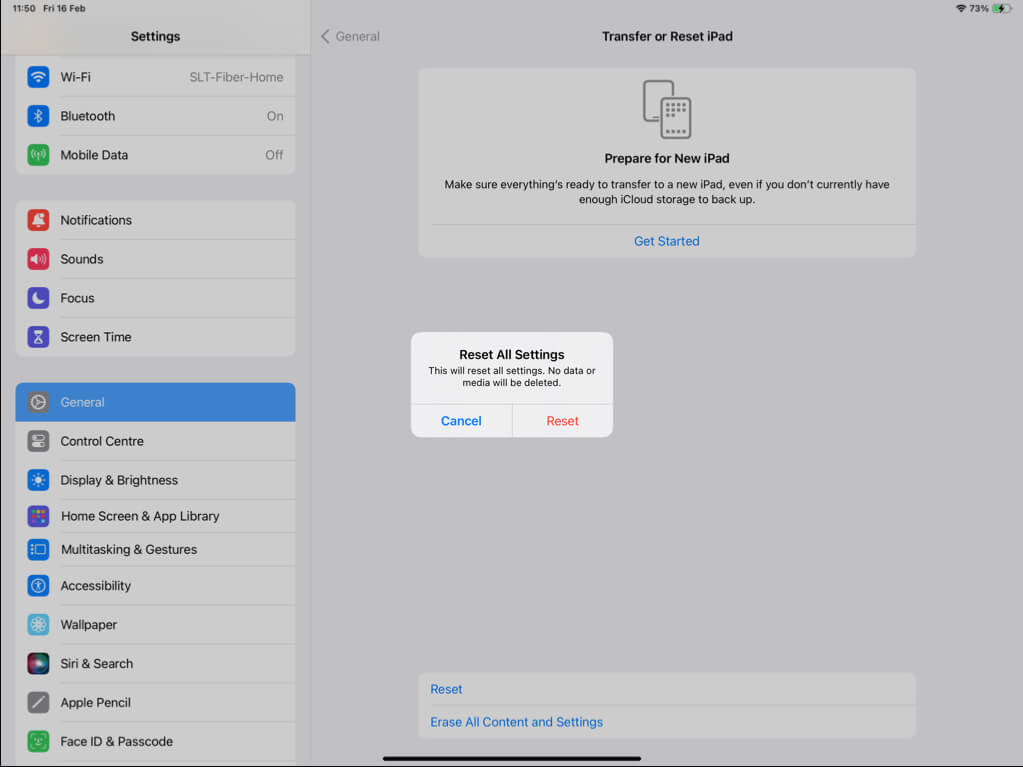
Suppose the update issues persist, and you do not have access to a computer. In that case, you must reset all preferences on your iPad to rule out problems stemming from a corrupt settings configuration. You won’t lose any data, so if you’d like to proceed:
- Open the Settings app.
- Go to General > Transfer or Reset iPad > Reset.
- Tap Reset All Settings.
- Enter your device passcode. If you have Screen Time set up on your iPad, you must also enter your Screen Time passcode.
- Tap Reset to confirm.
Your iPad Is Now Up-to-Date
An iPad that won’t update can be frustrating, but there’s usually an underlying reason that you can pinpoint to resolve the problem. Whether it’s enhancing the stability of the internet connection, freeing up storage space, or updating via a computer, you should be able to get your iPadOS device up-to-date fairly quickly. If none of the fixes above work, contact Apple Support.

