In case of errors or you moved
Instead of repeatedly typing addresses, passwords, and credit card information online, the AutoFill feature on Apple devices makes it easy to save and insert personal data into the native Safari web browser.
But what if you want to edit or modify your AutoFill information? We’ll show you how to do that on the iPhone, iPad, and Mac.
Change AutoFill Information on iPhone & iPad
The Settings app in iOS and iPadOS lets you change your default AutoFill address, credit card information, and passwords on your iPhone and iPad. If you want to add or edit addresses, you must use the Contacts app.
Change or Edit Your AutoFill Address on iPhone & iPad
Safari auto-fills addresses using information from the contact card that matches your Apple ID. If you want to edit the data within the card, you must use the Contacts app on your iPhone or iPad.
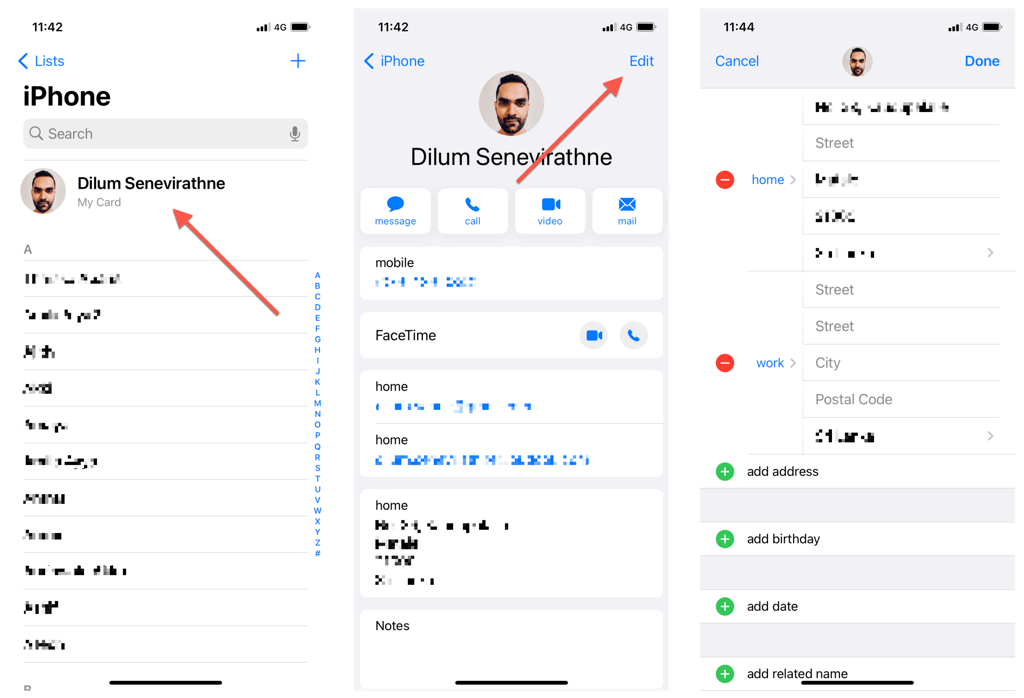
1. Open the Contacts app.
2. Tap My Card at the top of the screen.
3. Tap Edit.
4. Make modifications to your contact information—name, address, phone number, etc. Tap Add Address if you want to add multiple addresses—e.g., Home and Work.
5. Tap Done.
Although it’s possible to insert addresses from other contact cards while filling forms using Safari, you can set a different card as the default.
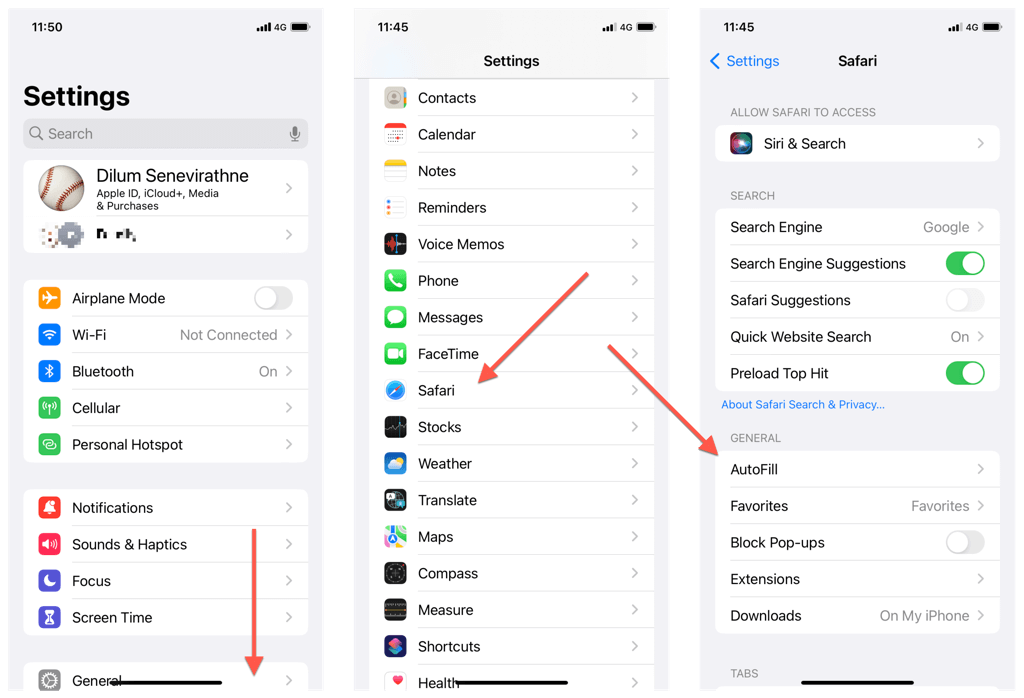
1. Open the Settings app.
2. Scroll down and tap Safari.
3. Tap AutoFill.
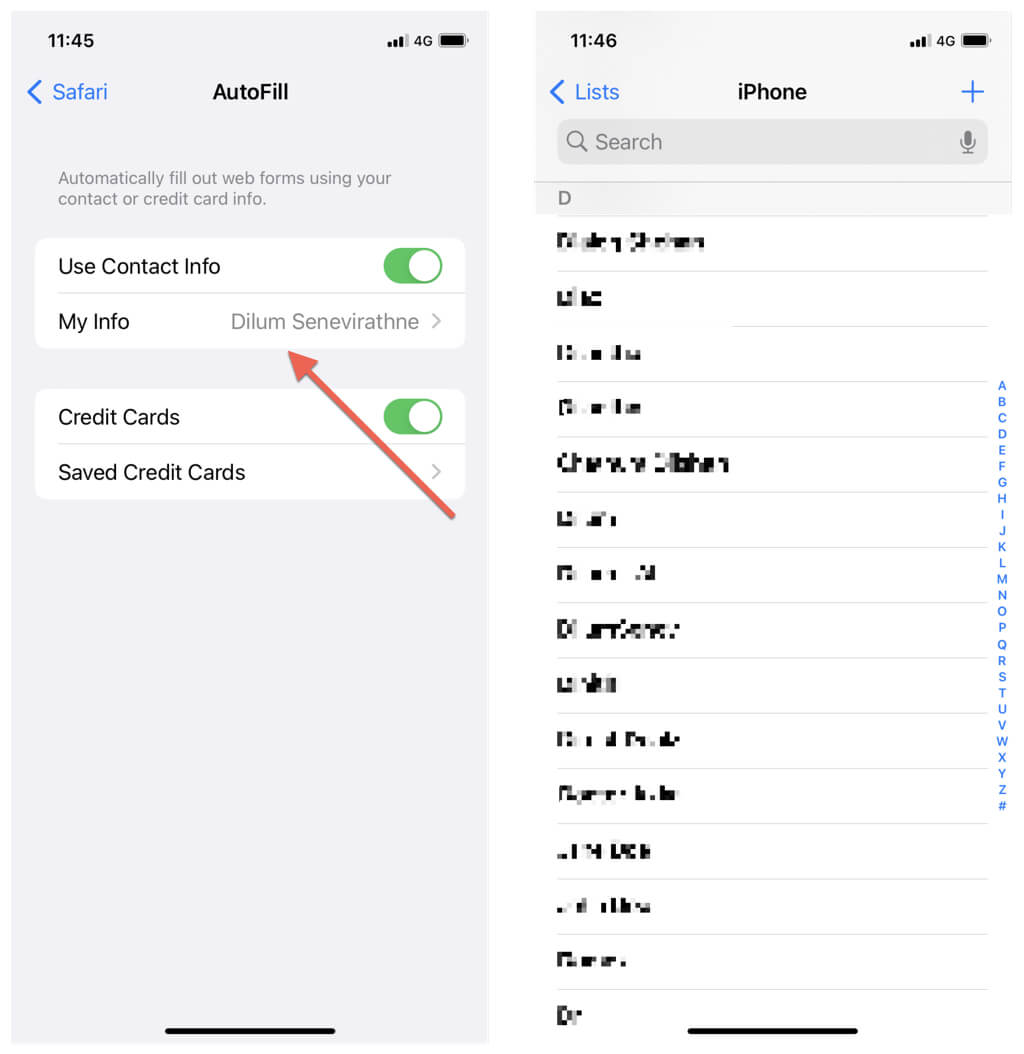
4. Under Use Contact Info, tap My Info.
5. Pick a different AutoFill contact card.
If you want to edit your new default card, simply open the Contacts app, and you’ll find it with the “My Card” label at the top of the screen. Tap it and select Edit.
To create a new card, tap the Plus icon at the top right of the Contacts app. Then, use the above steps to set it as the default.
Change Credit Card Information on iPhone & iPad
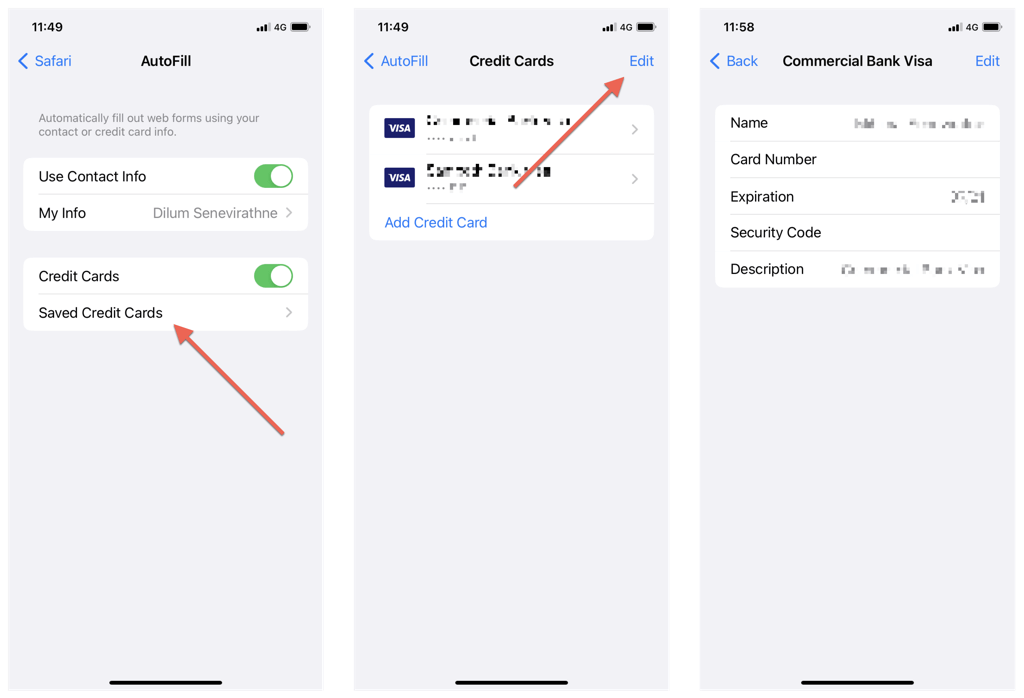
You can manage saved credit card information on your iPhone or iPad via the Settings app. To do that:
1. Go to Settings.
2. Scroll down and tap Safari.
3. Tap AutoFill.
4. Tap Saved Credit Cards.
5. Authenticate yourself using Touch ID or Face ID.
6. Tap a card to edit or update your credit card numbers and other info.
Here’s what else you can do:
- Add a card: Tap Add Credit Card to add a new card.
- Delete a card: Tap Edit, mark the circle next to a card, and tap Delete.
Manage Saved Passwords on Your iPhone
If you want to update a password on your iPhone or iPad, simply fill it in on its login web page in Safari, and you’ll be given the option to replace the old information. Or, use the Settings app if you prefer a more hands-on approach.
Note: If you use iCloud Keychain, your changes will sync between Apple devices with the same Apple ID.
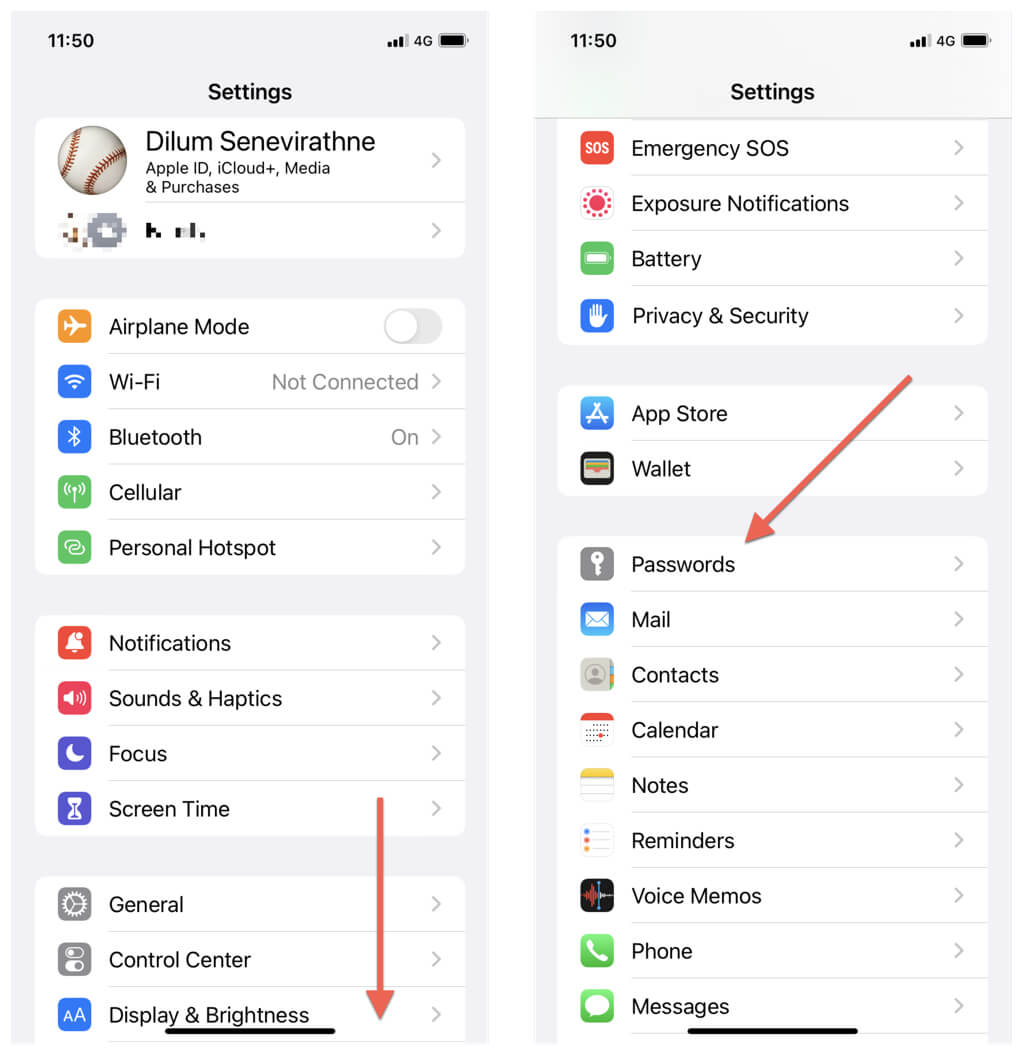
1. Open the Settings app on your iPhone or iPad.
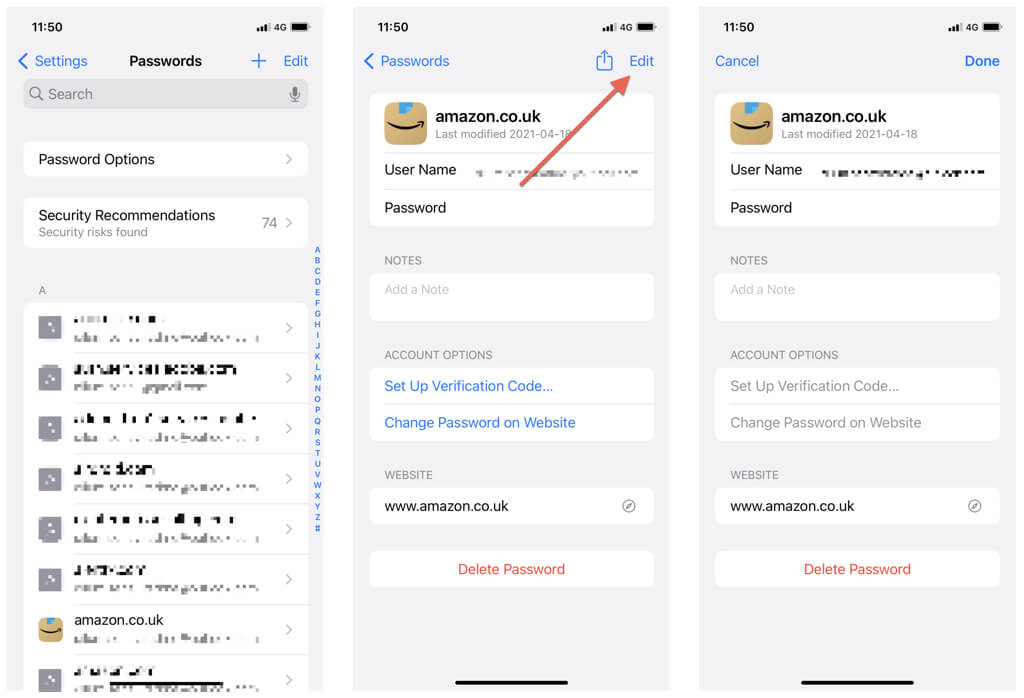
2. Scroll down and tap Passwords. Before proceeding, you must authenticate yourself using the device passcode or biometrics.
3. Tap on a password for a site and select Edit.
4. Edit the User Name and Password fields as needed. If you’ve yet to change the password on the website, tap the Change Password on Website option.
5. Tap Done.
Here’s what else you can do:
- Create a new password: Tap the Plus icon on the main Passwords screen.
- Delete multiple passwords: Tap the Edit icon, select the items you want to remove, and tap Delete.
- Check security recommendations: Tap the Security Recommendations category to view a list of weak, reused, or compromised passwords.
Change AutoFill Information on Mac
You must use the Contacts app and the Safari Settings/Preferences applet on the Mac to change your AutoFill passwords, addresses, and credit cards.
Change Your AutoFill Address on Mac
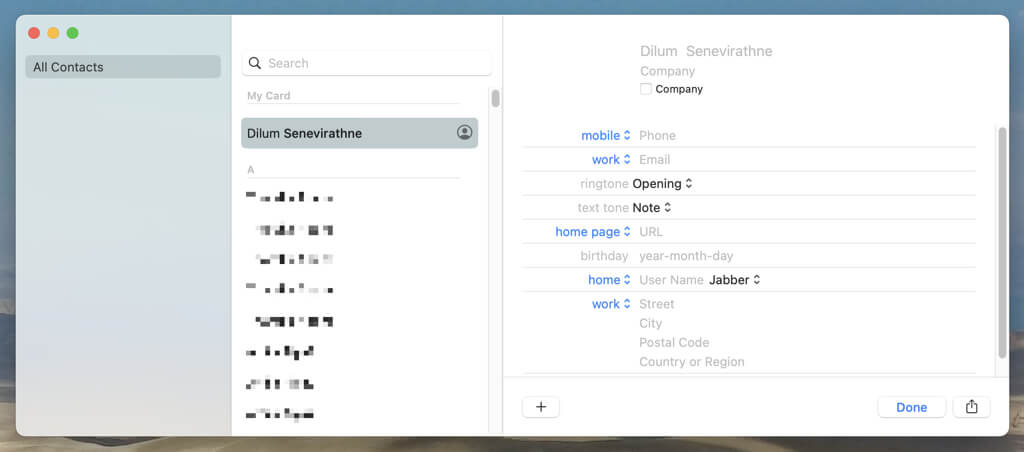
Like on the iPhone and iPad, Safari for macOS auto-fills addresses using data from the contact card that matches your Apple ID. You can edit the information within this card or pick a different card via the Contacts app.
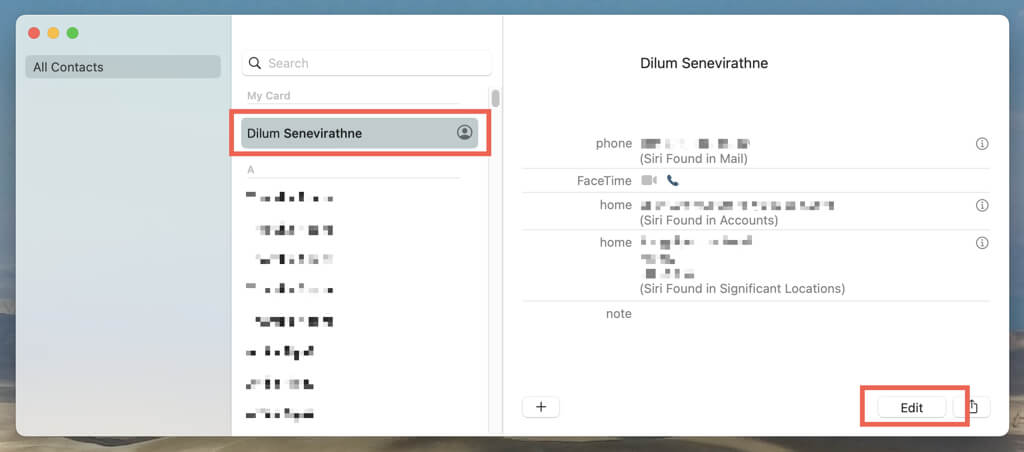
1. Open the Contacts app on your Mac.
2. Scroll up your contacts list to reveal the My Card category.
3. Select your default card and choose the Edit button.
4. Edit your name, address, phone number, etc.
5. Select Done.
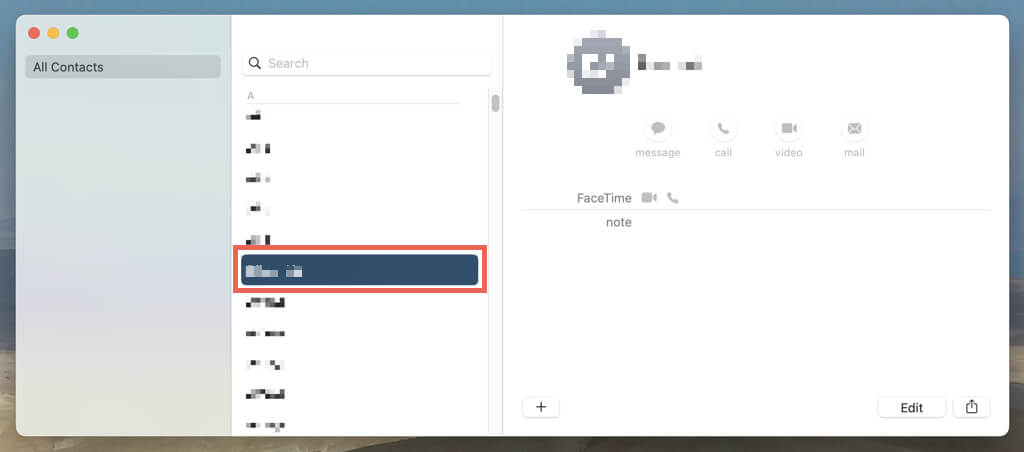
To set a different contact card as the default:
1. Highlight the card on the Contacts sidebar.
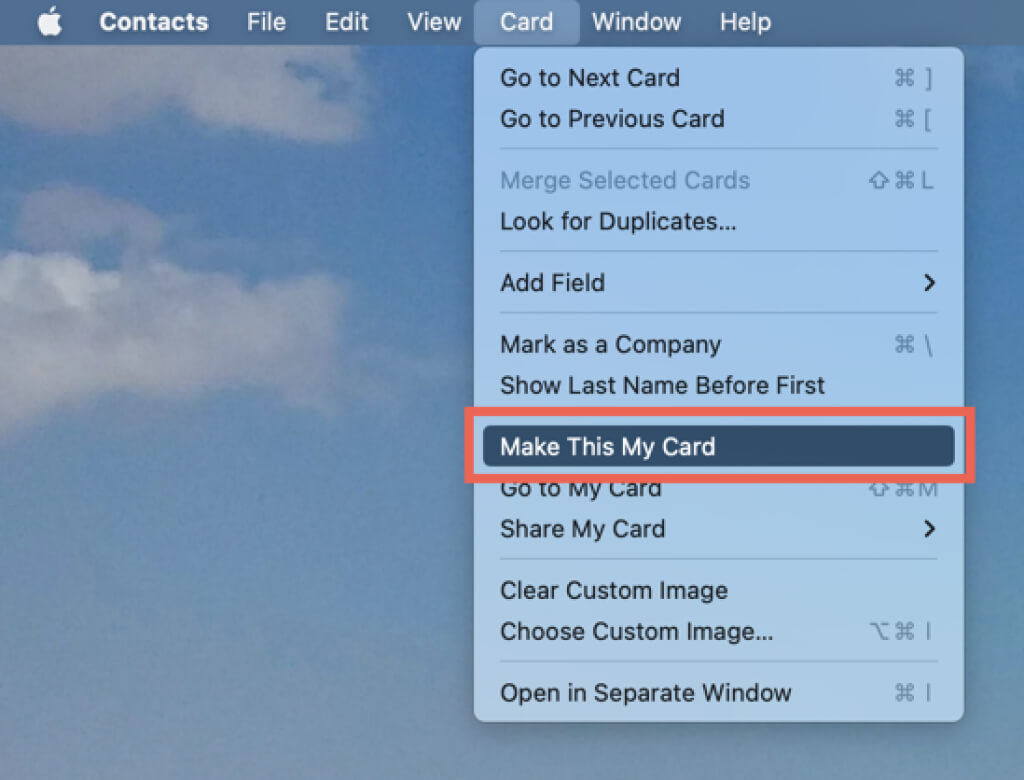
2. Select Card on your Mac’s menu bar.
3. Pick the Make This My Card option on the drop-down menu.
To create a new card, tap the Plus icon at the top right of the Contacts app. Then, use the above steps to set it as the default.
Change Your Credit Card Info on Mac
Safari’s AutoFill settings pane allows you to manage saved credit card details.
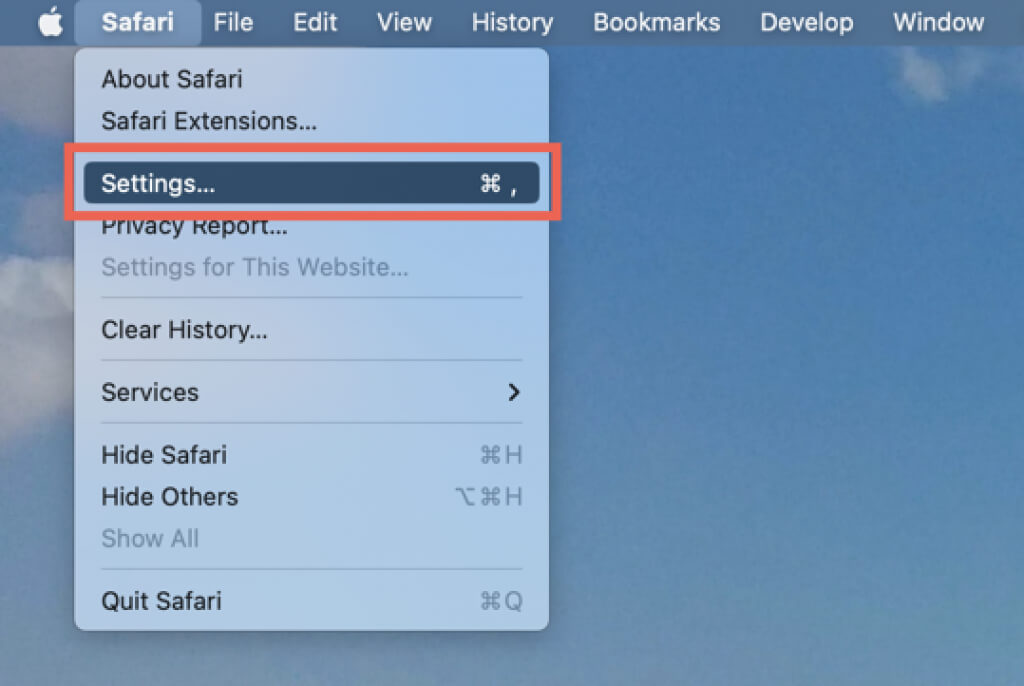
1. Open Safari and select Safari > Settings/Preferences on the menu bar. Or, press Command + Comma.
2. Switch to the AutoFill tab.
3. Select the Edit button next to Credit Cards.
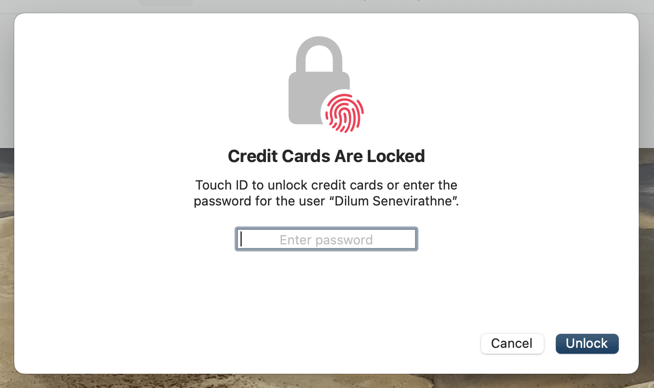
4. Enter your Mac user account password or authenticate using Touch ID.
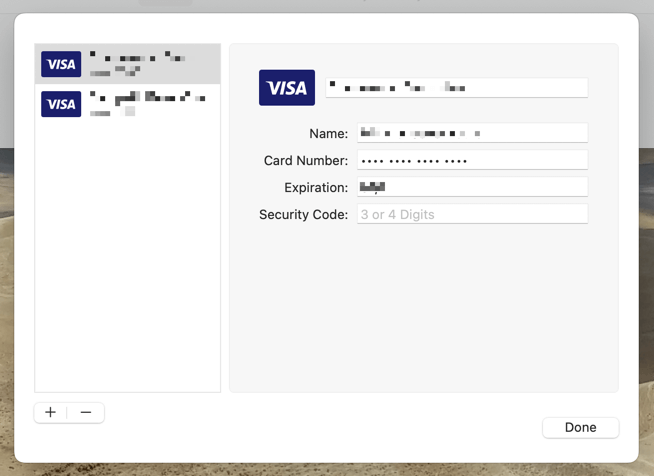
5. Pick a card and edit or update your card data. If you want to add a new card, select the Plus icon. To delete a card, highlight and select Minus.
6. Select Done.
Delete Miscellaneous Online Form Data
Safari saves names, addresses, and other information you manually fill into websites as miscellaneous form data. If you want to delete that:
1. Open the SafariSettings/Preferences pane.
2. Switch to the AutoFill tab and select the Edit button next to Other forms.
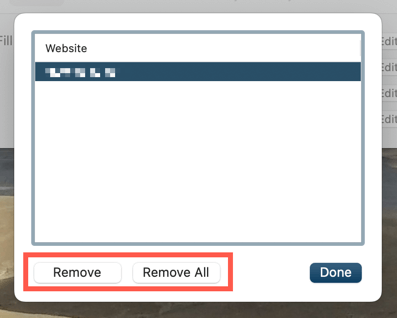
3. Pick a site and select Remove. Or, select Remove All if you want to delete AutoFill data for all sites.
Change Saved Passwords on Mac
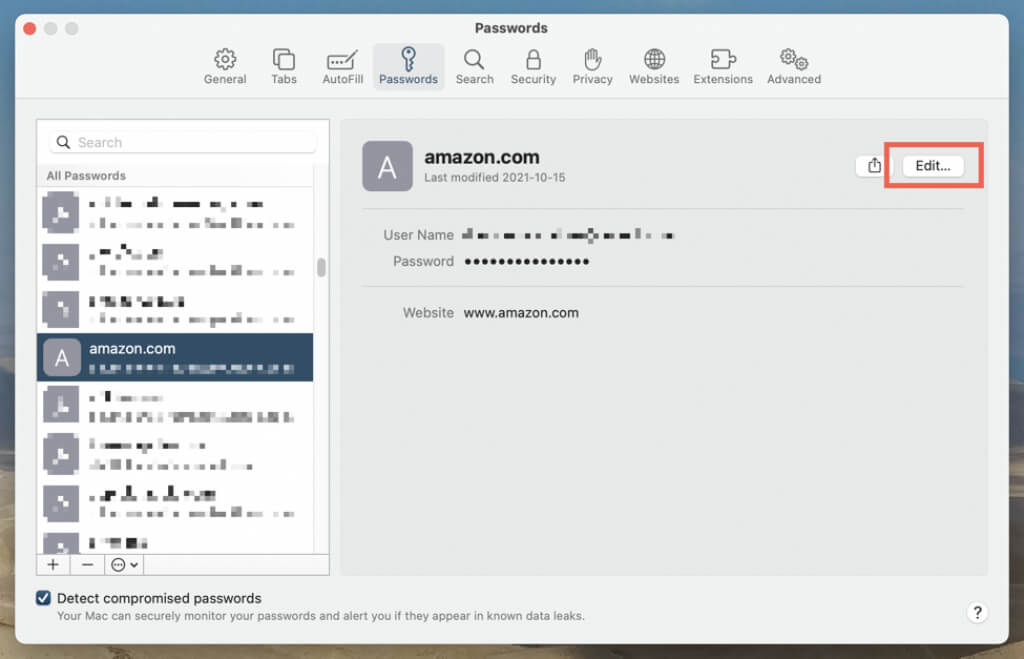
You can edit or change saved Safari passwords via the Safari Passwords screen.
1. Open the SafariSettings/Preferences pane.
2. Switch to the Passwords tab.
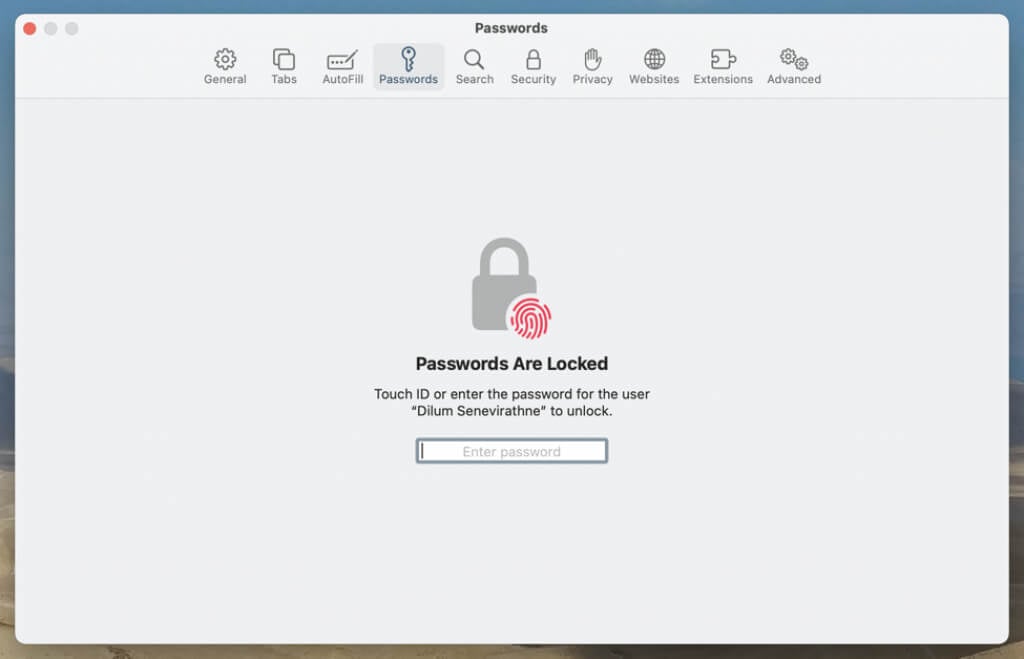
3. Enter your Mac user account password or authenticate using Touch ID.
4. Select a password. Note that the top of the sidebar is reserved for login credentials with security recommendations.
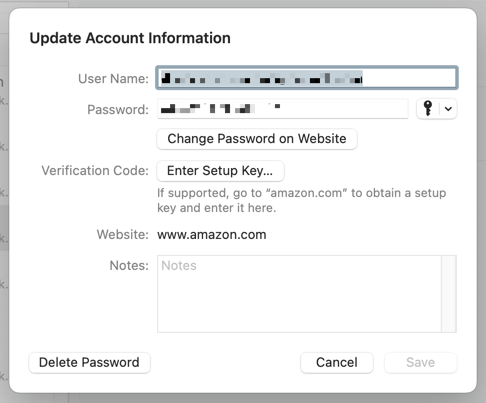
5. Select Edit.
6. Edit the username and password. Use the Change Password on Website option if you’ve yet to update the password on the website.
7. Select Save to save your changes.
Here’s what else you can do:
- Create a new password: Select the Plus icon on the lower left corner of the screen.
- Delete passwords: Select the login credentials (hold the Command key to select multiple items) and choose Delete.
- Use security recommendations: Check the security recommendations labels while updating passwords.
You can access the Password’s screen via the System Preferences app—open the Apple menu, select System Preferences/Settings, and choose Passwords. An alternative—albeit less convenient—method is to manage your passwords using the Keychain Access app.

