Are you having trouble accessing or syncing OneDrive files on your Mac? Reset OneDrive on Mac to factory settings to get the cloud storage working correctly again. This tutorial covers step-by-step instructions for performing a OneDrive reset on Mac computers.
What Happens When You Reset OneDrive?
Resetting OneDrive won’t delete or remove any synced files from your Mac. The reset only signs your account from the OneDrive app and restores its settings to factory default. OneDrive also performs a full synchronization after the reset to ensure your files are up-to-date.
Follow the steps in the next section to reset OneDrive on your Mac. The instructions are straightforward and apply to all Mac models and macOS versions.
How to Reset OneDrive on Your Mac
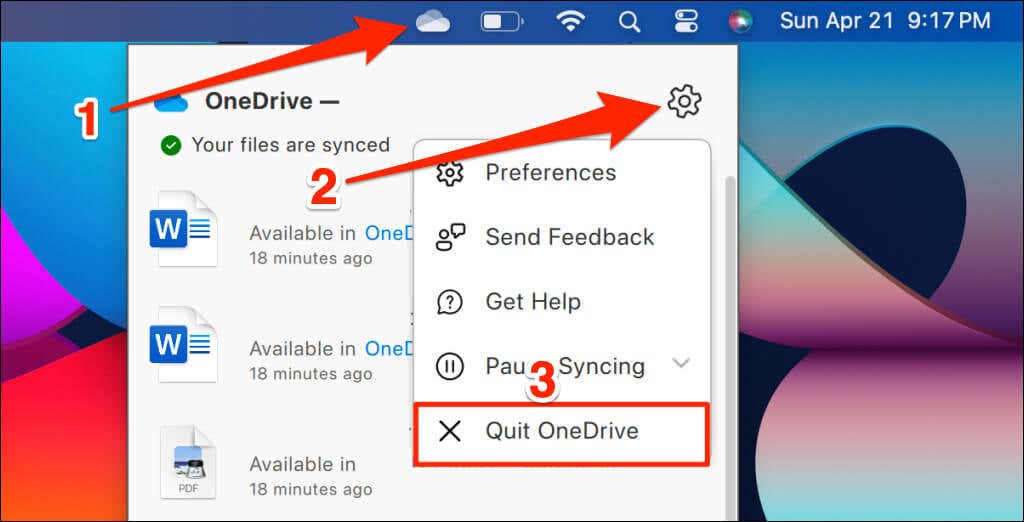
- First, stop OneDrive from running in the background. Select the OneDrive icon on your Mac’s status menu—towards the right end of the menu bar.
- Select the gear icon in the top-right corner and select Quit OneDrive.
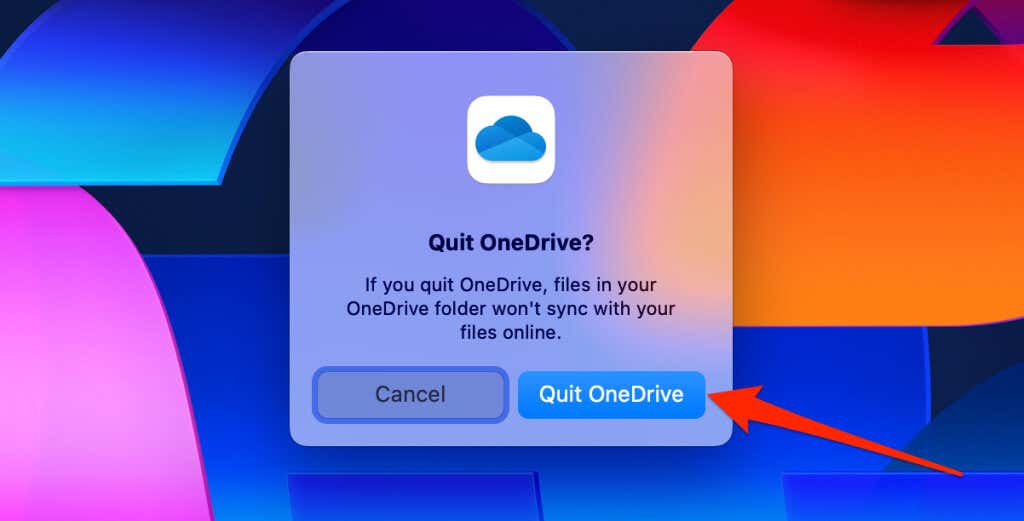
- Choose Quit OneDrive on the confirmation screen to continue.
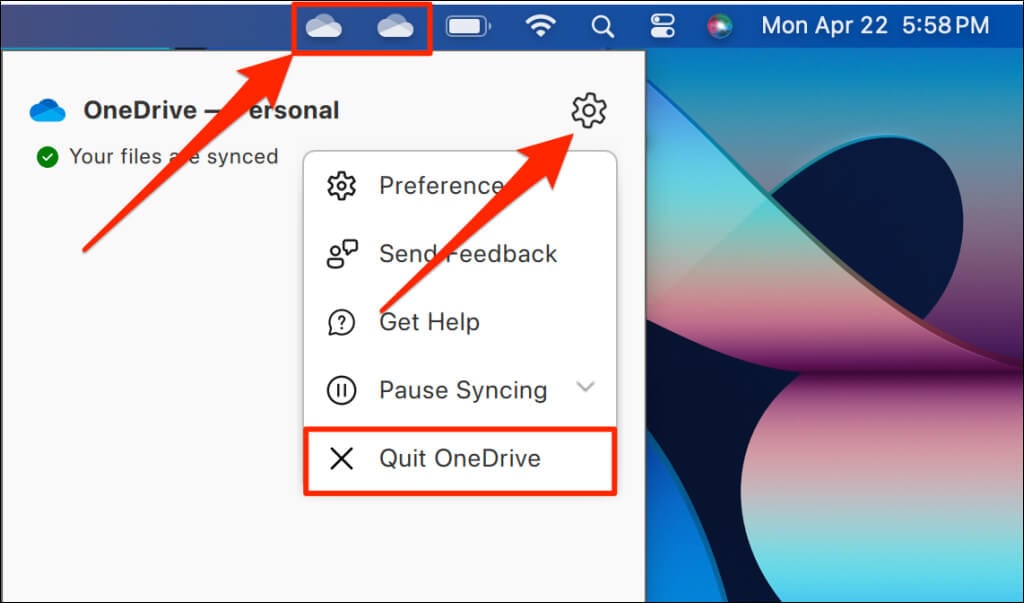
Note: If you have multiple accounts linked to OneDrive, you must quit OneDrive for both accounts/folders. Select each OneDrive icon on the status menu, select Settings, then Quit OneDrive.
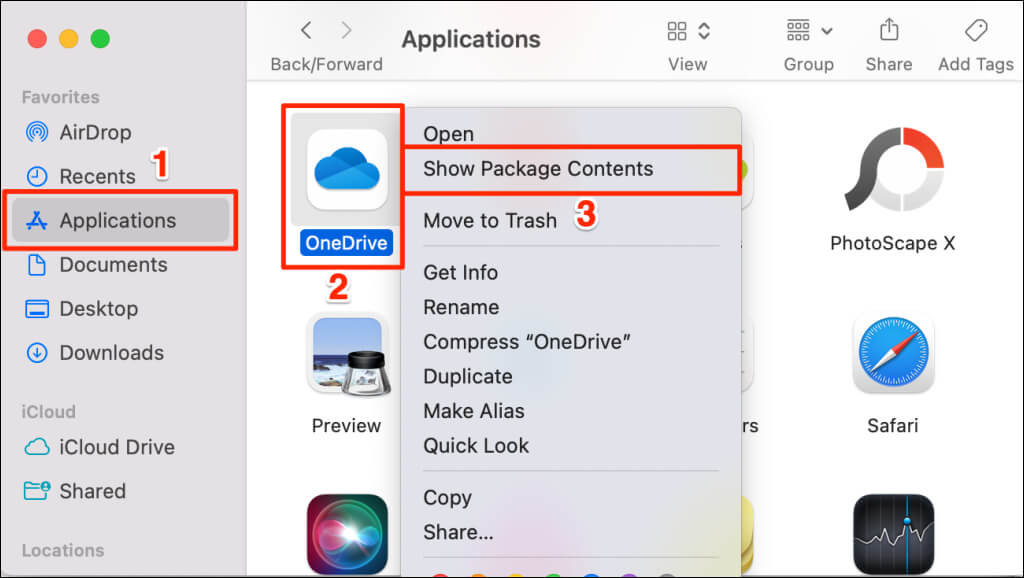
- Open the Applications folder in Finder, right-click OneDrive, and select Show Package Contents.
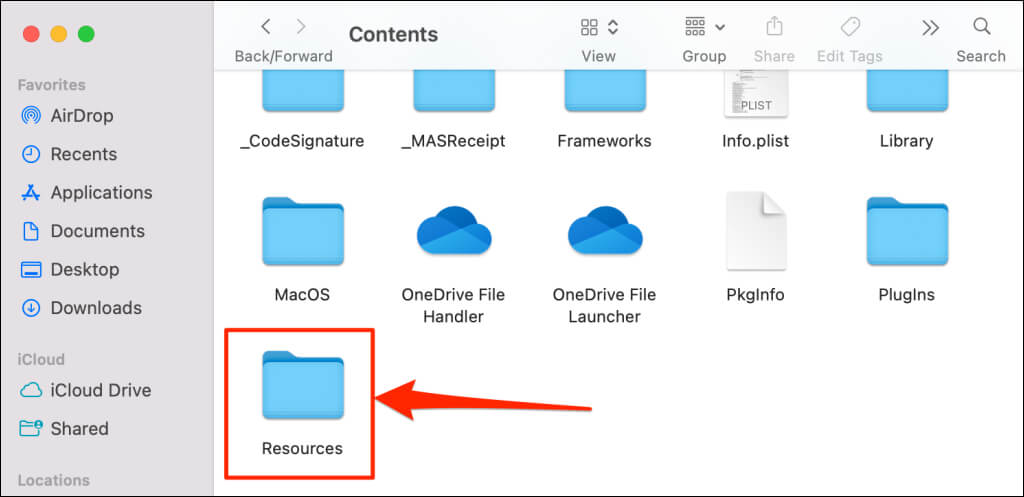
- Open the Contents > Resources folders.
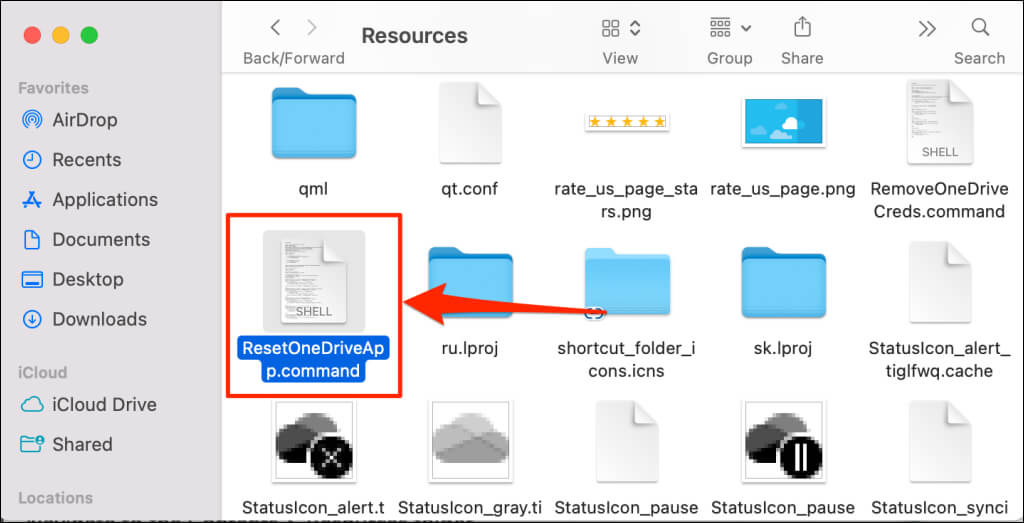
- Double-click the ResetOneDriveApp.command file. Double-click ResetOneDriveAppStandalone.command instead if you have the standalone version of the OneDrive sync application.
Double-clicking these command files runs code that resets OneDrive through Terminal. Some older OneDrive versions lack the reset command files in their folders. If you don’t find ResetOneDriveApp.command or ResetOneDriveAppStandalone.command in this folder, update OneDrive in the App Store and check again.
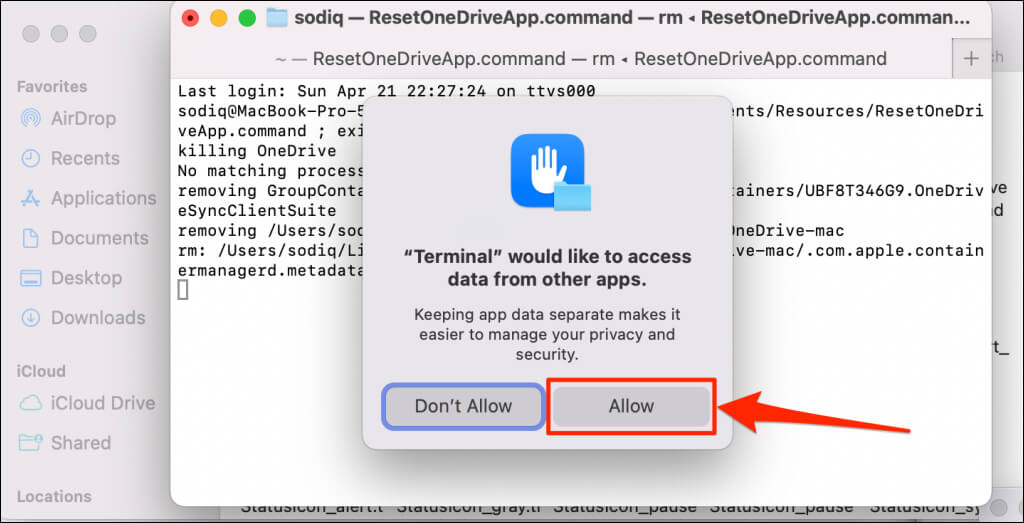
- You might get a prompt to grant Terminal access to other applications. Select Allow to continue.
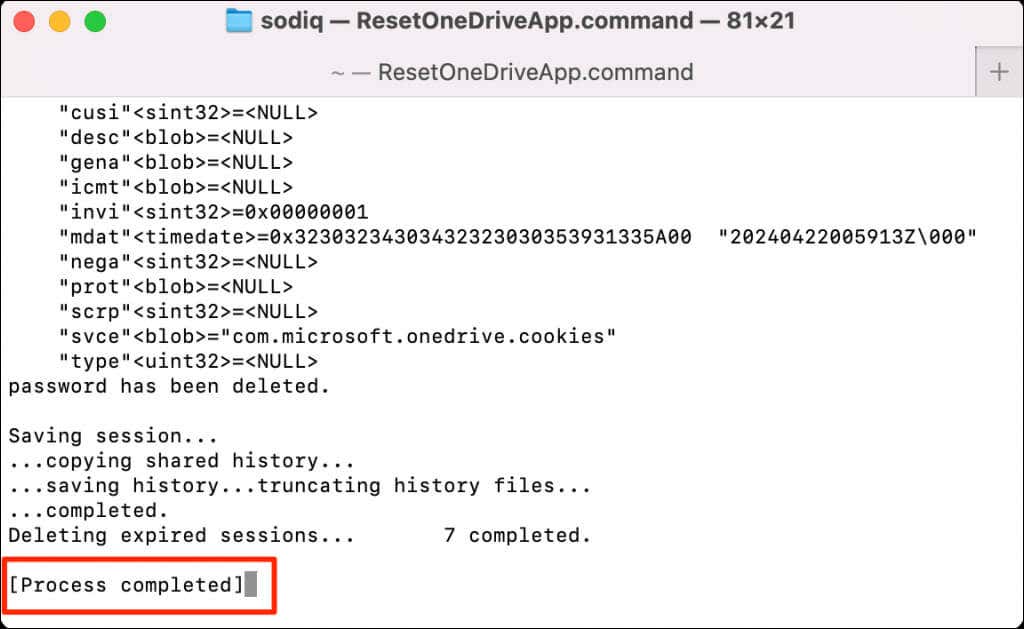
- Close the Terminal window when you see a “Process completed” success message.
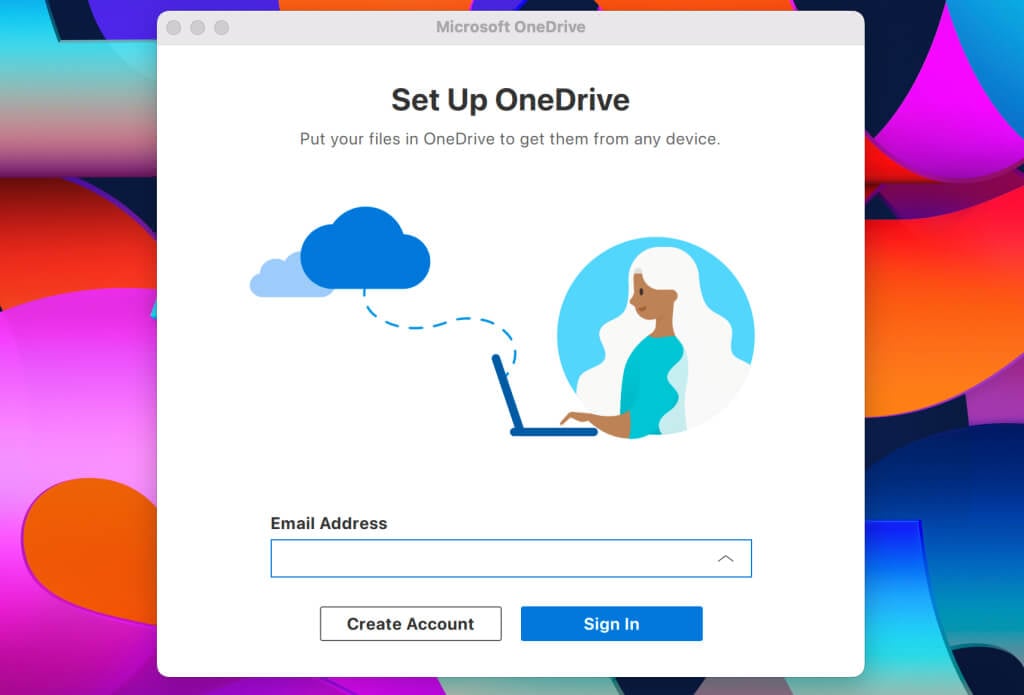
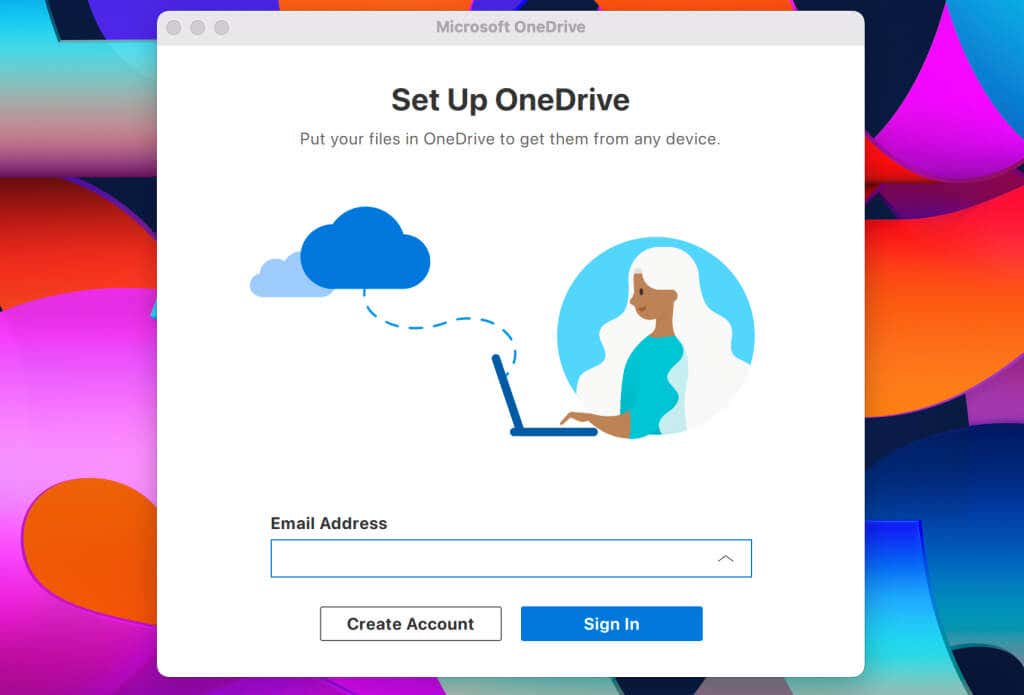
- Next, reopen OneDrive and set up the application from scratch. Sign in to your account and follow the setup instructions.
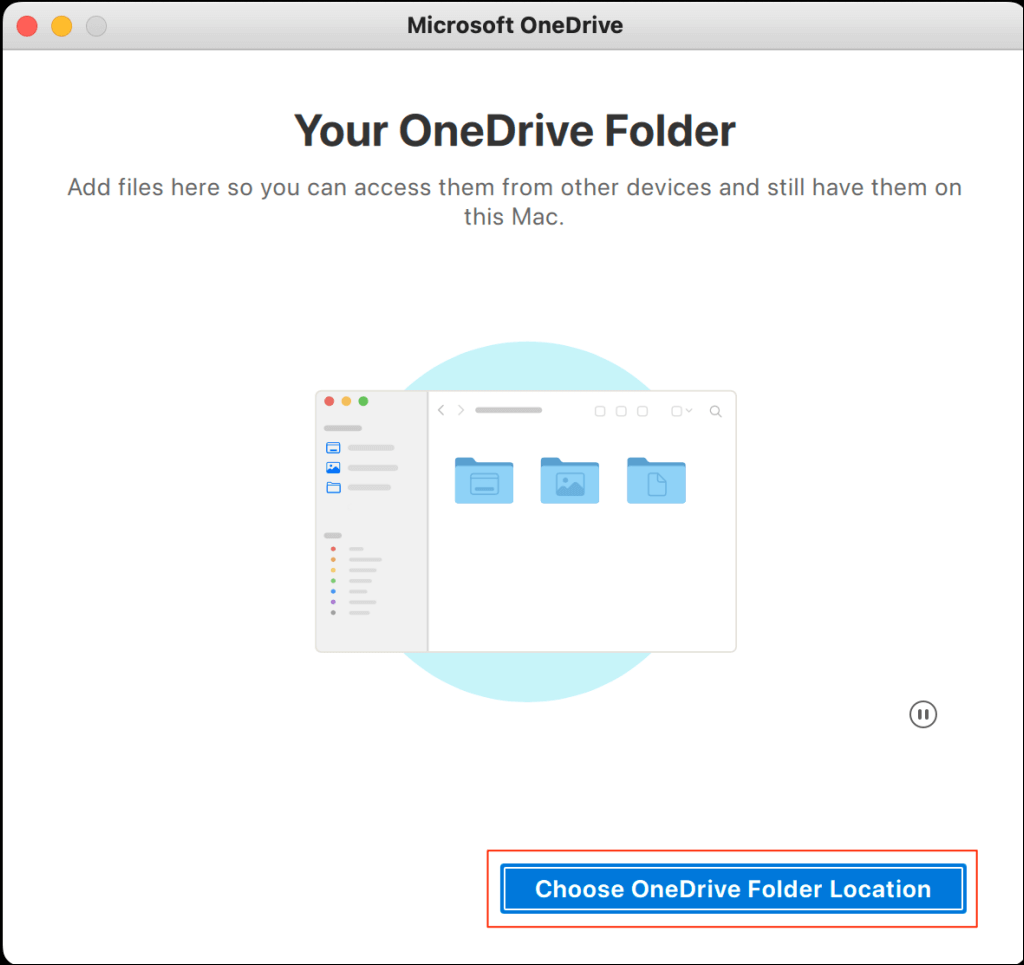
When asked to choose your OneDrive folder, select the previous syncing location to prevent OneDrive from redownloading your files.
If you had multiple accounts linked to OneDrive, you must manually set up each account after the reset. See the next section to link an additional account to OneDrive on your Mac.
Add a Second Account to OneDrive on Your Mac
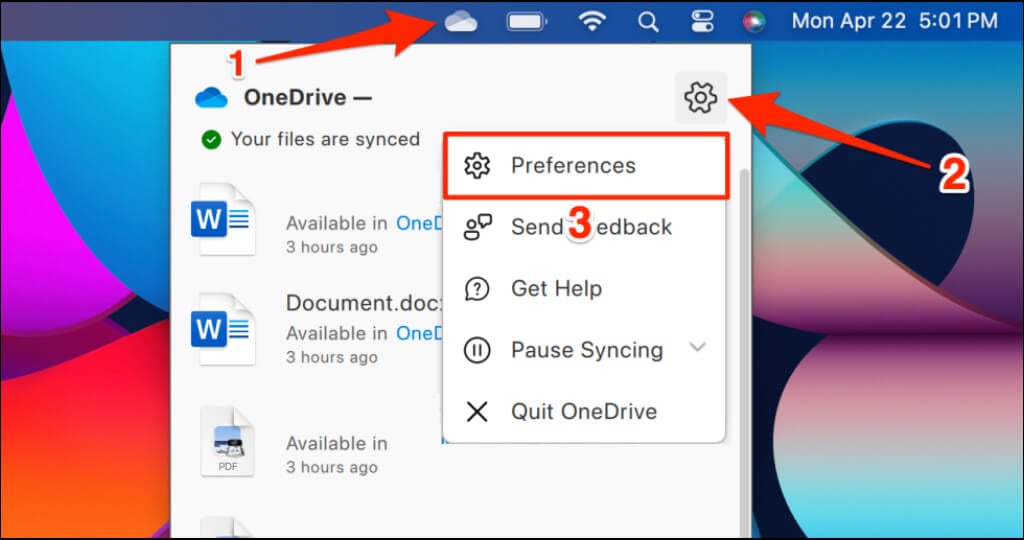
- Select the OneDrive icon on the menu bar’s status area, select the gear icon, and choose Preferences.
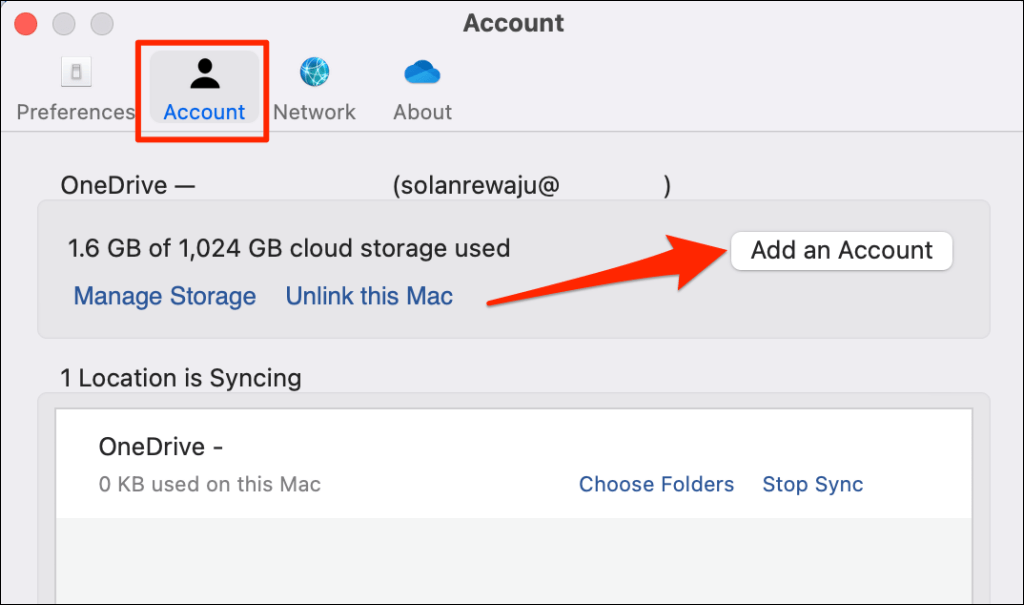
- Open the Account tab and select the Add an Account button.
- Enter the account email address, select Sign In, and subsequent prompts to set up the account in OneDrive.
See our comprehensive OneDrive setup tutorial for macOS if you require assistance adding your account.
Get OneDrive Working Correctly Again
Resetting OneDrive should now sync your files without any issues. If the issue persists, restart your Mac, update OneDrive to the latest version, or contact Microsoft Support. As a last resort, you could also try deleting and reinstalling OneDrive.

