Easily back up and sync files
If you use a Mac, you don’t have to stick to using iCloud Drive to sync and back up your stuff to the cloud. In fact, you’ve got numerous third-party options that arguably offer a superior experience. One of them is OneDrive by Microsoft.
If you’re attempting to use OneDrive on your MacBook, iMac, or Mac mini for the first time, then this tutorial will walk you through everything you need to know about setting up the cloud storage service in macOS.
What Is OneDrive for Mac?
Microsoft OneDrive is a cloud storage service that lets you store and access files from any device with an internet connection. It also lets you back up items, share files with colleagues, family, and friends, collaborate on projects in real-time through Microsoft Office, and more.
OneDrive is similar to the Mac’s built-in iCloud Drive and offers the same amount of storage space in the free base tier—5GB. You can upgrade to 100GB at $1.99 per month (compared to $.99/50GB and $2.99/200GB for iCloud Drive). If you have an Office 365 subscription, you get 1TB of space at no extra cost.
Unlike iCloud Drive, however, OneDrive is available on all major platforms—Windows, Android, macOS, and iOS. Its web, desktop, and mobile versions also work well in comparison; iCloud Drive only provides an optimal experience on Apple devices.
OneDrive Requirements for Mac
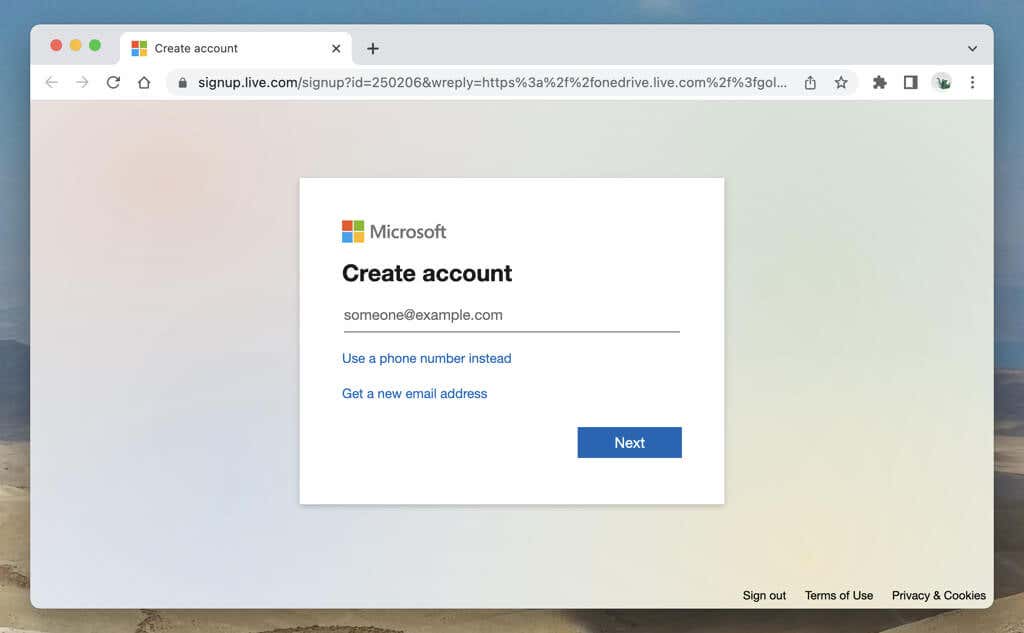
OneDrive for Mac requires a Microsoft Account, which you should already have if you use the cloud storage service on another device. If not, you can create a Microsoft Account for free.
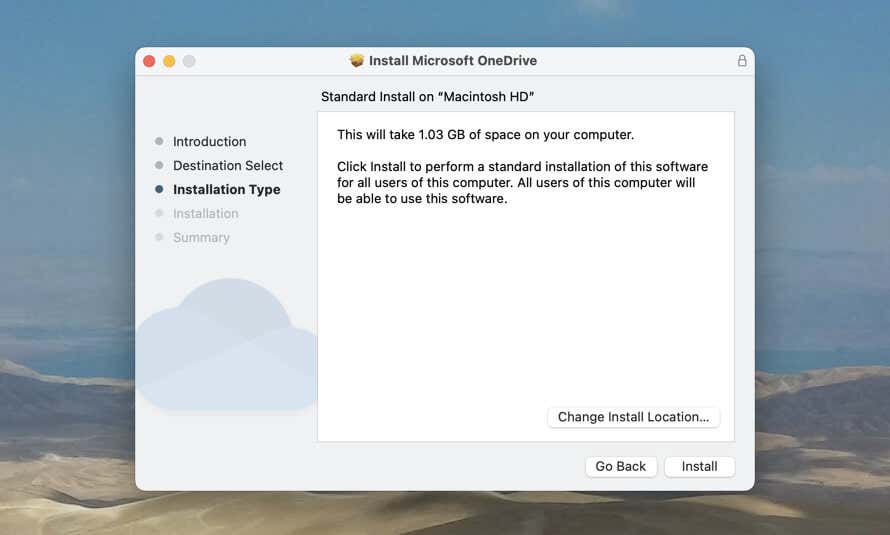
The OneDrive app also requires 1-1.5 GB of space for installation, but you must account for the size of the installer and have at least 2GB of free storage on your Mac before you go ahead.
Finally, OneDrive requires a Mac running macOS Big Sur 11.0 or later. If you use an older version of Mac OS X, go to System Preferences > Software Update to update to its latest version.
Download and Install OneDrive
OneDrive is available on the Mac App Store, but this guide focuses on the standard desktop version of the cloud storage service since it provides better performance, receives regular updates, and comes with additional features.
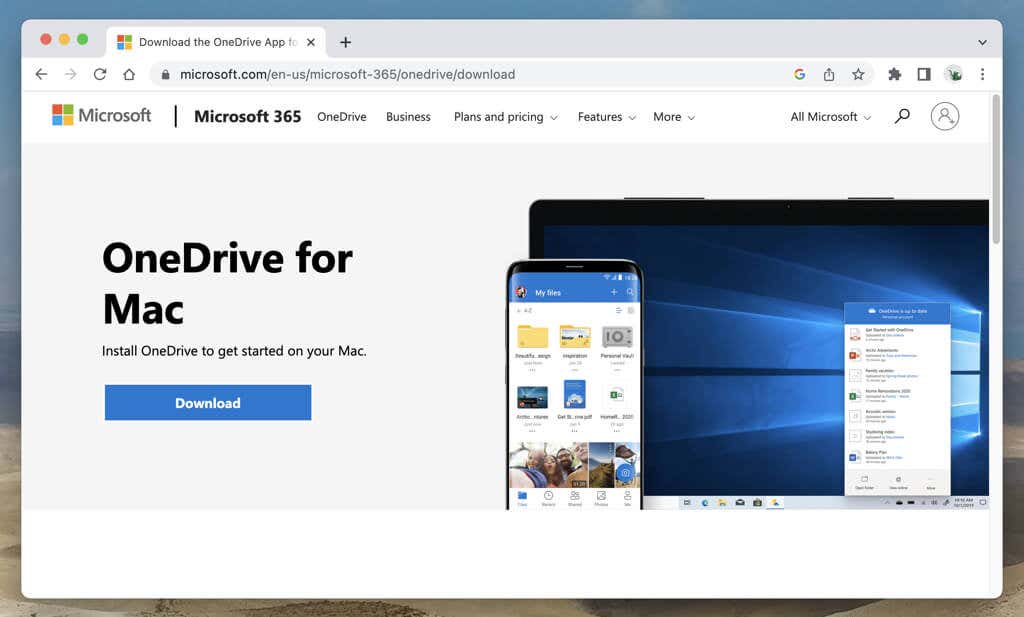
To begin, visit Microsoft’s OneDrive Download page using Safari or your preferred web browser and select Download.
After the OneDrive desktop app installer finishes downloading, run it and select Continue. Then, decide between installing the program for yourself only or for all Mac user accounts and choose Install.
Set Up OneDrive on Mac
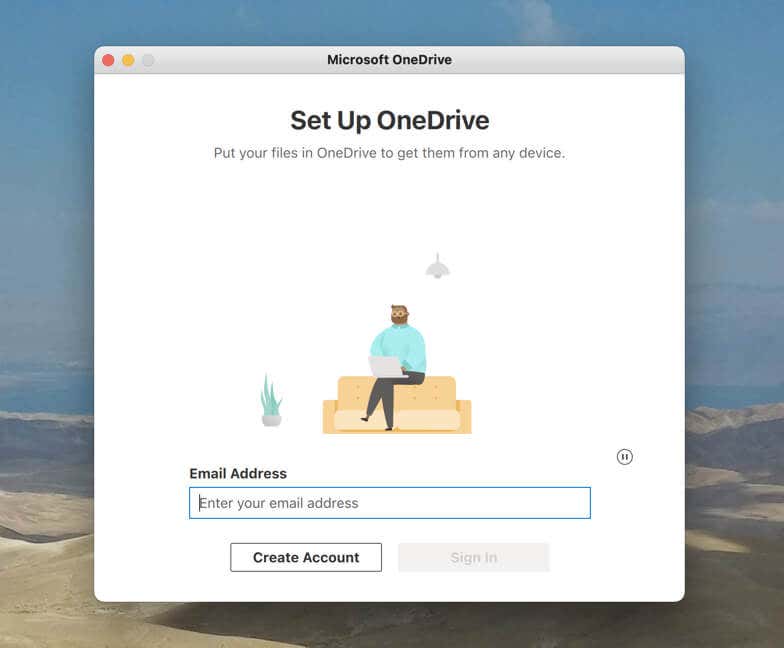
After installing OneDrive, you must set it up on your Mac. To do that, open the Launchpad and select OneDrive. On the Microsoft OneDrive dialog box that shows up, select Sign In, enter your Microsoft Account credentials, and work your way through the onscreen instructions to initialize the cloud storage service.
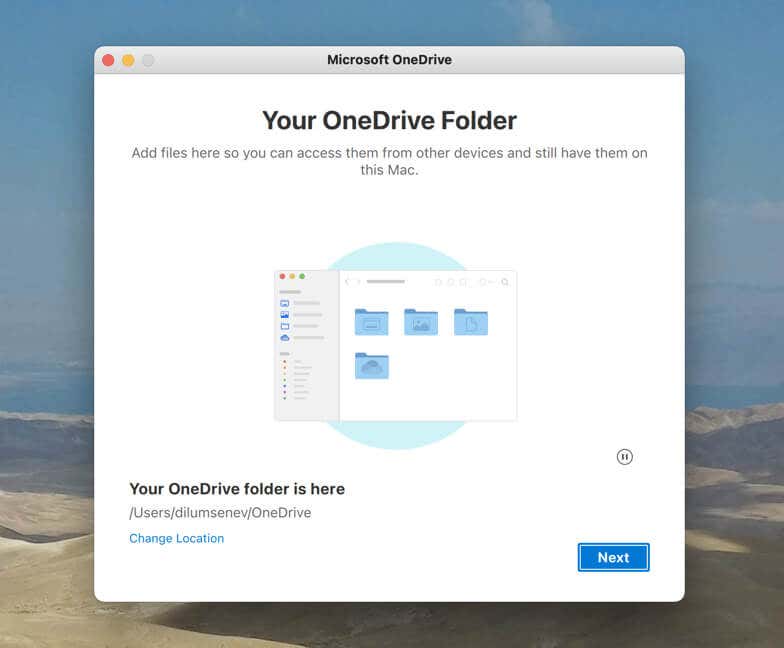
The Microsoft OneDrive setup gives you the option to change the sync directory. The default location is your Mac’s user account, but you can change that to a different location such as an external drive if you want. Select the Choose OneDrive Folder Location to switch directories.
Note: If you want to change the sync directory later, you must unlink your Microsoft Account and set up everything again from scratch.
Access Your OneDrive Folder on Mac
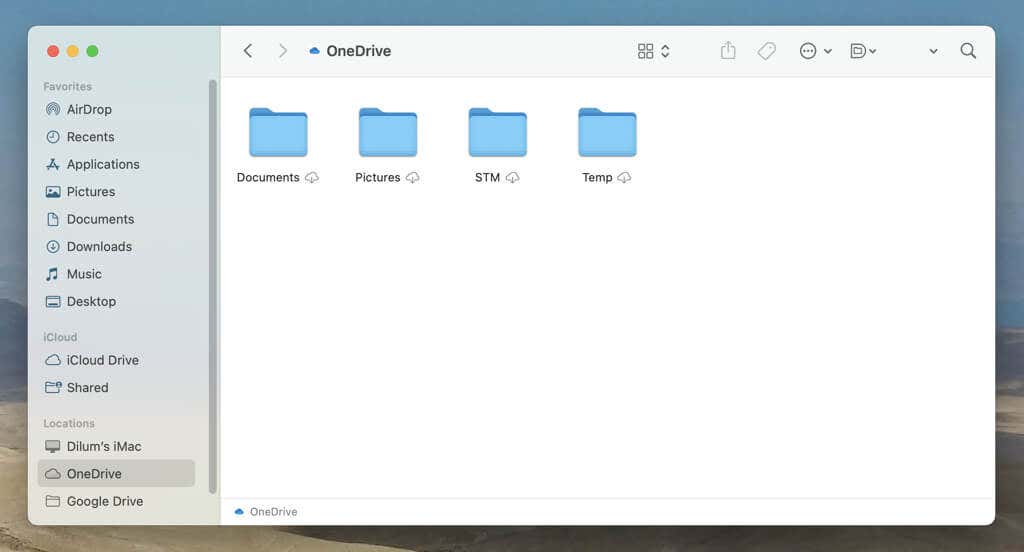
By default, OneDrive creates a sync directory within the user account of your Mac. You’ve got three ways to access it; select OneDrive under the Locations section of the Finder sidebar, open the OneDrive status menu and select Open Folder, or select OneDrive on the macOS Launchpad.
You’ll then immediately see any files and folders you’ve stored within OneDrive. By default, these items appear in placeholder format, meaning they don’t use up space locally.
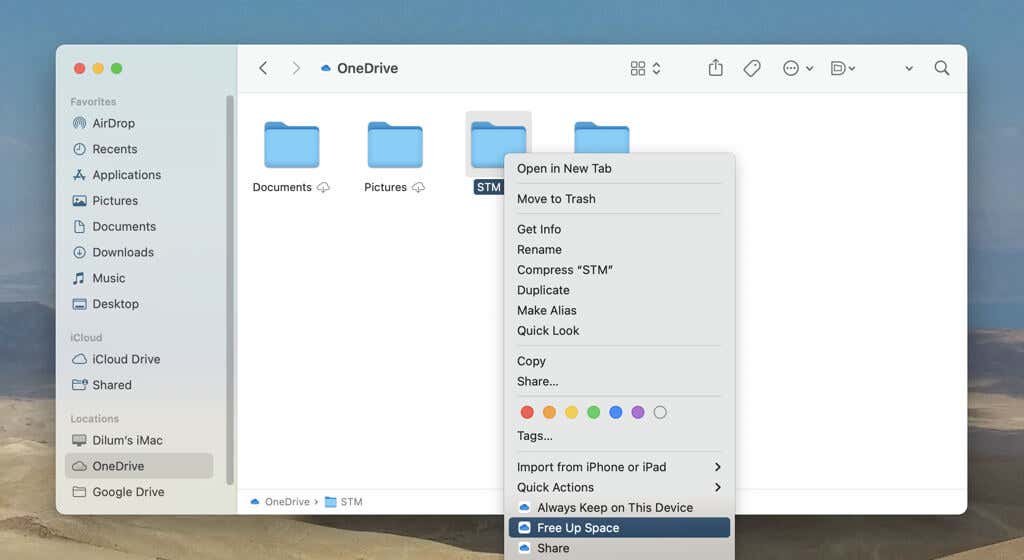
OneDrive uses Files On-Demand functionality and downloads files only if you attempt to open them. However, you can download files and folders in advance by Control-clicking and selecting the Always Keep on This Device option.
Upload Files and Folders to OneDrive
To upload files and folders to OneDrive, you must copy-paste or move them inside the OneDrive folder. Once they’ve synced, you can convert them to placeholder format and free up the local space if you want. To do that, Control-click the item and select Online Only.
Configure How OneDrive Works
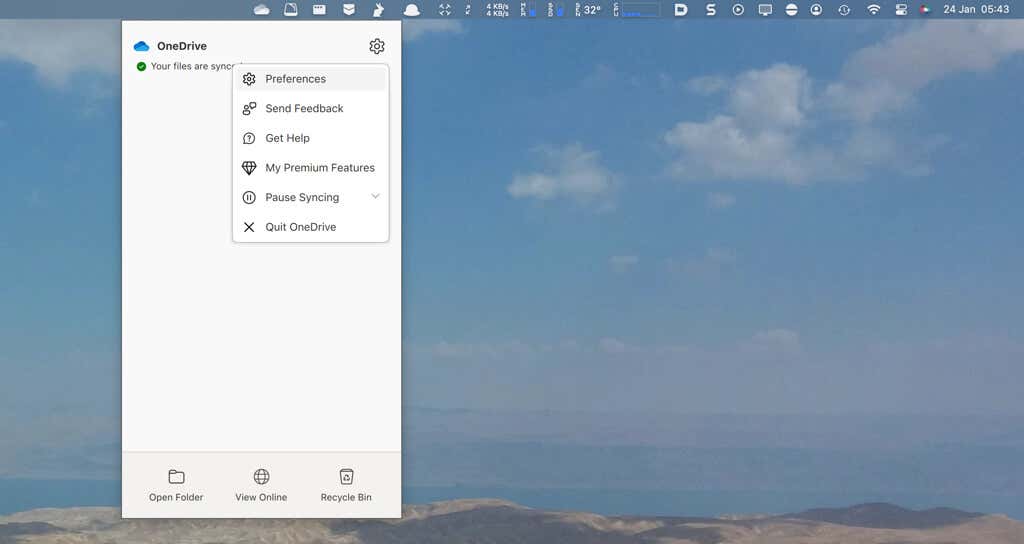
You can customize how OneDrive works through the OneDrive Preferences dialog. To get to it, open the OneDrive status menu—select the Cloud icon on the menu bar—and choose Help & Settings > Preferences.
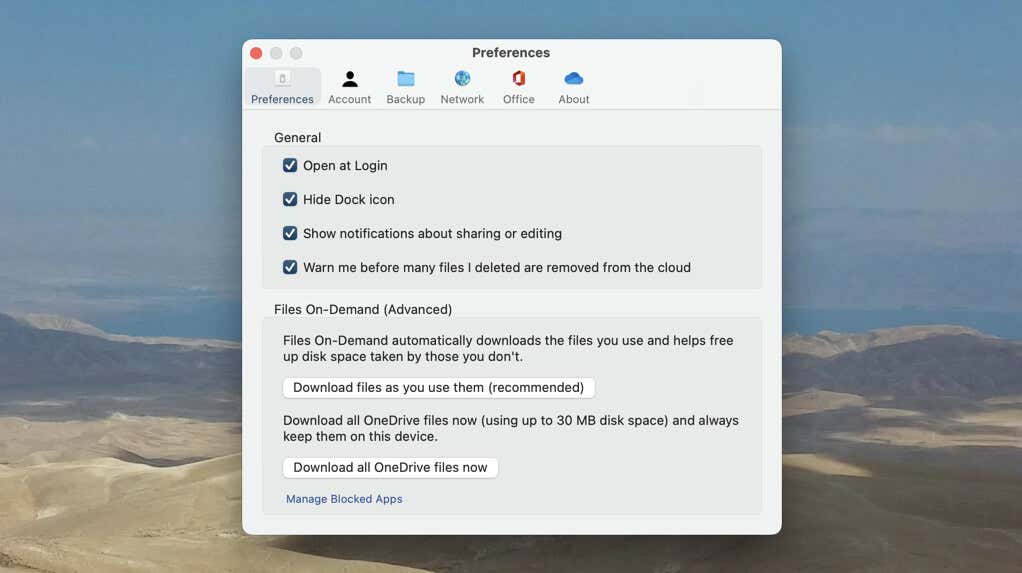
Under the default Preferences tab, you can choose to open OneDrive at login, hide the OneDrive icon from showing up on the Dock (when you select OneDrive on the Launchpad), display notifications about sharing or editing, and so on.
You can also change how files and folders sync to your Mac. Keep the default Download files as you use them (recommended) setting if you want to keep using Files On-Demand or choose Download all OneDrive files now to always download OneDrive files to your Mac.
Note: Your Mac’s internal storage should be able to fit your OneDrive files if you decide to keep all copies locally. If you want to switch the sync directory to a different drive with adequate space, you must unlink your Microsoft Account and set up OneDrive from scratch.
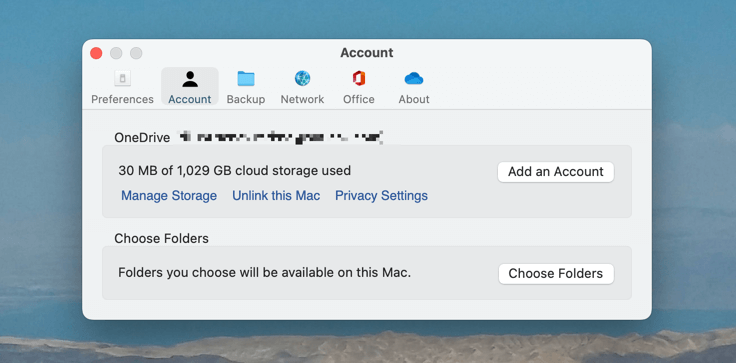
Next, switch to the Account tab, and you can add additional OneDrive accounts—e.g., work or school-related. If you do, they will show up as separate status icons on the menu bar that you can access and manage. You can also manage your OneDrive storage, unlink OneDrive accounts, and choose which folders you see within the OneDrive sync directory.
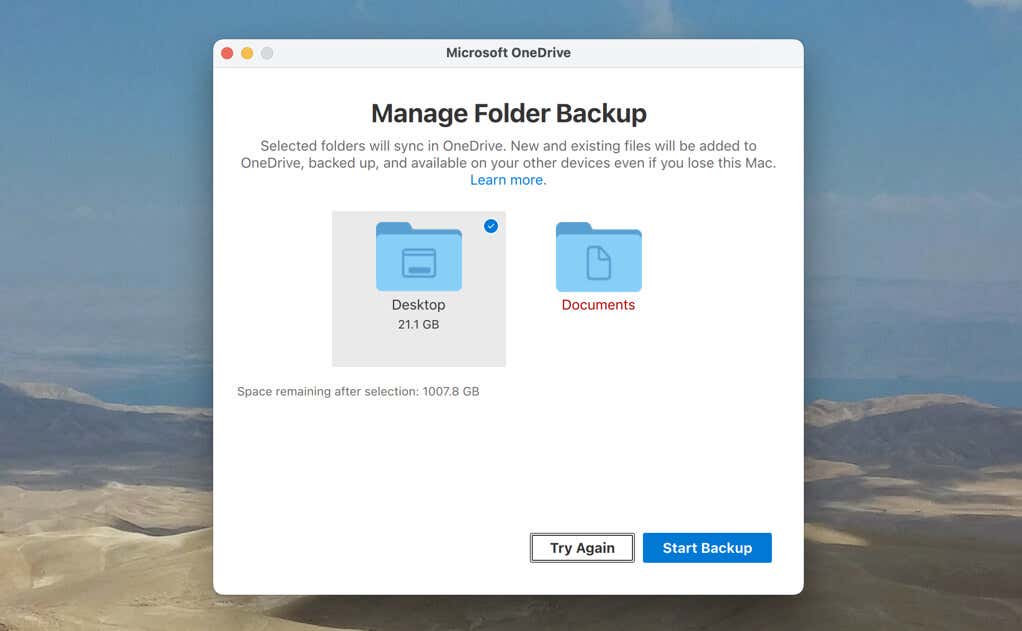
Under the Backup tab, you can choose to back up your Mac’s Desktop and Documents directories to OneDrive. Any changes you make will continuously sync in real-time.
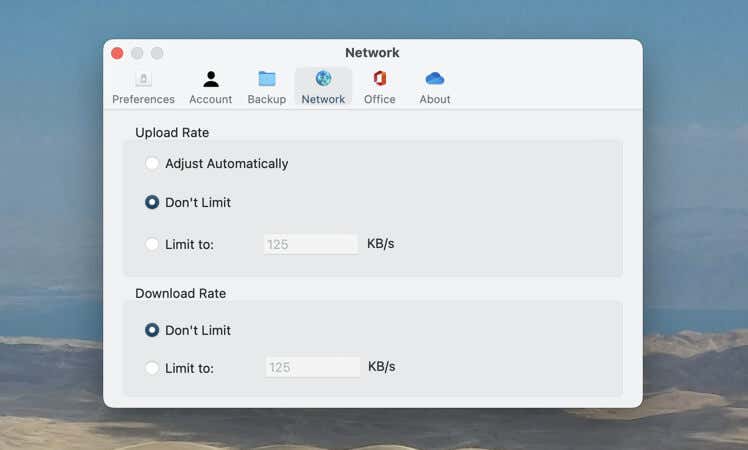
Moving on, the Network tab gives you the option to impose limits on OneDrive upload and download rates to prevent it from hogging up bandwidth. If you use a fast internet connection and that’s not an issue, keep the default Don’t Limit selections in place.
Finally, Under the Office tab, you can configure if any Office applications on your Mac will sync the files you open to OneDrive. That makes it easier to share and collaborate on documents with other Office users. You can also decide how to manage sync conflicts in Office documents—merge files or keep separate copies.
Share Files and Folders in OneDrive
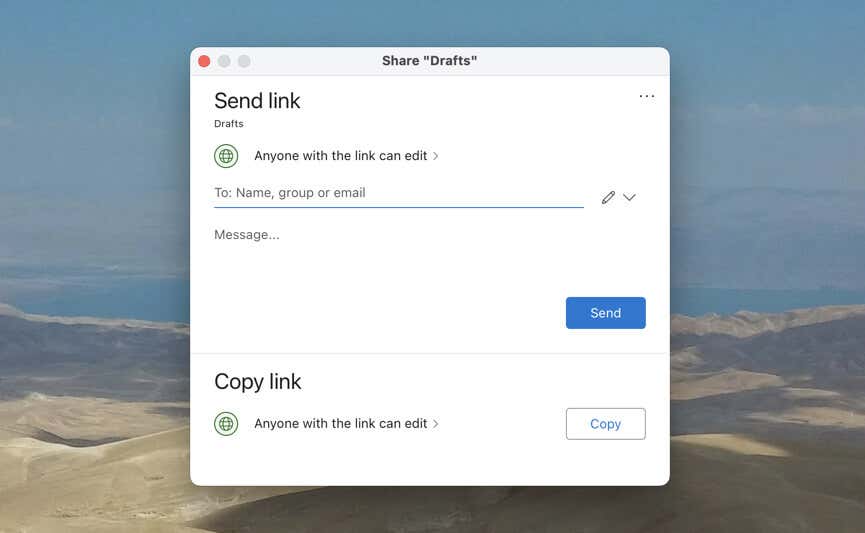
OneDrive’s Finder integration makes it easy to share files and folders with other people. Just Control-click a synced item and select Share (the option with the OneDrive icon).
Then, add the contact names or email addresses and specify your permissions—select the Edit icon and pick between the Can edit and Can view options. Then, select Send or Copy (you must share the link manually if you pick the latter option).
Backup and Sync Files With OneDrive for Mac
You’re now all set to take advantage of OneDrive on your Mac, and as you just learned, it’s extremely straightforward to use and customize. You might also want to install it on any other desktop and mobile devices you own to capitalize on the multi-platform backup and sync experience that Microsoft’s cloud storage service offers.


