From the high-tech to the crude
One of the best things about owning multiple Apple devices is that they can speak to each other, forming their own ecosystem.
If you want to transfer files or other data from your iPhone to your Mac or vice versa, there are many ways. These are the easiest and most effective ones.
iTunes Is Gone
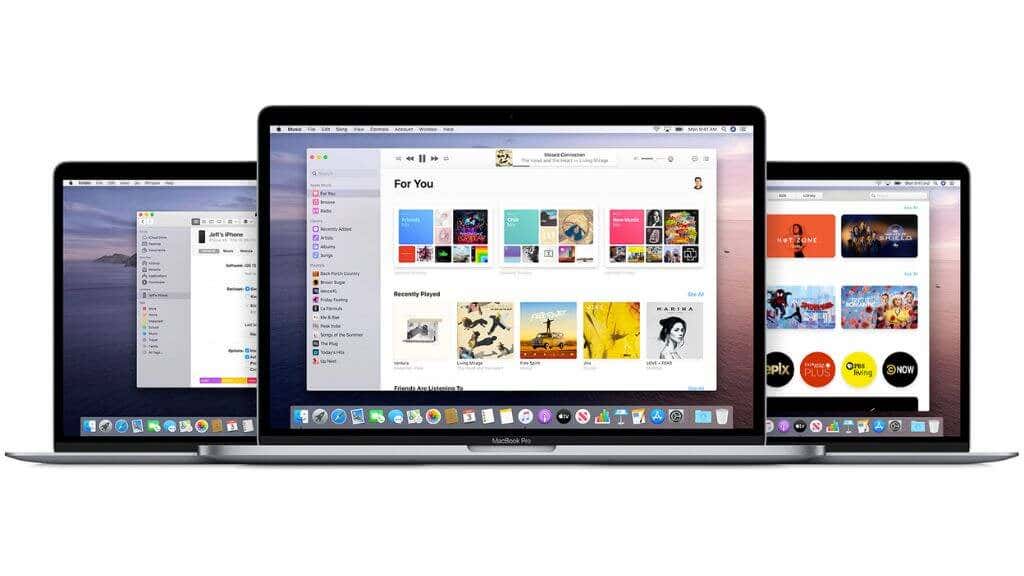
If you’ve been out of the loop with Apple’s latest operating systems and features, you may be surprised there’s no longer any sign of iTunes from macOS Catalina onward. The only place where you’ll still find iTunes is, rather ironically, Microsoft Windows.
iTunes features have now been integrated into macOS. Your music is now in Apple Music; your movie purchases are in Apple TV, podcasts in the Podcasts app, and so on. Devices like iPads and iPhones are now independent; they don’t have to sync with a desktop computer before you can use them.
Also, Apple stores all purchases in the cloud. So you can access all the content you sync between an iPhone and a Mac on either device by opening the specific app and streaming or downloading thet content from the internet.
1. AirDrop
Macs, iPhones, and iPads all have AirDrop as the wireless file-sharing feature. You can quickly share files with any other AirDrop-enabled device nearby using Bluetooth and Wi-Fi. You don’t need to be connected to the same Wi-Fi connection; it’s high-speed local file transfer.
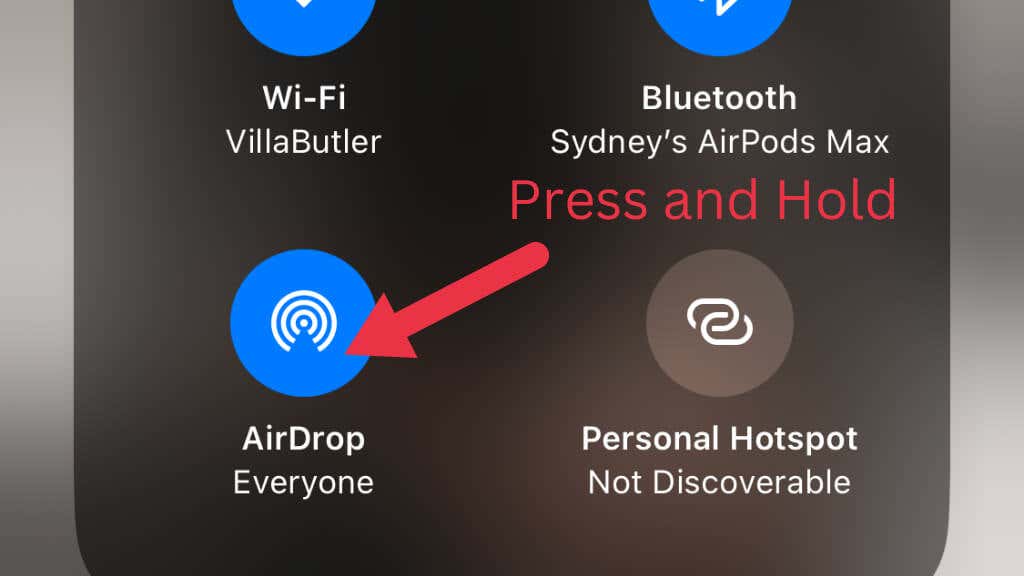
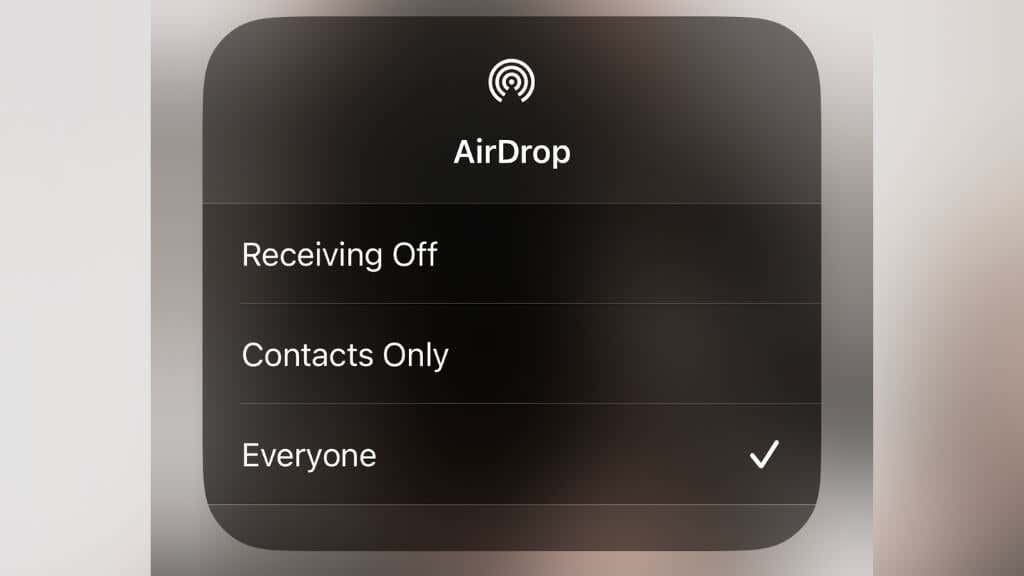
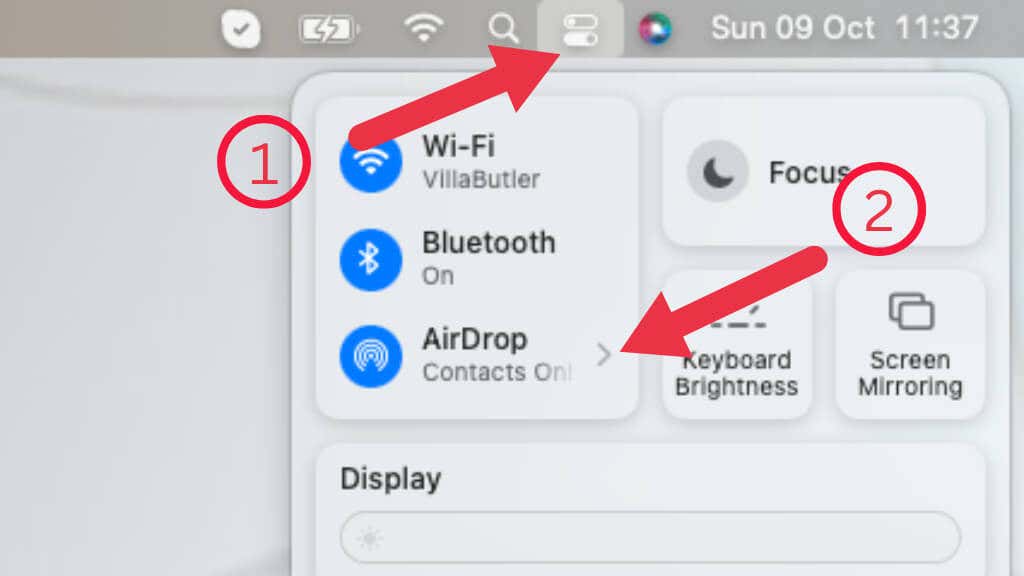
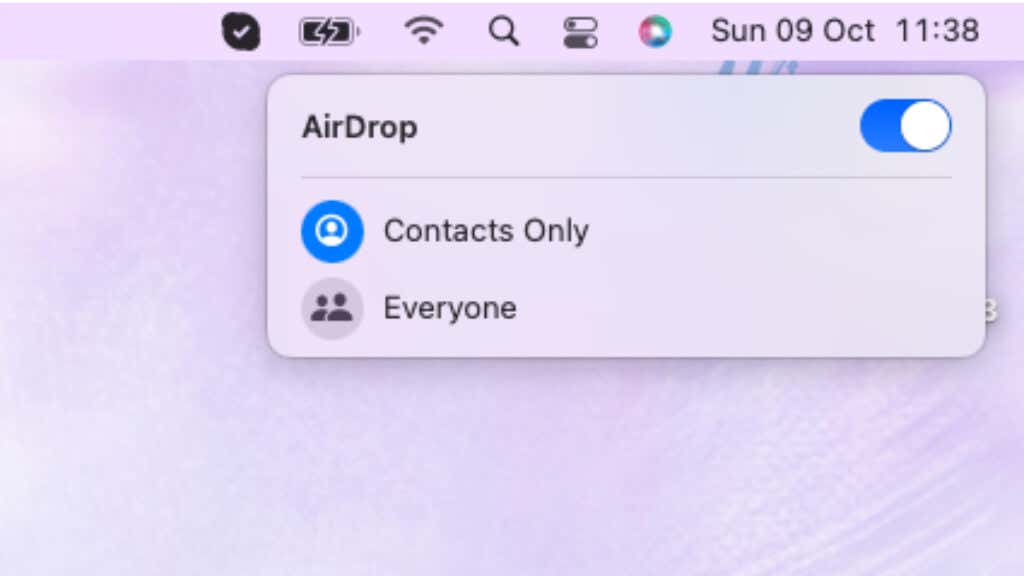
AirDrop is activated from the Control Center on your iPhone and Mac. You can turn it on or off by selecting its button in the Control Center, or you can expand its section and then choose if only your contacts or everyone can AirDrop things to you. We find that temporarily setting AirDrop to Everyone resolves most issues if AirDrop doesn’t work smoothly.
Here’s how to access AirDrop through the Control Center.
- Press and hold the center of the wireless feature panel.
- Toggle AirDrop on or off. You can press and hold it to open its quick settings.
- Choose who you’d like to receive files from.
Here’s how to access AirDrop through the macOS Control Center.
- With the center open, select the small arrow to the right of AirDrop.
- Turn AirDrop on for where you’d like to receive information.
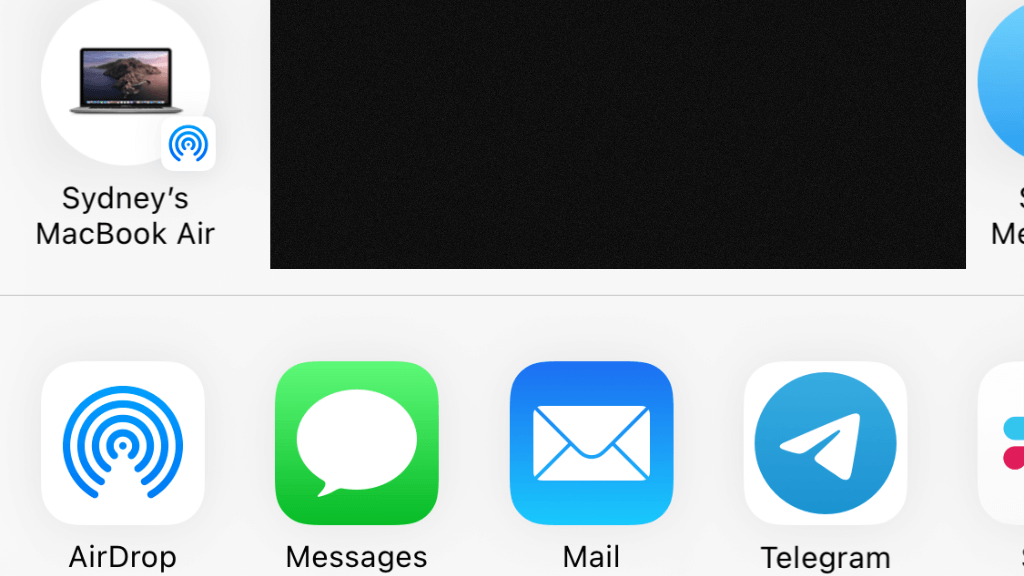
- To share something from your iPhone to another device, like a Mac, open the sharing menu for any content and choose AirDrop as the sharing target.
- This is the same menu you would use to share something via Twitter, email, etc. You should see your Mac on the list of nearby devices; select it and then confirm the AirDrop transfer on the Mac when asked. The file will transfer, and the location should automatically open up in Finder.
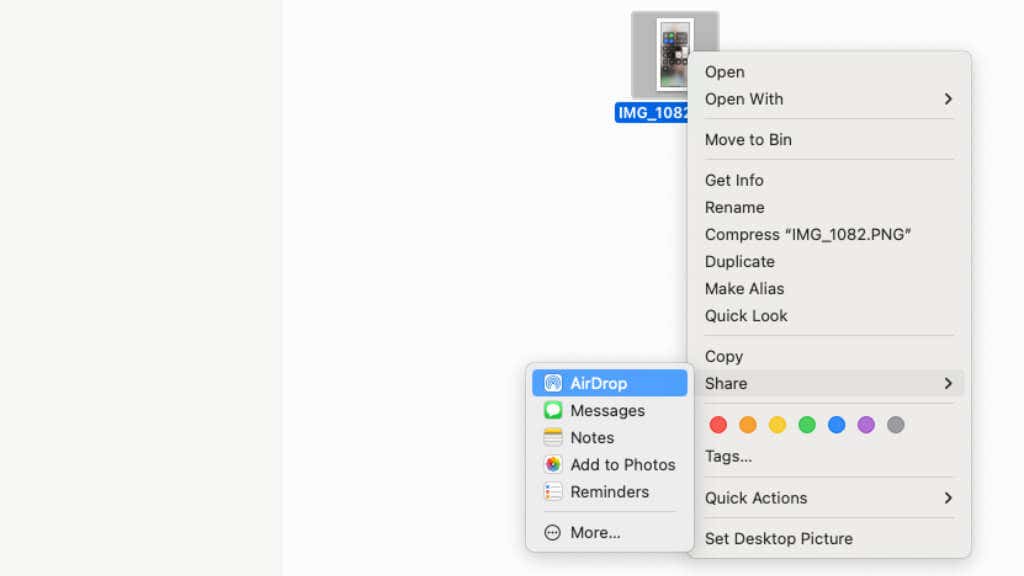
- To share from your Mac using AirDrop, right-click on any content you want to share in Finder or on your Desktop and then select Share > AirDrop.
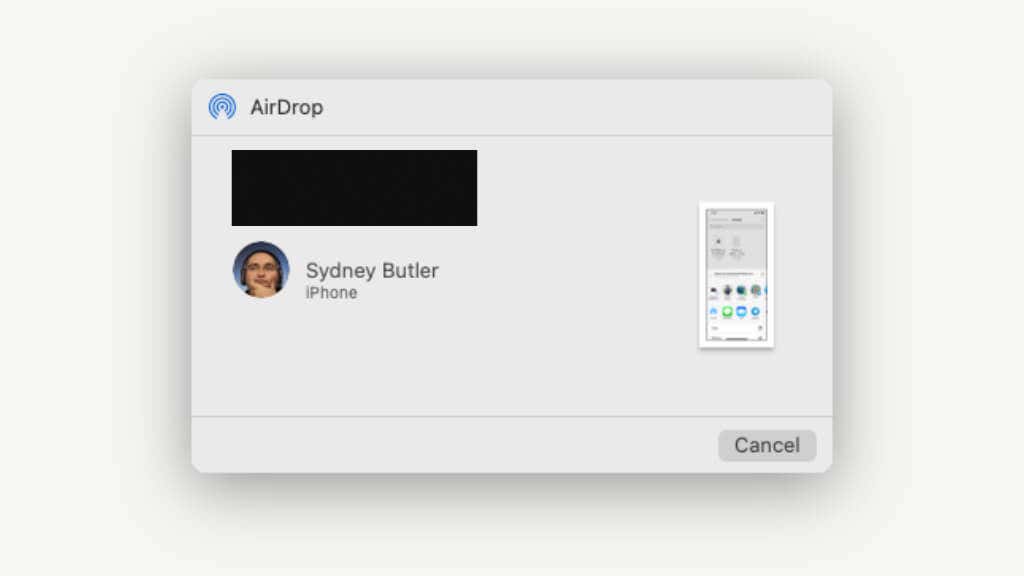
- Choose your iPhone as the destination and then confirm the transfer on the iPhone.
2. Use a Wired Connection
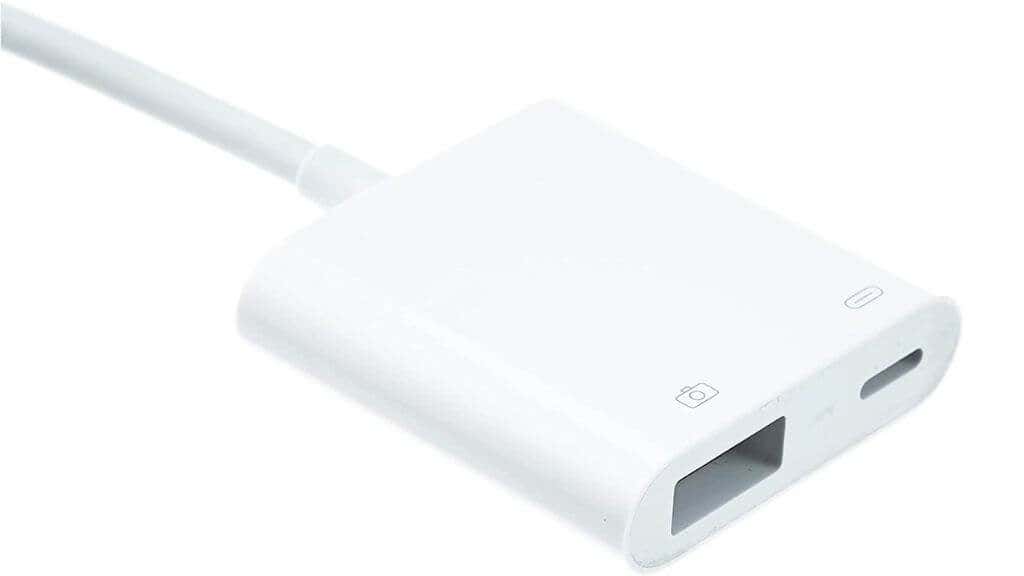
While AirDrop is super convenient, it can sometimes be finicky. The fastest and easiest way to move files between your iPhone and Mac is to use a USB cable connection. While iPhones released after the publication of this article will have USB-C ports at some point, currently all iPhones have Lightning ports. This means you’ll need to use a Lightning to USB-C or USB-A adapter to connect your iPhone to your Mac.
You may require a software update on one or both devices for a cable transfer to work. If prompted to download and install the necessary software, complete that process and proceed.
- When you plug your iPhone into your Mac, the iPhone will prompt you to trust the computer you just plugged it into.
- Select Trust and then enter your passcode to authorize it.
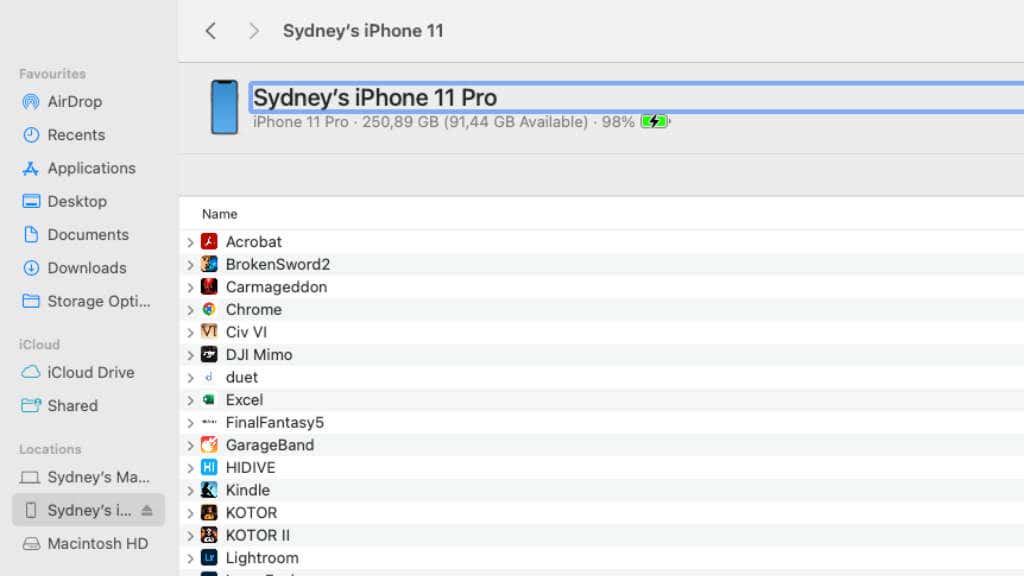
- Select your iPhone from the sidebar of the Finder window.
You can use it like any other folder on your Mac and drag and drop files to and from the iPhone.
3. Use iCloud
Apple has its own cloud file storage service known as iCloud. While you can pay a small fee to get a sizeable amount of cloud storage, every Apple ID has 5GB of free storage. Any files you copy into the iCloud folder will be synced to all your devices.
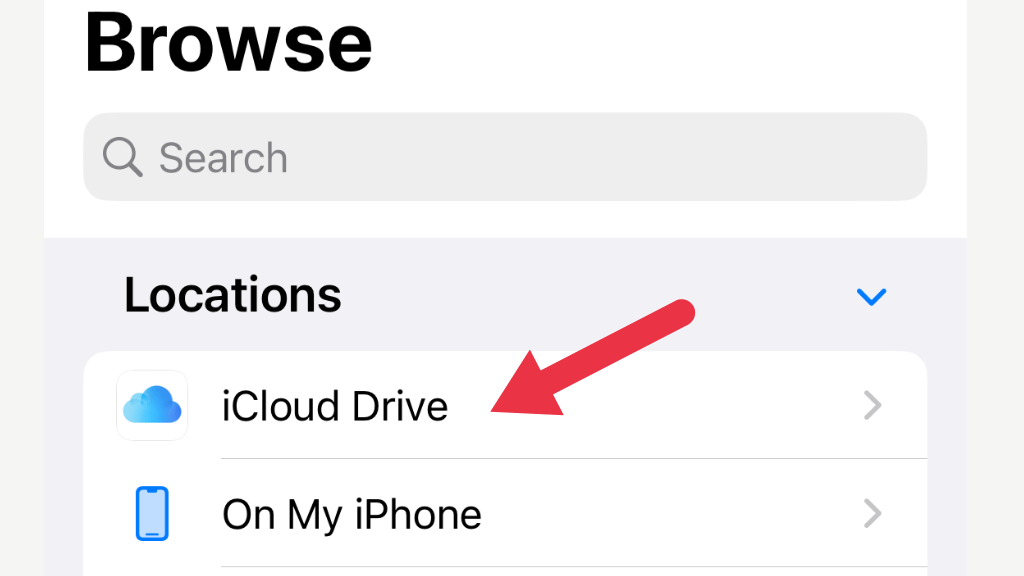
On an iPhone, you can find the iCloud folder inside the Files app.
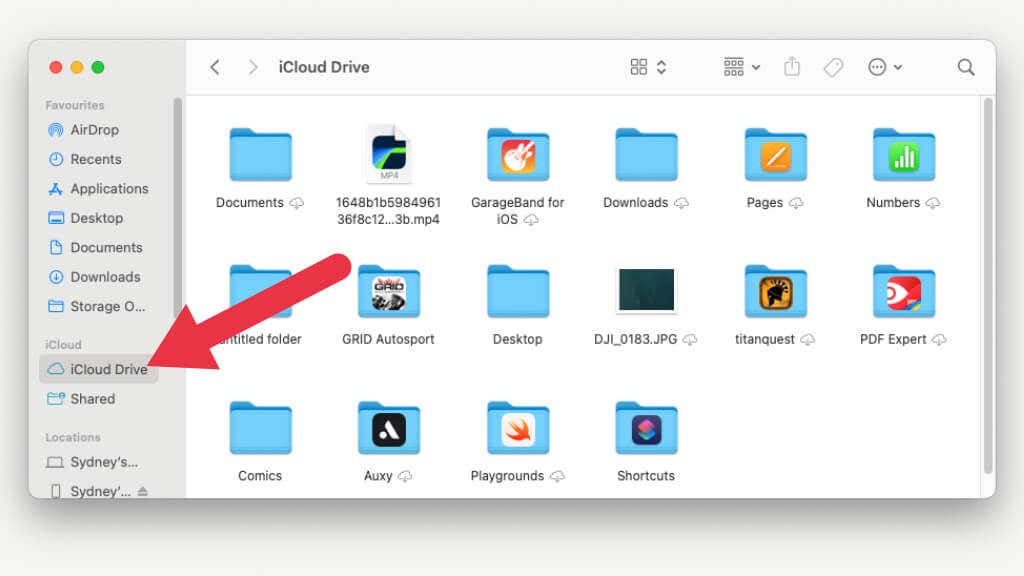
On your Mac, you’ll find your iCloud drive in the Finder sidebar.
4. The Photos App
The iCloud Drive folder isn’t the only Apple solution that syncs things between your iPhone and Mac. Any Apple Watch screenshots, photos, or videos you make on your iPhone are saved in the Photos app. This will then automatically sync to the Photos app on your Mac.
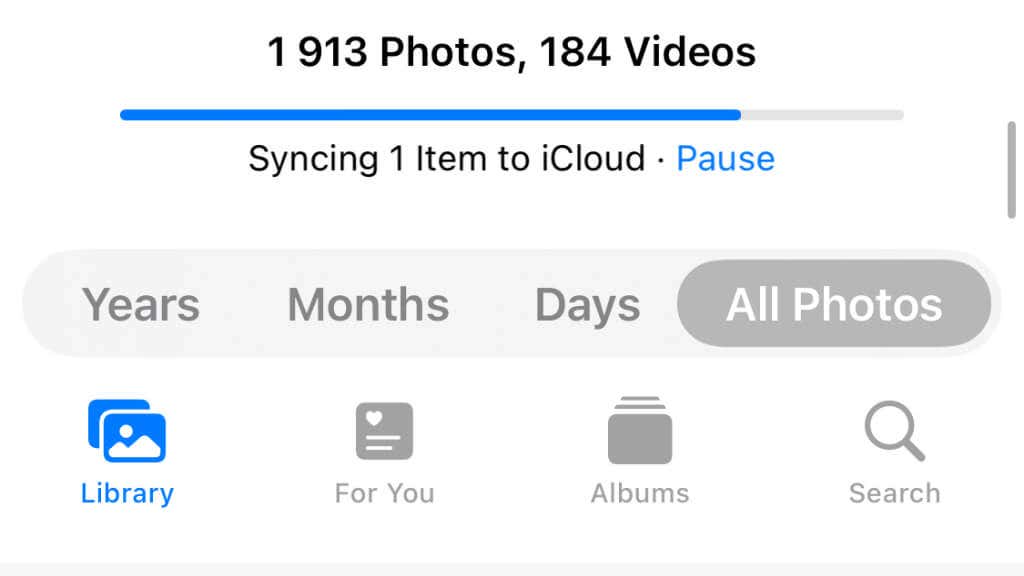
You don’t have to do anything special to transfer photos this way, but you can manually force a sync from one device to the other, by refreshing the Photos app on the device with the photos or videos.
In the iPhone app, swipe up on the photo grid to manually upload the latest unsynced photos and videos. Otherwise, it should happen automatically when you’re on a Wi-Fi internet connection. On a Mac, wait a few seconds for the synced content to download from the cloud. Then drag and drop photos or videos from the app to another location on your Mac.
5. Use Telegram
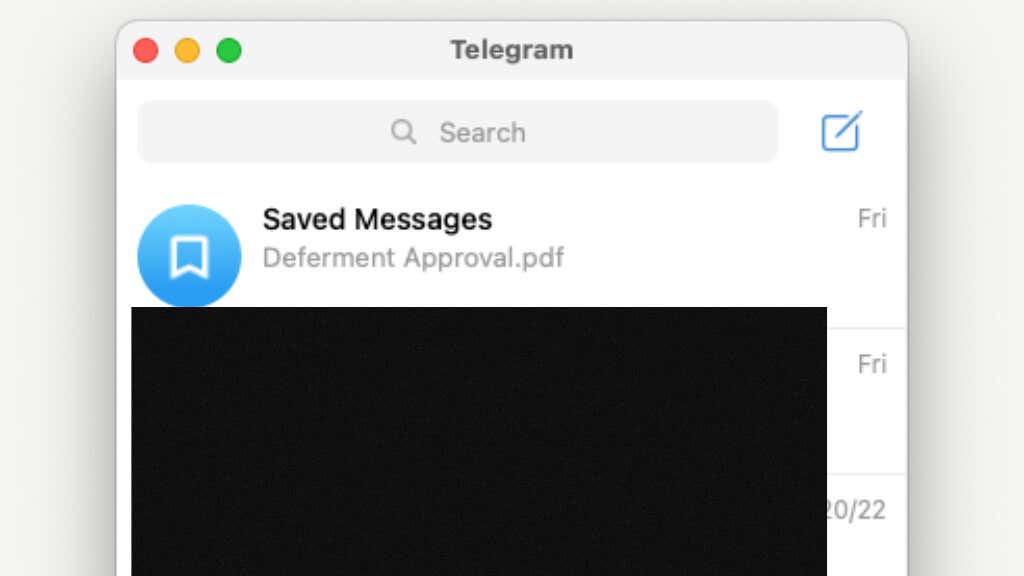
Several chat apps are available for iOS and macOS on the App Store. But Telegram has a neat feature where you can send files to yourself. It’s called Saved Messages, and you can attach any file to the chat with yourself here. Whatever you save to this app section acts like a free cloud storage drive. Telegram is also notable for letting you send photos and videos without any compression.
On the Telegram app, you’ll find it under Settings > Saved Messages or at the top of your chat list. In the Telegram desktop app, you’ll also find it at the top of your chat list.
6. Third-party Cloud Services
iCloud is great if you only use Apple devices, but if you want to mix Windows and Android devices into the equation, you’ll need a different solution. Dropbox, Google Drive, Microsoft OneDrive, and so many more.
These apps let you transfer data seamlessly between all devices that support their clients or support a web browser for their respective websites.
7. Copy and Paste Between iPhone and Mac With Universal Clipboard
Apple has introduced an impressive feature that lets iOS and macOS share the same universal clipboard. As long as you have an iPhone 5 or 4th-generation iPad running iOS or iPadOS 10 or later, you can use this feature with a Mac running macOS Sierra or later.
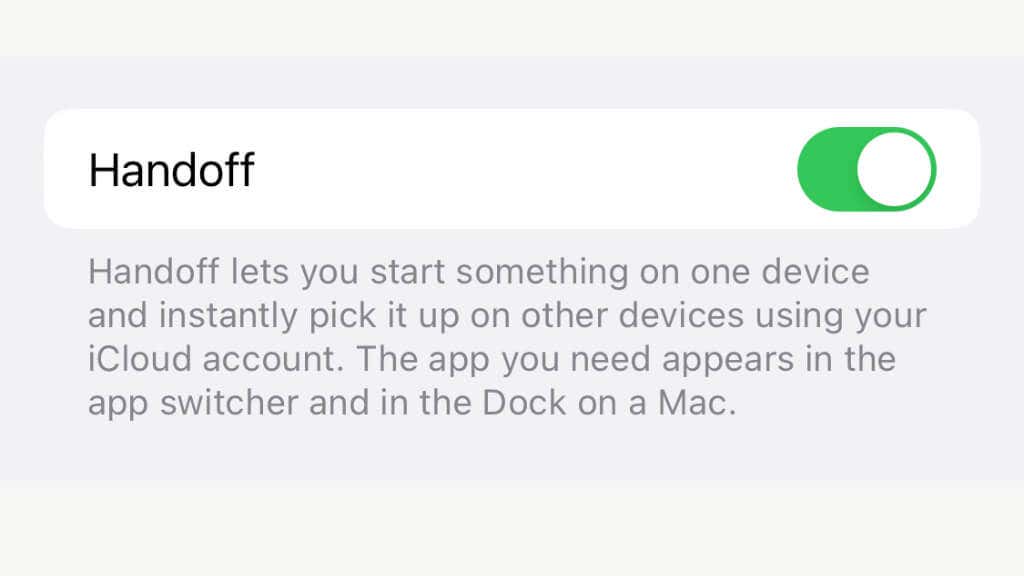
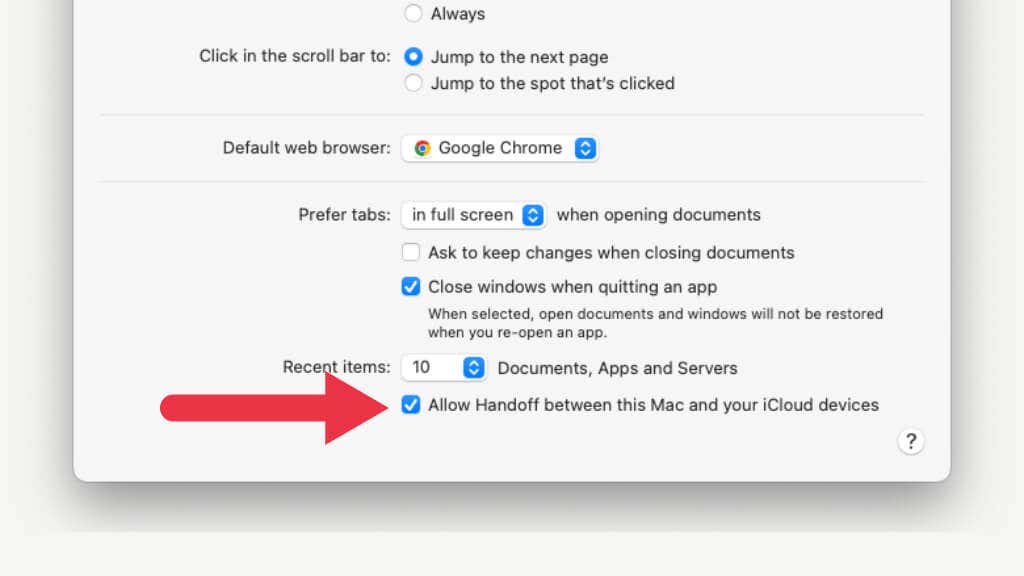
To begin, ensure that Handoff is enabled on both the iOS device and the macOS system.
In iOS go to Settings > General > Airplay & Handoff and enable Handoff.
On a Mac, go to Apple Menu > System Preferences > General and then check the box next to Allow Handoff between this Mac and your iCloud devices.
When you copy anything that goes to the clipboard, you can paste it into an appropriate place on your Mac, or vice versa.
8. Use an OTG Drive
As of iOS 13, iPhone includes the Files app and supports external storage devices. On iPads with USB-C ports, it’s simple to connect a flash drive with an OTG (On The Go) adapter. Until iPhones get USB-C ports, you’ll either need a Lightning-to-USB OTG adapter or a flash drive with a Lightning connection if you want to connect a drive to your phone.
Once you have this, it’s a fast and reliable way to transfer data between your iPhone and your Mac. Do note that some flash drives that aren’t designed specifically for use with iPhones, and all USB hard drives or SSDs, require more power than an iPhone can provide. If you try to connect them, your iPhone will warn you that they need too much power.
An easy way to solve this is by using a Lightning to USB adapter that includes power passthrough. Then you can connect a charger or power bank to the adapter and provide enough power to the drive so that it will work with your phone.
9. Email Yourself
This is the crudest way to send files between devices, but in a pinch, you can email a file as an attachment and then open it on the email client of the destination device. This is only useful for small files that fit into the attachment limit, but if you don’t have time to mess around with settings or complicated file copy apps, email is a low-tech solution that almost never fails.

