Ready to become an iPhone screenshot master? In this guide, we’ll show you everything you need to know to capture, edit, and share screenshots on your iPhone.
Taking Screenshots on Your iPhone
Capturing a screenshot on your iPhone is a breeze! You can save and share your screen content in seconds. Here’s how to take screenshots on various iPhone models.
For iPhone X and later (including iPhone 11, 12, and 13 series):
- Display the content you want to capture.
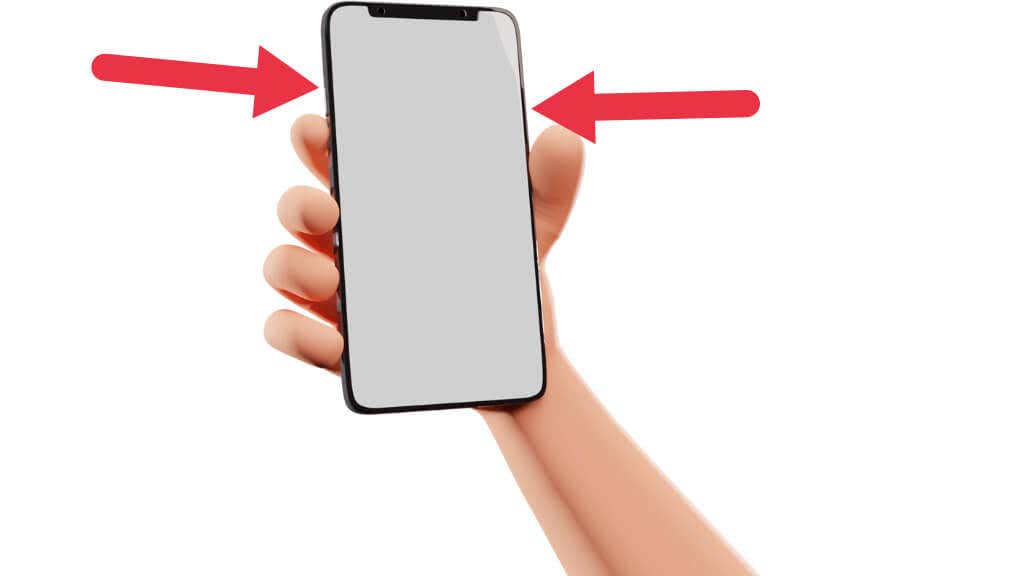
- Press the Side and Volume Up buttons simultaneously, then release. You’ll hear a shutter sound (if not in silent mode) and see a screen flash, indicating success.
- A screenshot thumbnail will appear. Tap it to edit or share, or swipe left to dismiss it. The screenshot is saved in your Photos app.
For iPhone SE (2nd gen), iPhone 8, and earlier models:
- Display the content you want to capture.
- Press the Side and Home buttons simultaneously, then release. You’ll hear a shutter sound (if not in silent mode) and see a screen flash, indicating success.
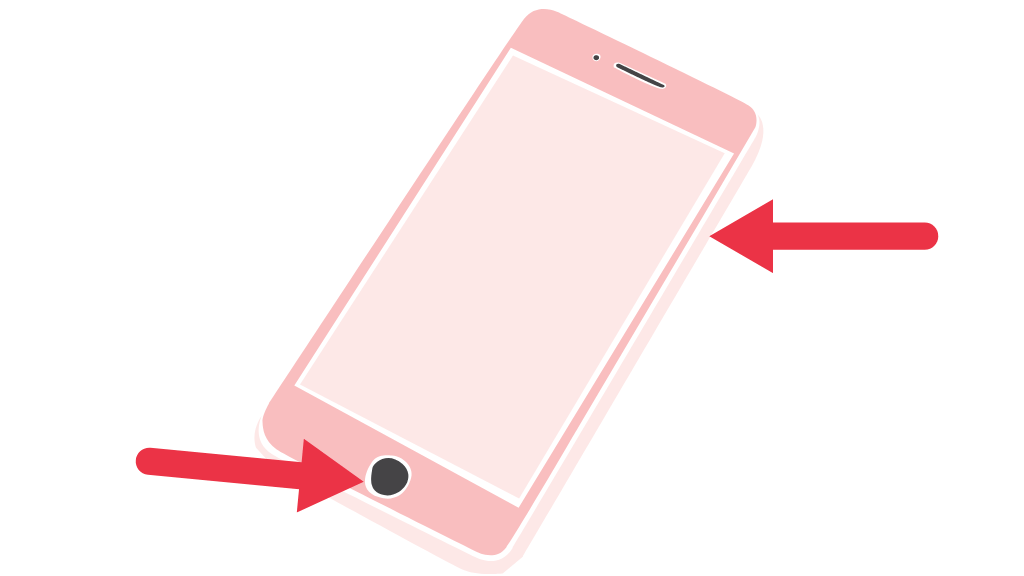
- A screenshot thumbnail will appear. Tap to edit or share, or swipe left to dismiss it. The screenshot is saved in your Photos app.
Now you can easily take screenshots to share, create tutorials, or save crucial information. That’s the easy part done. But in many cases, you’ll want to modify the screenshot in some way. So let’s look at editing tips next.
Editing Screenshots: Handy Hints
Now that you have a screenshot, there are some quick, basic changes you can make to it so that it better serves its purpose.
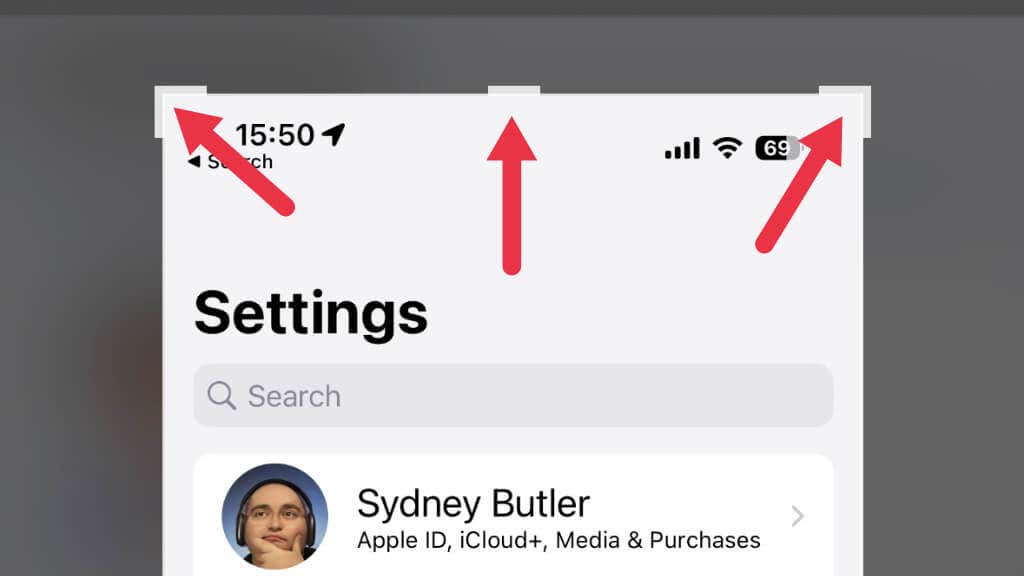
Cropping your shot simply means cutting out anything that’s irrelevant in the image. Drag the corners or edges to eliminate these unnecessary elements.
You can crop your screenshots in the screenshot editor you open when tapping the screenshot thumbnail that appears immediately after taking the shot, or in the Photos app.
The main limitation of cropping is that you can’t remove content from the center of the image; you can only remove things at the edges.
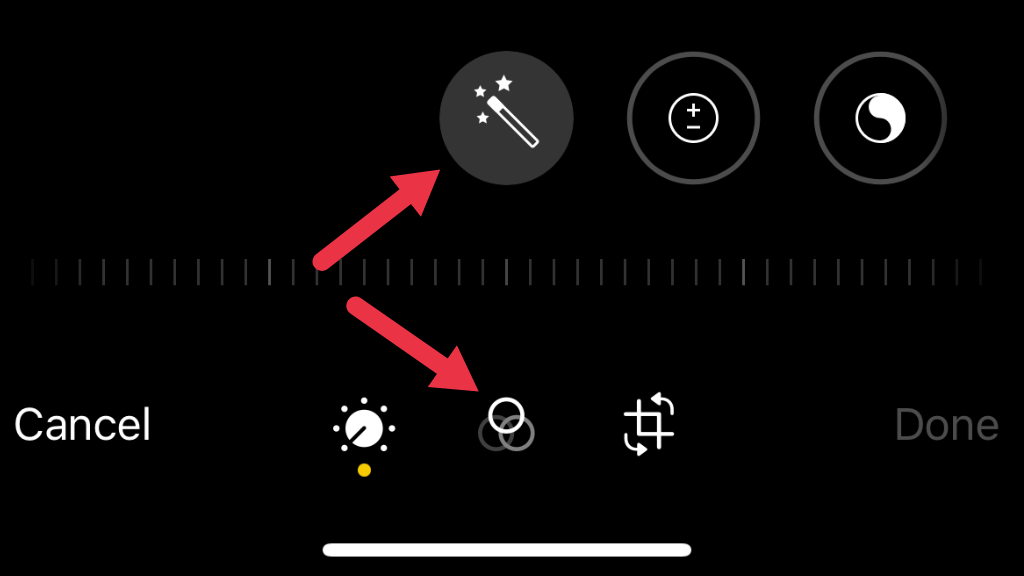
Just like with photos, you can apply various filters to your screenshot. Usually, there’s no particular reason to do this, but it’s an option! Tap the wand icon to enhance colors and contrast, or choose between the various preset filters.
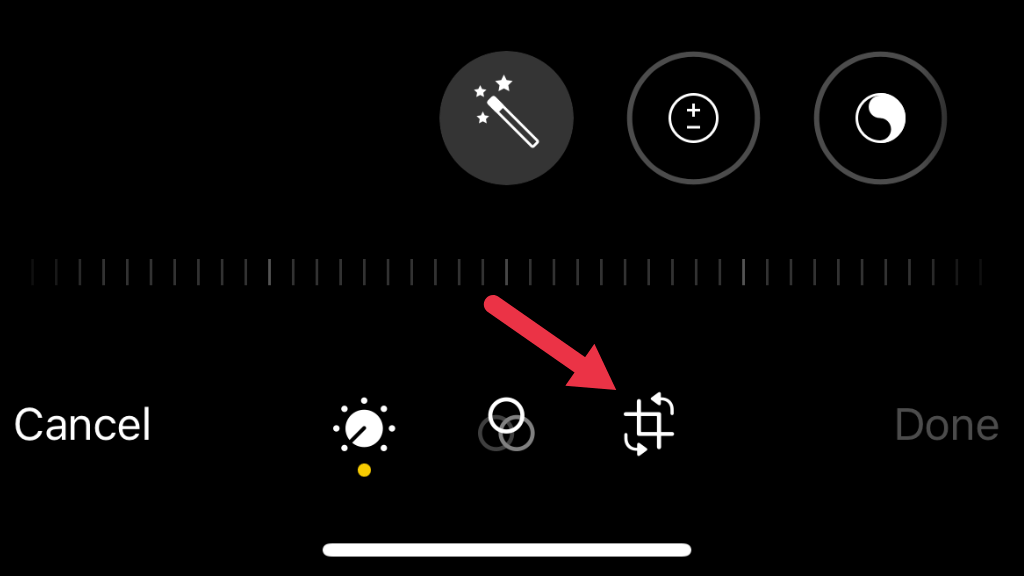
You can rotate or flip the image if it’s not in the right orientation for your needs. Tap the crop icon.
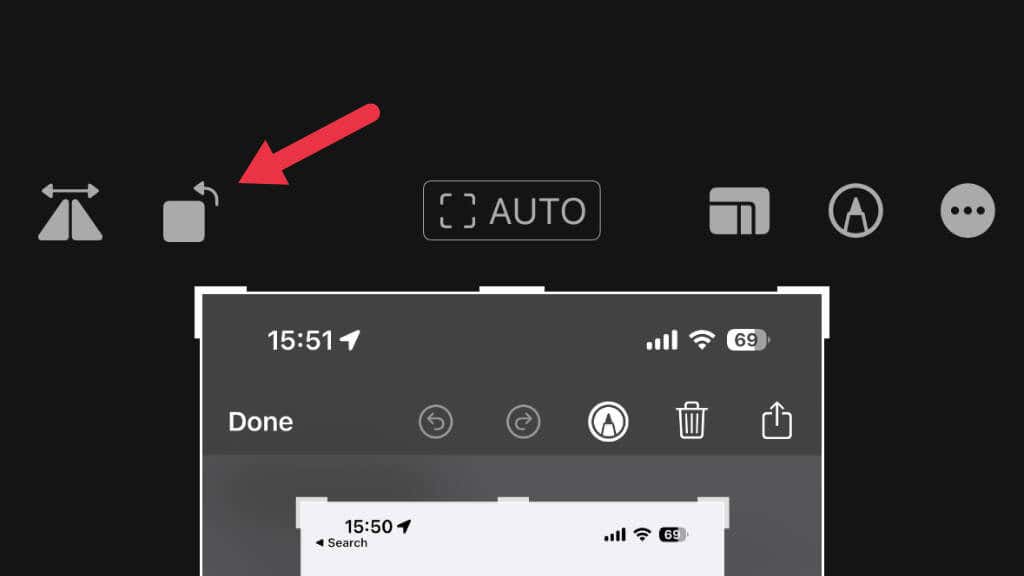
Then tap the rotate or flip icons to adjust the screenshot’s orientation.
Enhancing Screenshots With Markup
If cropping, rotating, or flipping your screenshot isn’t enough, it’s time to break out markup tools to really get your point across. Markup, a built-in iPhone feature, lets you draw on screenshots, add text, and more. Here’s how:
- Open the screenshot in the Photos app, select Edit, and tap the Markup icon (a pen within a circle).
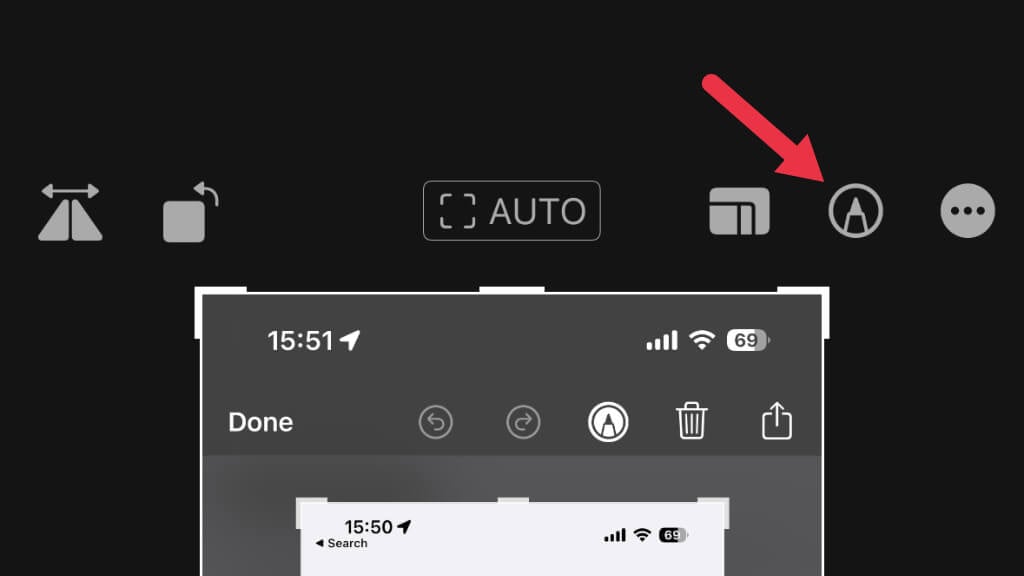
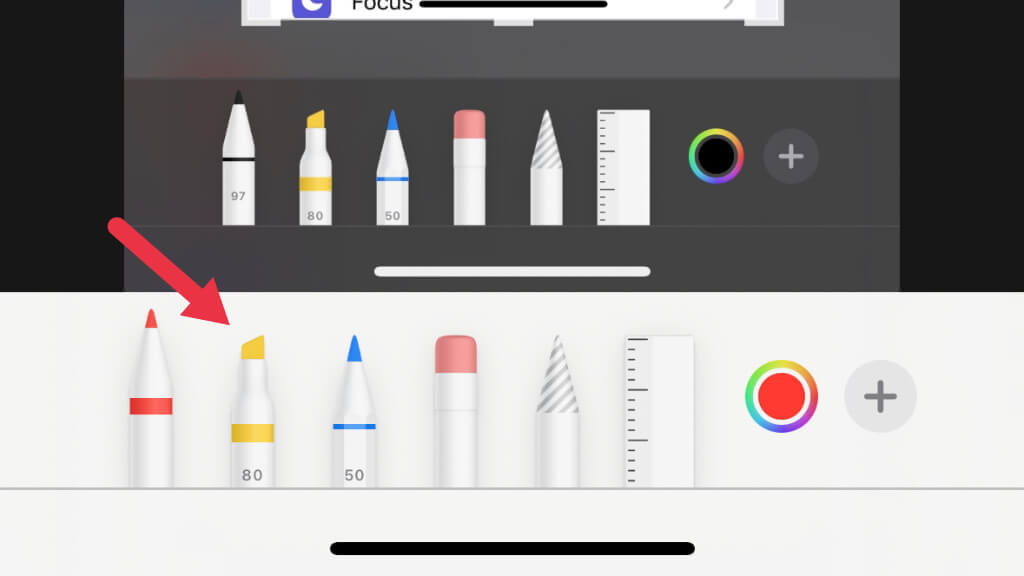
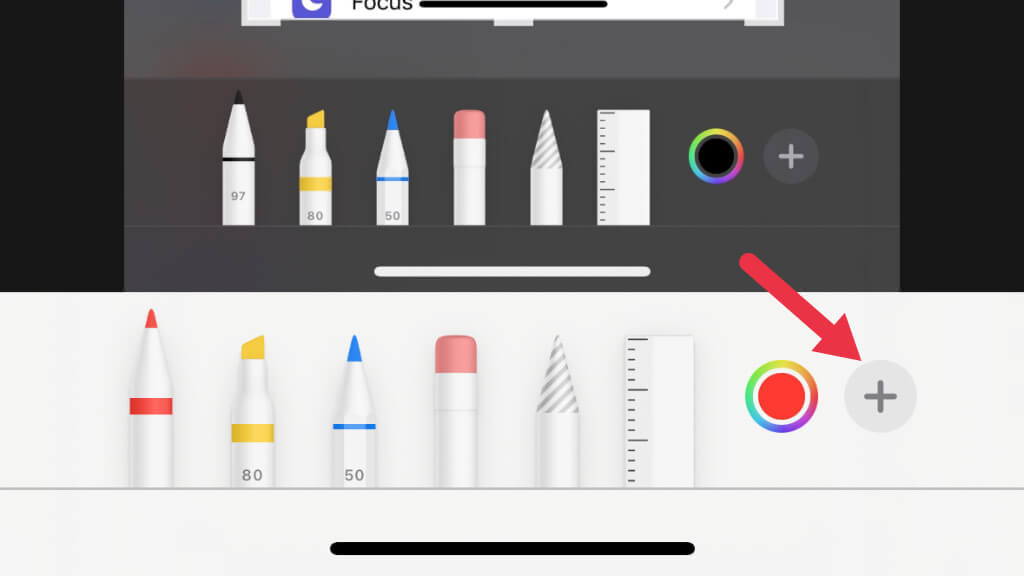
- Choose a tool from the bottom menu, like pen, highlighter, or pencil.
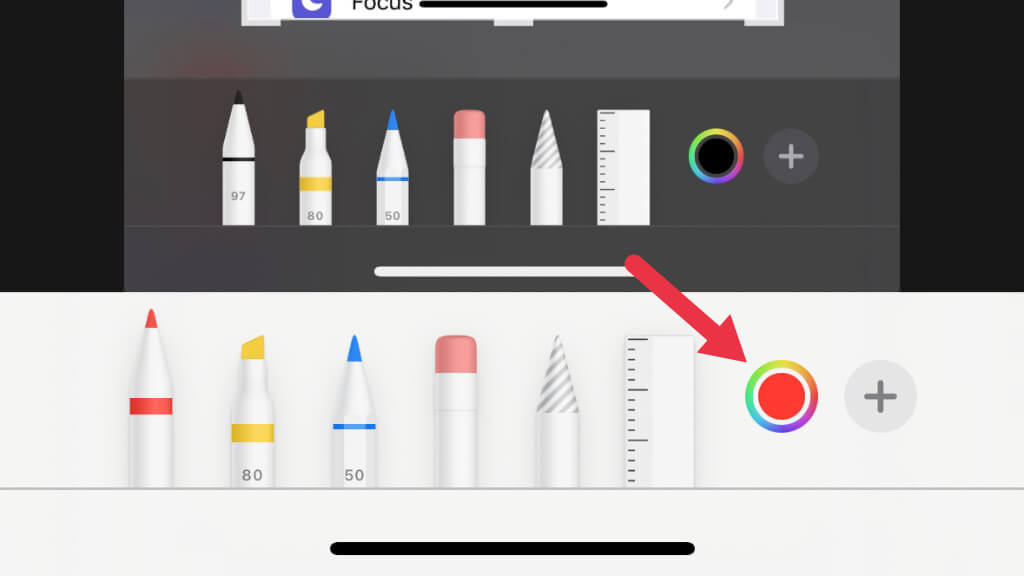
- Pick a color from the palette.
- Start drawing or writing on your screenshot. Add shapes, arrows, or text by tapping the “+” icon.
Customizing Screenshot Settings
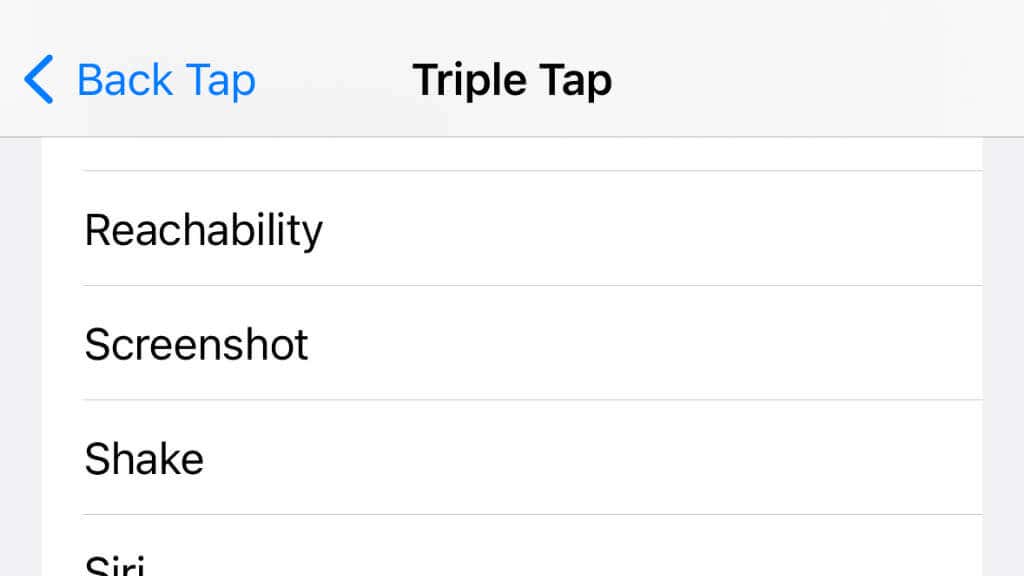
You can tailor your iPhone’s screenshot settings for an even smoother experience by going to Settings > Accessibility > Touch > Back Tap.
Set a double or triple tap on your iPhone’s back to trigger a screenshot for an easier capture process.
This is especially useful if you (like us) often lock our iPhones or iPads instead of taking a screenshot. The downside is that the double or triple tap method may be unreliable for capturing moving images at the right second.
Advanced Editing Techniques for iPhone Screenshots
You can elevate your screenshot editing with third-party apps that let you do more with the shots taken using Apple’s built-in tools:
- Combine screenshots: Use apps like Pic Stitch to merge multiple screenshots into one image.
- Blur sensitive information: Use Annotable‘s Pixelate feature to obscure sensitive details.
- Add a watermark: Safeguard your intellectual property with apps like eZyWatermark to add a watermark to your screenshots.
Organizing and Sharing Your Screenshots
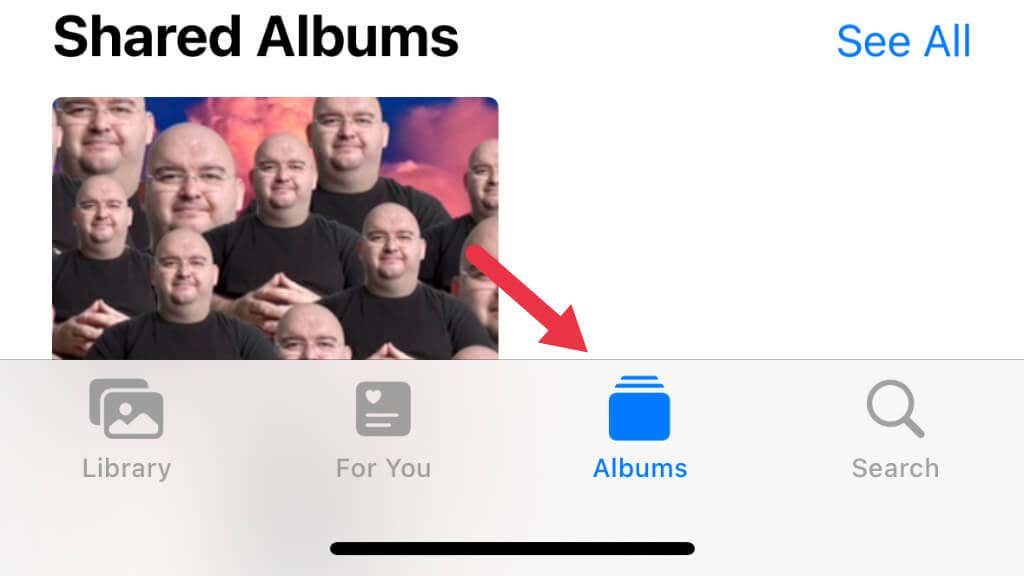
Keep your screenshots organized and easily accessible by creating an album in the Photos app. To create an album, simply open the Photos app, select Albums at the bottom.
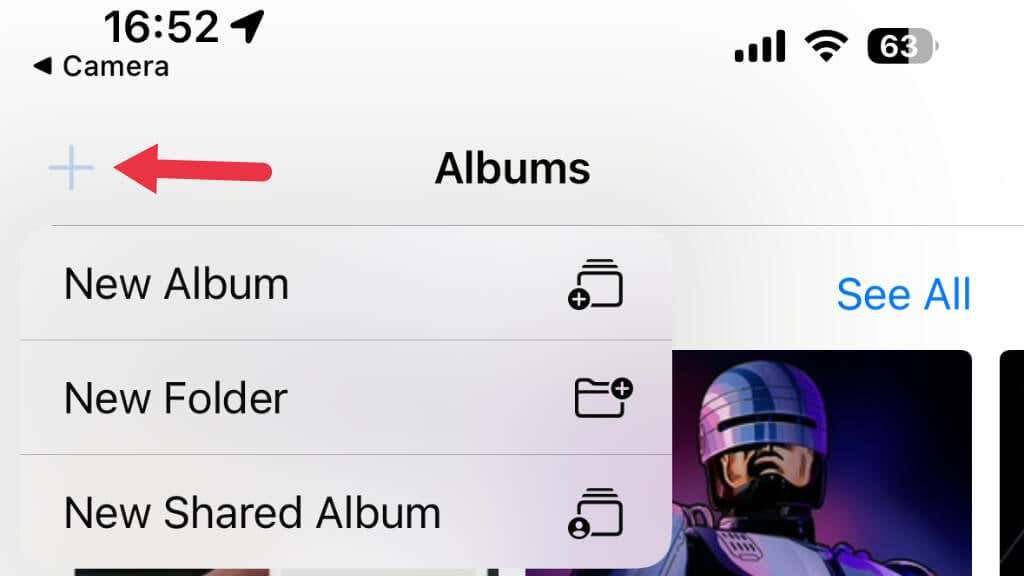
Next choose the “+” icon in the top-left corner, and choose New Album. Name your album something like “Screenshots” and start adding your captured images to it.
To share a screenshot, tap the Share icon (a box with an arrow pointing up) and choose from options like Messages, Mail, or social media apps.
Troubleshooting Common Screenshot Issues
If you’re having trouble taking screenshots on your iPhone, don’t worry. Here’s a list of solutions to get you back on track:
- Restart your iPhone: Sometimes, a restart can fix issues. Press and hold the Side button and either Volume button until the power off slider appears. Slide it to turn off your iPhone, then press the Side button to turn it back on.
- Check for software updates: Ensure your iPhone has the latest iOS version. Go to Settings > General > Software Update to check for updates. If available, follow the prompts to install it.
- Check button functionality: If your iPhone’s buttons aren’t working correctly, you may struggle to take screenshots. Test your Side button and Volume button to see if they work. If not, you may need to have your iPhone serviced.
- Reset your settings: If all else fails, try resetting your iPhone settings. Go to Settings > General > Reset > Reset All Settings. This won’t erase your data but will reset your settings to default, potentially resolving conflicts that cause screenshot issues.
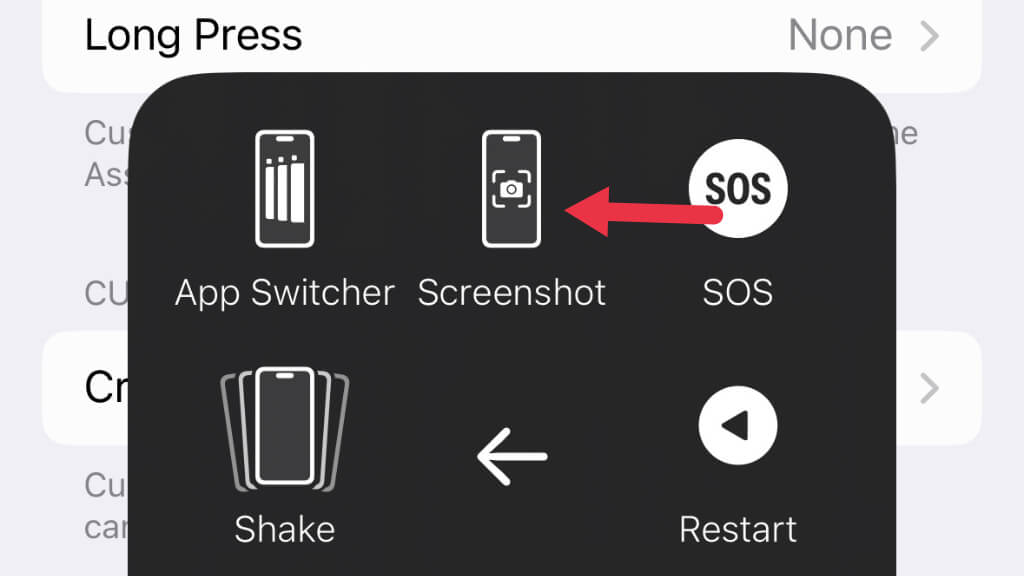
- Use AssistiveTouch: If you still have trouble, try AssistiveTouch as an alternative. Go to Settings > Accessibility > Touch > AssistiveTouch and enable the feature. Tap the AssistiveTouch button on your screen, select Device, More, and then Screenshot to capture your screen.
- Inspect hardware: If none of these steps work, your iPhone may have a hardware issue. Contact Apple support or visit an authorized Apple service provider for further assistance.
With these troubleshooting steps, you should be able to resolve the most common screenshot issues on your iPhone and get back to capturing and sharing your screen effortlessly.
Screen Recording: More Than Just a Snapshot
While screenshots are useful for capturing specific moments, sometimes you need more than a static image to share information effectively. Screen recording is the answer. The good news is that your iPhone also has a built-in function to record what’s happening on-screen. Check out How to Screen Record on iPhone to learn all the tricks.
Why Screenshots Matter in Today’s Digital World
Screenshots have carved out a pivotal role in today’s digital lifestyle. They’re not just for preserving high scores or hilarious memes anymore.
Today, they are vital tools for archiving essential conversations, reporting tech snags, and capturing content from apps, and now you’re armed with everything you need to know to make your own.

