Multiple ways to do this handy trick
Not every file and folder on your Apple Mac must be in plain sight. If you’re aiming to protect sensitive information or maintain a clutter-free workspace, it’s natural to want to keep certain items discreet.
The problem? Hiding and unhiding files and folders doesn’t fall into the intuitiveness department in macOS unless you take the time to familiarize yourself with the process.
This tutorial provides a comprehensive guide on concealing and uncovering items, whether you’re using a MacBook, iMac, or Mac mini.
Hide Mac Files and Folders With Terminal
If you’re transitioning from Windows, you might find it surprising that macOS doesn’t offer a GUI (graphical user interface) option to hide files and folders. Instead, the go-to tool for this task is the Mac’s Terminal (the CMD equivalent on macOS).
Don’t worry—it’s not complicated, and you’ll get the hang of it quickly. If not, you’ll find other techniques further below.
To hide a file or folder using Terminal:
- Open the Launchpad and select Other > Terminal.
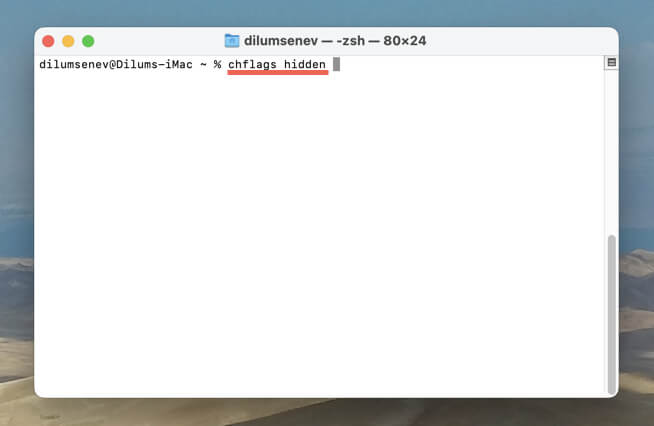
- Type chflags hidden and press Space.
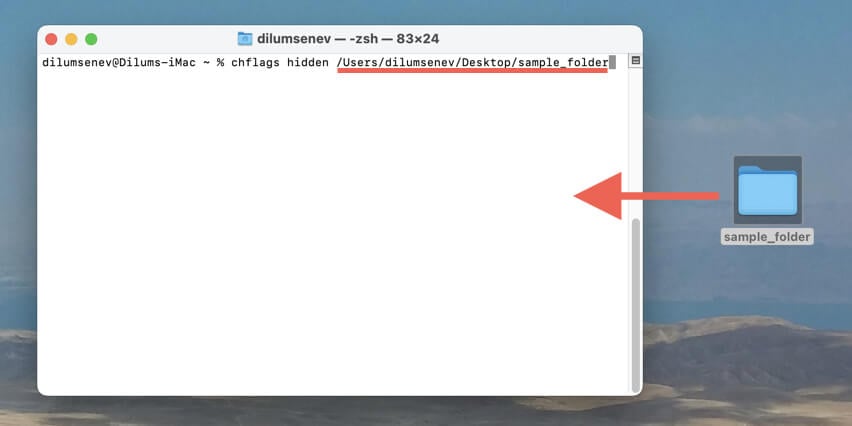
- Drag the file or folder into the Terminal window—this action inserts the file/folder path.
Note: Alternatively, you can copy and paste the path manually. Just Control-click the item in Finder or the desktop, hold down Option, and select Copy [File or Folder Name] as Pathname. Next, choose the Terminal window and press Command + V.
- Press Return to execute the command. If the item does not disappear from view, just restart Finder—open the Apple menu, hold down Shift, and choose Force Quit Finder.
To reveal hidden items on your Mac, execute the following command:
defaults write com.apple.finder AppleShowAllFiles -boolean true; killall Finder
The Terminal command above is not convenient to put into practice. Instead, there’s a straightforward method that only uses a keyboard shortcut—we’ll get to that next.
Use the Keyboard Shortcut to Show Hidden Files
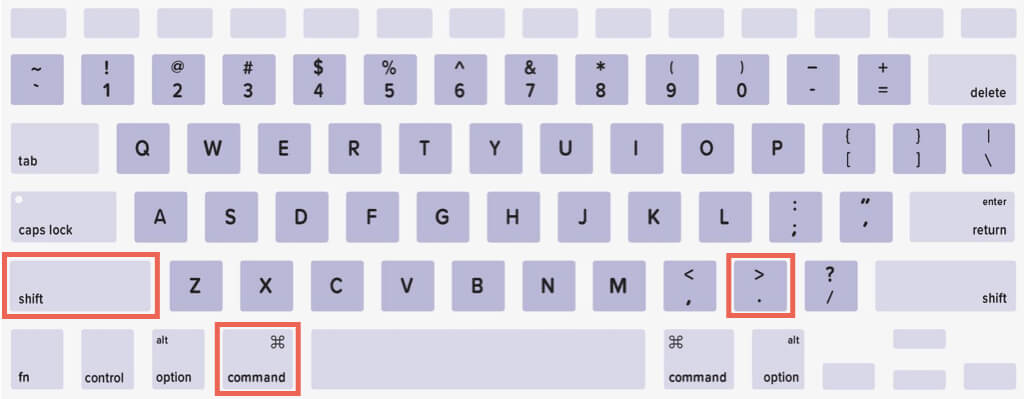
Unlike hiding files, revealing hidden items in macOS is a lot easier. Instead of using the command line, all you’ve got to do is open Finder or select a vacant area on the desktop and press Command + Shift + Period.
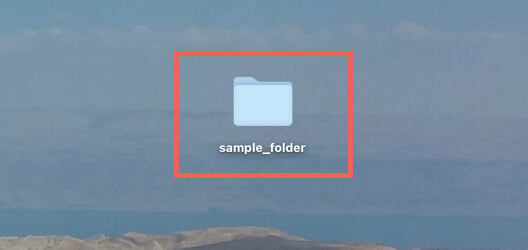
Hidden items appear translucent than regular files and folders, helping you distinguish them easily. However, you can go about accessing, renaming, and deleting them as you’d normally do. To completely hide all hidden items, just use the same shortcut again.
Note: macOS also hides loads of system files by default, so it’s a good idea to avoid interacting with unfamiliar items.
If you want to unhide a hidden file or folder on your Mac permanently, you must use the Terminal again. Just:
- Use the Command + Shift + Period keyboard shortcut to reveal all hidden items.
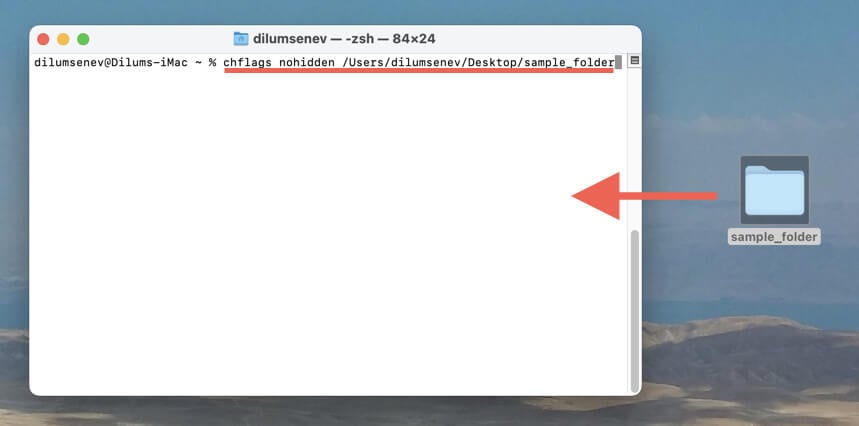
- Open Terminal, type chflags nohidden, and press Space.
- Drag and drop the file or folder you want to unhide into the Terminal window and press Enter.
Begin the File/Folder Name With a Dot
Did you know naming conventions play a role in file and folder visibility on the Mac? Just add a period to the beginning of a file or folder name, and macOS will automatically hide it.
Here’s the step-by-step process you must follow:
- Unhide all hidden items with the Command + Shift + Period shortcut.
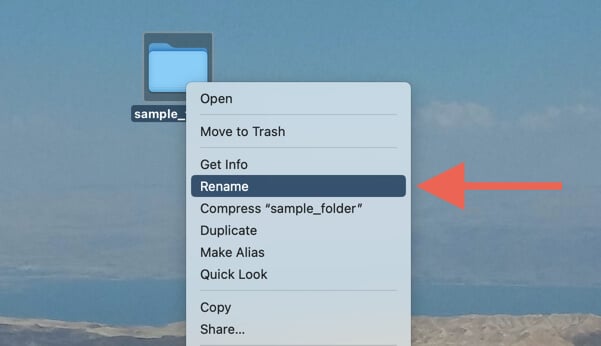
- Select the file or folder you want to hide and press Return. Or, Control-click and select Rename.
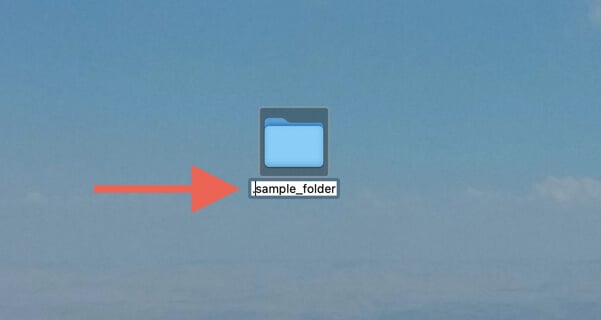
- Insert a period (dot) to the beginning of the name—e.g., .sample_file.txt.
- Press Return and select OK on the confirmation pop-up. This automatically hides the file/folder in macOS.
- Press Command + Shift + Period to hide all hidden files from view.
If you want to permanently unhide the item later, use the Terminal instructions from the section above.
Move Items Into the Hidden Library Folder
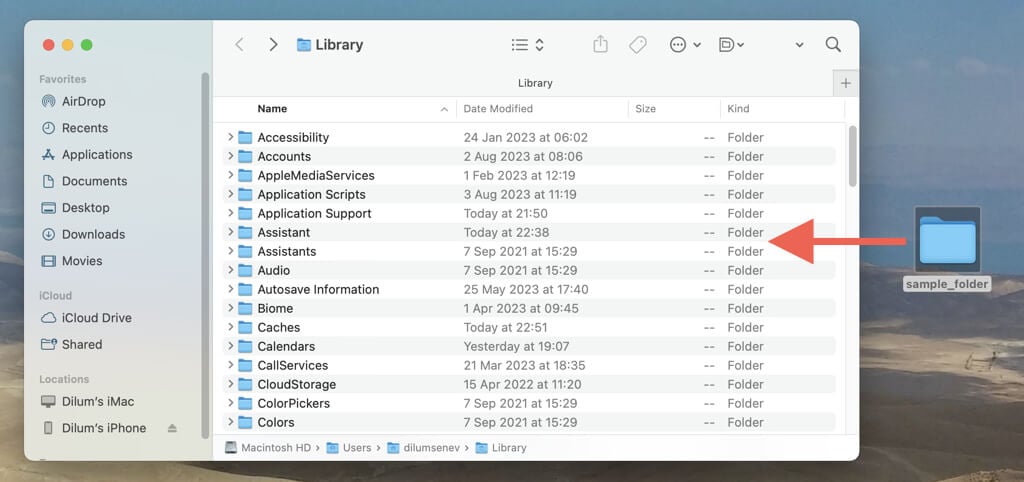
Your Mac user account has a folder called Library that stores the applications caches and other data related to general macOS activity. It’s hidden by default, making it a great place to chuck multiple items you want to keep hidden quickly.
To move items into the hidden Library folder:
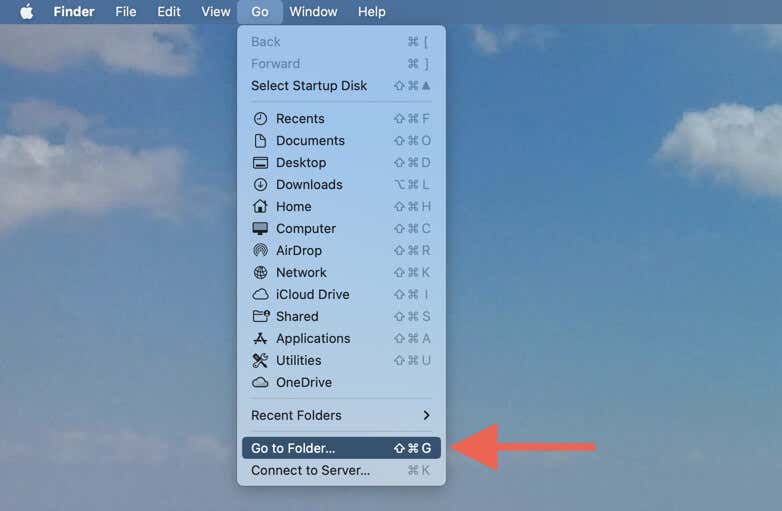
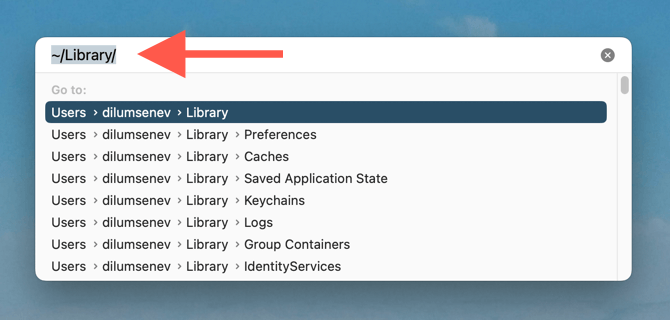
- Open Finder and select Go > Go to Folder on the menu bar.
- Type ~/Library/ and press Return to access the Library folder.
- Move items you wish to hide into the Library folder.
You can always drag out any items you’ve moved into the Library folder whenever you want later. If there are multiple items you’d like to move, consider creating a sub-folder within the Library folder (Control-click a vacant area and select New Folder) to improve organization.
Tip: An alternative method to access your user account Library folder is to open Finder, go to Macintosh HD > Users > [Your Username], and press Command + Shift + Period.
Use Onyx to Hide Files and Folders on Mac
Onyx is a system maintenance utility that’s been around since the days of Mac OS X. It’s free, lightweight, and fully compatible with the latest operating system—macOS Ventura—at the time of writing.
Aside from Onyx’s ability to optimize your Mac, the tool provides a GUI-based approach to hiding and unhiding files and folders, including applications and entire hard drive/SSD volumes. Just:
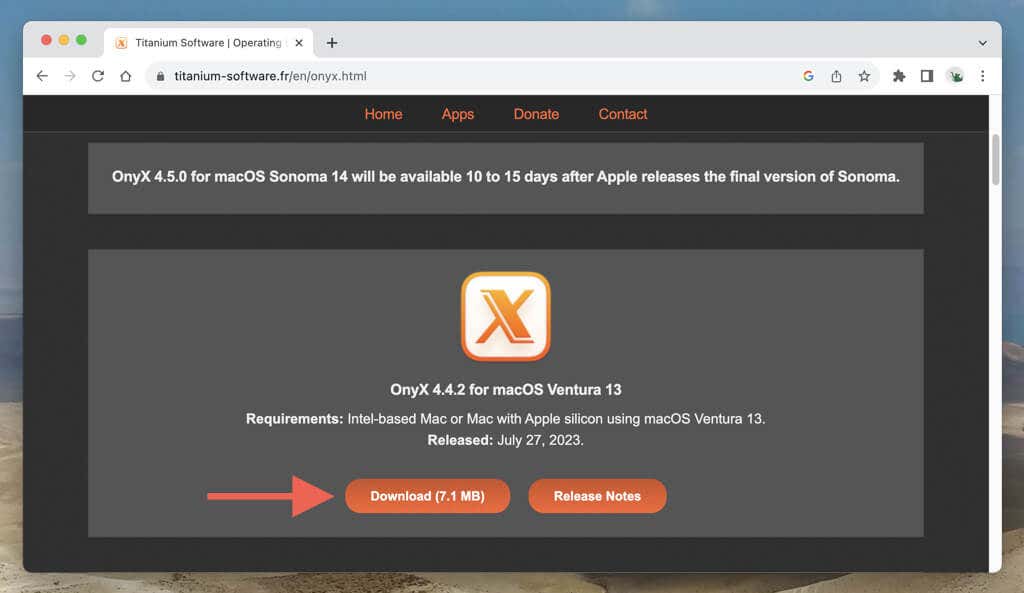
- Download and install Onyx from the developer’s official website—Titanium Software.
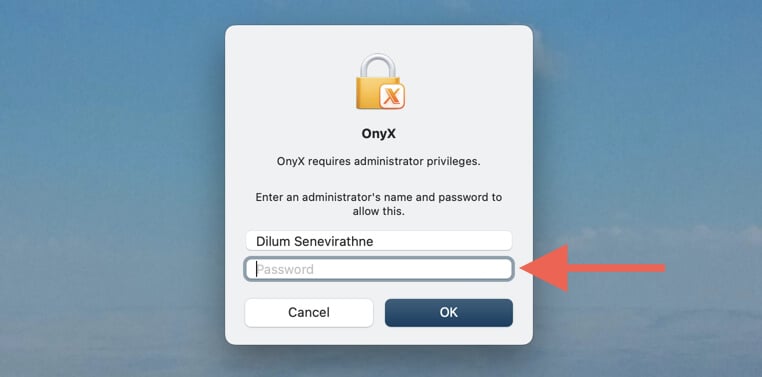
- Launch Onyx and provide administrative privileges to function on your Mac.
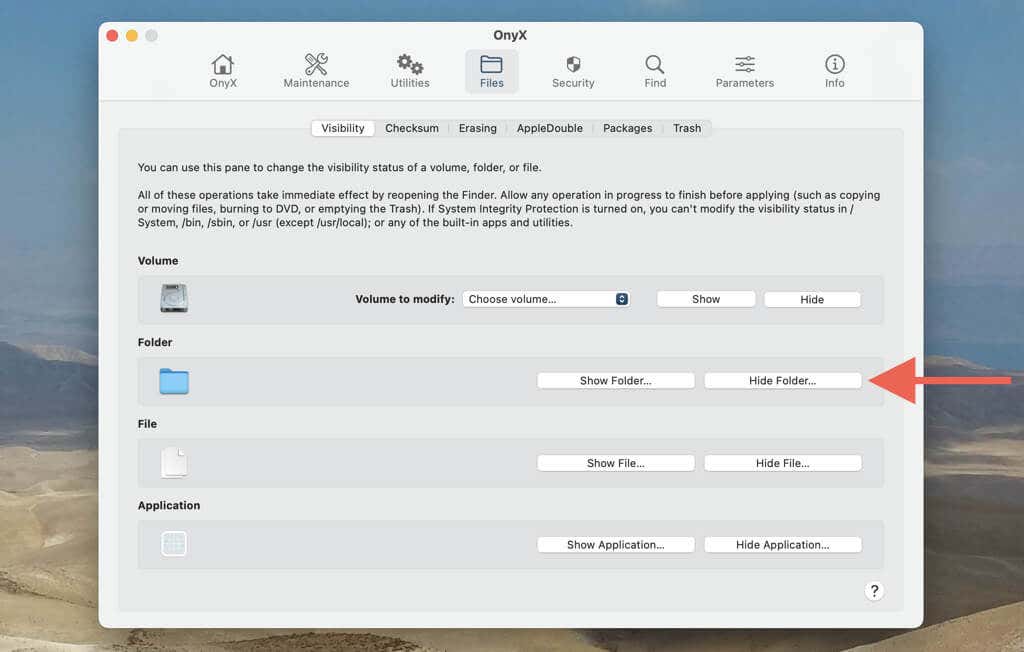
- Switch to the Files tab and select the Hide Folder or Hide File button.
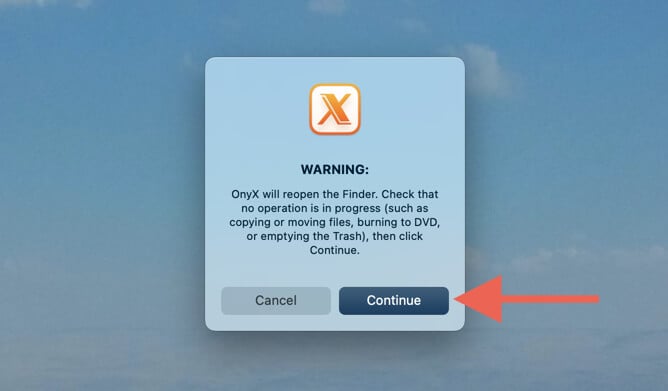
- Select Continue to confirm you want to quit and re-open Finder.
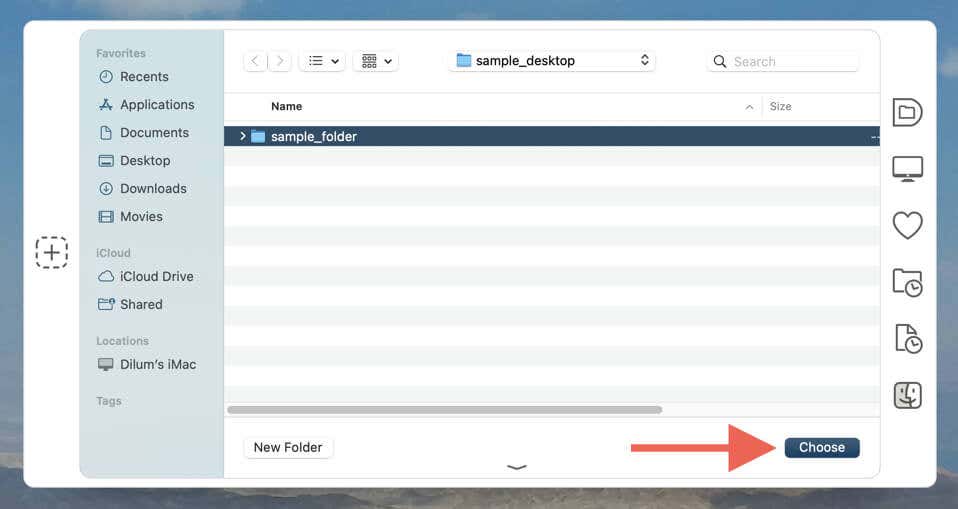
- Navigate the Finder pop-up, highlight the file or folder you want to hide, and select Choose.
Hidden folders and files can be instantly revealed via the Command + Shift + Period shortcut you learned earlier. To permanently unhide an item, revisit the Files tab in Onyx, select the Show Folder or Show File button, and pick the file or folder.
Additionally, use the controls under the Volume and Application sections to hide and unhide disks and programs in macOS. For more information, check our complete Onyx walkthrough for the Mac.
You’ve Got Options
As you just learned, you’ve got multiple ways to hide files and folders in macOS. You can use the Terminal, add a period to the beginning of file names, or chuck items inside the Library folder. If you prefer a more straightforward approach, use Onyx.
Before we wrap up, it’s worth mentioning that hiding files and folders on a Mac computer alone is not the best way to safeguard important data—any tech-savvy Mac user can easily unhide and view them. The solution is to use security features like FileVault to minimize the chances of other people accessing your Mac.

