
Time Machine remains the best way to back up your entire Mac…when it works. Unlike Windows’ clunky system imaging tools, Time Machine creates automated, incremental backups of everything: your OS, apps, and files. You can restore individual documents or your entire system.
But macOS Tahoe has introduced some frustrating backup bugs that might leave you wondering if Time Machine is still reliable. The short answer: yes, but you need to know the workarounds.
What You’ll Need
Before setting up Time Machine, grab an external drive with at least twice your Mac’s storage capacity. USB-C, Thunderbolt, or even USB-A drives work fine. You can also use a network-attached storage (NAS) device, but avoid Time Capsule since it’s discontinued hardware and may have limited compatibility with the latest macOS versions.
Format your drive as APFS (for SSDs) or Mac OS Extended (Journaled) for traditional hard drives. Open Disk Utility from Applications > Utilities to format if needed.
Setting Up Time Machine
Here’s how to get Time Machine running on macOS Tahoe:
- Connect your backup drive and let macOS recognize it.
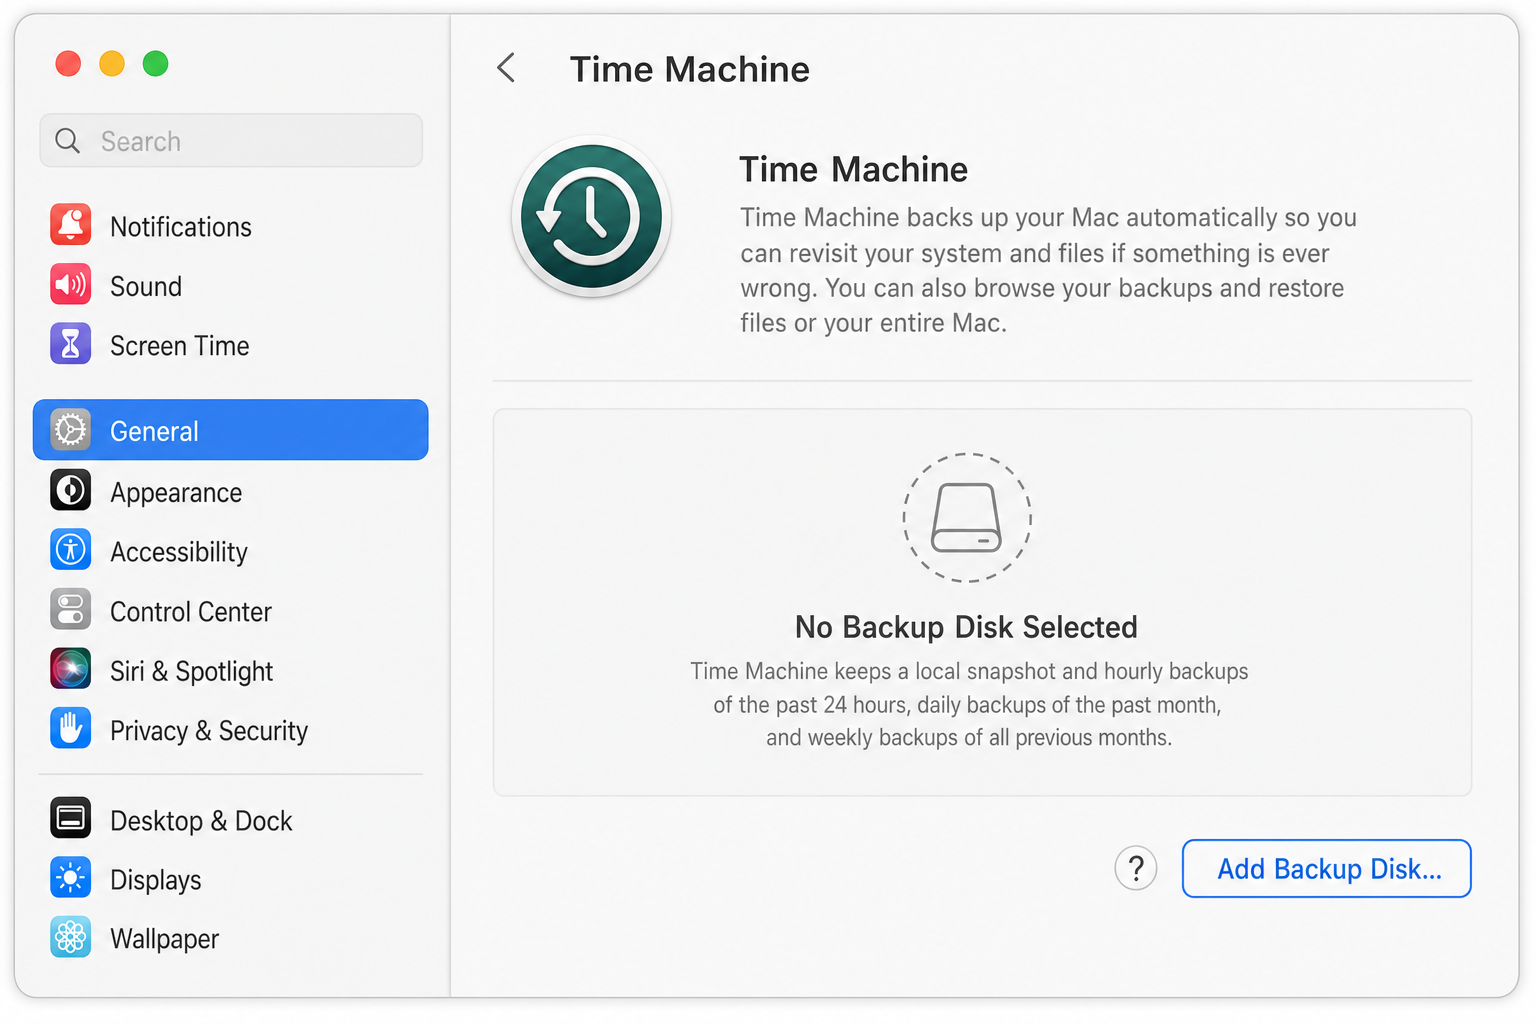
- Open System Settings > General > Time Machine.
- Click Add Backup Disk and select your external drive.
- Choose whether to encrypt your backup (recommended for sensitive data, though it slows things down).

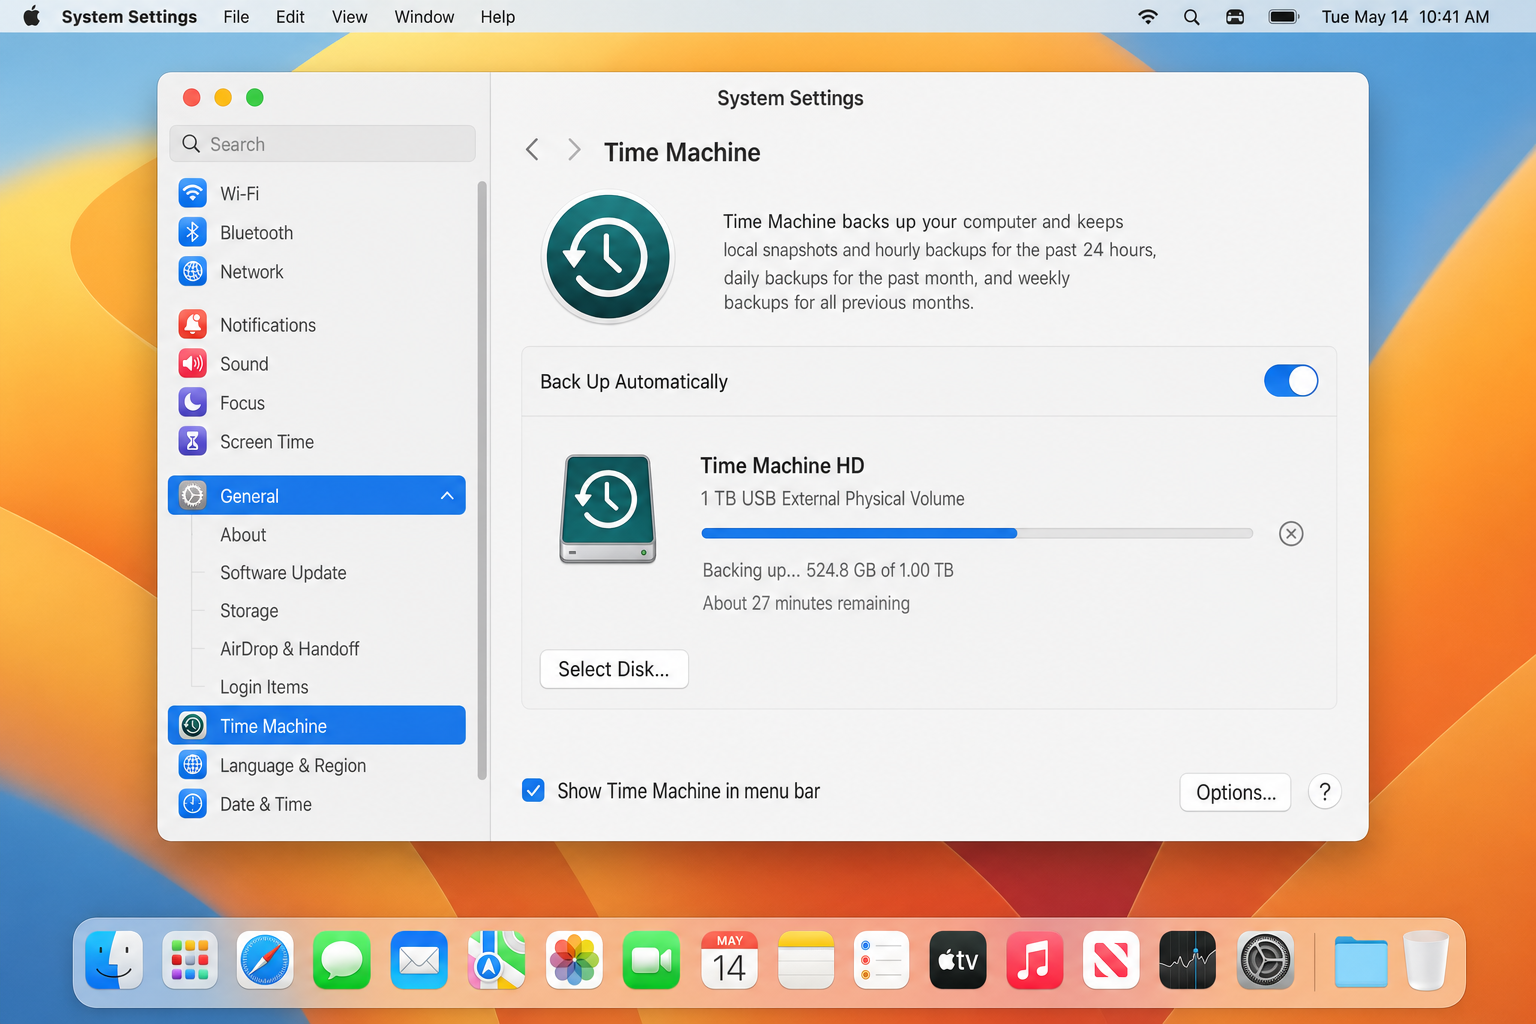
- Check Back Up Automatically to let Time Machine handle scheduling.
Your first backup will take hours and potentially overnight for 500GB+ of data. Subsequent backups only copy changes, so they’re much faster.
Manual Backups and Menu Bar Access
Enable Show Time Machine in menu bar from System Settings > Control Center > Time Machine.

This adds a clock icon to your menu bar where you can trigger manual backups or check progress.
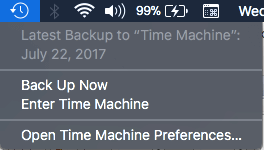
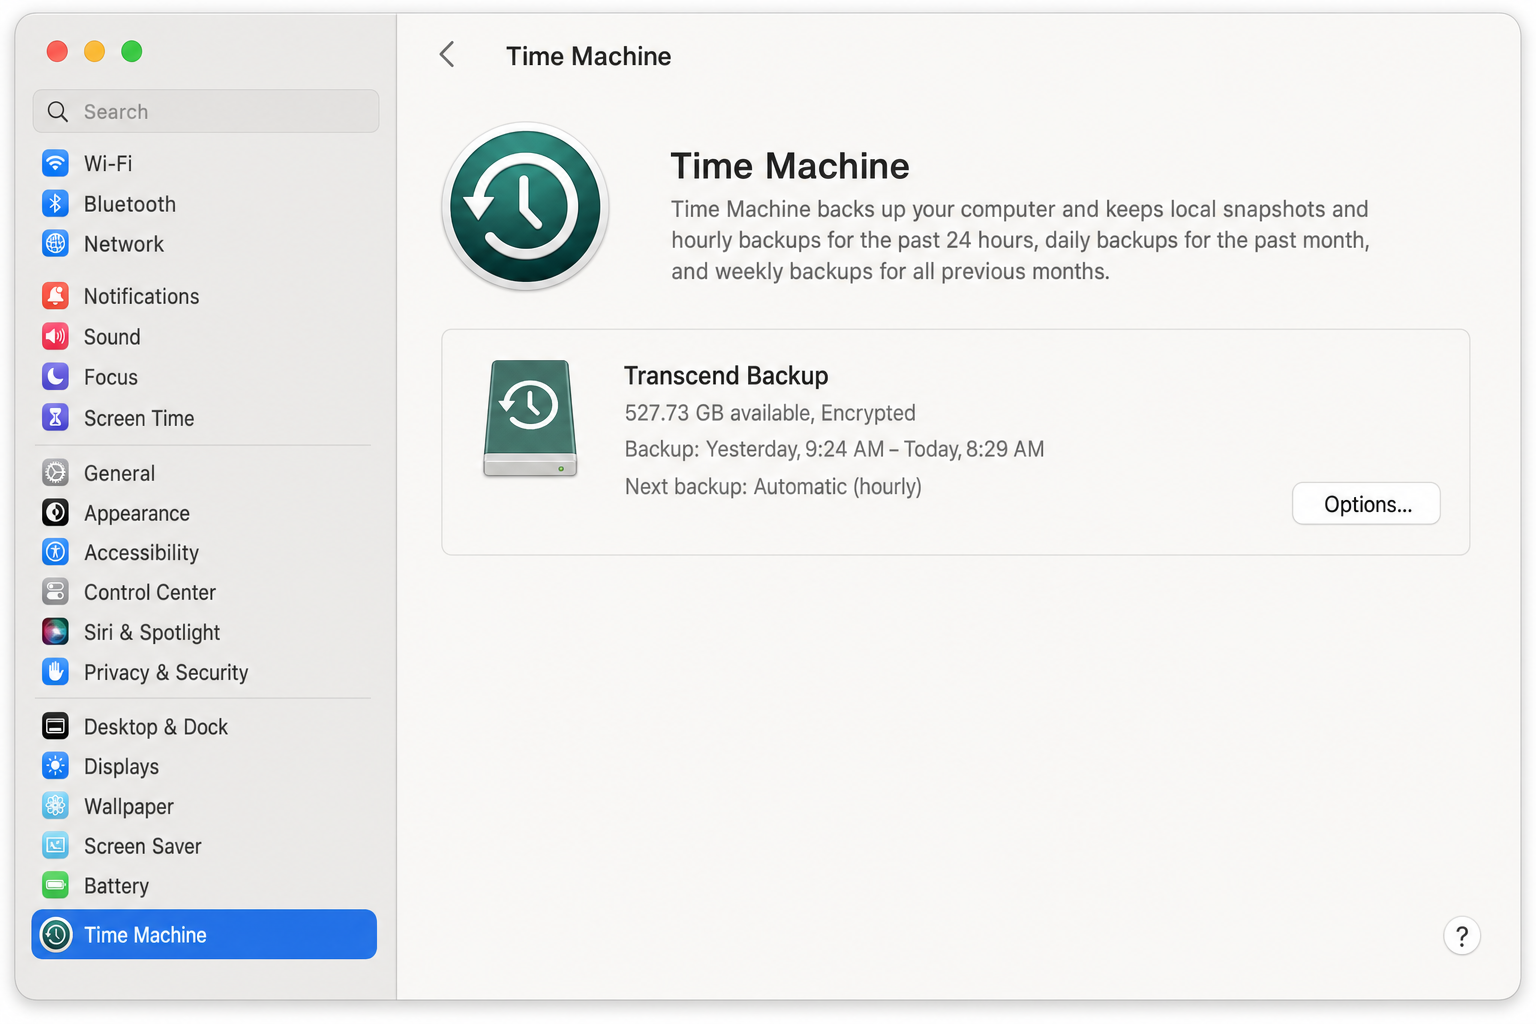
Click Back Up Now whenever you want to force an immediate backup before important work or system changes.
Excluding Files from Backup
Time Machine backs up everything by default, but you might want to skip large media libraries or temporary files. In the Time Machine settings, click Options to add exclusions.
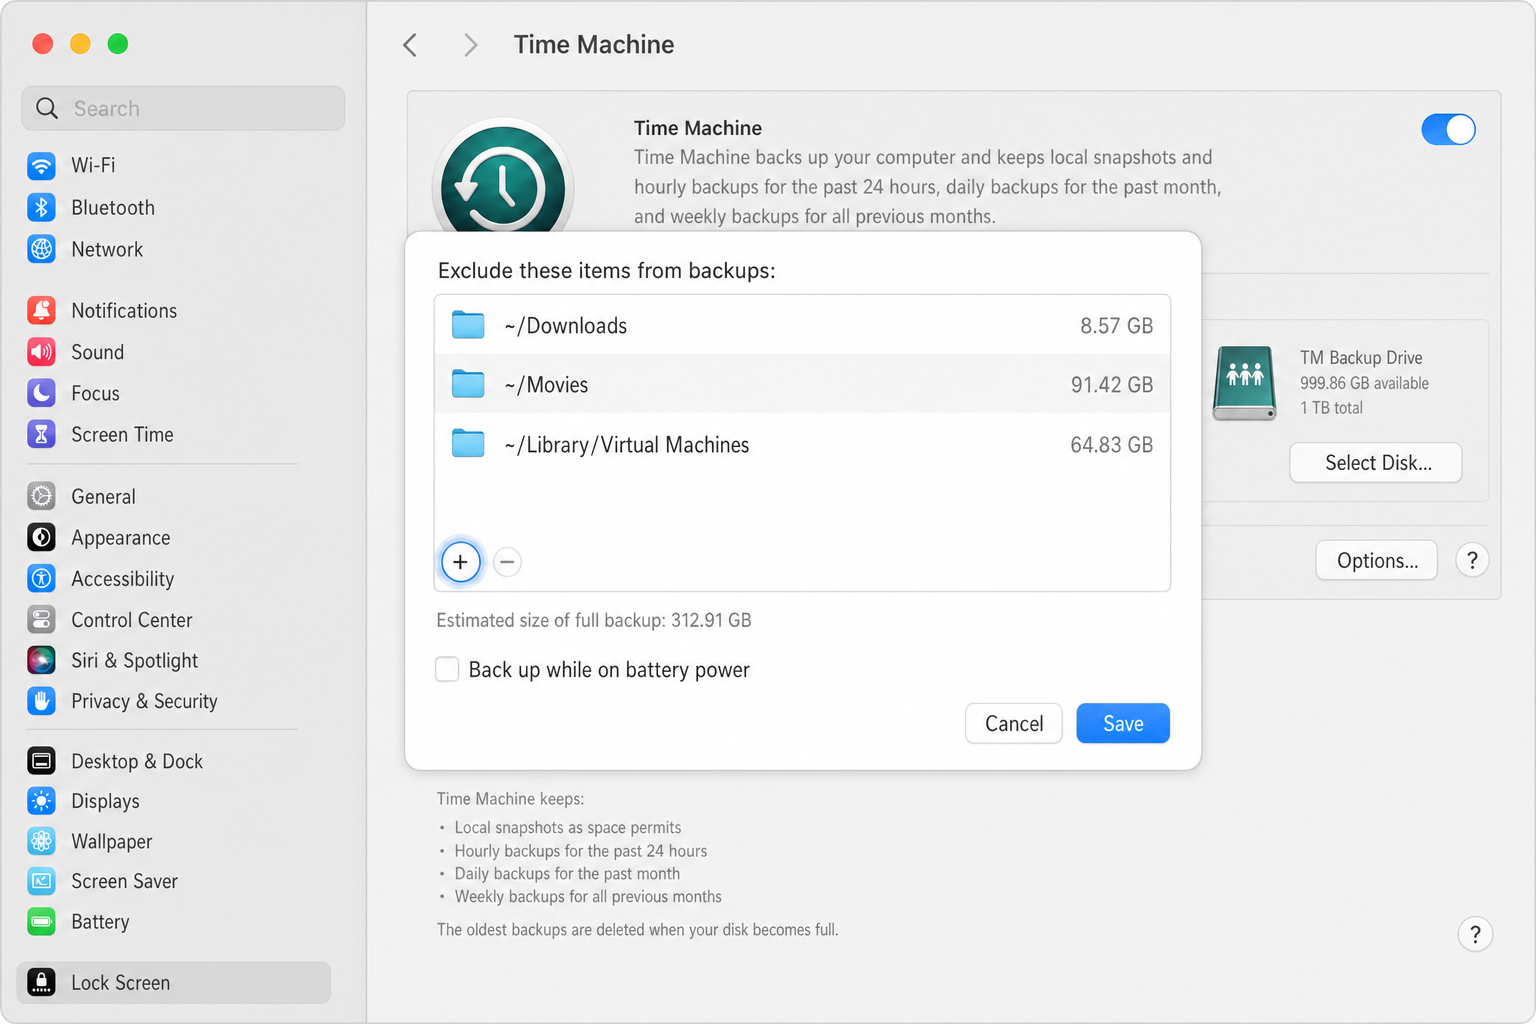
Common items to exclude: Downloads folder, virtual machine files, and anything you’re already backing up to cloud storage.
Troubleshooting Backup Issues
Recent versions of macOS Tahoe have introduced several Time Machine bugs that can cause backup failures. Here’s how to fix the most common problems:
Backup Fails During Sleep
Time Machine can lose access to system files when your Mac sleeps or hibernates. Go to System Settings > Battery (or Energy Saver on older Macs) and prevent sleep during backups, or keep your Mac plugged in and active.
Firewall Blocking Backups
macOS Tahoe enables the firewall by default, which can block Time Machine’s helper processes. In System Settings > Network > Firewall, add TMHelperAgent.app to your allowed applications list if you find backups are being blocked.
iCloud Drive Conflicts
Some users report backup failures when iCloud Drive tries to sync simultaneously. Temporarily disable iCloud Drive in System Settings > Apple ID > iCloud > iCloud Drive if you’re experiencing repeated failures.
Backup History Issues
In some cases, macOS bugs can corrupt or reset your backup history. If this happens, you’ll need to start fresh. Always ensure you’re running the latest available macOS update before setting up Time Machine again, as Apple regularly ships fixes for backup-related issues.
When Time Machine Isn’t Enough
Time Machine’s recent reliability issues have pushed some users toward alternatives. If you need bulletproof backups, consider these options alongside Time Machine:
Carbon Copy Cloner creates bootable drive clones that work even when Time Machine fails. It’s particularly useful if you need to get back up and running immediately after a drive failure.
SuperDuper! offers similar bootable backup functionality with a simpler interface.
Both tools have been updated to address compatibility issues with the latest macOS releases.
The Bottom Line
Time Machine remains the most convenient backup solution for most Mac users, despite some growing pains in recent macOS versions. Set it up, exclude unnecessary files, and keep your Mac updated to avoid the worst bugs.
Just don’t rely on it as your only backup strategy. The recent macOS issues are a reminder that even Apple’s built-in tools can fail. Consider a second backup method for truly critical data, whether that’s cloud storage or a cloning utility.
Your future self will thank you when you need to restore that important file you accidentally deleted.