Using the Finder for newer phones or iTunes for older
It’s important to back up the data on your iPhone. You don’t know when your iPhone might crash, or when you might lose it in a coffee shop (if so, you should erase it immediately). When you backup your iPhone, you’re making sure that all the important data like your contacts, apps, and app data is safely secured either on your computer or in the cloud.
If you’re running macOS 10.14 Mojave or earlier on your Mac, you can use the trusty old iTunes to backup and restore your iPhone. If you have recently updated to macOS 10.15 Catalina on your Mac, you might be wondering how exactly to backup your iPhone now that Apple has removed the iTunes app. The responsibility of syncing iPhone data now lies with the Finder app.
Table of Contents
While it’s a new place, the method for syncing is similar. Here’s how to backup your iPhone on Mac using iTunes or the Finder.
How To Backup Your iPhone Using Finder on macOS Catalina
To start the backup process on your iPhone, open the Finder app on your Mac. You can do this using Spotlight Search. Press the Command + Space keyboard shortcut and then type Finder. Press Enter to open the Finder app. You’ll also find the Finder app icon in the Dock.
- First, connect your iPhone to your Mac using the USB-A/USB-C to Lightning cable.
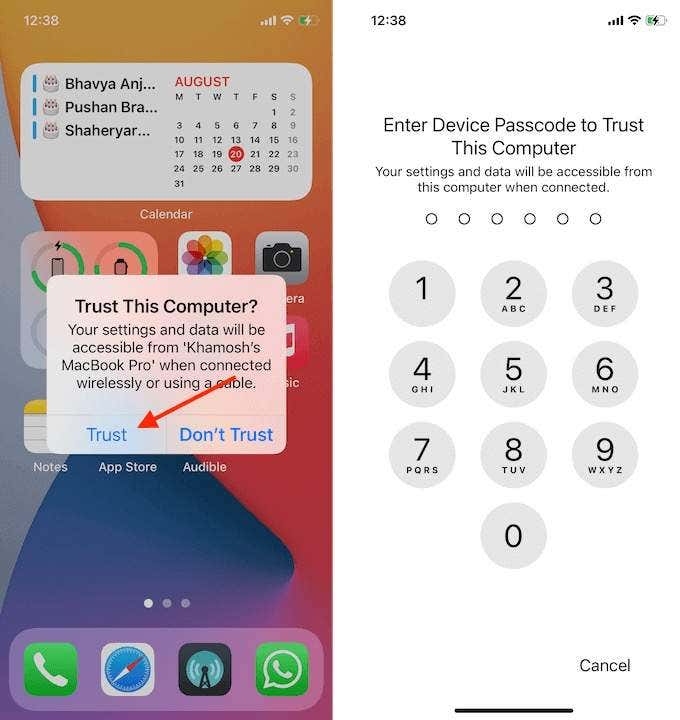
- If this is the first time you’re backing up your iPhone with your Mac, you’ll see a popup on your iPhone asking if you trust this Mac. Here, tap the Trust button, and enter your passcode to confirm.
- On your Mac, tap the Trust button (if prompted). Now your iPhone has been paired with your Mac.
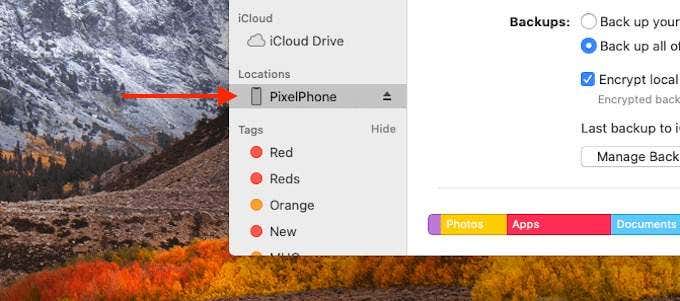
- Now that your iPhone is paired, you’ll find it in the Locations section in the Finder sidebar.

- Click the device to see the device management screen in the Finder. This UI is similar to that in iTunes.
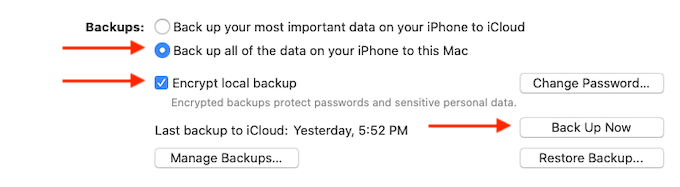
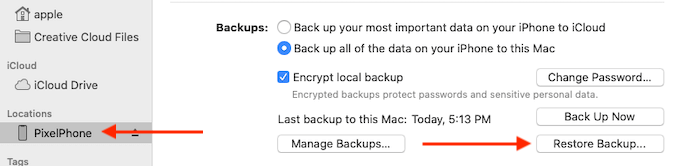
- Here, go to the Backups section and switch to the Back-Up All the Data on Your iPhone to This Mac option.
- If you want, you can choose to encrypt this backup. An encrypted backup will back up sensitive data like your passwords, Health data, and more. It is also protected by a unique password. If you forget this, you won’t be able to restore the backup. Choose the Encrypt Local Backup option if you want to use this feature.
- If this is the first time you’re making an encrypted backup, you’ll be prompted to enter a password (which will be synced using Apple Keychain). Enter the password and choose the Set Password option to confirm the password.
- Then, click the Back Up Now button. This will start the backup process. You’ll see a progress circle next to the device name in the Finder sidebar.
Now, give it time. If this is the first time you’re backing up, it might take 30 minutes to finish the backup process (and it will take more than 15GB of storage space). If you want to stop the process at any time, hover over the device name, and press the X button.
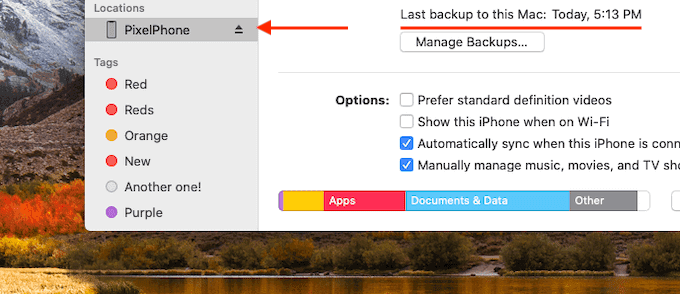
Once the backup process is finished, the progress circle will disappear. You can also check the Last Backup To This Mac section to confirm that the backup is finished. You can now click the Eject button next to the device name to safely remove the iPhone from your Mac.
How To Restore Your iPhone Using Finder On macOS Catalina
A backup is only good if you can restore it at the time of need. Thankfully, restoring a backup on the Mac is easy, as long as it’s still available on your hard drive.
- Connect your iPhone with your Mac using the Lightning cable and open the Finder app.
- Here, select your device from the sidebar.
- Now, click the Restore Backup button.
- You’ll now see a popup where you’ll be able to select a backup. Click the drop-down next to the Backup option to choose from all the available backups (you can pick them based on the date of the backup).
- If it’s an encrypted backup, you’ll have to enter the password.
- Then, click the Restore button to start the restore button.

Now, all you have to do is wait until Mac goes through the process of restoring all the data. Once the process is complete, you’ll see that the spinner next to the device name will stop. Click the Eject button next to the device name to end the process.
You can now go back to your iPhone. After unlocking, you’ll see that all the apps, data, and your home screen, are just as you had left them on the day of the backup.
How To Backup Your iPhone Using iTunes
If you’re using macOS Mojave or earlier, you’ll have to use iTunes to backup your iPhone.
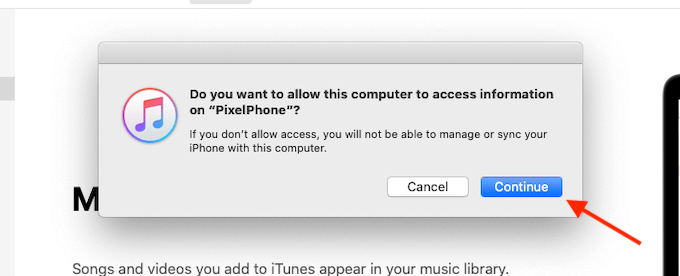
- Connect your iPhone to your Mac using the Lightning cable and launch iTunes. First, you’ll be asked to authenticate and pair your iPhone. Click the Continue button in the iTunes app.
- On your iPhone, tap the Trust button and enter your passcode.
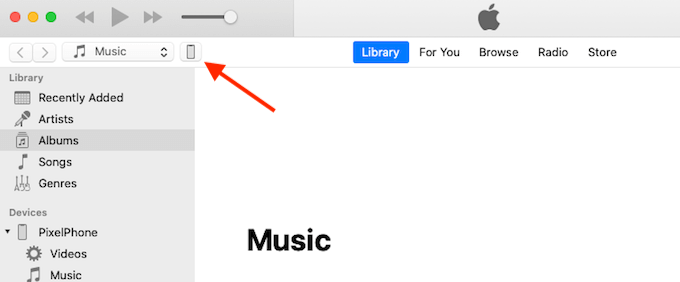
- Now that your device is paired, click the new iPhone button in the iTunes toolbar.
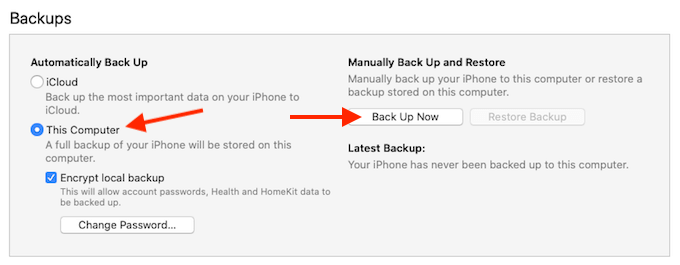
- You’ll now see the device management screen. Here, go to the Backups section and choose the This Computer option. Here, you can choose the Encrypt iPhone Backup option if you want to encrypt the backup. If you choose this option, you’ll have to set a new unique password, and you won’t be able to restore the backup if you forget it.
- To start the backup process, click the Back Up Now button.
Now, all you have to do is wait. After a couple of minutes, your iPhone will be backed up. You can now click the Eject button next to your device name to safely remove it.
How To Restore An iPhone Backup Using iTunes
Restoring an old backup using iTunes takes just a couple of clicks.
- Open the iTunes app after connecting your iPhone. Pair your iPhone by tapping the Trust button on your iPhone.
- Then, go to the Backups section from the iPhone device management screen. Here, click the Restore Backup button.
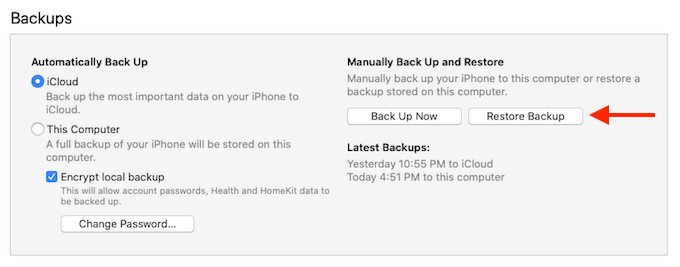
- From the popup, select the particular backup from the drop-down menu. Then click the Restore button. If the backup is encrypted, you’ll have to enter the password.
Now, just wait until the process is completed. Your iPhone might reboot during the process and don’t worry if it takes more than a couple of minutes.
How To Manage iPhone Backups
If you have multiple iPhones and iPads in your household, and you use a single Mac to back them up, you’ll soon find that you’re running out of storage space. In such a case, it might be best to move the backups to an external drive and delete them from the Mac.
You can find the backups in a Library folder. To get there, open the Spotlight Search using the Command + Space keyboard shortcut, and enter the following path: “~/Library/Application Support/MobileSync/Backup/”. Then press the Enter key.
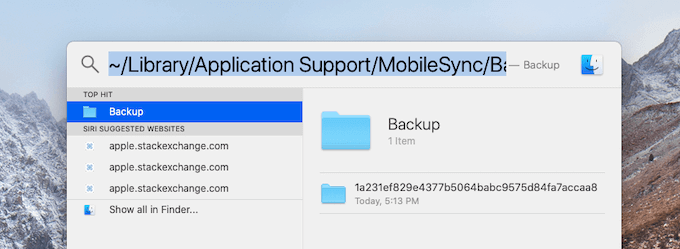
This folder will show you all the backups, arranged in different folders. The folder names are not legible so you’ll have to use the date and time to figure out which backup is which.
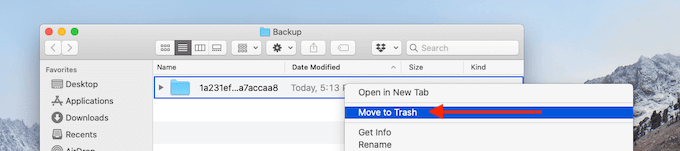
Here, you can just move the folder to an external drive to back it up. You can also right-click on a backup and choose the Move to Trash option to delete it.
Alternatively, you can use Mac’s built-in Storage Management tool to delete old iPhone backups as well.
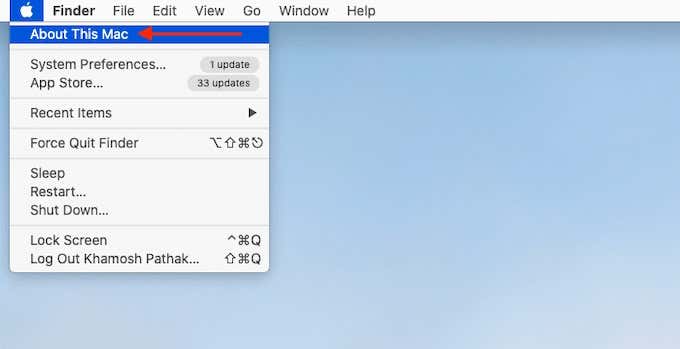
- Click the Apple button from the menu bar and choose the About This Mac option.
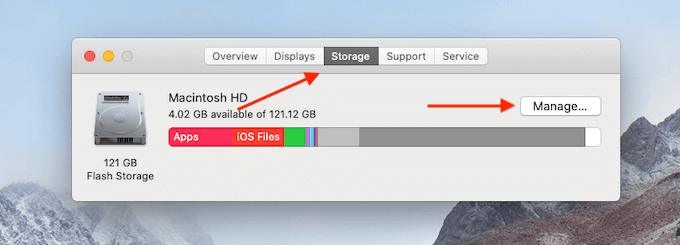
- Here, go to the Storage tab, and click the Manage button.
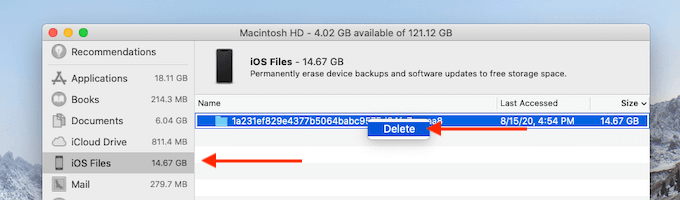
- From the sidebar, choose the iOS Files section.
- You’ll see a list of all iPhone backups here. Right-click a backup and choose the Delete option to delete the backup.
How often do you backup your iPhone? Do you use your Mac once in a while and use the iCloud backups nightly? Share with us in the comments below.
New to the Mac? Here are the 10 MacBook beginner tips that you should know about.