It's not too hard to do
You might think you need an expensive, high-quality camera to take good photos. However, the iPhone camera is pretty sophisticated, and you can take professional-looking photographs if you know how to use its settings.
Although this article will list a few products you can buy to upgrade your iPhone photography, there are many ways to get great photos without add-ons. Just follow the tips below, and you’ll be well on your way to getting some great-looking shots.
Get an iPhone Camera Lens
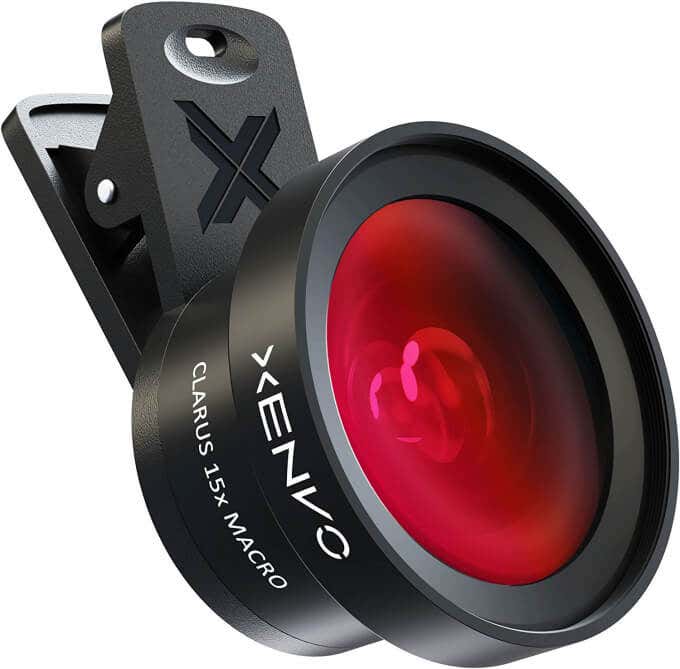
While not necessary, it does kick your iPhone camera up several notches to have a lens that attaches to your iPhone. There are lenses available for most models of iPhone and they will help give you more of a high-end camera look without the expense.
The iPhone’s original lens is pretty good, but it cannot get certain shots like macro shots. Getting an iPhone lens will allow you to achieve more variety in your photos.
Unlock Your Camera Fast
There are many instances where something happens quickly, or you see something you need to take a photo of right away. Apple has you covered in these situations, making the camera app accessible directly from your lock screen.
- Open your iPhone to the lock screen.
- Swipe to the left to access the camera.
- To view your photos, you’ll have to unlock your iPhone.
Pay Attention to Lighting
Lighting is probably the most significant factor in determining how well your photos will turn out. You can adjust how much light the camera takes in on your iPhone. To do this:
- While you have the camera open, tap the screen to focus, and you should see a yellow box appear with a sun symbol to the right.
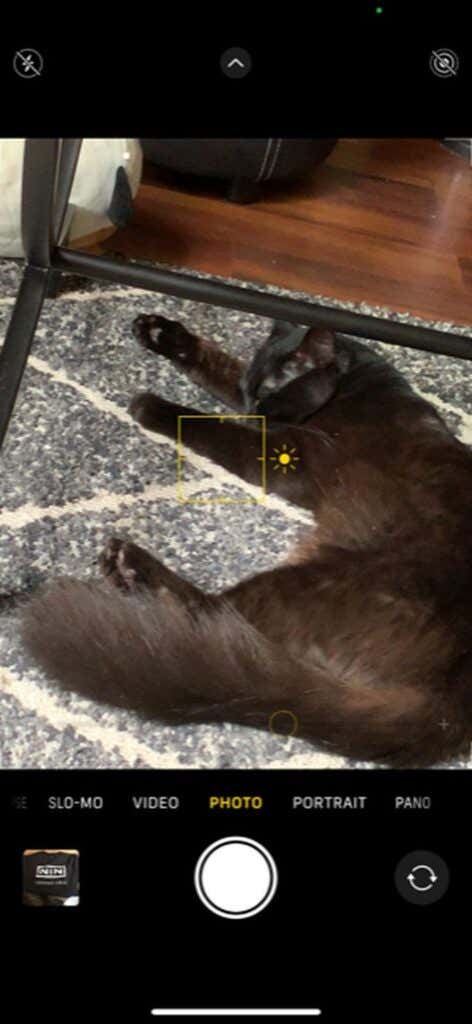
- You can tap and hold as you drag up or down to adjust the lighting.
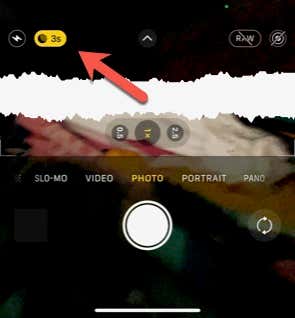
Also, if you’re in really low light conditions, your iPhone will automatically switch to night mode. You’ll see a small yellow icon show up in the top left that represents the number of seconds.
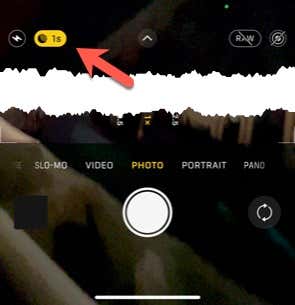
The darker the setting, the higher that number will become. You can also tap on it and adjust the setting manually.
Use AE/AF Lock
The iPhone camera has several settings you can change that can be useful during your photography. The AE/AF (auto-exposure/auto-focus) lock can help you lock a focus point. When you use this, the camera will keep the focus on a specific point instead of autofocusing. It’ll also lock the exposure so you can get consistent lighting.
- In the Camera app, tap and hold where you want the camera to focus.
- Keep holding until you see the AE/AF Lock notification at the top.
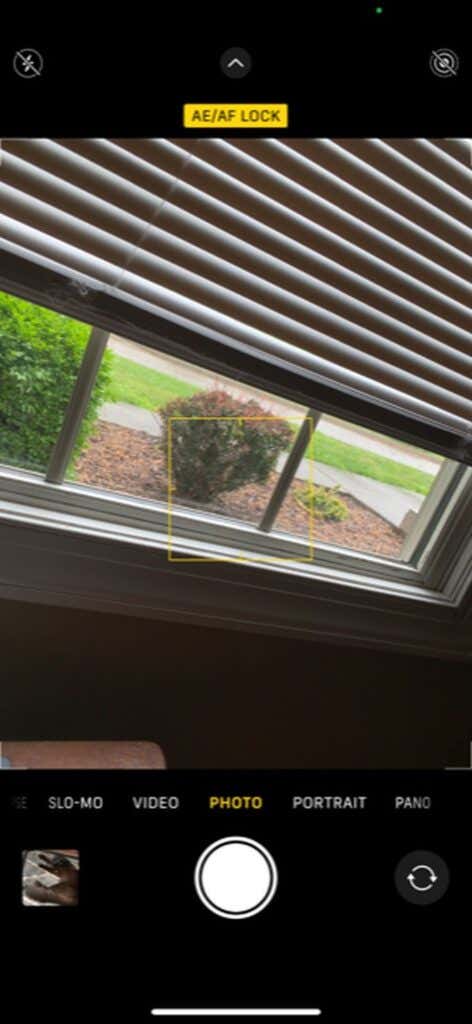
- The camera will lock its exposure and focus until you tap on the screen again.
Turn On Camera Grid
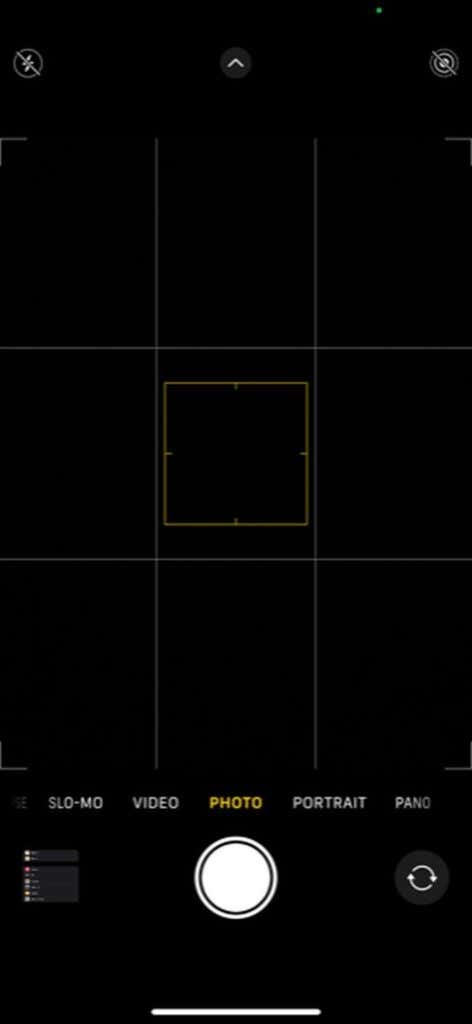
You can also turn on a grid overlay on your camera, which can help with composition.
- Open your iPhone Settings app.
- Scroll down to the Camera app and tap on it.
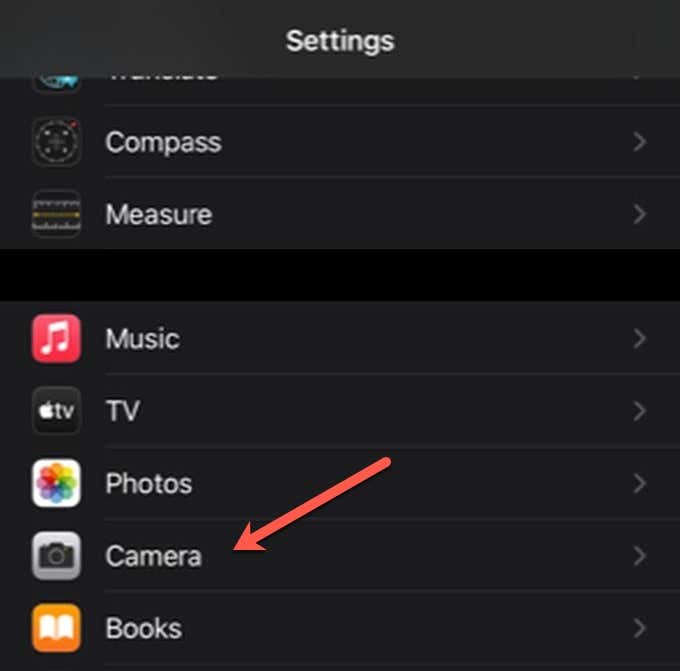
- Find Grid underneath Composition and enable it.

- When you open the Camera app, you should see the grid.
Use the Rule of Thirds
When setting up a scene, you can follow some composition rules that will make your photo more eye-pleasing. A simple one you can use with the camera grid is the rule of thirds. If you line up the subject or focus at any intersection on the grid, your viewer’s eyes will naturally move to that area.

Photography and film compositions use this rule, and you will benefit from this in your photos.
Avoid Zooming In
When you use the zoom feature on your iPhone, the camera lens is not physically zooming in as much as it’s giving you the illusion of doing so with the help of software. When you zoom, you’ll find the pixels in your photo will become blurred, and there will be a lot of grain.
The iPhone 12 and iPhone Pro Max, however, do have telephoto lenses which work better for optical zooming. Optical zoom is 2 to 2.5x depending on your model. After that, it’s using digital zoom.
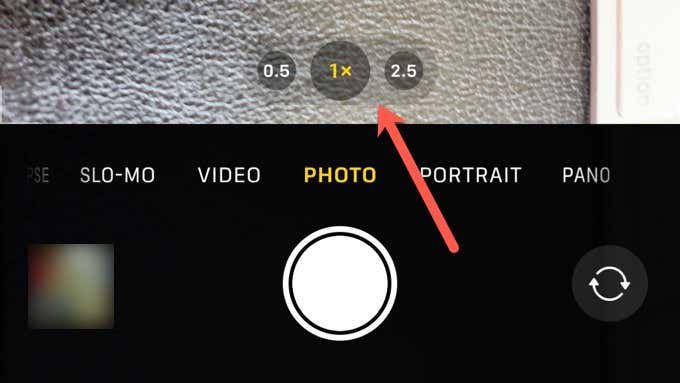
If you have a different iPhone, though, you can avoid pixelation by reframing the scene from a different angle and physically moving closer to the main object. You can get a different perspective and a cleaner photo.
Use HDR Mode
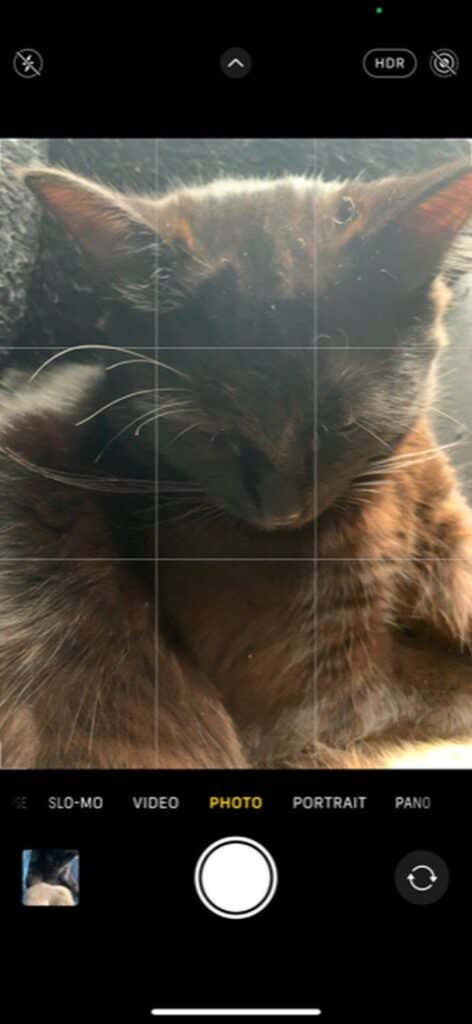
HDR, or High Dynamic Range, is a feature within the iPhone camera that helps take photos when there’s a lot of bright light. When shooting in HDR mode, your iPhone will take multiple pictures with different exposure levels and then combine them so that the light levels don’t wash out the photo.
Your iPhone is set on HDR by default, but if you want manual control of it, here’s what to do.
- On iPhone 8 and later, go to Settings > Camera, then turn off Smart or Auto HDR. If you have earlier iPhone models, you can skip this step.

- Go to the Camera app and look for the HDR button at the top. Tap on it to turn HDR on or off.
Shoot In Raw
If you have an iPhone 12 Pro or iPhone 12 Pro Max or later and have iOS 14.3 or later, you can shoot in the Apple ProRAW format. Shooting photos in this format can help you if you want to edit your photos, as it doesn’t compress your images and retains more of the detail.
- Go to Settings > Camera > Formats.
- Under Photo Capture, turn on Apple ProRAW.
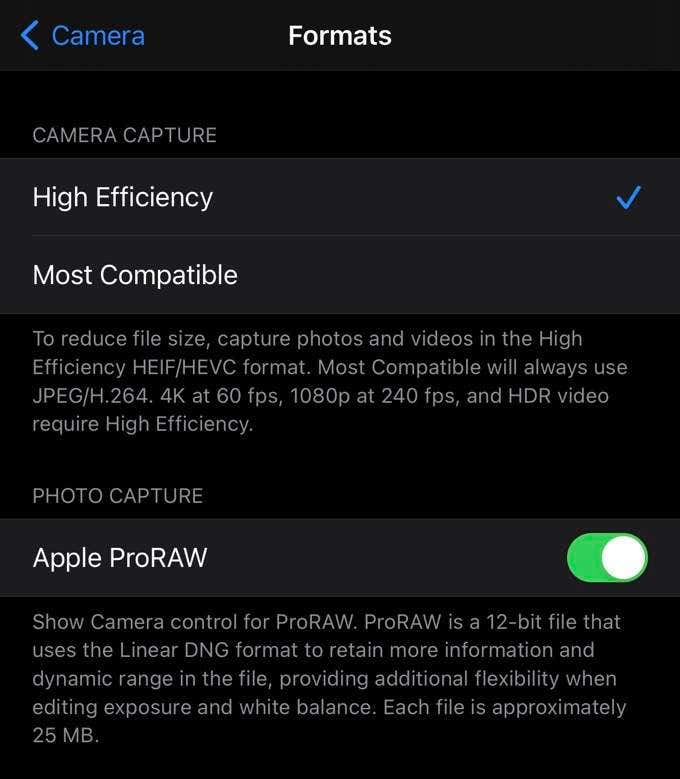
- Go back to the Camera app, then tap on the RAW button to turn it on and take your photos.
Use Burst Mode
If you’re photographing a subject with a lot of movement, Burst mode can be a big help. The mode will allow you to take multiple pictures in a short time so that you can pick the perfect capture from the lot.
Here’s how to use Burst mode.
- When you’re ready to take your photo in the Camera app, hold down on the shutter button.
- Immediately swipe to the left, and your camera will enter Burst mode. You can see the count of how many photos the camera has taken.
- If you have iOS 14 or later, you’ll need to use your volume up button for Burst mode. Go to Settings > Camera and then enable Use Volume Up for Burst.

You’ll be able to find your Burst photos in your camera roll.
Turn Off Flash
If you’re taking pictures with flash on, you might find the colors in your images washed out. If you’re using flash for lighting purposes, it’s much better to use natural light sources.
To turn off flash follow these steps:
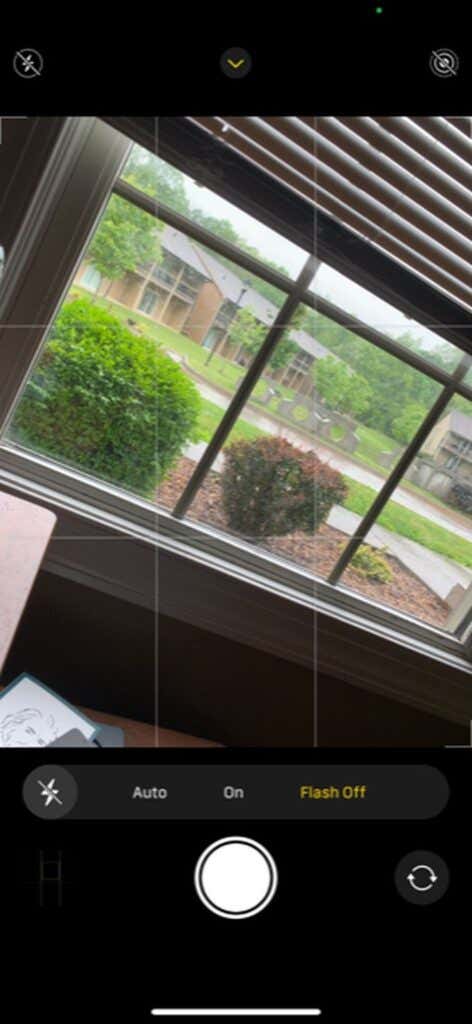
- At the top of the camera screen, tap on the arrow.
- Tap on the lightning-shaped icon in the bottom left.
- Choose the Flash Off option. You can now take photos without flash.
Edit Your Photos Afterwards
Editing your photos can drastically improve them, as you can correct mistakes or make some additions to take them to the next level. You can use a professional photo-editing program like Photoshop if you wish, but there are also many free photo editing apps for iPhone you can use.

Taking Professional Photos on the iPhone
By following these methods, you should find the quality of your pictures improves drastically. Feel free to test out these tips and experiment to find what works best for you. You don’t have to feel limited, as you can see how powerful the iPhone camera is in its own right.


