
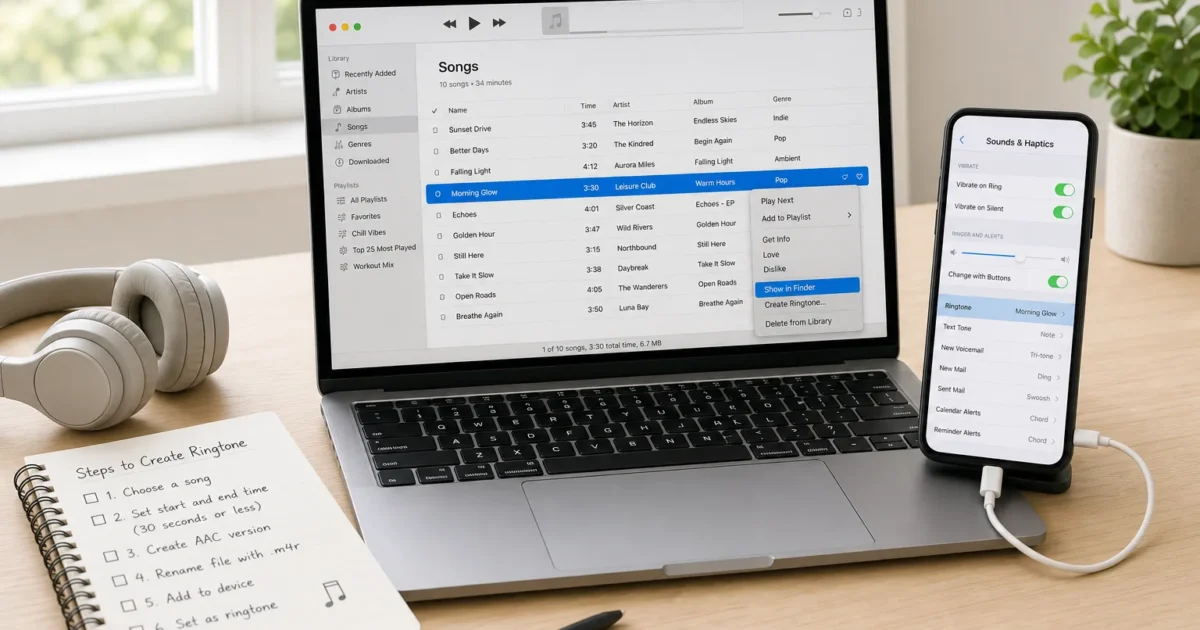
If you’ve been struggling with Apple’s limited ringtone selection, you can make your own from an audio file you already own. The process takes a few steps because Apple still doesn’t provide a proper ringtone editor on iPhone.
You’ll trim the audio, convert it to an .m4r file, transfer it to your iPhone, and select it under Settings > Sounds & Haptics > Ringtone. On a Mac, you’ll use Music and Finder. Windows users can complete the same job with iTunes.
What You’ll Need
Prepare the following before starting:
- A Mac or Windows computer
- The audio file you want to use
- Audacity for trimming the clip
- A cable that connects your iPhone to the computer
- Music and Finder on Mac, or iTunes on Windows
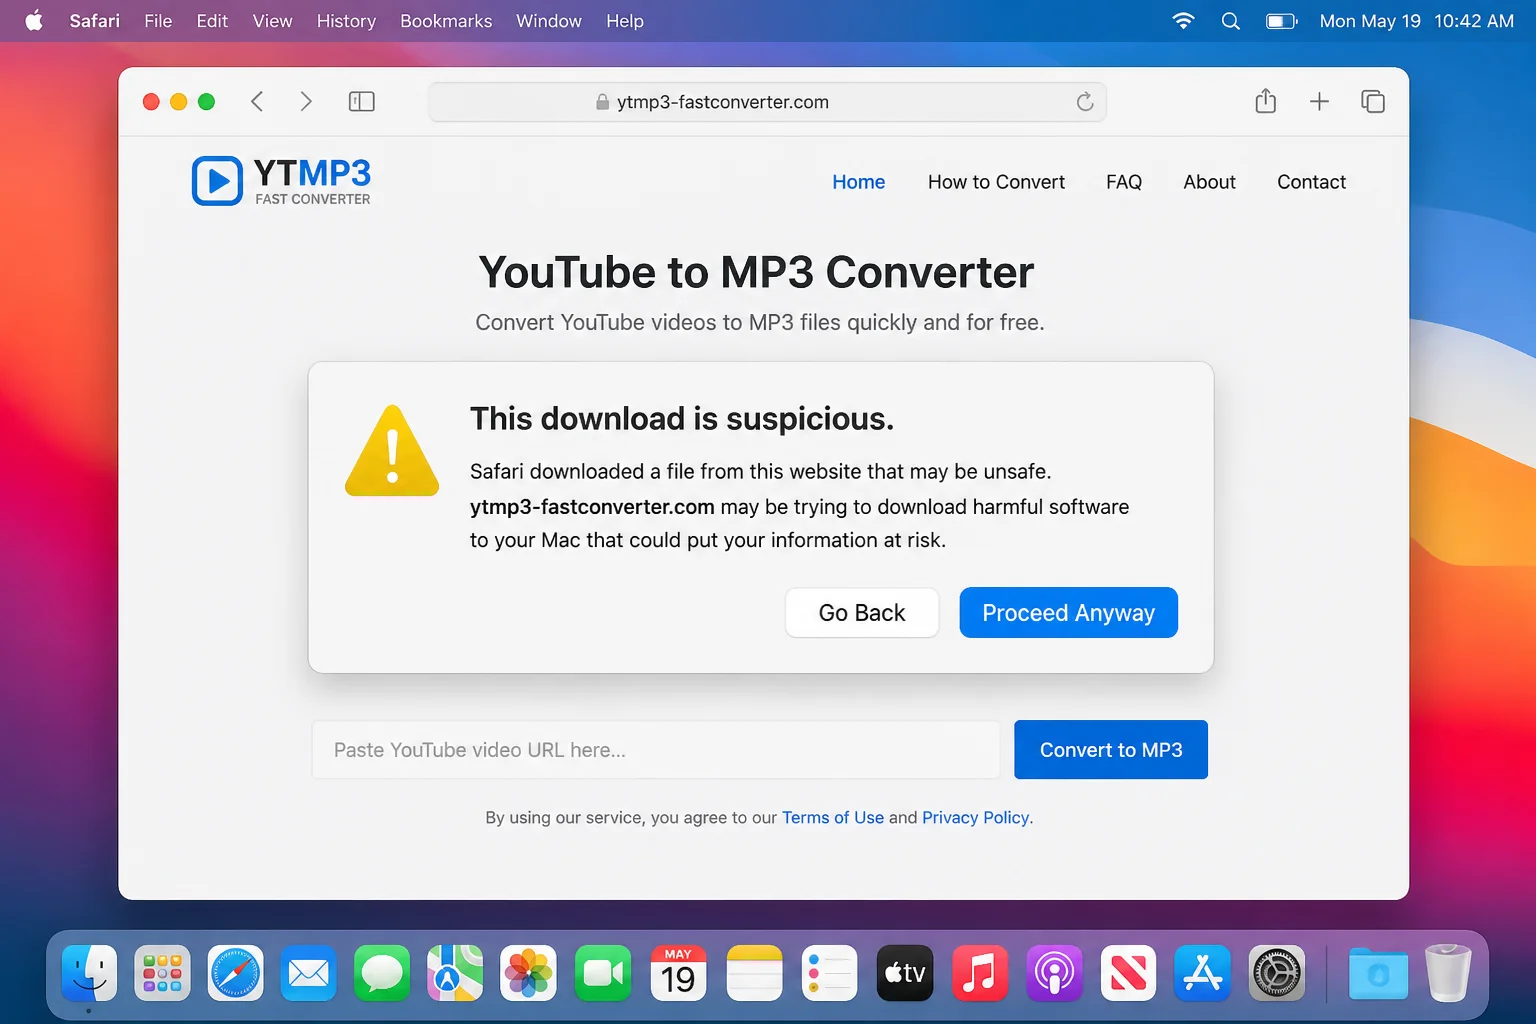
Use audio you own or have permission to download. Random YouTube-to-MP3 sites often contain aggressive ads, misleading download buttons, and questionable files. I’d skip them.
Trim the Audio in Audacity
A ringtone works best when it gets to the recognizable part quickly. Long intros and quiet openings can leave you fumbling for your phone before you identify the caller.
Aim for a clip under 30 seconds. That length also avoids compatibility problems during conversion and transfer.
- Open Audacity and choose File > Open.
- Select your audio file and wait for its waveform to appear.
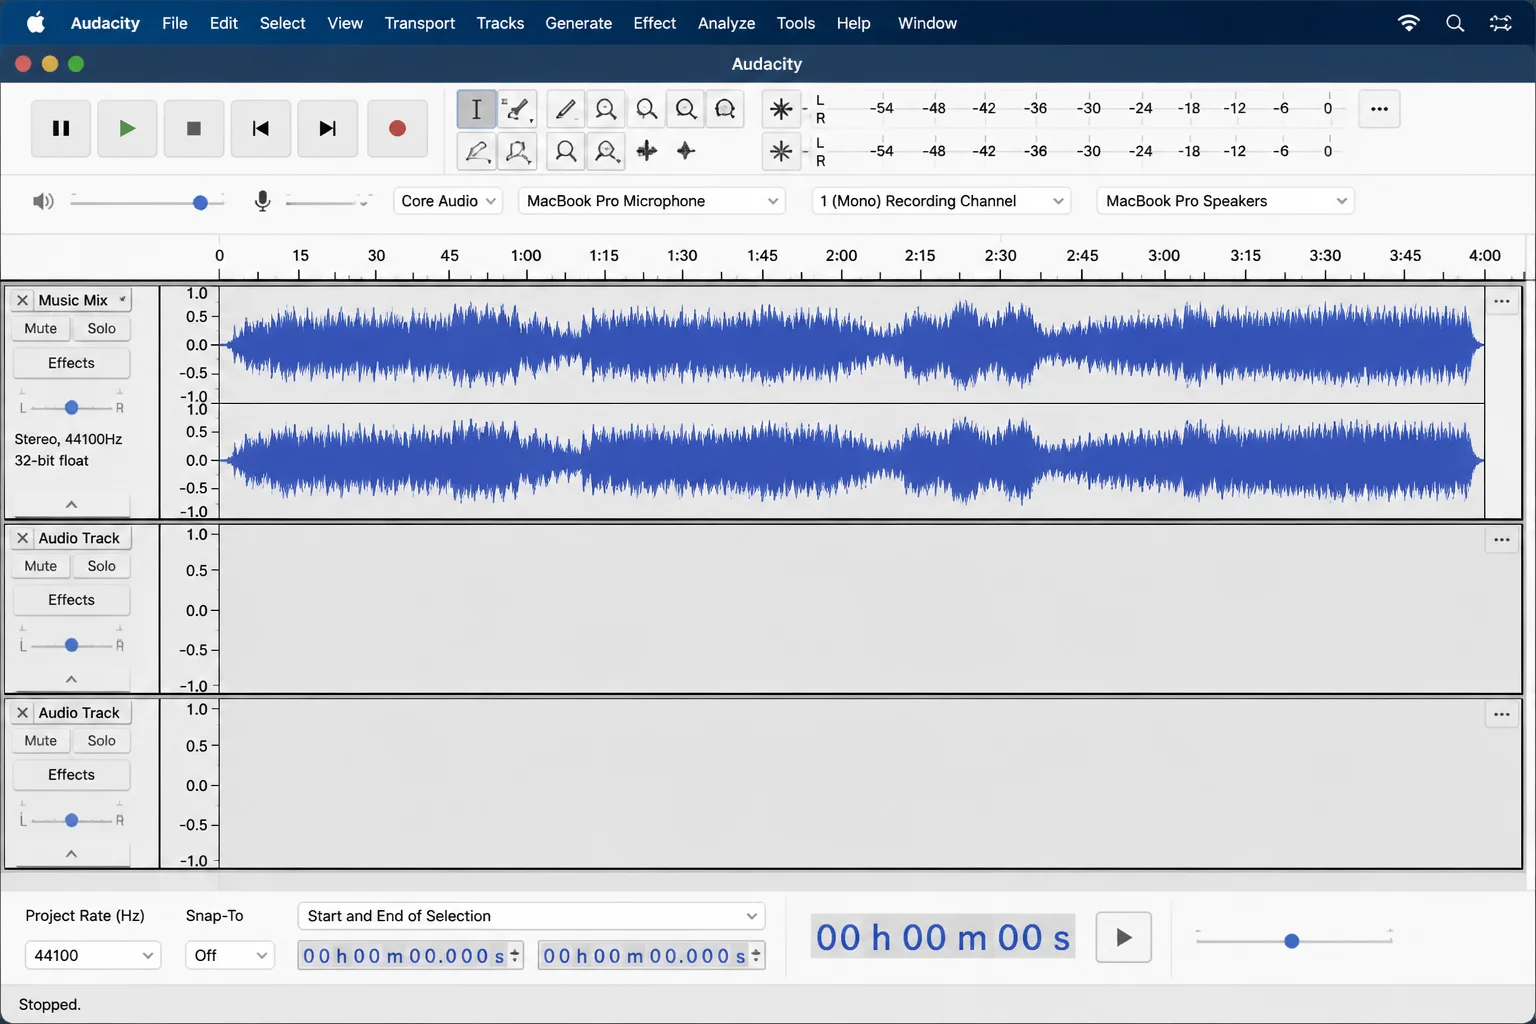
- Play the track and find the section you want. Drag across the waveform to select a clip of about 28 or 29 seconds.
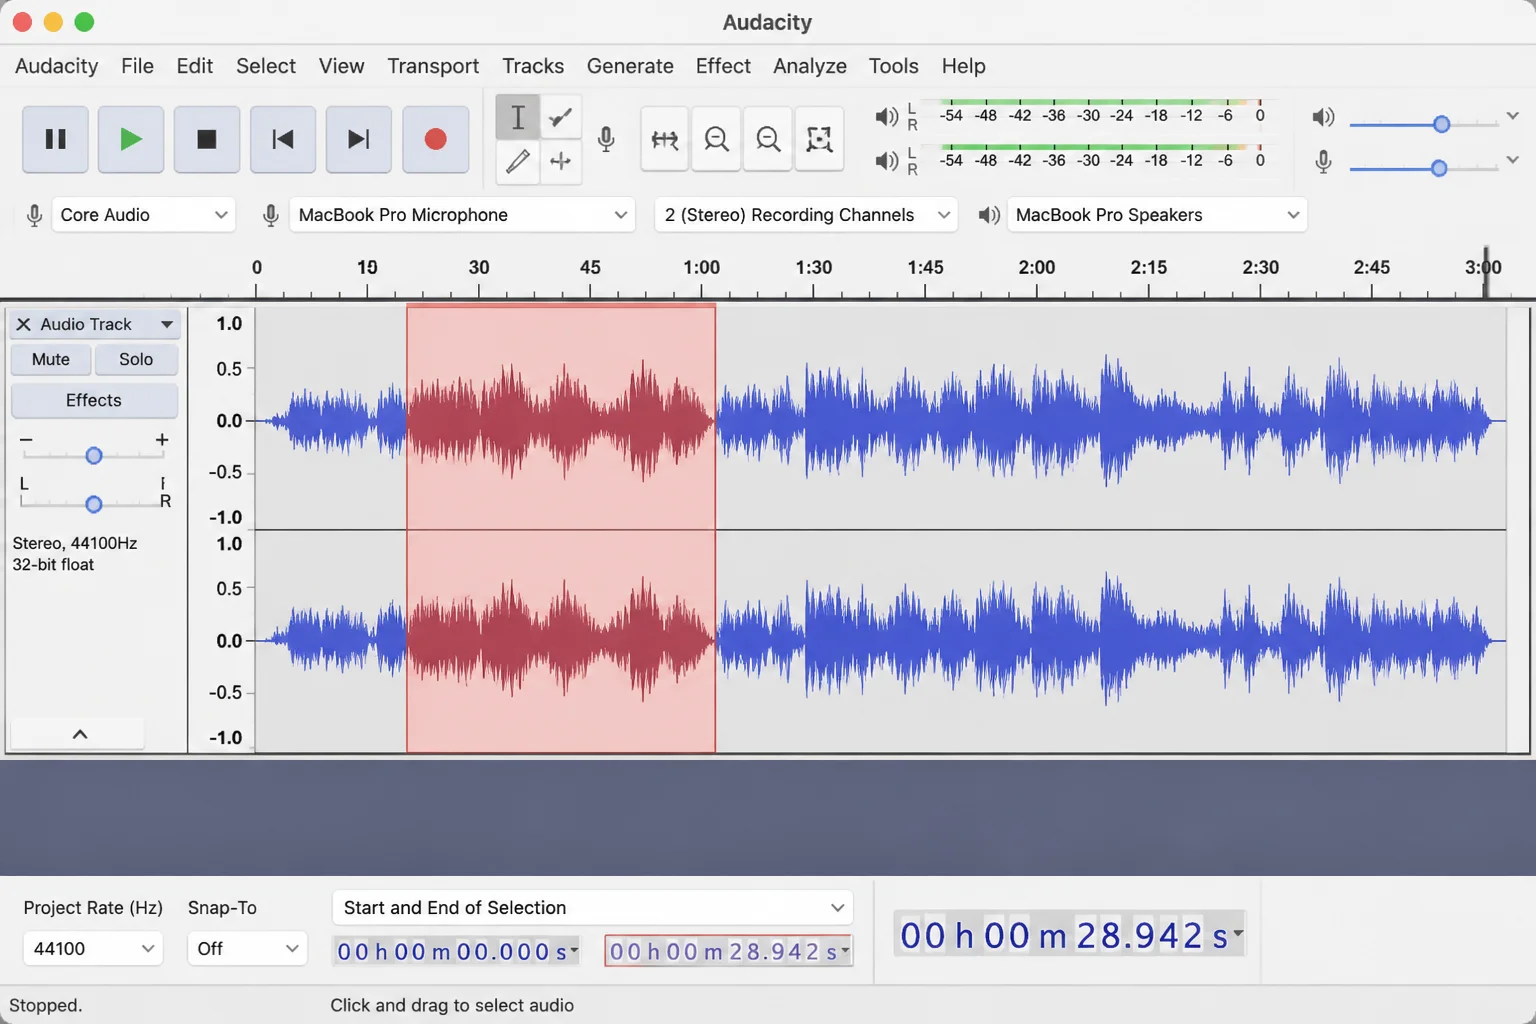
- Check the selection length in Audacity’s time display. Adjust either edge if the clip runs longer than 30 seconds.
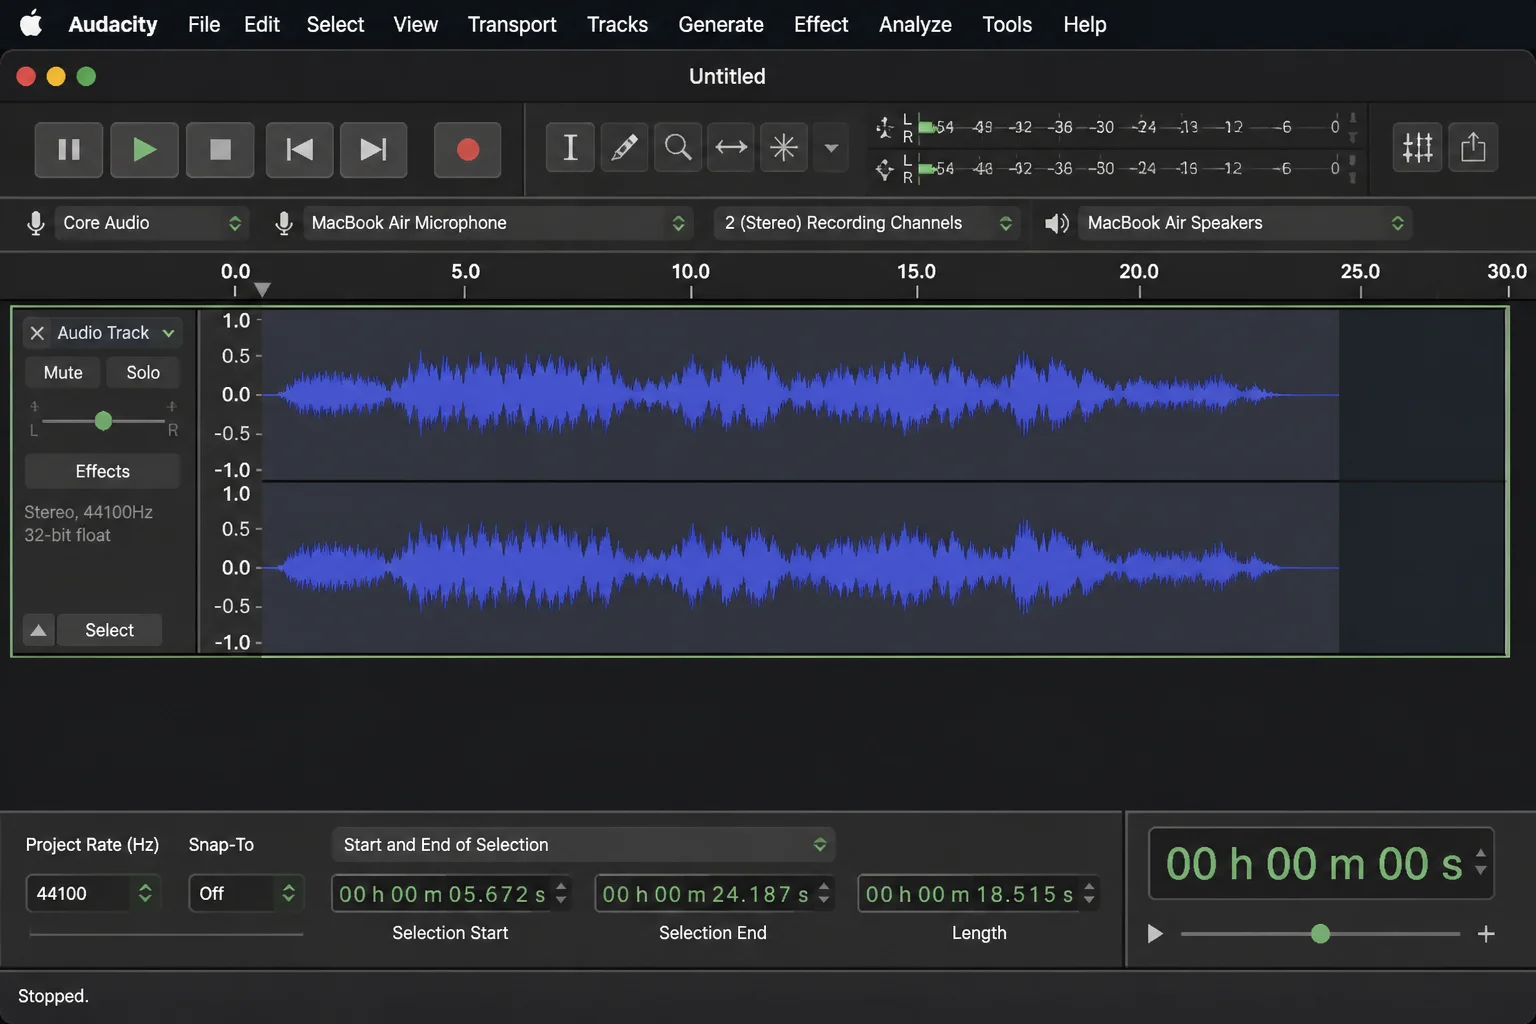
- Preview the selection. Apply a short fade at either end if the clip starts or stops abruptly.
- Export only the selected section. In current Audacity releases, open File > Export Audio, choose the current selection as the export range, and save the clip as an MP3 or WAV file. The wording can vary slightly by Audacity version.
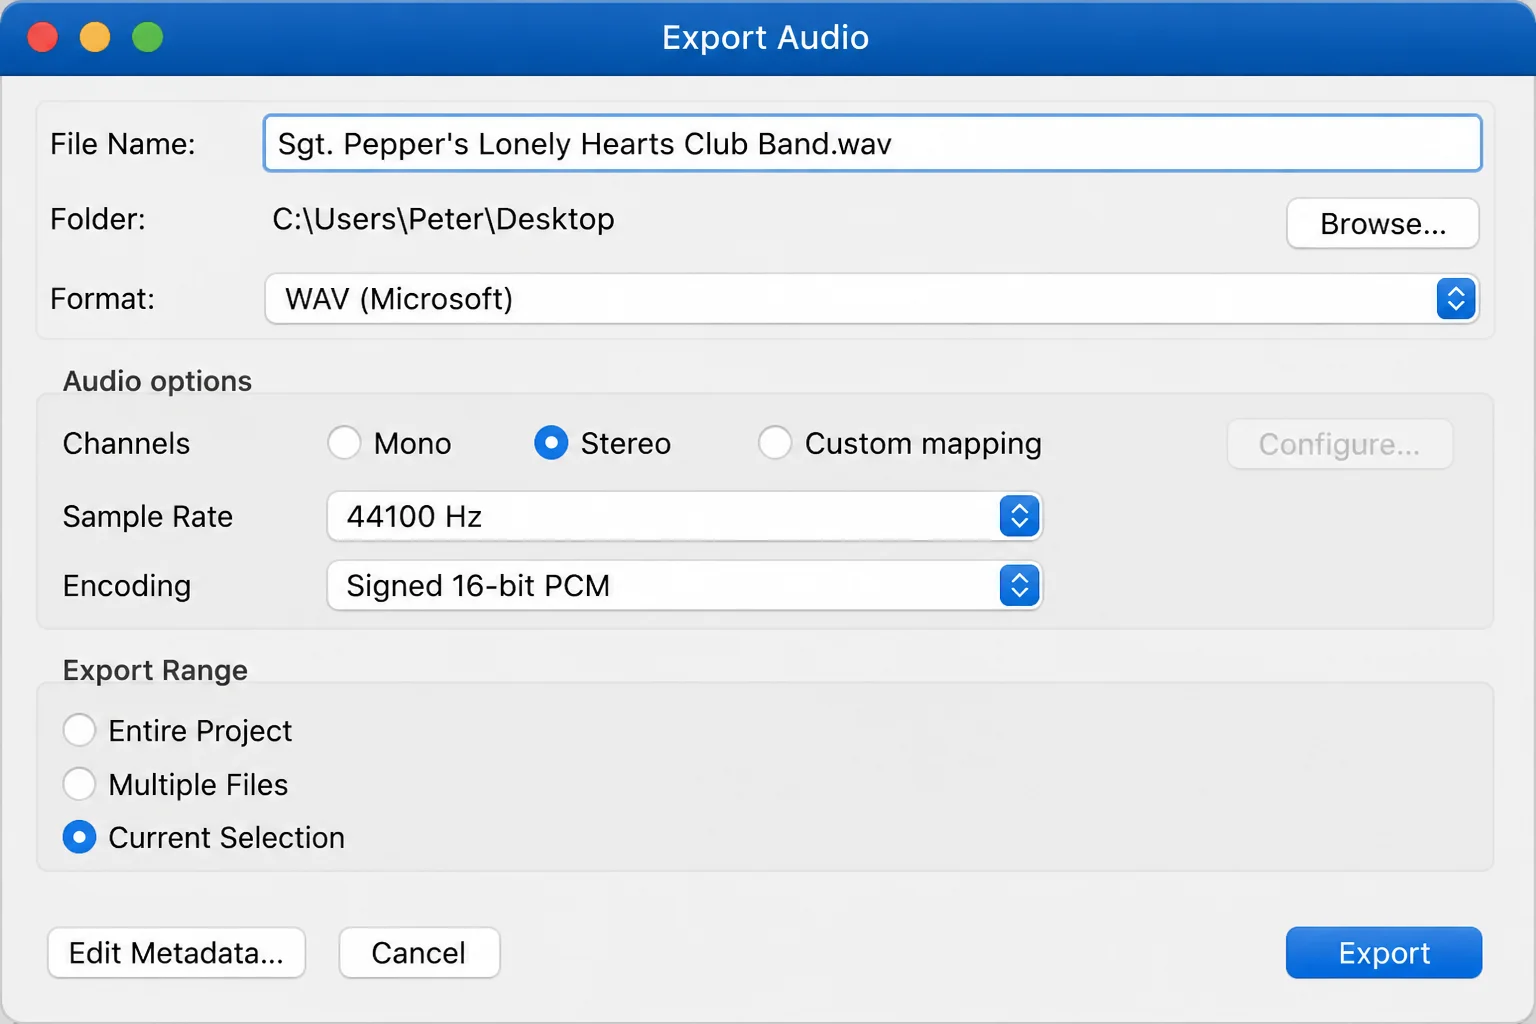
You now have the short source clip. The next stage converts it into Apple’s ringtone format.
Convert the Clip to M4R on a Mac
The Music app handles audio conversion on current Macs. Finder handles the connection to your iPhone.
Apple uses .m4r for ringtone files. An M4R file is an AAC audio file with a ringtone-specific extension, which explains the otherwise odd conversion process.
Set Music to Create AAC Files
- Open Music and choose Music > Settings.
- Open Files, select Import Settings, and choose AAC Encoder.
- Confirm the changes and close Settings.
- Drag your trimmed audio file into the Music library.
- Control-click the imported track and open Get Info or Song Info. The label may vary with your macOS and Music version.
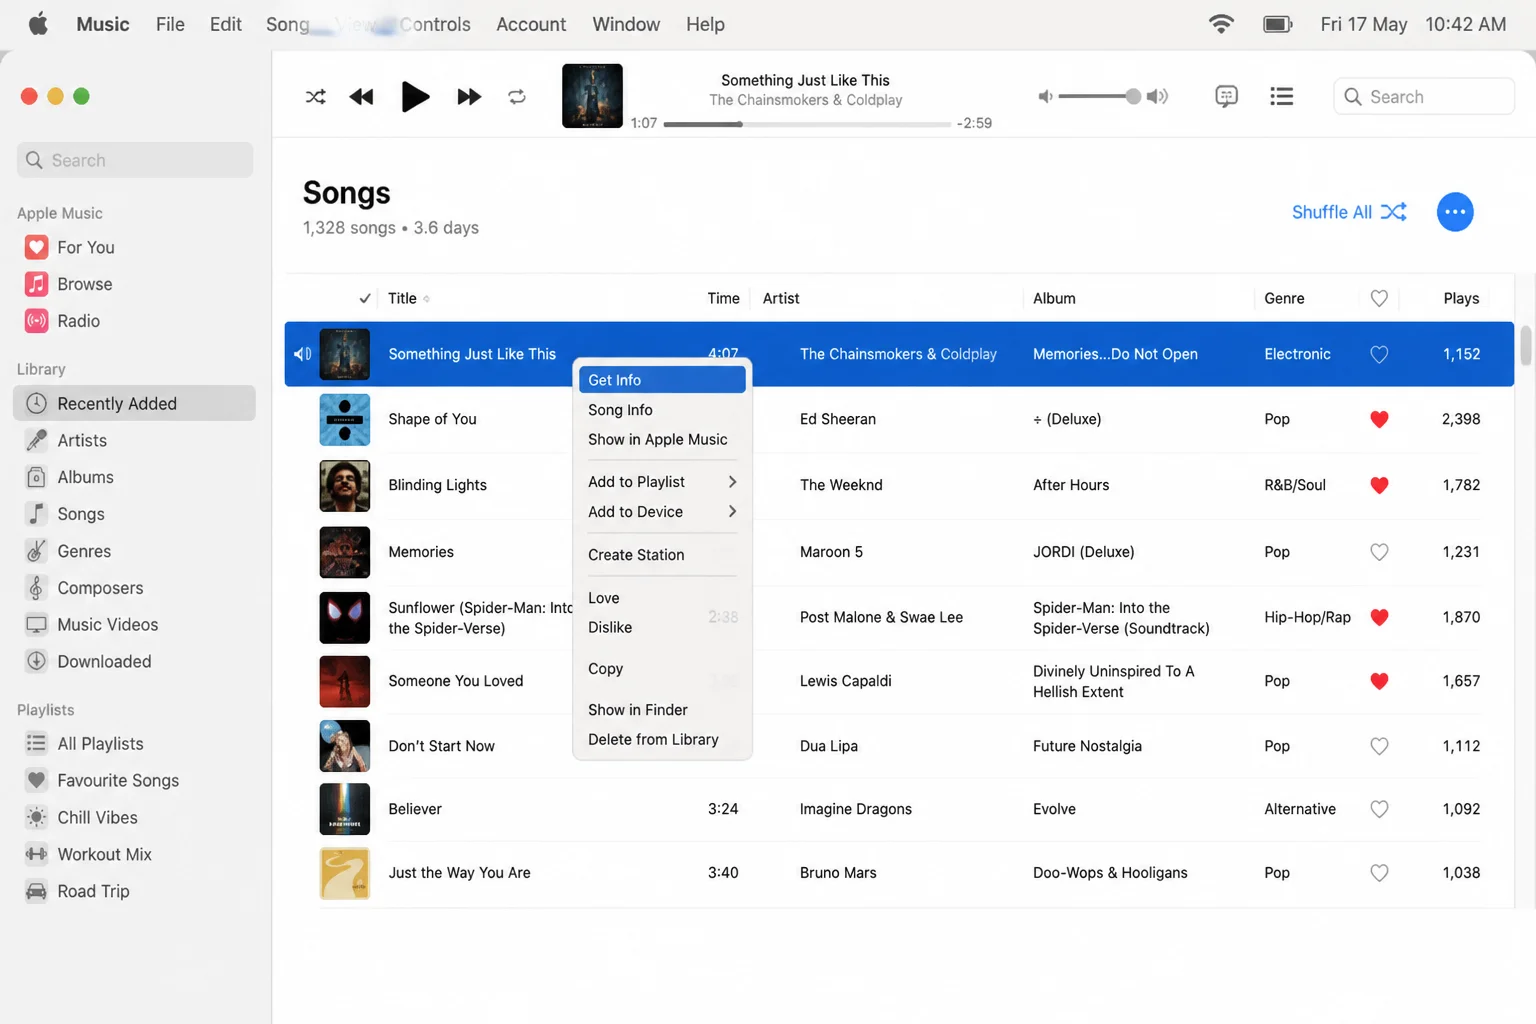
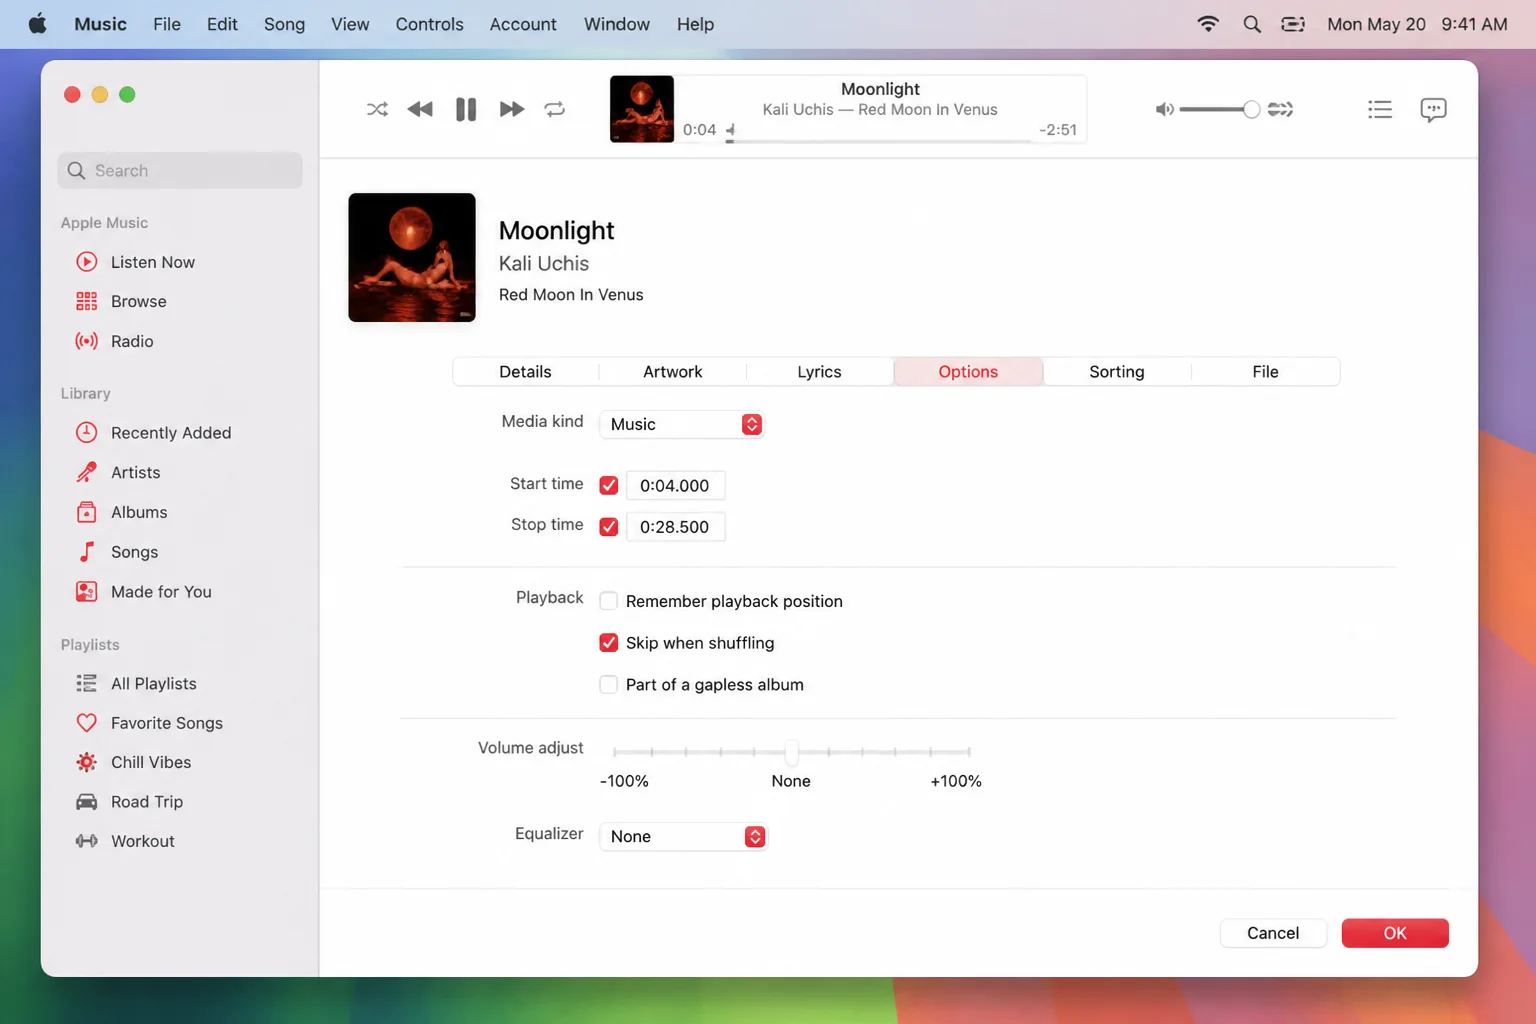
- Open Options and confirm that the start and stop times cover no more than 30 seconds. If you already trimmed the file in Audacity, the full clip should be fine.
- Select the track, then choose File > Convert > Create AAC Version.
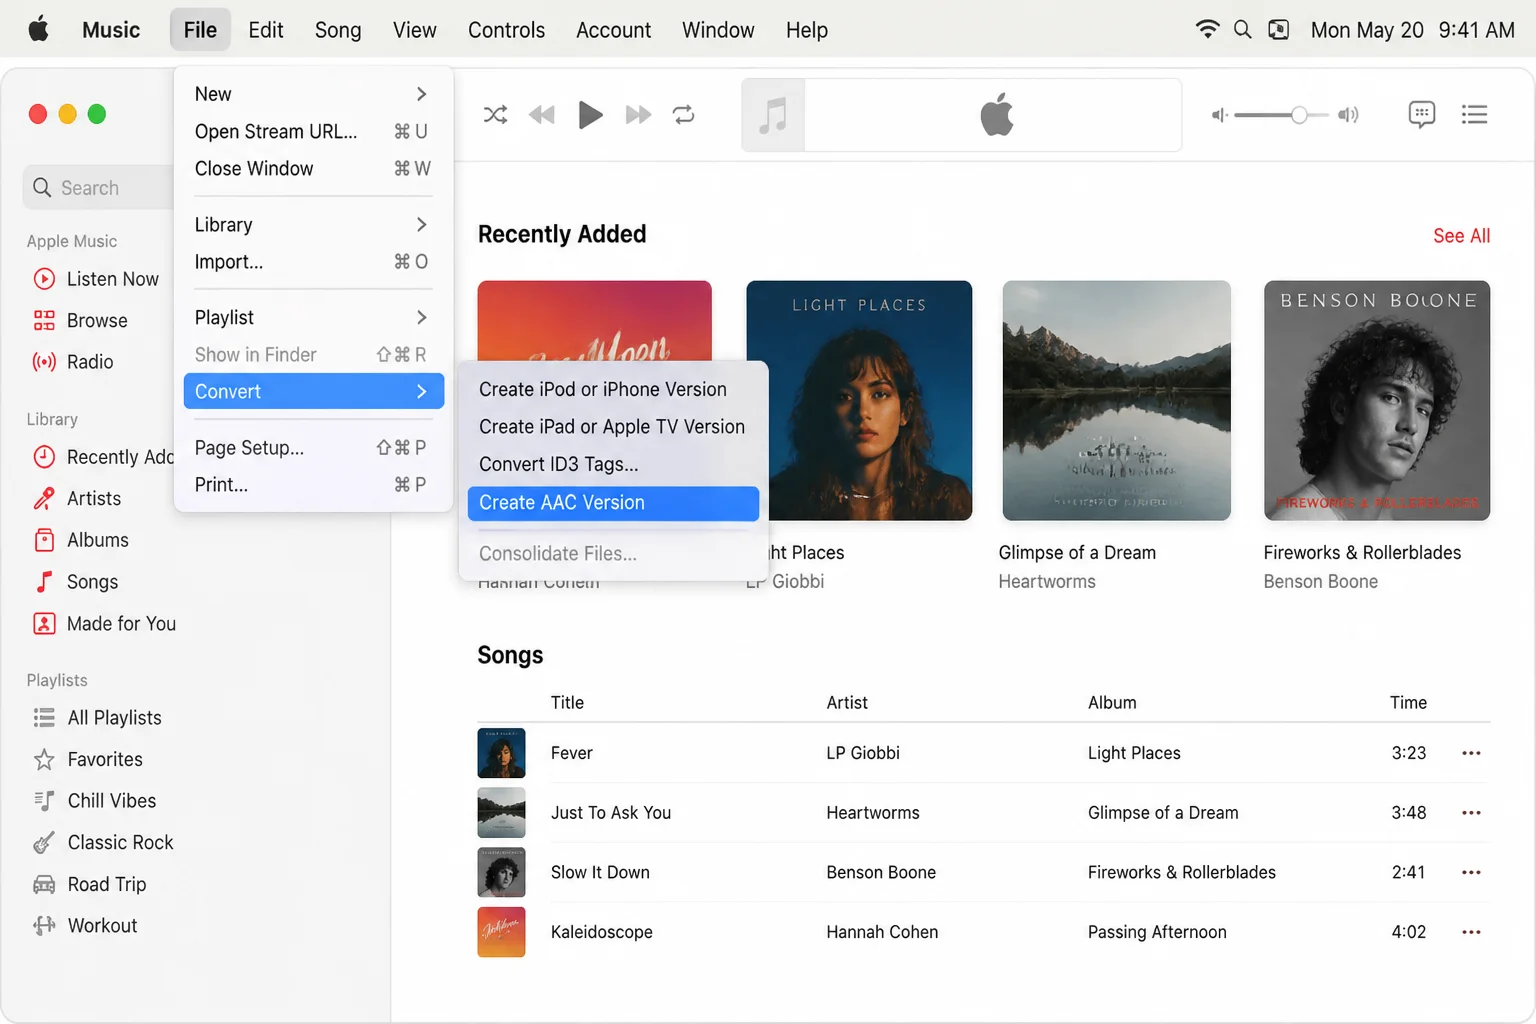
Music creates a second copy of the track. The new copy should be the shorter AAC version.
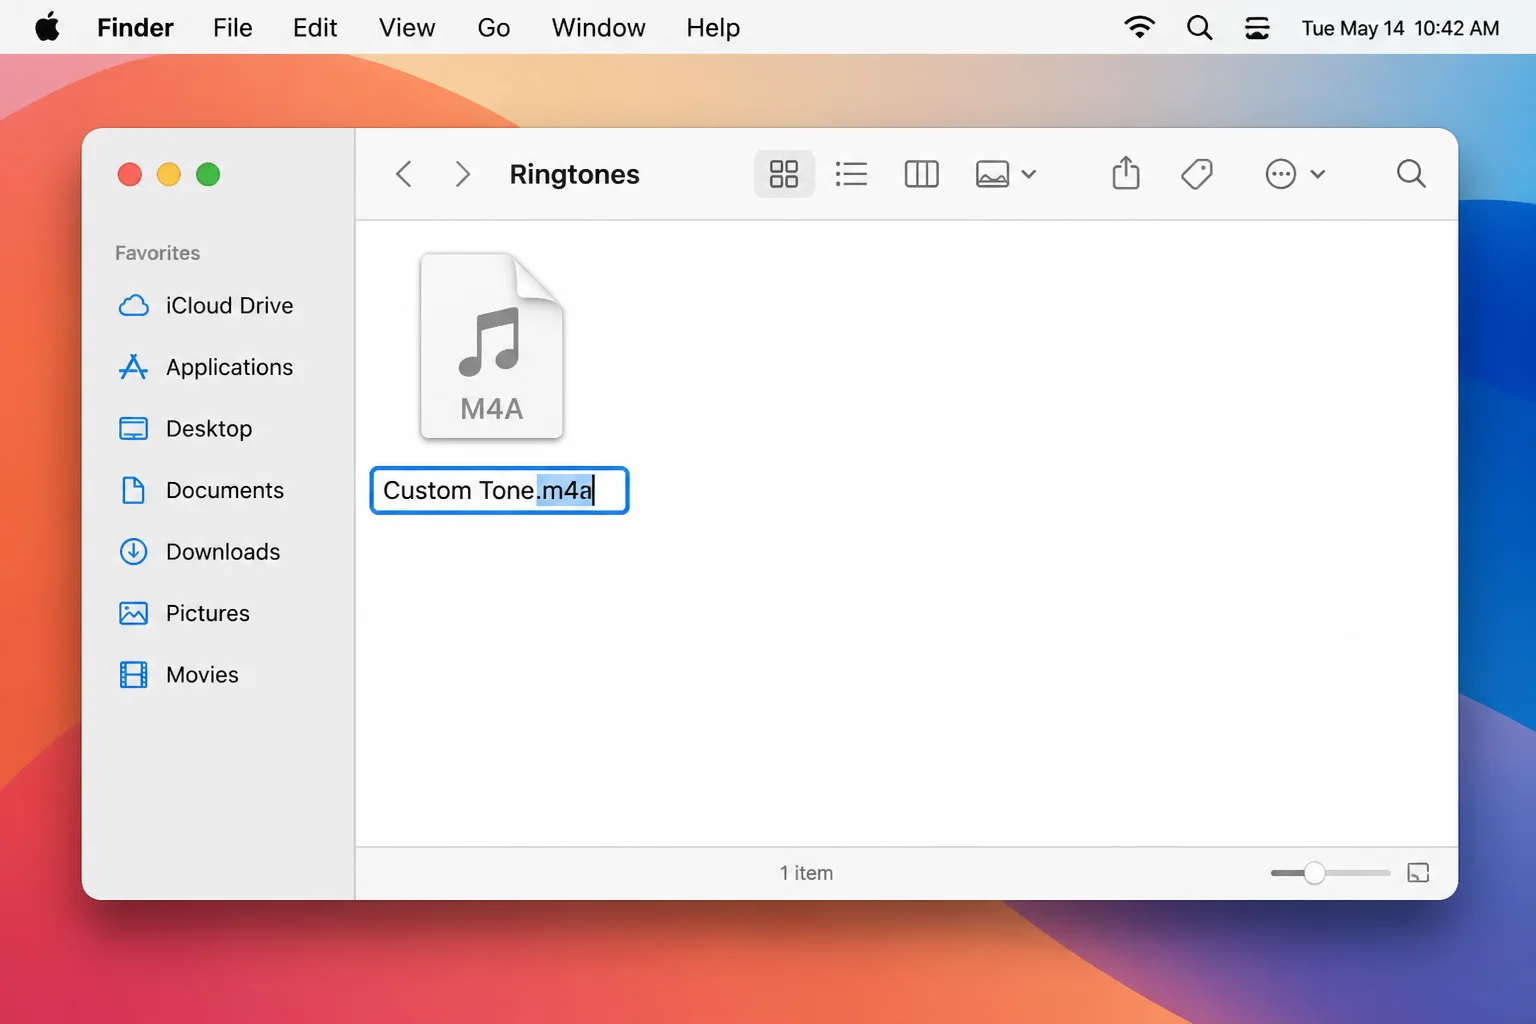
Change the File Extension
- Control-click the new AAC track and choose Show in Finder.
- In Finder, select the file and press
Returnto edit its name.
- Change the extension from
.m4ato.m4r.
- Confirm that you want to use
.m4rwhen Finder asks.
If you can’t see the extension, open Finder > Settings > Advanced and enable Show all filename extensions.
Transfer the Ringtone From a Mac
- Connect the iPhone to your Mac and unlock it.
- Tap Trust on the iPhone if prompted, then enter your passcode.
- Open Finder and select the iPhone under Locations.
- Keep the Finder device window open. Drag the
.m4rfile onto the iPhone’s device page or device entry in the sidebar. The exact drop target can vary with the current macOS release.
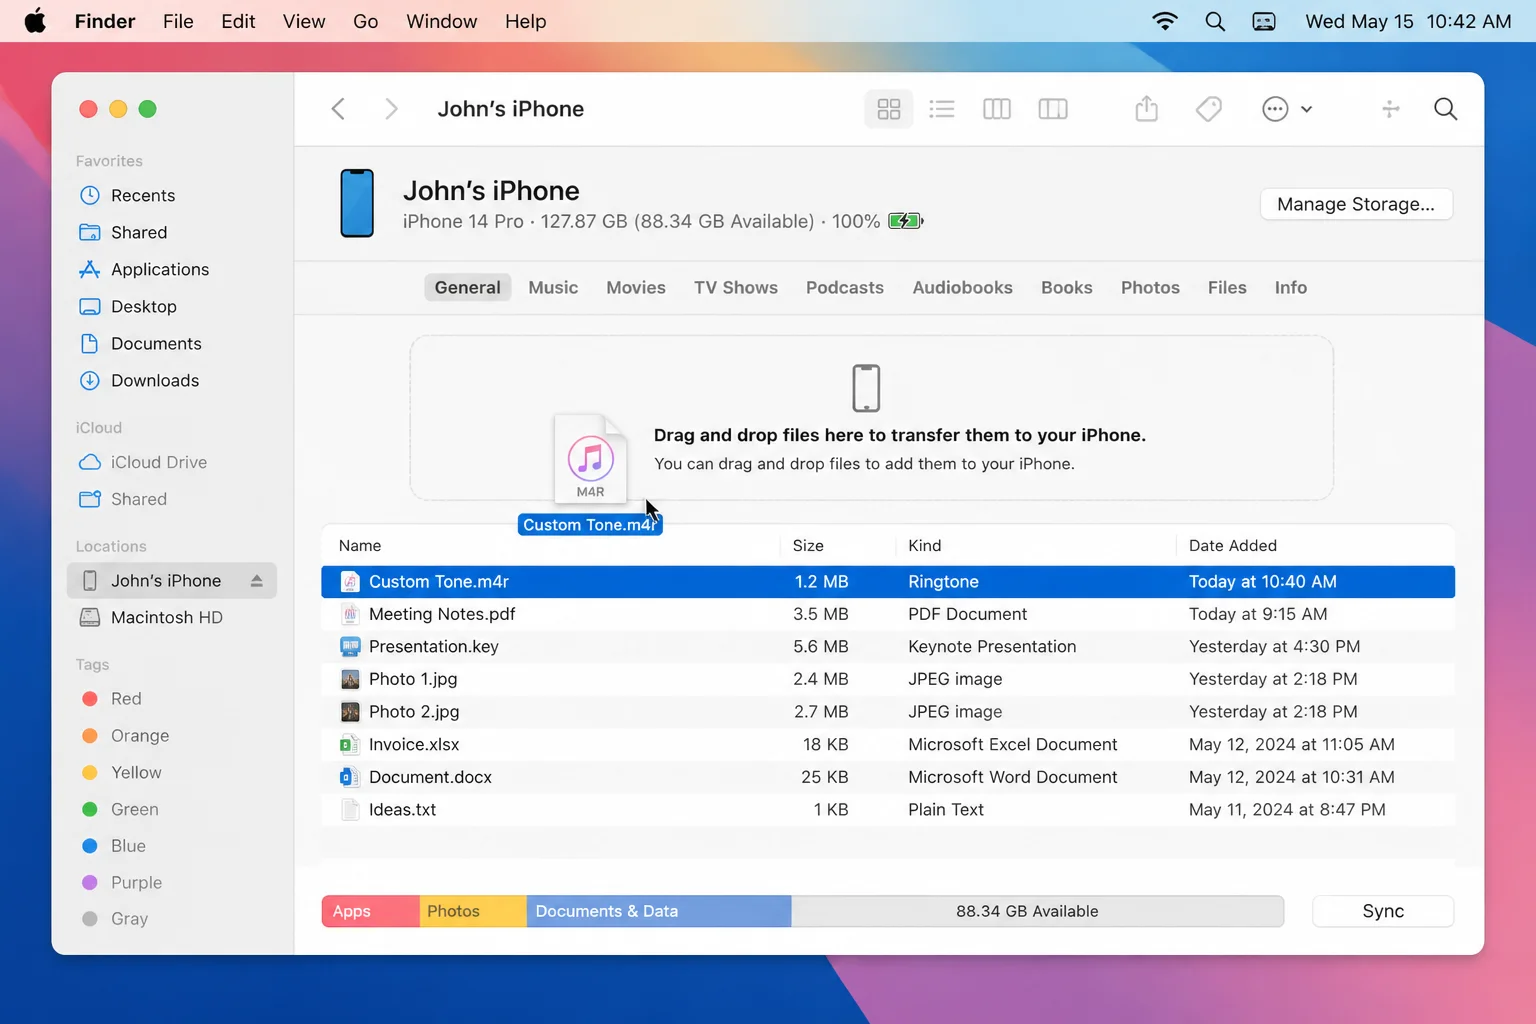
- Allow Finder to finish copying the file before disconnecting the phone.
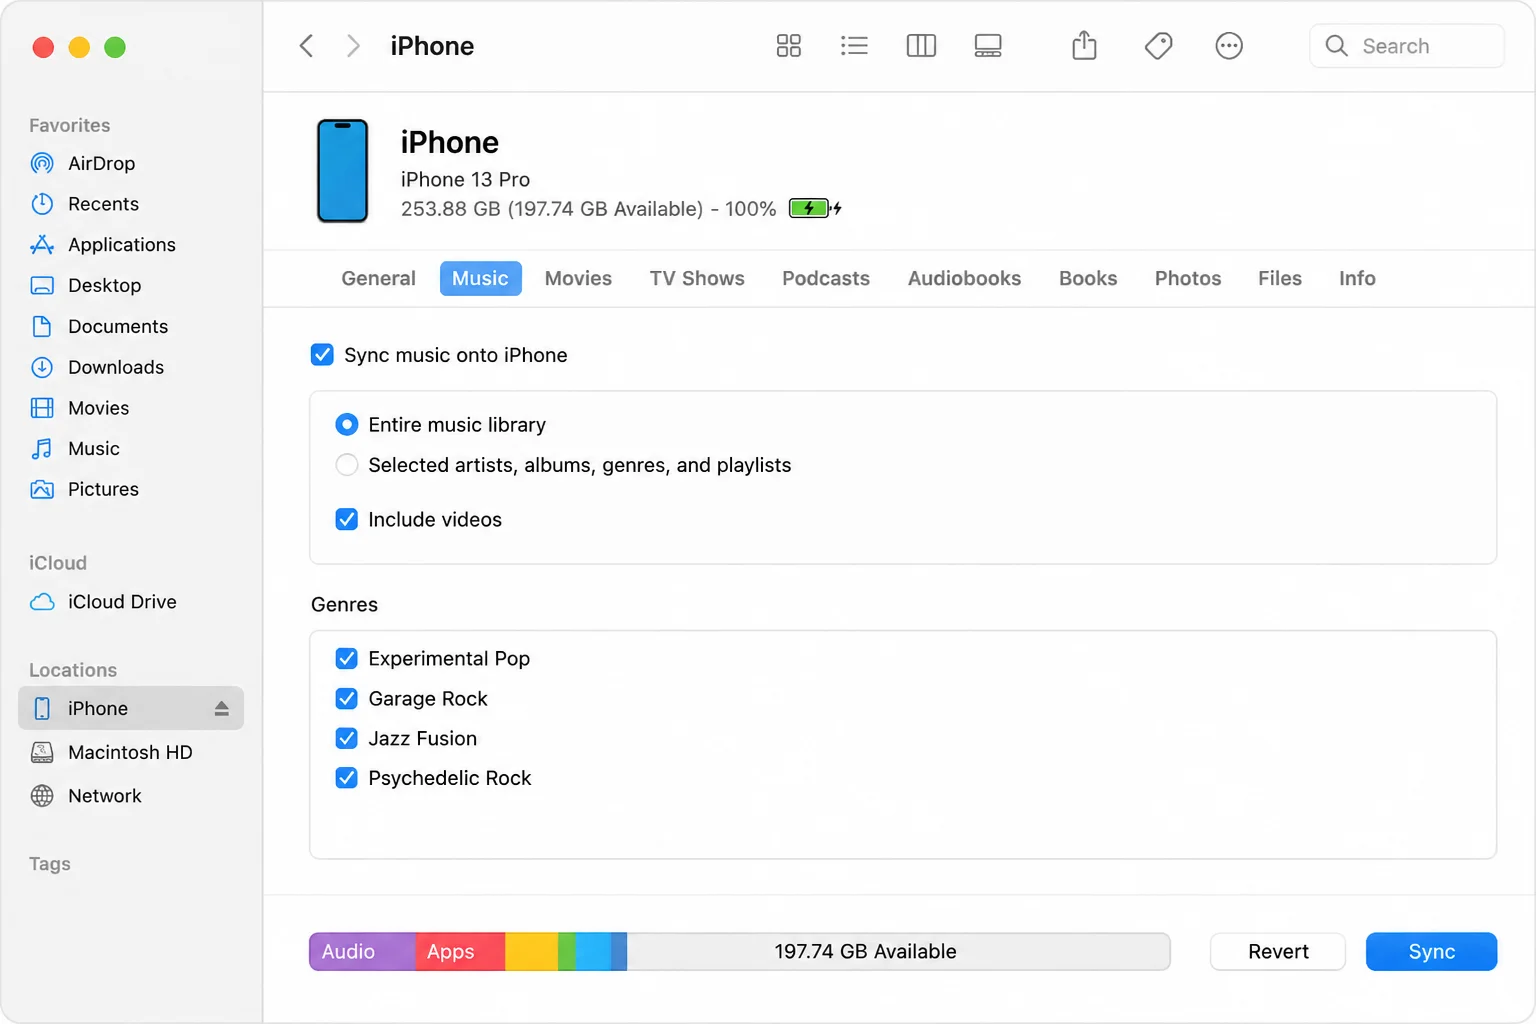
You don’t need to enable Manually manage music and videos solely to copy a ringtone. That setting controls broader media management and can create unwanted sync changes if you already use Apple Music.
Create and Transfer the Ringtone on Windows
Apple continues to offer iTunes for Windows media management. The interface is dated, but it handles the conversion and device transfer in one app.
Convert the Audio
- Open iTunes and add the trimmed file with File > Add File to Library.
- Open Edit > Preferences > General, select Import Settings, and set Import Using to AAC Encoder.
- Right-click the imported track and open Song Info.
- Under Options, confirm that the clip is no longer than 30 seconds.
- Select the track and use the available AAC conversion command. Depending on the installed iTunes version, you’ll find it under File > Convert or in the track’s context menu.
- Drag the new AAC copy to a folder in File Explorer.
- Turn on View > Show > File name extensions in File Explorer, then rename the file from
.m4ato.m4r.
Copy It to the iPhone
- Connect and unlock the iPhone, then approve the trust prompt if it appears.
- Select the device button in iTunes.
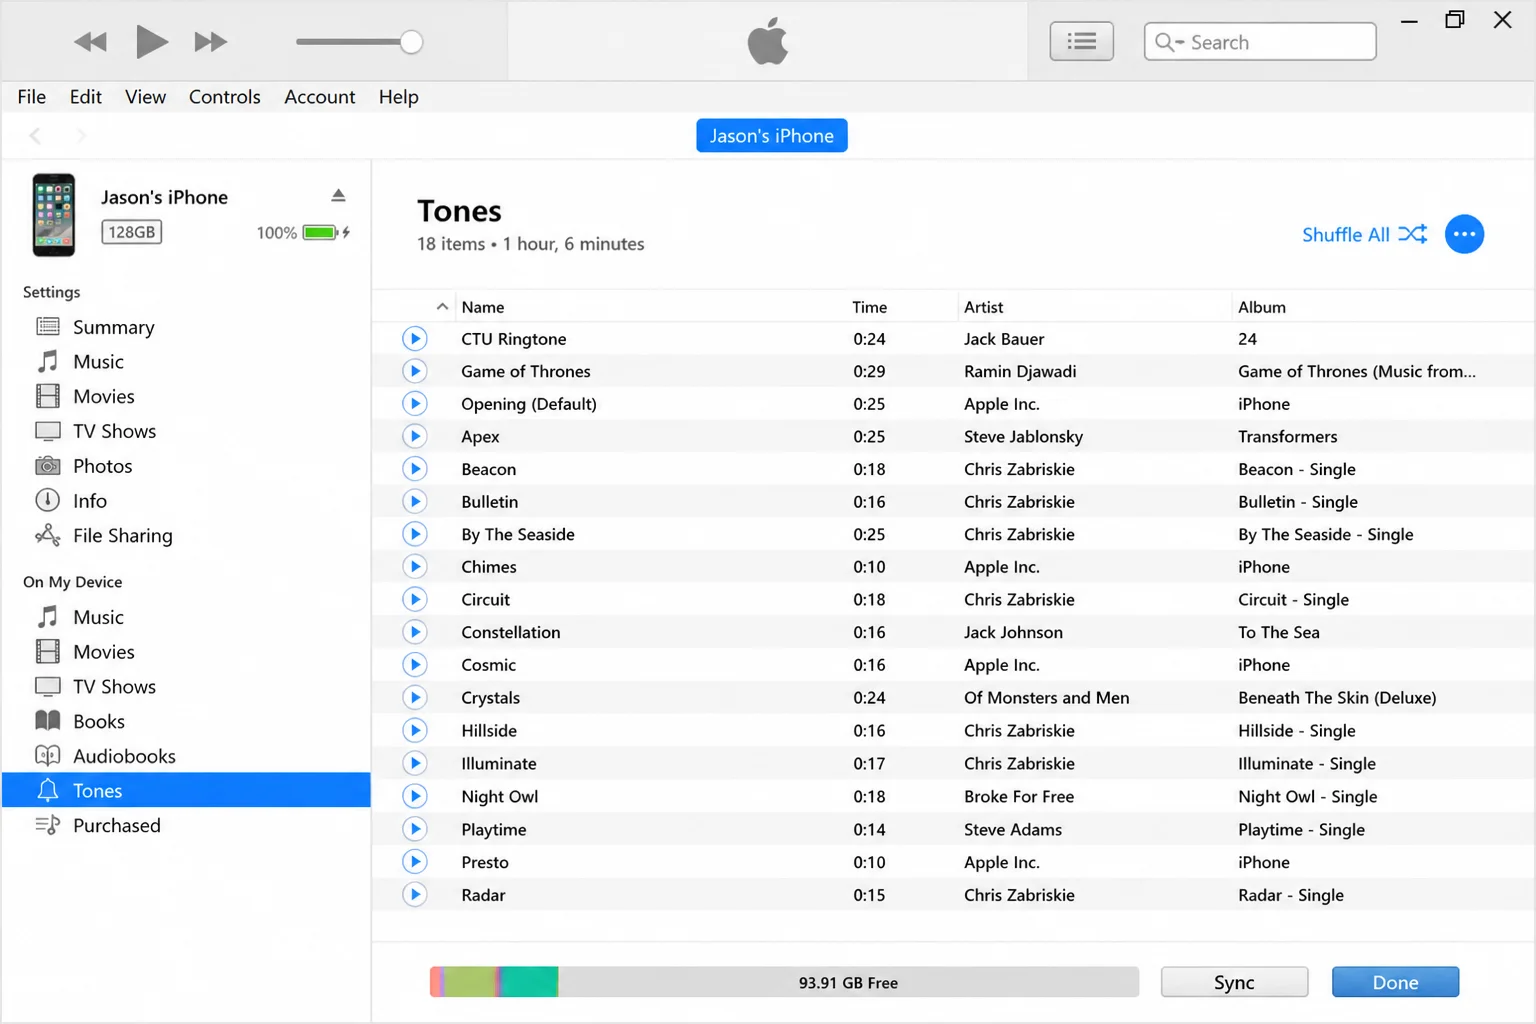
- Find the device’s Tones section and drag the
.m4rfile into it. The section’s placement can differ between iTunes releases.
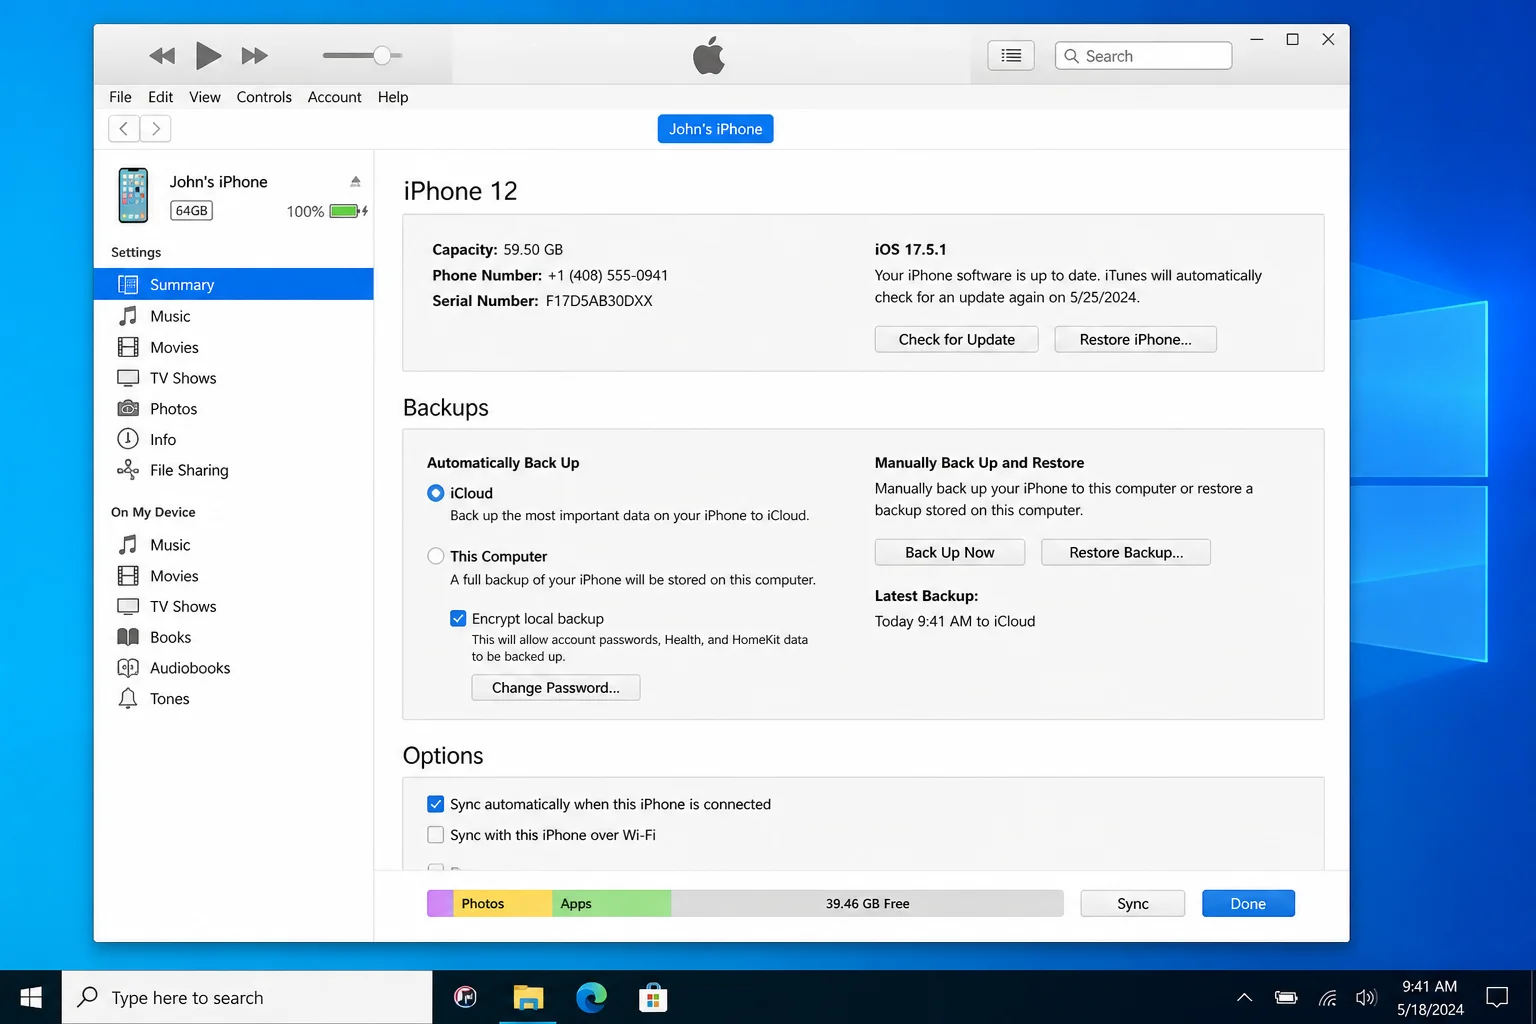
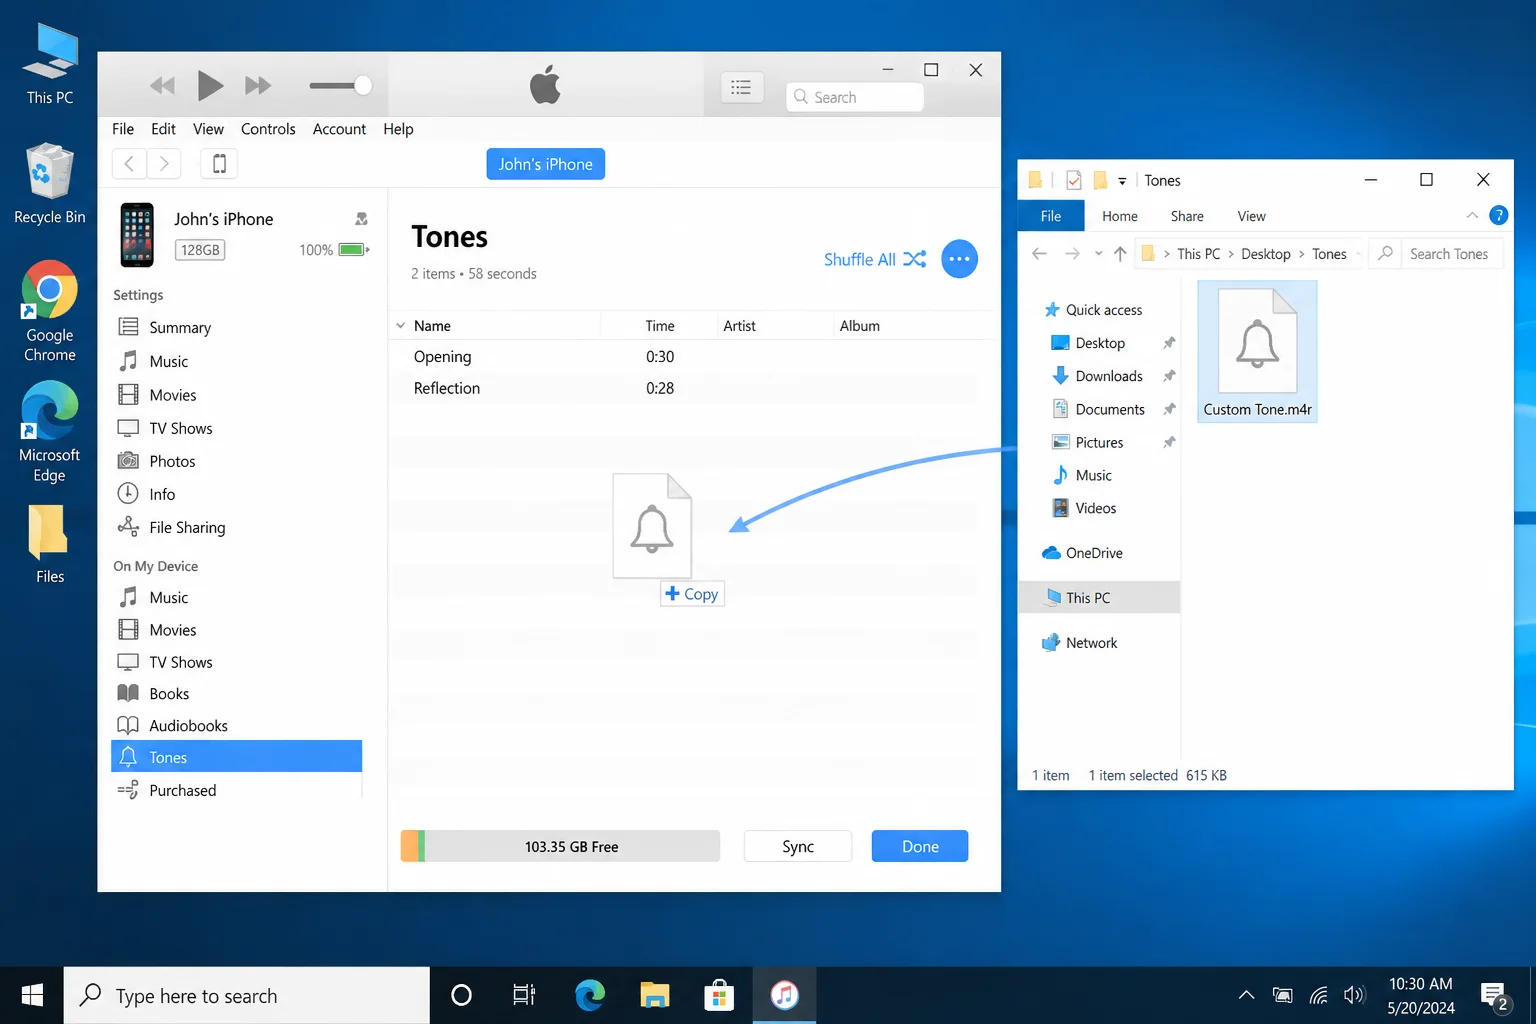
- Apply or sync the change, then wait for iTunes to finish.
Select the Custom Ringtone on Your iPhone
Once the transfer finishes:
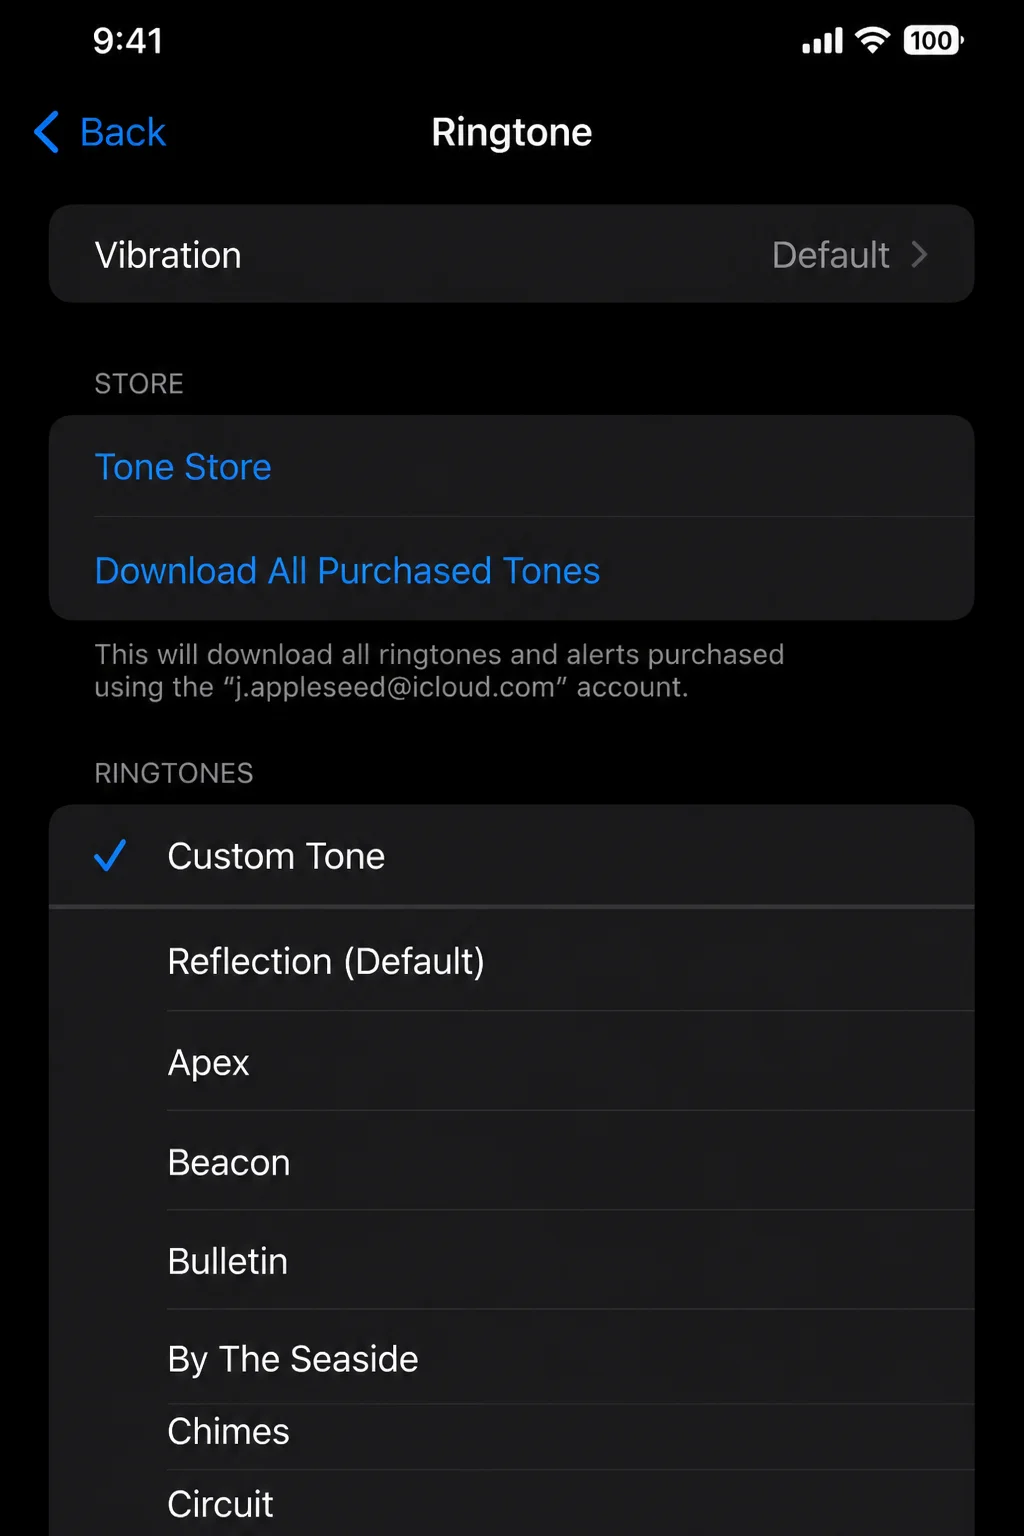
- Open Settings.
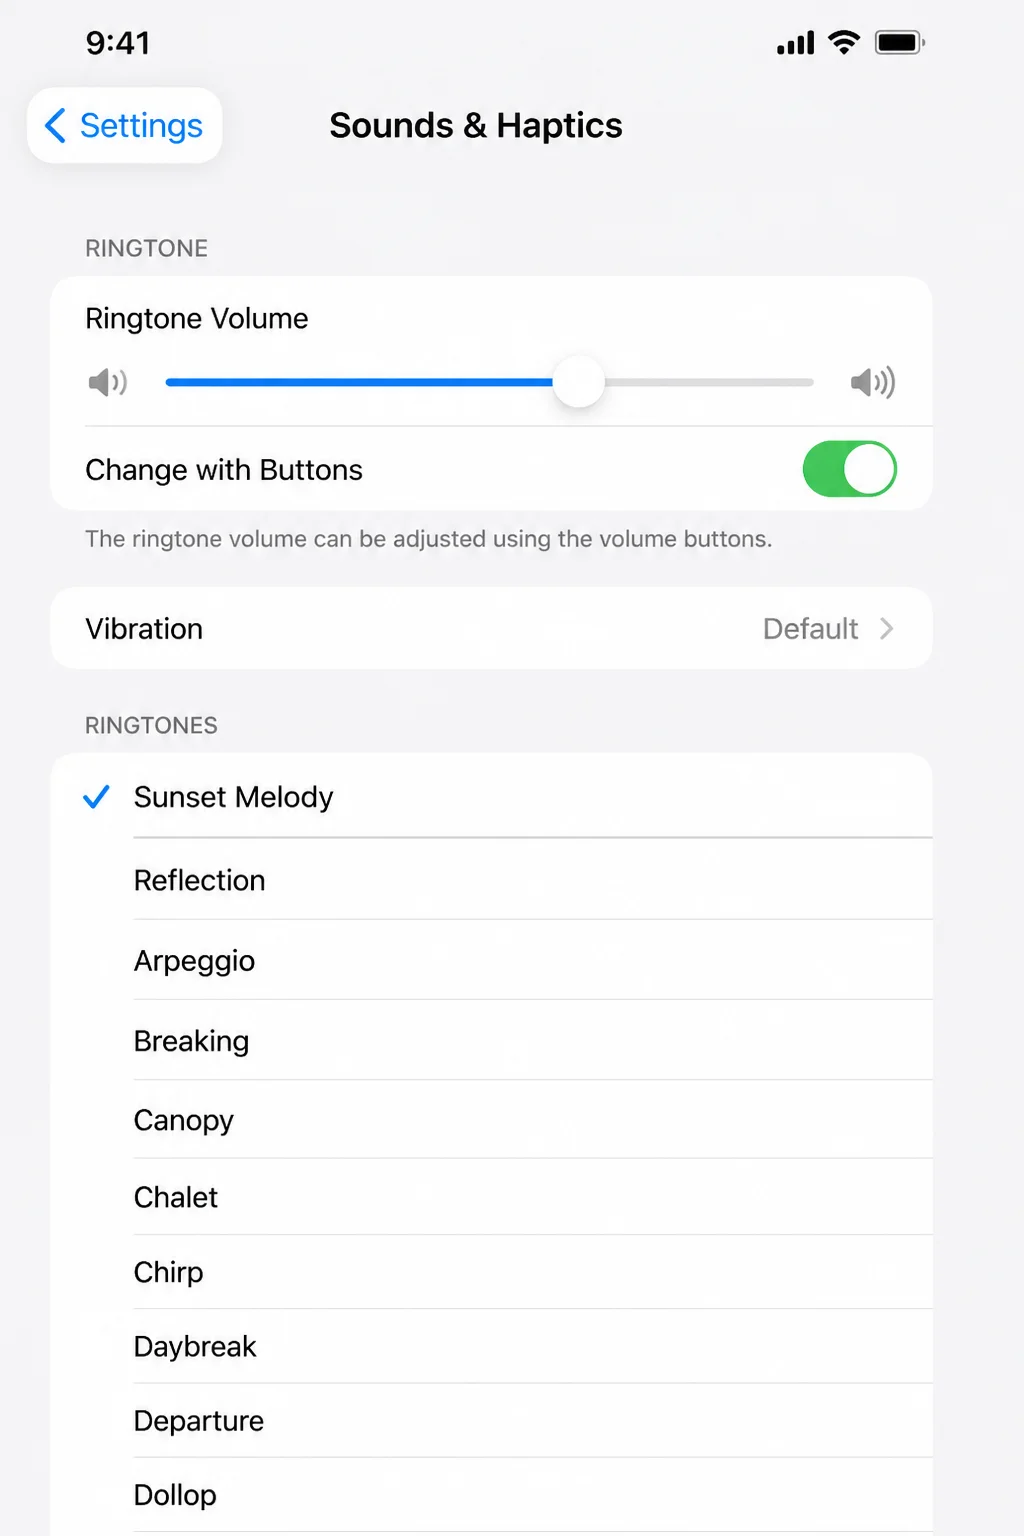
- Go to Sounds & Haptics > Ringtone.
- Tap the custom tone. A checkmark confirms your selection.
To assign the sound to one person, open Contacts, select the contact, and tap Edit > Ringtone. Contact-specific tones override your default ringtone.
If the Ringtone Doesn’t Appear
If you’ve been staring at the ringtone list and your new file is missing, don’t panic. One of these checks usually solves the problem.
Confirm the File Extension
The filename must end in .m4r. A file named Custom Tone.m4r.m4a is still an M4A file, even if Finder or File Explorer hides the final extension.
Turn on filename extensions and inspect the complete name.
Shorten the Clip
Trim the audio to 30 seconds or less and create the AAC version again. I’d use 28 or 29 seconds to leave a little margin.
Reconnect the iPhone
Disconnect the cable, unlock the iPhone, and reconnect it. Confirm any trust prompts on both devices before attempting another transfer.
Restart the Apps
Quit Music and Finder on Mac, or close iTunes on Windows. Reopen the relevant apps and copy the .m4r file again.
Remove and Re-create the AAC Copy
If renaming the extension didn’t work, return to the original trimmed file and create a fresh AAC version. Renaming an MP3 directly to .m4r doesn’t convert its audio format.
Apple’s ringtone workflow remains more awkward than it should be, but the finished file stays available in Settings > Sounds & Haptics > Ringtone. Once the transfer succeeds, you’re no longer dealing with the same default tone as every nearby iPhone.