You should know because you can
Since iOS 11, it has been possible to unzip or compress files on Apple iOS products within the default Files app. This means that zipping and unzipping files on iOS is very easy and there’s no risk doing it on your iOS device.
The process is straightforward and will take just a few minutes to learn. For those that want more control over the archives they create, we’ll also suggest some alternative apps you can use to zip and unzip files on iOS.
How To Unzip Files On iOS
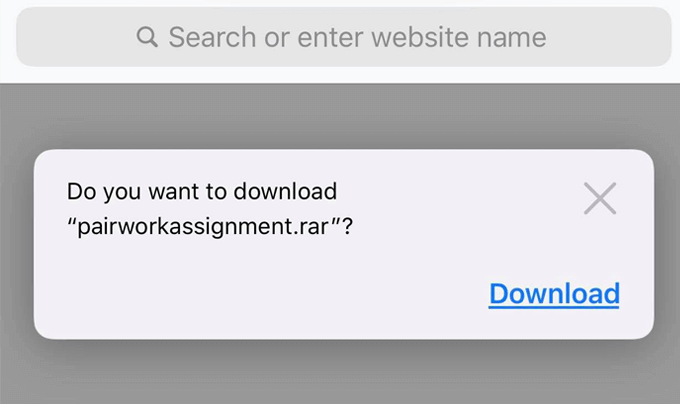
First, you’ll need to have your archive file on your iPhone. You can download this in Safari, via email, or from contacts on instant messaging apps. Simply tap the file link and a message prompt will ask you whether you’d like to download it. Tap download and the file will be saved to your files app.
- Swipe down from the home screen to access search.
- Search for Files and tap the Files app when it appears.
- You can find the recently downloaded zip file by tapping recents or by searching for the file name.
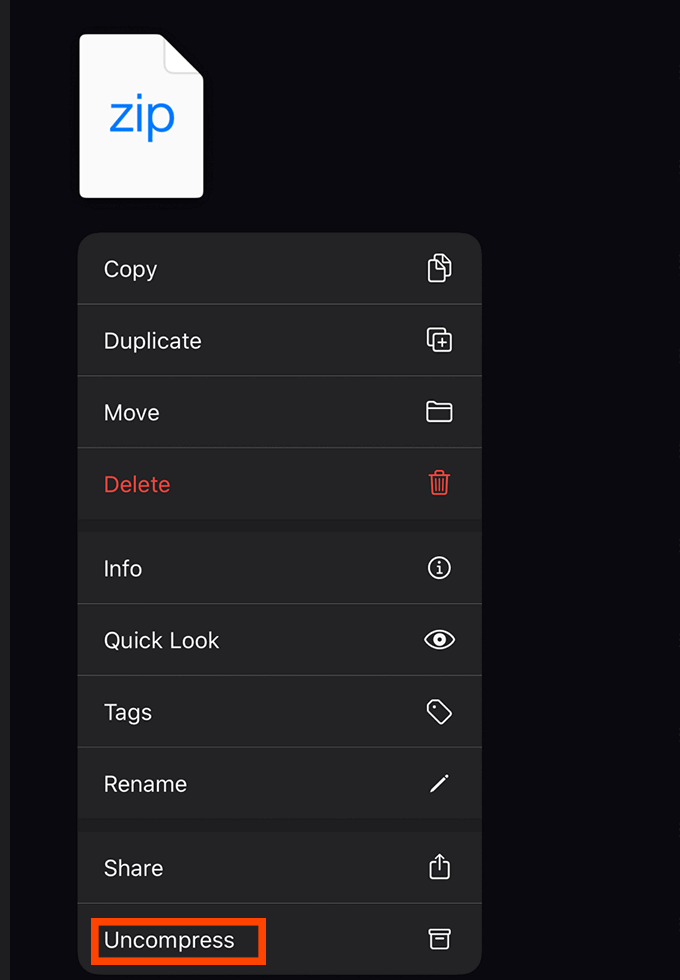
- Next, navigate to the location that the .zip file was saved to. Long press the .zip file and new options will appear. Tap Uncompress and the files will be uncompressed into a new folder.
- On an iPhone, the original .zip file will remain after uncompressing it. To delete it, long press the .zip file and press delete.
How To Zip Files On iOS
If you’d like to zip files up on an iPhone, it’s very simple. First, you’ll need to move the files you’d like to compress into a single folder.
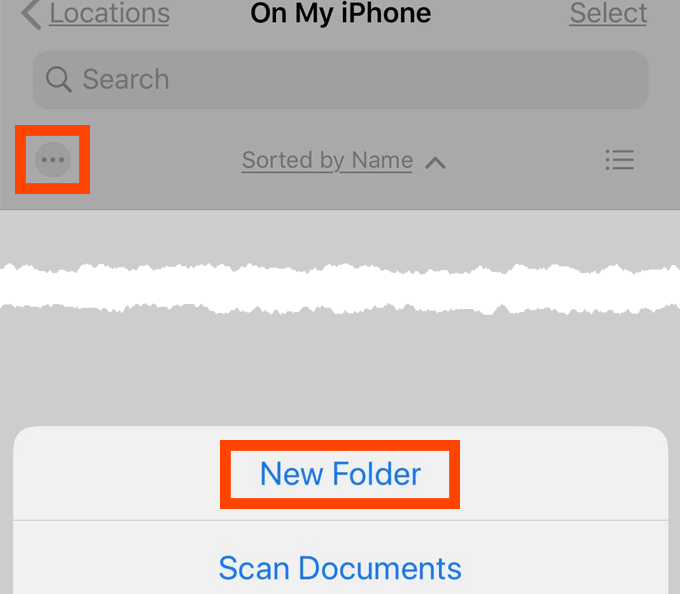
- Create the folder by swiping down in the Files app.
- Tap the three dots icon on the left side.
- Tap New Folder – give it a name and tap done
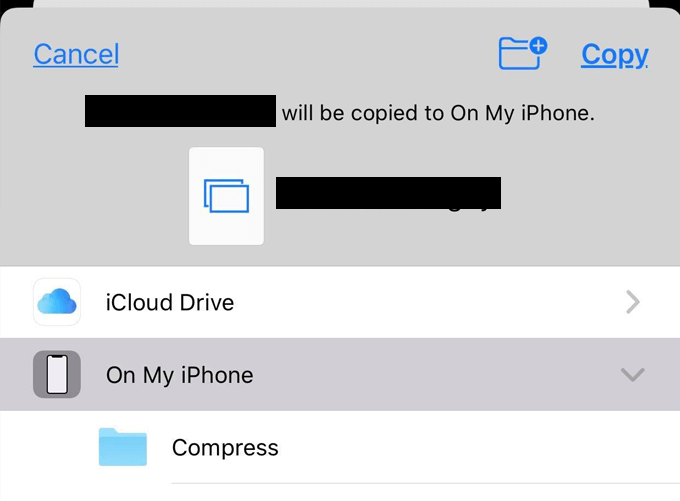
Now that you have a folder, it’s time to move your files to it. Repeat step 1 and 2 for each file you’d like to add to your new zip file.
- Find the file in your files app, long press it and tap move.
- Tap the folder you just created.
- Repeat the steps above for each file.
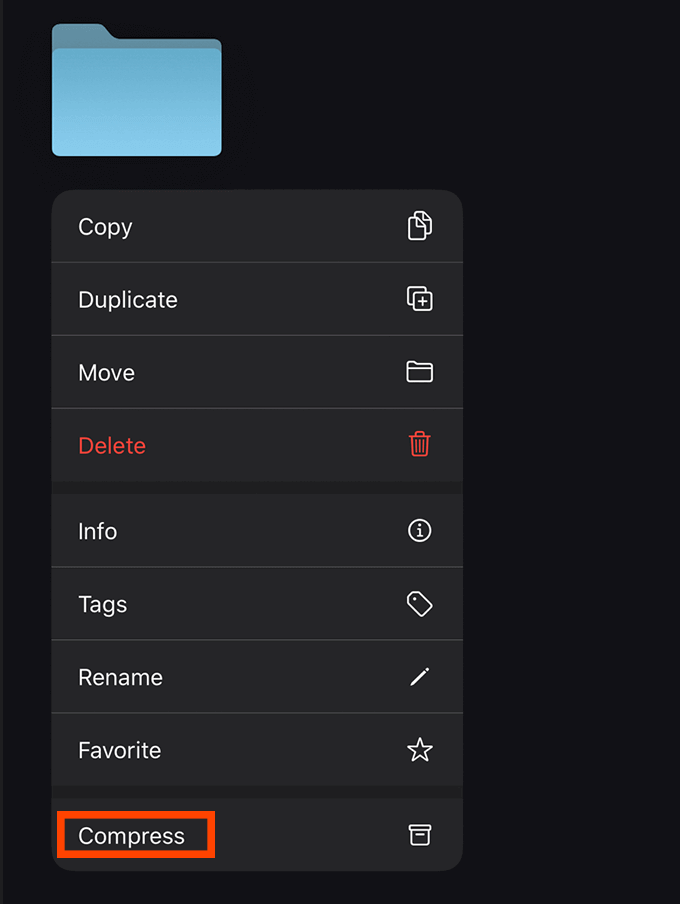
- Once you’ve moved all of your files, long press the folder you created and a list of actions will appear.
- From here, tap Compress. The Files app will automatically create a new .zip file for you that you can send to others, transfer to other devices, or keep on your iPhone.
Why Should You Create Zip Files On iOS?
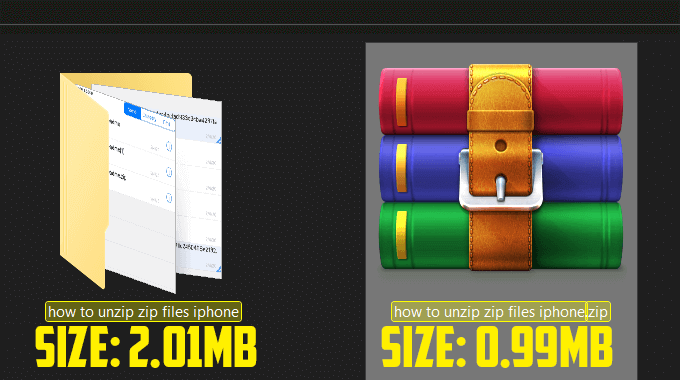
Creating a .zip file is a process known as compressing. It gets that name for a reason. When you zip files together, the files are compressed and the overall file size is reduced. This means that you can store more files on your phone by zipping files together.
When you are ready, you can decompress archives and the content of the zip archive will be added to your device in their original quality. If you have thousands of photos or videos, creating archives could be a great way to save storage space.
You must remember that file browsers and apps cannot access the files in the archive until they are decompressed again. You should only archive files if you know you aren’t going to be accessing those files regularly.
Zipping files can also be a great way to send files to others. It’s very easy to zip together multiple files and folders into one archive, then send that single archive via email or instant messaging. If you try to send multiple files and folders without archiving them first, you’ll find that it’ll take a lot of time to send over each file manually.
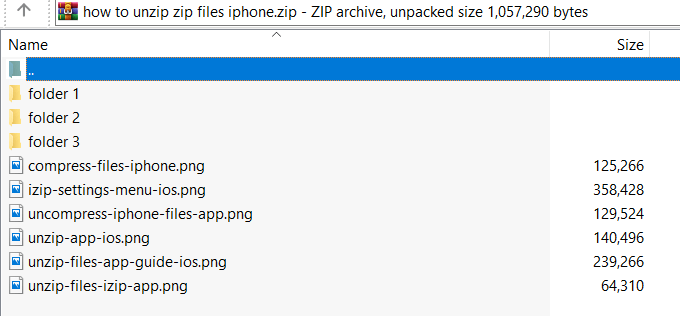
As .zip archives reduce the overall size of files, you can use zipping to reduce upload and download times for files that you share too.
Alternative Zip & Unzip Apps On iOS
Whilst you can use the default Files app on iOS to zip and unzip files, if you want more control, you can use an alternative app from the App Store.
These apps can add new archive file formats, introduce encryption, or add passwords to your zip files.
Before we showcase these apps, please remember that these are third party apps so we cannot expect as smooth of an experience as the default Files app. With third party apps, ads or in-app purchases must be expected.
iZip
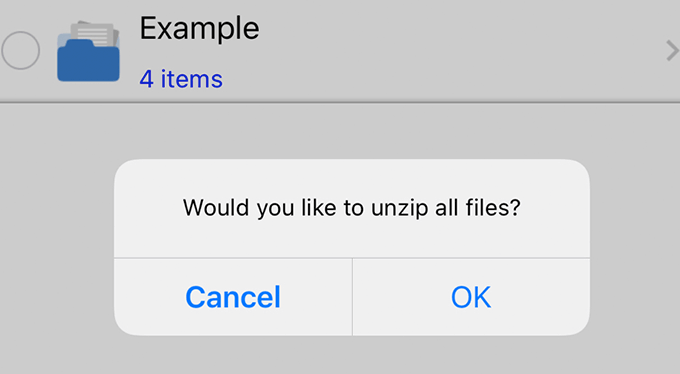
iZip has a straightforward file browser with plenty of advanced features in the settings menu. You can browse for specific categories, such as files, photos, audio and documents. You can also browse files via Google Drive, Dropbox, Box, and OneDrive.
With this approach, it can be difficult to select multiple folders at once, or multiple files of different file types. Instead, you’ll need to go through and select files of similar file types and archive them together.
For example, you can select multiple videos at once, or multiple selfie photos at once, but not both types together.
Once you’ve selected files, you can then tap to zip them in iOS and a new archive will be created immediately. To unzip files, simply tap an archive and you’ll be prompted to decompress them.
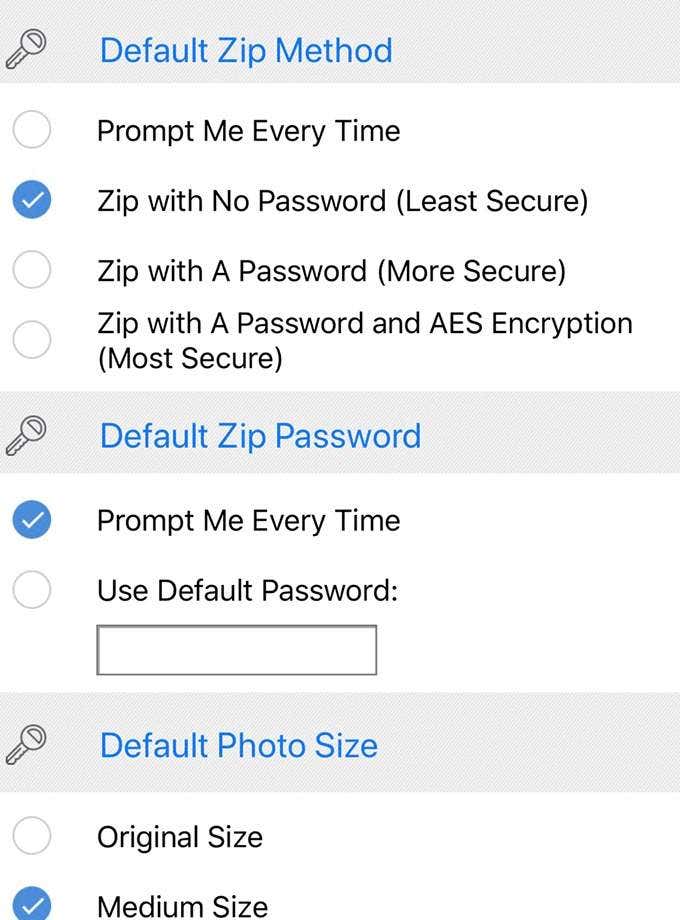
To change the settings for zipping files, tap the settings button in the top right. From there you can choose what settings you’d like to automatically apply each time you create a zip archive.
iZip isn’t perfect, but it is relatively unobtrusive with its ad placements and the functionality works well, even if you have to tap through more menus to get to the features you need.
Unzip
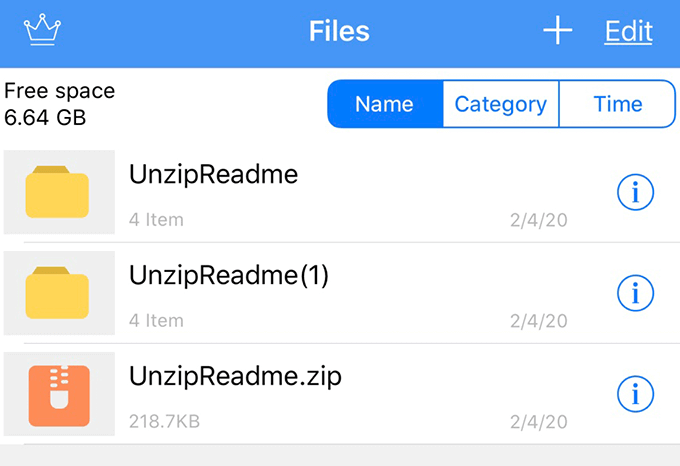
Unzip is an archiving app that has been designed to be as simple as possible to use. Tap an archive file and it will automatically uncompress without any other menus or prompts. By default, Unzip also has very limited access to your files, so if you are worried about privacy, Unzip is a great option.
To gain access to more files, you must press the + button at the top right and tap import photos or import music. You can then select which files or photos to import. A permission request will appear every time you request new files.
If you want to add a passcode lock for your archives and remove ads, you must purchase the pro version for $1.99. Alternatively you can purchase each feature (ad removal and passcode lock) for $1. Without this, the ads can be a bit intrusive – you have regular 5 second unskippable ads and banner ads at the bottom of the app.
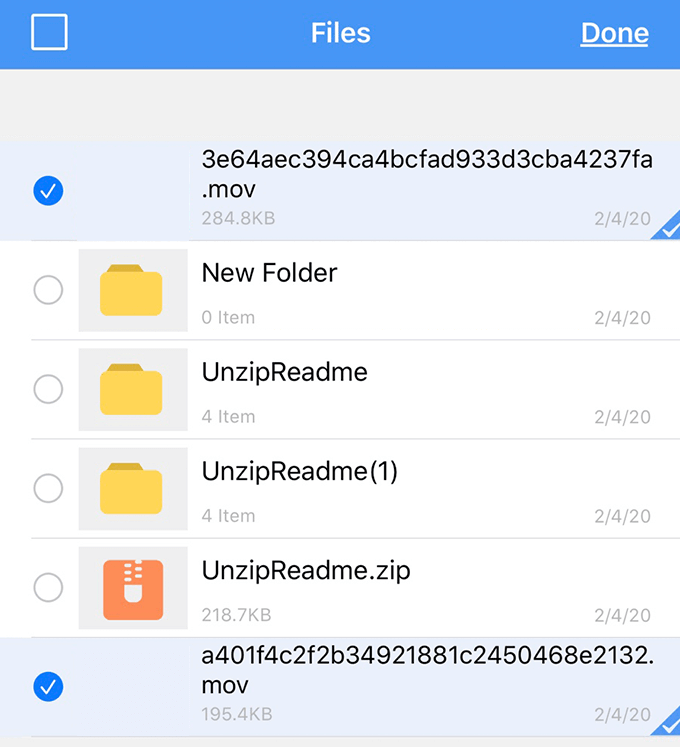
To create a zip file, you must tap the edit button in the top right, then tap to select the files you’d like to archive. When archiving, you have the option to add standard password protected encryption too.
In summary, Unzip is far simpler than iZip and there’s more control over what files it accesses – you get less control over archive file type or compression settings, but it’s a great alternative for those that want to unzip files at the tap of a button.
Summary
Did this article help you to learn how to unzip and zip files on iOS? Have any questions for us or tips of your own? Join in the comments section below and we’ll see you there.


