In case it doesn't do it automatically
The AirPods’ firmware consists of complex hardware-level programming that allows for each internal component to function correctly. It’s also upgradeable. Hence, Apple releases newer versions of the firmware, and they often contain bug fixes, performance enhancements, and (to a lesser extent) feature additions.
By design, your AirPods, AirPods Pro, or AirPods Max update themselves via your iPhone without you even knowing. But if that fails to happen, you may want to take matters into your own hands and force-update the firmware manually.

Why You Should Update Your AirPods’ Firmware
Most of the time, your AirPods should automatically update within a few days of a new firmware release. However, here are a couple of reasons why you should actively check for and update the firmware.
Encountering Issues on AirPods
AirPods work flawlessly with the iPhone and other Apple devices such as the iPad and Mac. But if your wireless earbuds or headphones start to exhibit unusual behavior (random disconnects, microphone failures, only one AirPod working, etc.), a firmware update may just be what they need.

Of course, that’s assuming you’ve already finished working your way through any applicable fixes related to the issue.
Missing Features on AirPods
AirPods can receive feature additions via firmware updates. For instance, Spatial Audio on the AirPods Pro (which delivers surround sound and 3D audio) only works with firmware update 3A283 and newer.

So if you find a particular feature missing within the AirPods’ Bluetooth settings on your iPhone, you’re likely running a dated version of the firmware.
How to Check the AirPods Firmware Version
Check the firmware version before attempting to upgrade the firmware on your AirPods. The update could have happened automatically too. The following steps should help you figure out the current firmware version on the AirPods (1st and 2nd generations), AirPods Pro, and AirPods Max.
1. Connect the AirPods to your iPhone.
2. Open the iPhone’s Settings app.
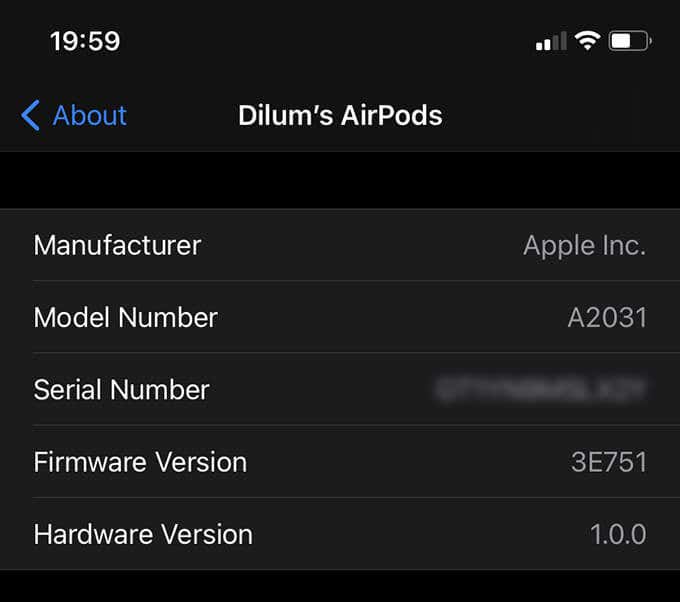
3. Tap General > About.
4. Scroll down and tap [Your Name]’s AirPods.
5. Note down the build number next to Firmware Version.

Apple does not provide official documentation that you can reference to check the latest firmware version specific to your AirPods. But a brief search in Google for “latest firmware version for [AirPods model]” should help you figure that out quickly.
If the firmware on your AirPods appears out of date, the instructions within the next section should help you update it.
How to Update the AirPods Firmware
You won’t find an option or a toggle on your iPhone to initiate an over-the-air AirPods firmware update. However, you can set up your AirPods and iPhone in a way that can trigger the update.
You don’t have to do anything complicated, and the steps below work almost all the time. They apply to the AirPods (1st and 2nd generations), AirPods Pro, and AirPods Max.
1. Connect your iPhone to a Wi-Fi network.
2. Ensure that Low Power Mode and Low Data Mode are not active on the iOS device.
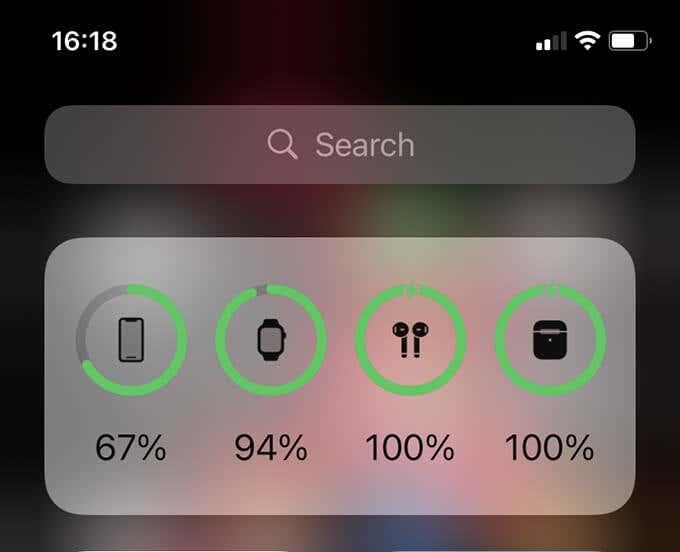
3. Put your AirPods inside the Charging Case, Wireless Charging Case, or Smart Case. Then, connect the AirPods to a power source and wait until they’ve charged 50% or more. You can check the charge level using your iPhone’s Batteries widget.

4. Place your iPhone right next to the AirPods and leave both devices alone for at least 30 minutes. The firmware should update in the meantime.
5. Go to Settings > General > About > [Your Name] AirPods and check Firmware Version again to confirm that the update has taken place.
However, if the firmware version appears the same as before, leaving the iPhone and the AirPods next to each other for an extended amount of time (say, overnight) can help. It’s also best to hook up your iPhone to its charger.
Note: AirPods work with Android phones as well. But as Apple uses iOS as the bridge to update the AirPod firmware, an Android phone won’t be able to do the same. If you don’t want to stay stuck on the original firmware, ask someone with an iPhone to update the AirPods for you.
Can’t Update the AirPods’ Firmware? Reset and Try Again
If you can’t get the firmware on your AirPods to update, try resetting and reconnecting them to your iPhone. The procedure is the same for the AirPods (1st and 2nd generations) and AirPods Pro, but slightly different on AirPods Max. Once you’ve done that, repeat the instructions in the previous section again.
Reset AirPods (1st and 2nd Gen) and AirPods Pro
1. Put your AirPods inside the Charging Case or Wireless Charging Case.
2. Close the lid, wait for a few seconds, and re-open it.
3. Press and hold the Setup button until the case’s status indicator flashes amber.
4. Close the lid and reopen it again.
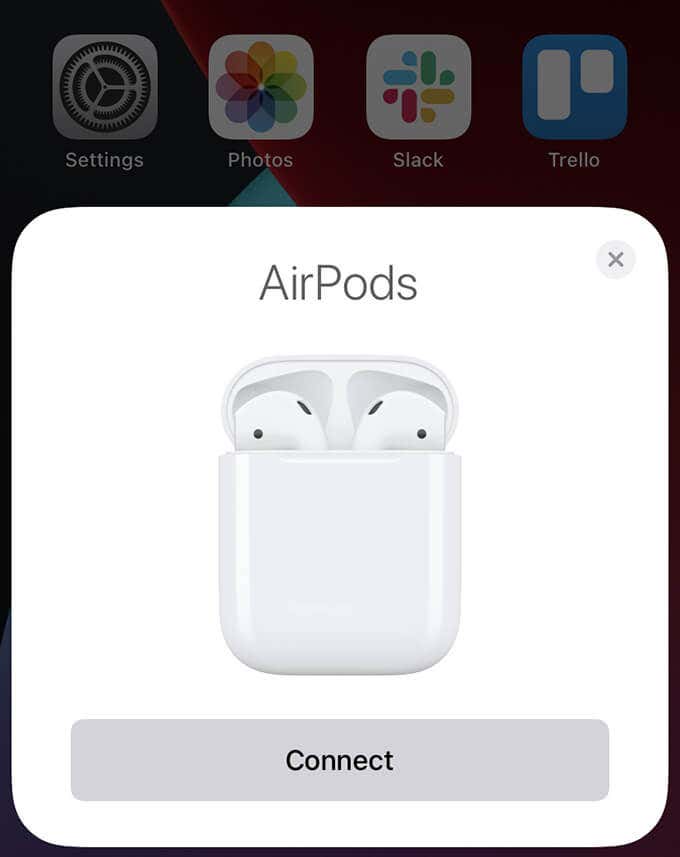
5. Tap Connect to reconnect the AirPods to your iPhone.

Reset AirPods Max
1. Put your AirPods Max inside the Smart Case.
2. Press and hold the Digital Crown and the Noise Control button together until the status indicator flashes amber.
3. Take your AirPods Max out of the Smart Case and tap Connect on your iPhone.
Keep Your AirPods Updated
Unless you keep experiencing constant issues or missing features on your AirPods, you don’t have to go out of your way to initiate a firmware update. Instead, just continue to use them normally, and they should update automatically.
Now that you’ve upgraded the firmware (or figured out that you don’t have to), check out these 19 tips to improve the AirPods experience.


