
Water droplets love triggering random screen taps on your Apple Watch. They end workouts mid-lap or accidentally call emergency services from the pool deck. Water Lock solves this by disabling touch input while keeping your fitness tracking active.
This guide covers enabling Water Lock before you get wet, using it during activities, and properly ejecting water when you’re done. No more babying your watch around water.
What is Apple Watch Water Lock?
Water Lock disables your Apple Watch’s touchscreen and wake gestures when water might hit the display. Your Apple Watch Series 2 or later handles water just fine, it’s rated for 50 meters. But preventing accidental touches requires this software feature.
The clever part is the water ejection system. When you disable Water Lock, your watch uses sound waves to push water droplets out of the speaker. It’s surprisingly effective and oddly satisfying to watch.
Prerequisites
Before you start using Water Lock, make sure you have:
- [ ] Apple Watch Series 2 or later (original Apple Watch doesn’t support Water Lock)
- [ ] watchOS 3 or later (check in the Watch app on your iPhone under General > About)
- [ ] A properly fitted watch band that won’t slip during water activities
- [ ] Basic familiarity with your Apple Watch’s Digital Crown and side button
| Requirement | Details |
|---|---|
| Device | Apple Watch Series 2, 3, 4, 5, 6, 7, 8, 9, 10, 11 Ultra, Ultra 2, or Ultra 3 |
| OS version | watchOS 3 or later (check in Watch app > General > About) |
| Water resistance | 50 meters for all compatible models |
| Band compatibility | Any Apple Watch band, but Sport bands work best for water activities |
Understanding Water Resistance vs. Water Lock
Your Apple Watch being “water-resistant” doesn’t mean it’s immune to water-related interface problems. These protect against different issues.
Water Resistance protects internal components from water damage. Your Apple Watch can handle swimming, showering, and shallow water activities without breaking.
Water Lock protects the user experience. Without it, water droplets on your screen can:
- Launch random apps mid-workout
- Trigger emergency SOS calls
- Pause or end your swimming session
- Change workout settings accidentally
- Wake the screen unnecessarily (draining battery)
Water Lock prevents these frustrations while keeping essential functions active. Heart rate monitoring and workout tracking still work. You’ll still get credit for your laps.
Step-by-Step Guide
Step 1: Prepare Your Apple Watch for Water Activities
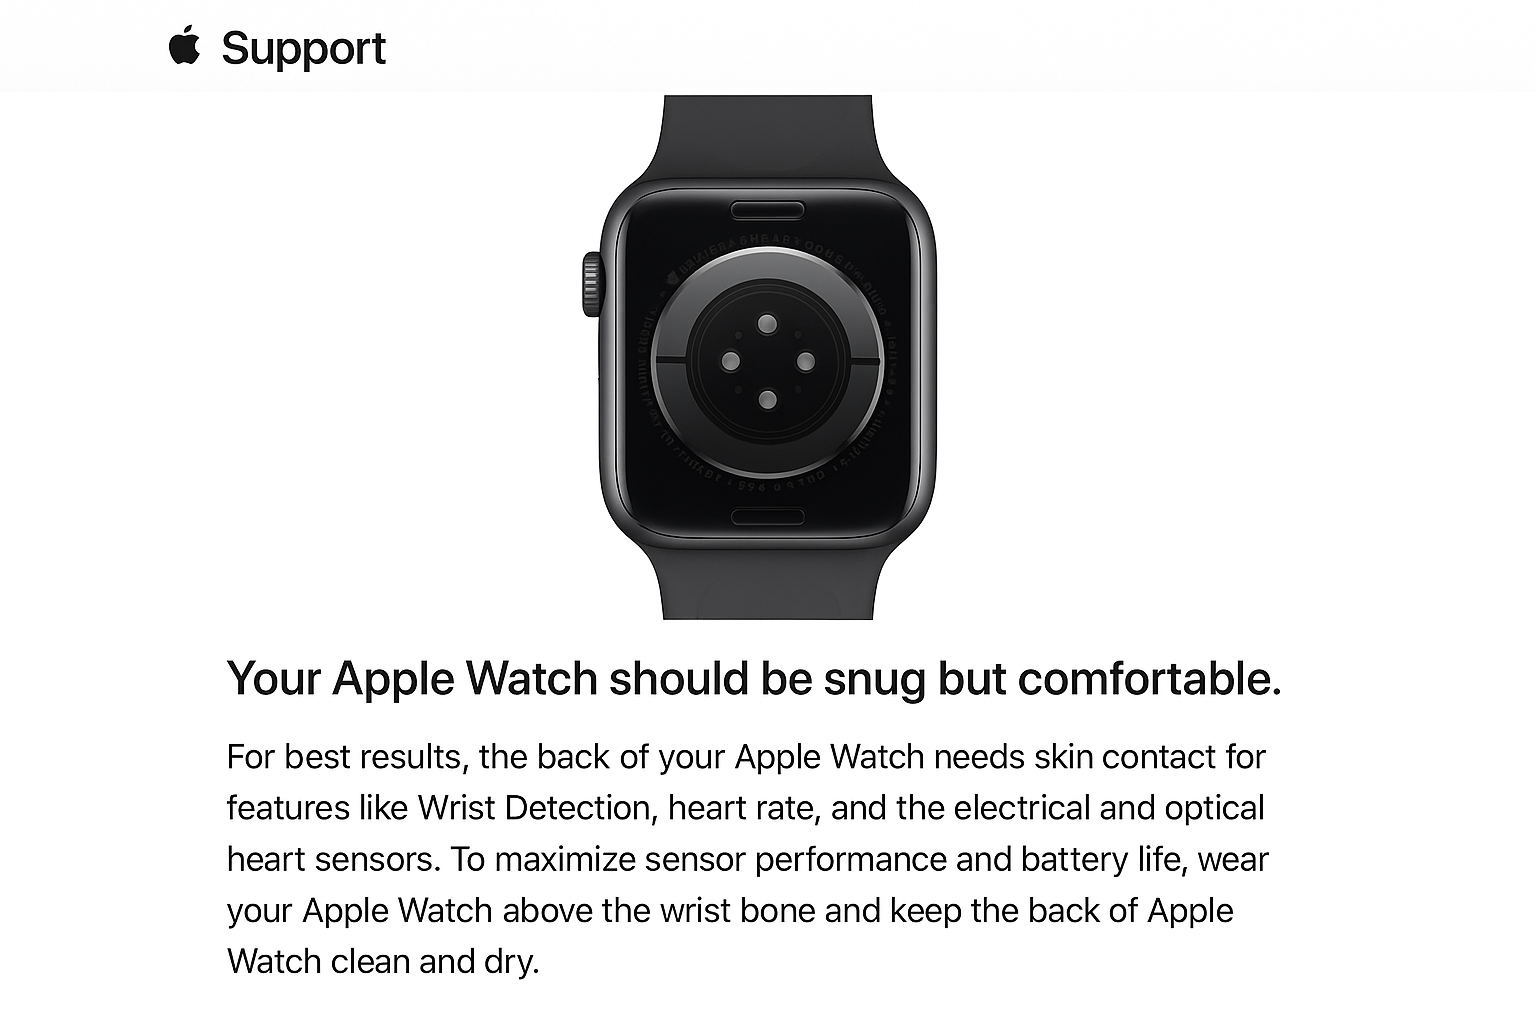
Before entering water, make sure your watch band is snug but comfortable. A loose band affects heart rate tracking and may slip during swimming.
Check your battery level. Water activities with GPS tracking drain battery faster than pool workouts.
Step 2: Start Your Workout First (Recommended)
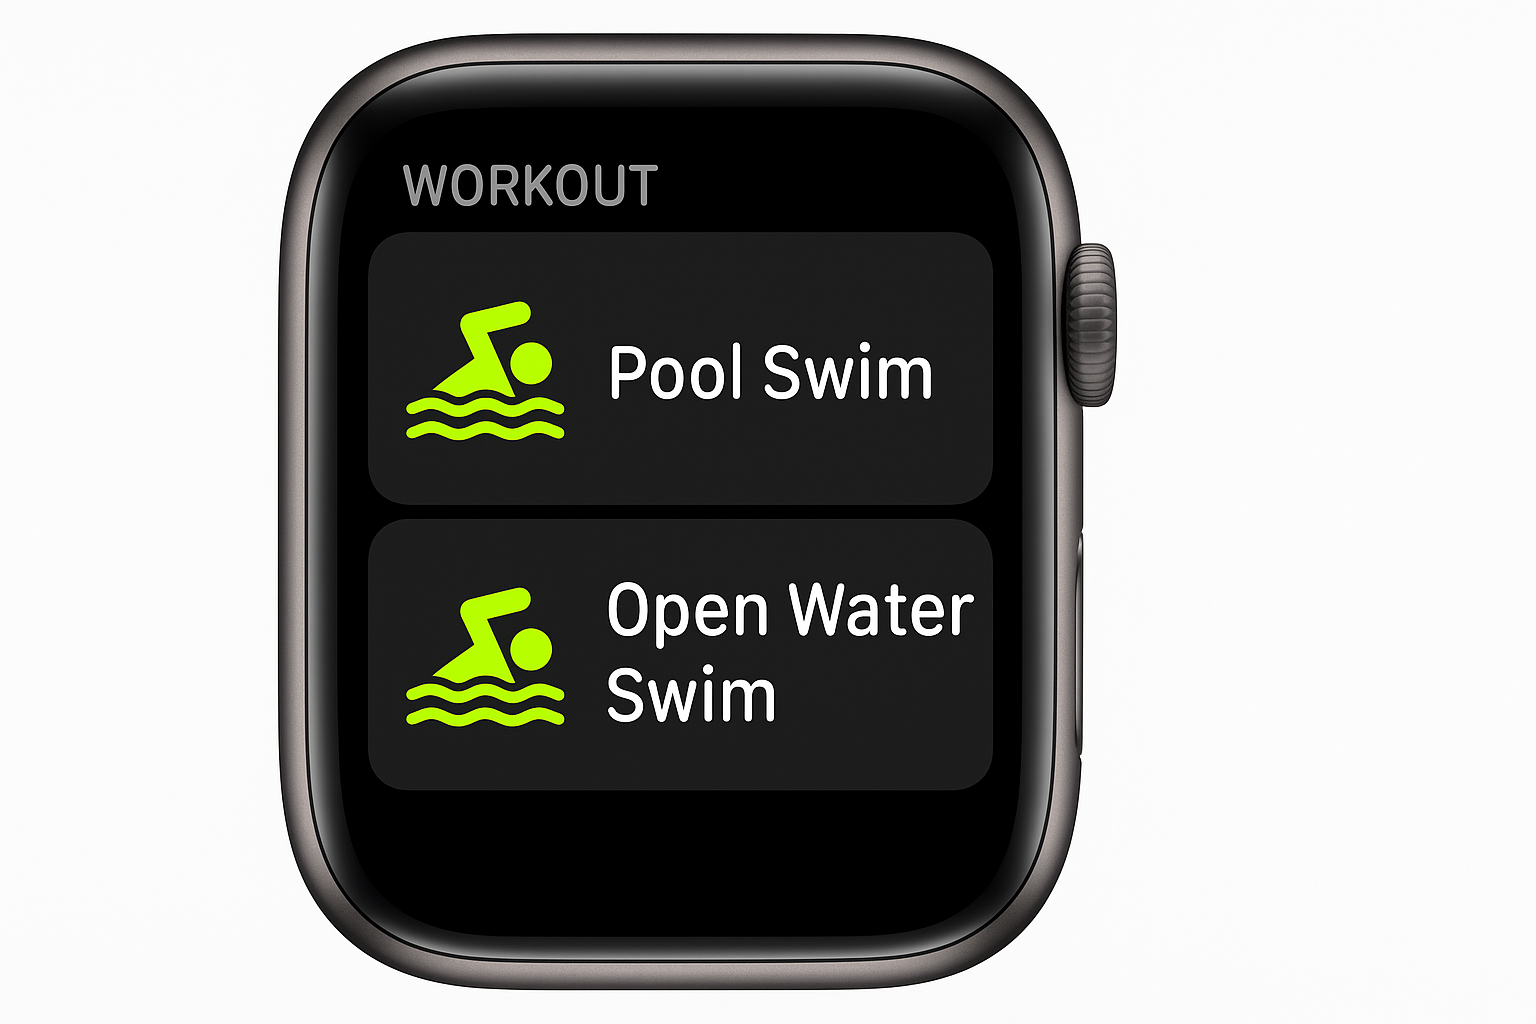
Open the Workout app on your Apple Watch and select your activity:
- Pool Swim for lap swimming with automatic stroke detection
- Open Water Swim for ocean, lake, or river swimming with GPS tracking
- Water Sports for activities like surfing, kayaking, or paddleboarding
Start your workout before enabling Water Lock. This ensures accurate activity tracking and prevents accidental workout changes.
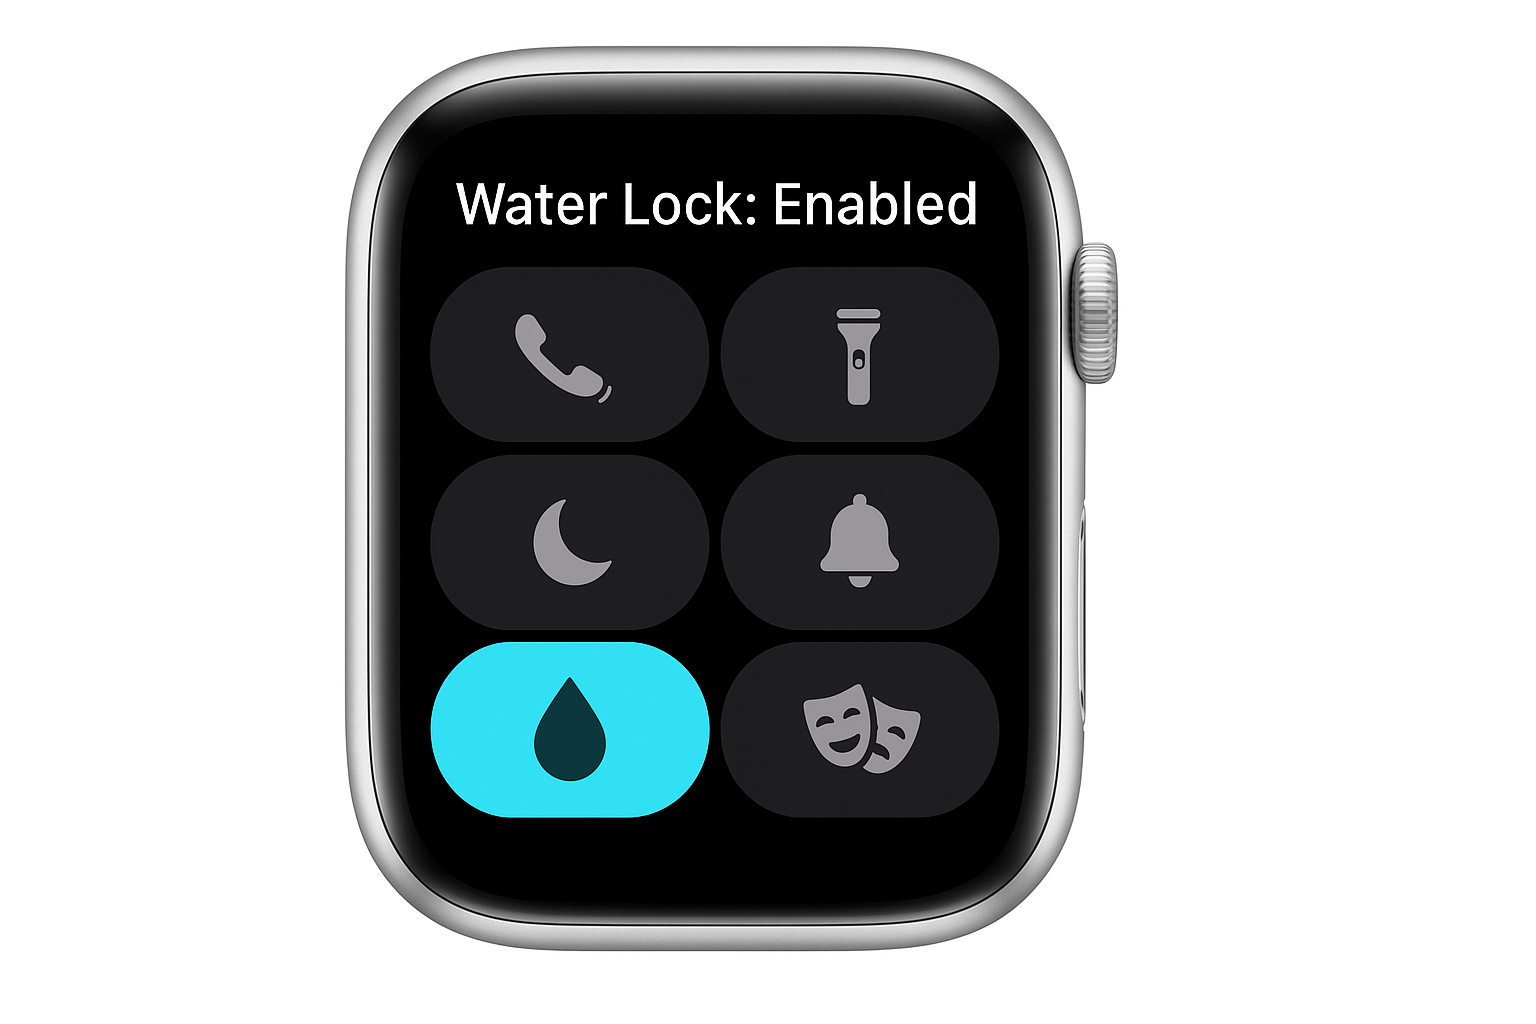
Step 3: Access Control Center
From your watch face, swipe up from the bottom of the screen or press the side button depending on you model to open Control Center.
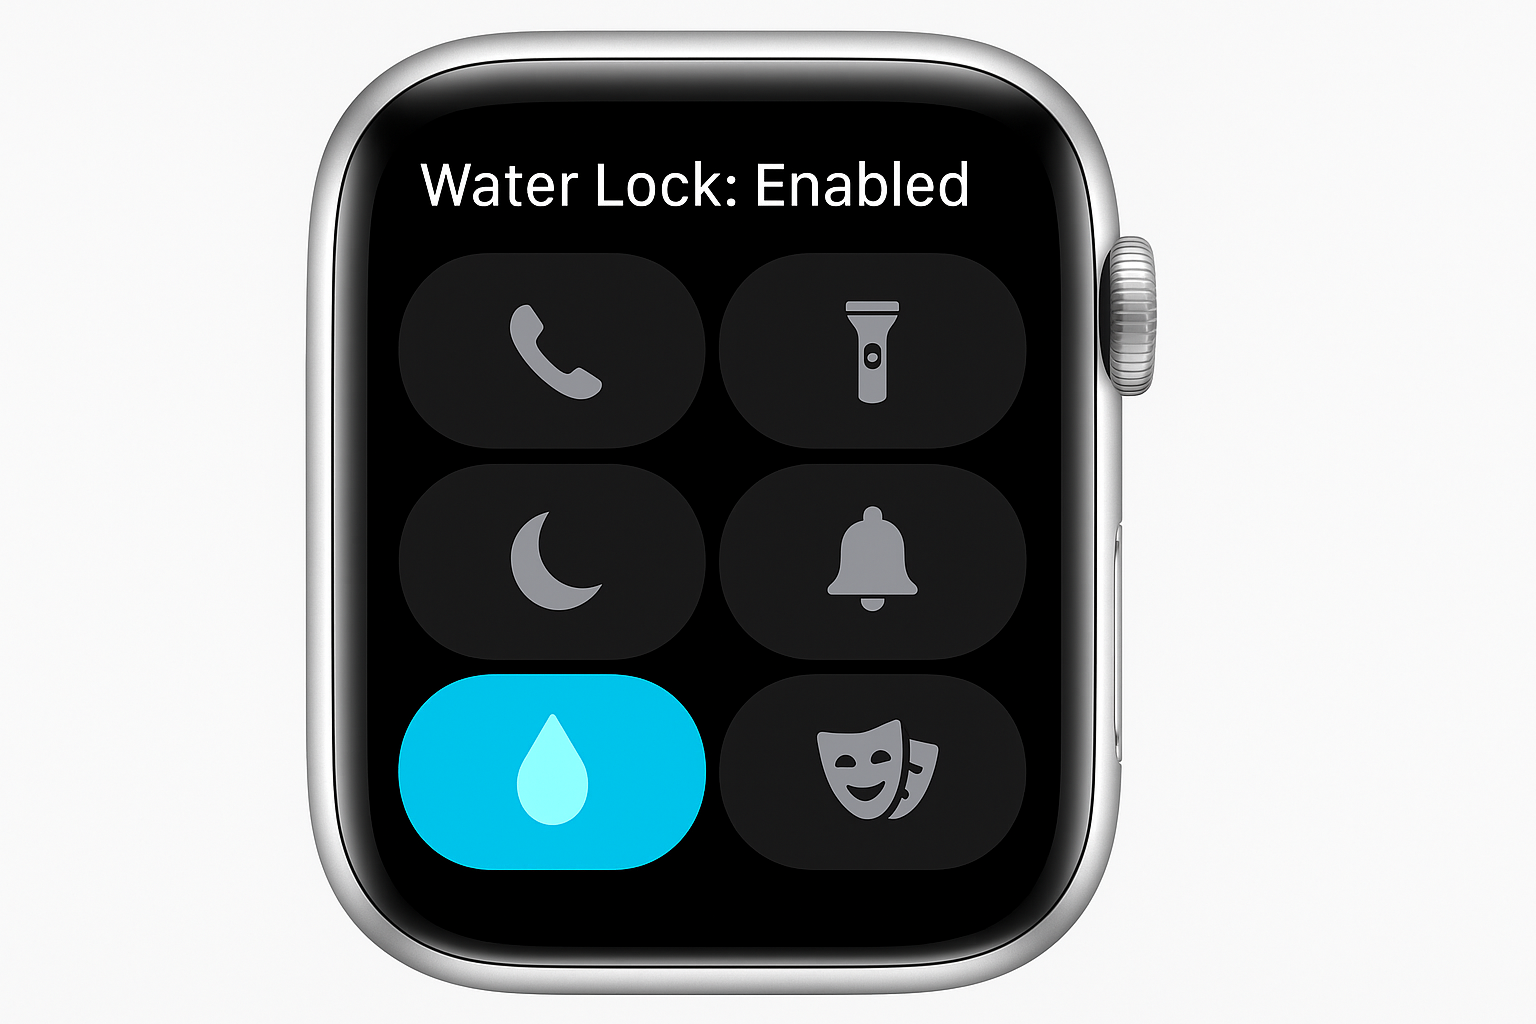
Step 4: Enable Water Lock
Tap the Water Lock icon (looks like a water droplet). Your watch immediately shows a blue screen with a large water droplet icon and “Water Lock On” text.
You’ll feel a brief haptic feedback confirming Water Lock is active. The touchscreen and raise-to-wake gesture are now disabled.
Step 5: Enjoy Your Water Activity
With Water Lock enabled, your Apple Watch will:
- Continue tracking your workout and heart rate
- Ignore touches from water droplets or accidental contact
- Keep the Digital Crown and side button functional for emergency use
- Maintain all health and safety monitoring features
The screen stays off unless you press the Digital Crown or side button. Much better than random app launches mid-stroke.
How to Disable Water Lock and Eject Water
Step 6: Exit the Water Safely
When you’re finished with your water activity, exit the water completely before disabling Water Lock. This prevents new water from entering while the speakers are active.
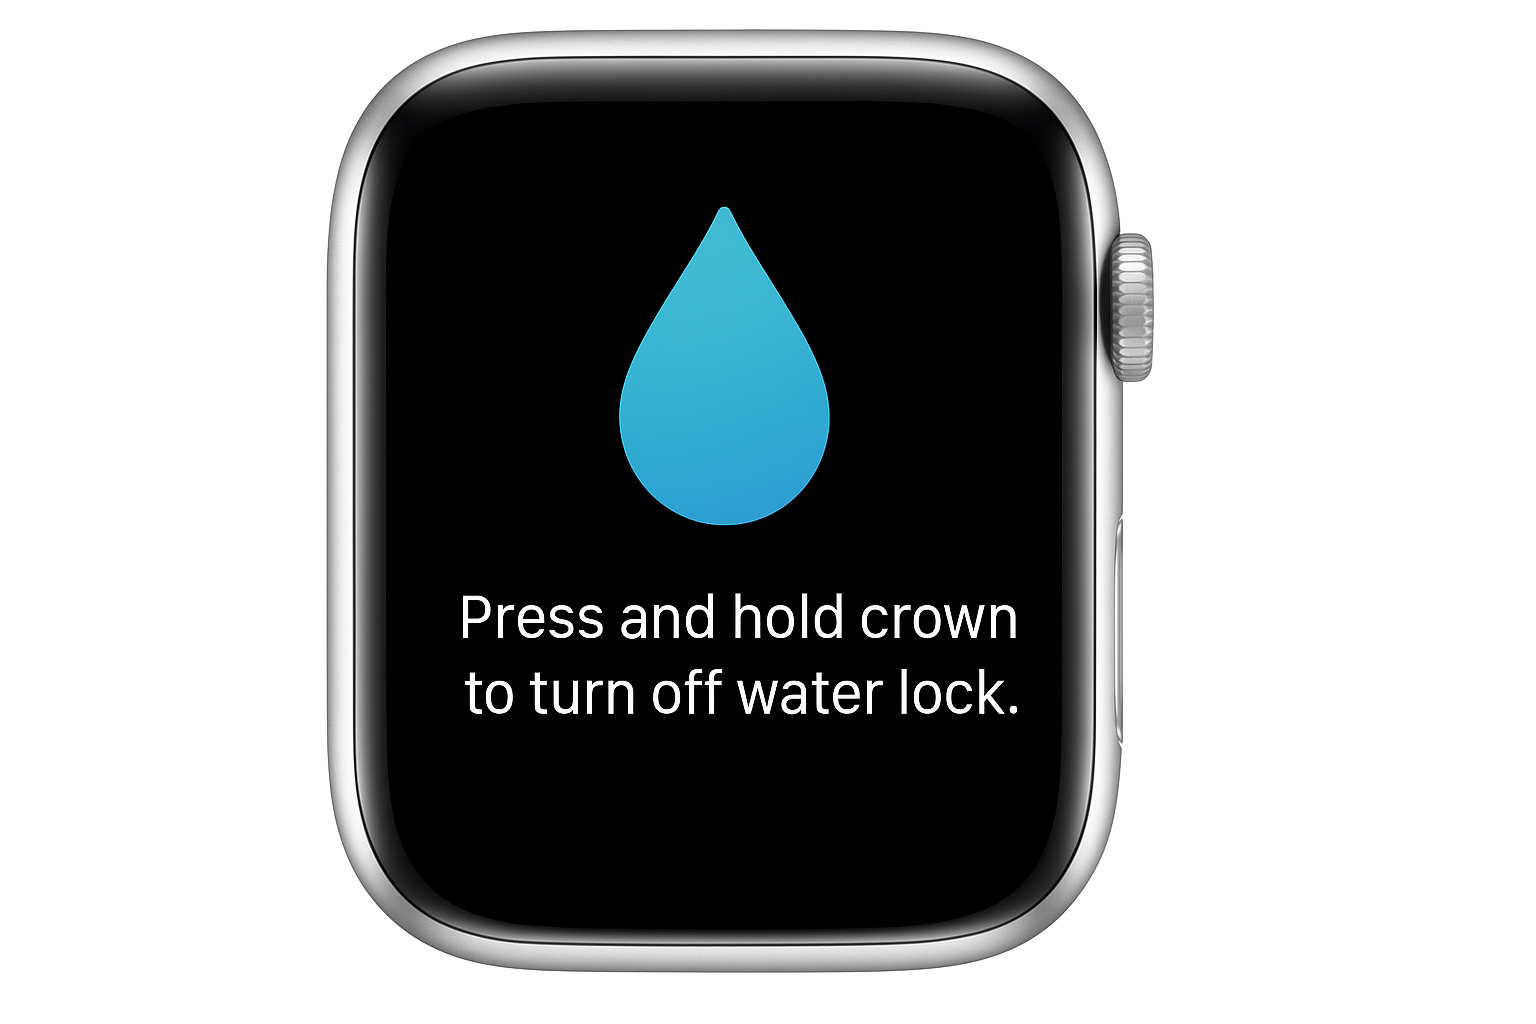
Step 7: Turn the Digital Crown to Disable Water Lock
Rotate the Digital Crown continuously in either direction. You’ll need to turn it several full rotations — typically 3-5 complete turns.
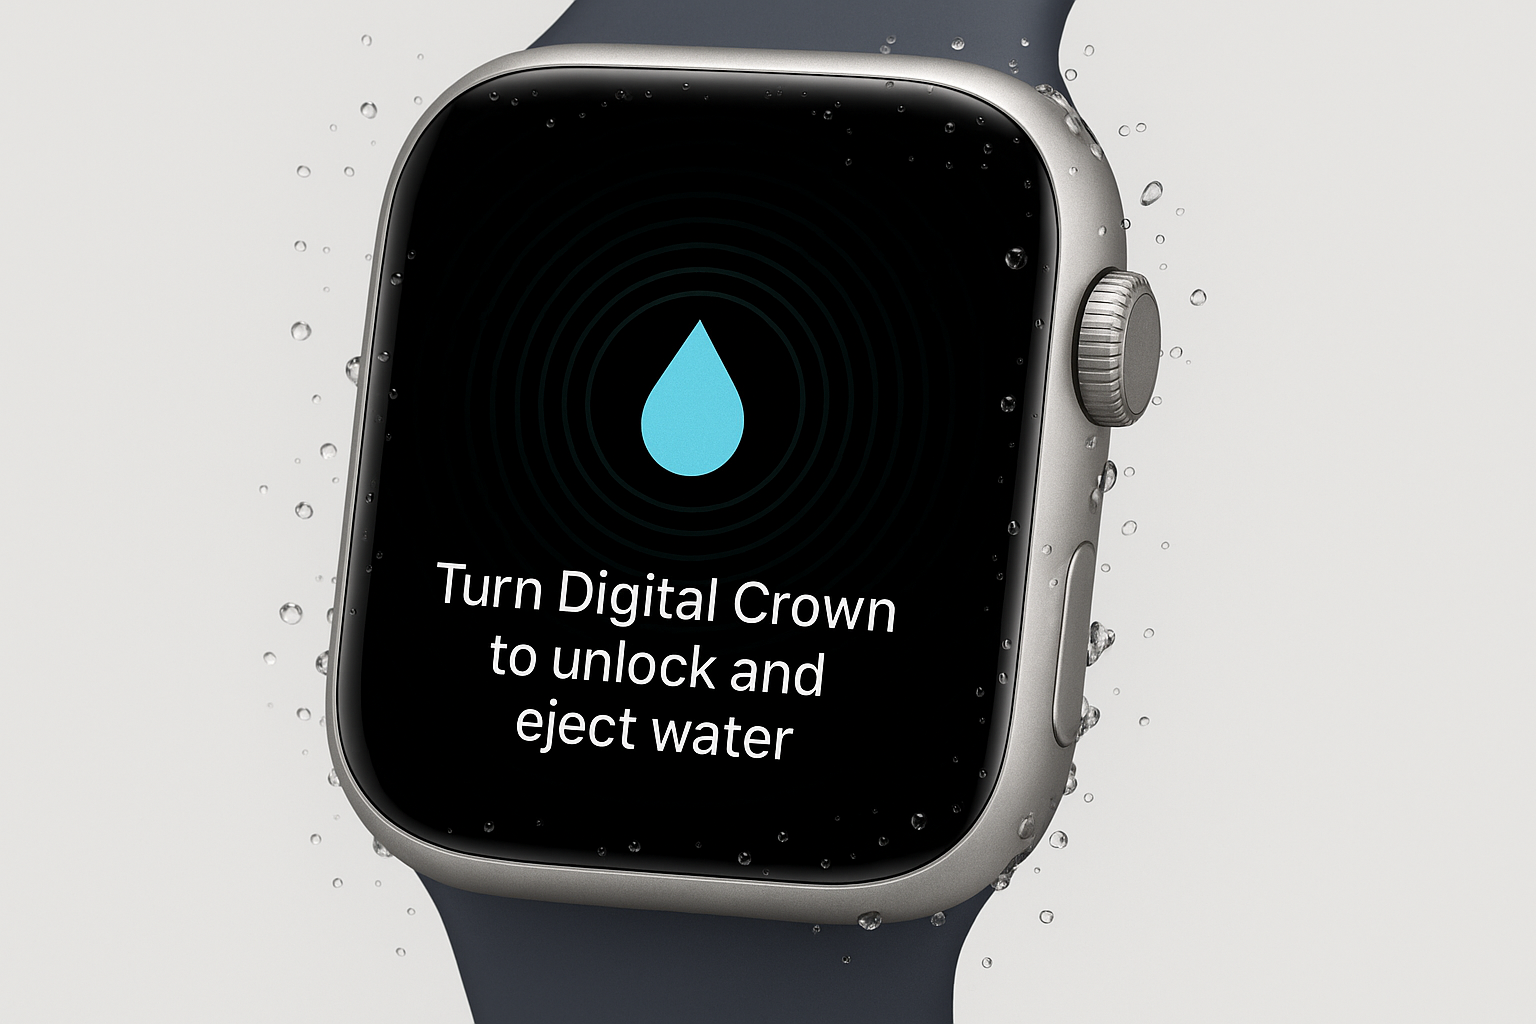
As you turn the crown, you’ll see a progress indicator. This shows how much more turning is needed. The interface makes it clear when you’re almost there.
Step 8: Water Ejection Process
Once you’ve turned the Digital Crown enough, your Apple Watch automatically begins ejecting water:
- The screen displays a water ejection animation
- You’ll hear a series of tones and sounds from the speaker
- The sounds push water droplets out of the speaker grille
- The process takes about 3-4 seconds
Don’t worry if the sounds seem loud or unusual. This is normal and necessary for proper water removal. The first time you hear it, you might wonder if something’s broken. It’s not.
Step 9: Complete Your Workout
If you started a workout before enabling Water Lock, remember to end it. Press the Digital Crown, then tap End on your workout screen.
Review your workout summary and save the session to your Activity app.
Configuration and Best Practices

Optimal Watch Band Setup
For water activities, adjust your band tightness:
- Snug enough to maintain heart rate sensor contact
- Loose enough to allow water circulation and prevent skin irritation
- Sport bands work best as they dry quickly and resist chlorine/saltwater
Battery Management for Long Water Sessions
Water Lock itself doesn’t drain battery significantly, but GPS tracking in open water does. For extended sessions:
- Start with at least 50% battery
- Enable Theater Mode alongside Water Lock to prevent accidental screen wake
- Consider Low Power Mode for very long activities
Combining Water Lock with Other Features
Water Lock works seamlessly with:
- Theater Mode for extended battery life
- Do Not Disturb to prevent notification distractions
- Workout tracking for all water-based activities
- Emergency SOS (still accessible via side button)
Tips and Troubleshooting
Water Lock Won’t Activate
Problem: Tapping the Water Lock icon doesn’t enable the feature.
Solution: Force restart your Apple Watch. Hold the side button and Digital Crown simultaneously until you see the Apple logo (about 10 seconds).
Digital Crown Not Responding After Water Exposure

Problem: Can’t turn the Digital Crown to disable Water Lock.
Solution: Rinse your Apple Watch with warm, fresh water while gently turning the Digital Crown. Soap, salt, or debris might be causing it to stick.
Water Ejection Sound Is Quiet or Missing
Problem: The water ejection process seems silent or very quiet.
Solution:
- Remove any case or screen protector covering the speaker
- Hold the watch with the speaker facing downward during ejection
- Try the water ejection process 2-3 times in a row
- Clean the speaker grille with a soft, dry brush
Screen Still Responds to Touches
Problem: Touchscreen works even with Water Lock enabled.
Solution: Water Lock didn’t activate properly. Disable it by turning the Digital Crown, then re-enable it through Control Center. If the problem persists, restart your watch.
Heart Rate Tracking Stops During Swimming
Problem: No heart rate data during water workouts.
Solution:
- Tighten your watch band — sensors need skin contact
- Move the watch higher on your wrist, away from the wrist bone
- Rinse the back sensors with fresh water after saltwater or chlorinated pool use
This one frustrates people because the fix seems obvious after you know it. But nobody thinks to check band tightness when their heart rate disappears.
Can’t Find Water Lock in Control Center
Problem: Water Lock option doesn’t appear in Control Center.
Solution: You’re likely using an original Apple Watch (Series 1), which doesn’t support Water Lock. This feature requires Apple Watch Series 2 or later due to improved water resistance.
Advanced Water Sports Tips
For Serious Swimmers
- Track stroke count by enabling Pool Length in the Watch app settings
- Use interval training with the Workout app’s built-in rest periods
- Monitor pace through the Workouts complication on your watch face
For Open Water Activities
- Calibrate GPS by doing a 20-minute outdoor walk before your first open water swim
- Check weather conditions using the Weather app before entering natural water
- Consider Apple Watch Ultra for extreme water sports with its enhanced water resistance and extended battery life
Multi-Activity Sessions
If your water session includes different activities (swimming + water sports), you can:
- Start with one workout type
- Keep Water Lock enabled between activities
- Use the Add Workout feature to track multiple activity types in one session
Water Lock Compatibility Across Apple Watch Models (2026)
| Apple Watch Model | Water Lock Support | Water Resistance | Best For |
|---|---|---|---|
| Original (Series 1) | ❌ No | Splash resistant only | Not recommended for water |
| Series 2 | ✅ Yes | 50 meters | Basic swimming |
| Series 3-6 | ✅ Yes | 50 meters | Swimming and water sports |
| Series 7-11 | ✅ Yes | 50 meters | All water activities |
| Apple Watch SE | ✅ Yes | 50 meters | Recreational swimming |
| Apple Watch Ultra/Ultra 2/Ultra 3 | ✅ Yes | 100 meters | Extreme water sports |
Note: All models from Series 2 onward offer the same Water Lock functionality. The Ultra models provide additional water resistance for professional diving and extreme conditions, but the software experience is identical.
Post-Activity Care
Immediate Cleaning
After any water activity:
- Rinse with fresh water to remove chlorine, salt, or other chemicals
- Dry gently with a lint-free cloth
- Remove the band if it’s leather or fabric for separate cleaning
- Check for trapped water around the Digital Crown and side button
Weekly Deep Cleaning
For regular swimmers:
- Clean the band according to Apple’s official cleaning guidelines
- Inspect the speaker grille for debris buildup
- Check the heart rate sensors on the back for any mineral deposits
Chlorine is particularly aggressive on watch bands. If you swim in pools regularly, consider rotating between two Sport bands to extend their lifespan. Amazon has a done of Apple Watch cleaning kits you can purchase.
Signs of Water Damage
Contact Apple Support if you notice:
- Persistent condensation under the display
- Muffled or distorted speaker sound after multiple water ejection cycles
- Unresponsive Digital Crown even after thorough cleaning
- Irregular heart rate readings or sensor errors
Wrapping Up
Water Lock turns your Apple Watch from something you worry about near water into a proper swim computer. The water ejection feature genuinely works for those sound waves push droplets right out of the speaker grille.
Quick Reference Workflow:
- Start workout → 2. Enable Water Lock → 3. Enjoy water activity → 4. Turn Digital Crown → 5. Water ejection → 6. End workout → 7. Rinse and dry