
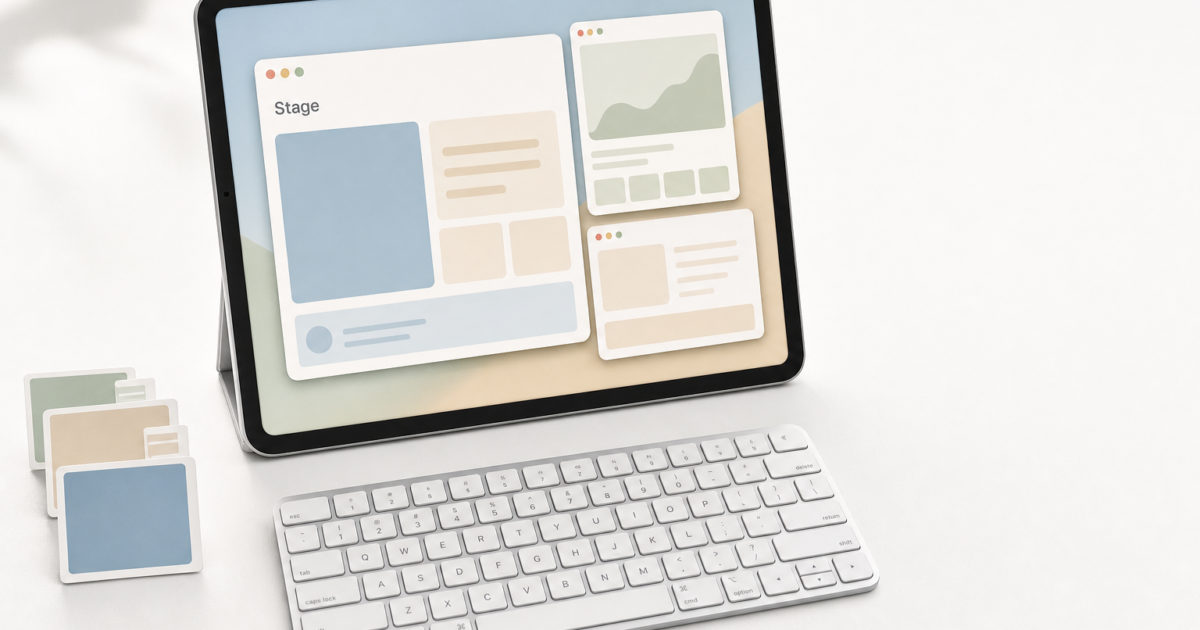
If you’ve been hoping your iPad could handle serious multitasking, multiple apps, resizable windows, no major compromises, the current iPadOS is the version where that actually becomes workable. The multitasking story has come a long way since the early iOS 11 days, and the current feature set holds up well. Let’s get into it.
What You Need
This guide covers iPadOS 26. Most multitasking features (Split View, Slide Over, the Dock) work on any iPad running iPadOS 26. A few features have stricter requirements:
- Stage Manager: Requires a 12.9-inch iPad Pro (3rd generation or later), 11-inch iPad Pro (1st generation or later), or iPad Air (5th generation or later). Check Apple’s Stage Manager compatibility page to confirm your specific model.
- Traffic-light window controls (close/minimize/maximize buttons in the top-left corner of windows): These appear only on recent iPadOS versions and only when Stage Manager is active.
- Stage Manager on external displays: Requires an iPad with an M1 chip or later (certain iPad Pro models and iPad Air 5th generation and later).
Choose Your Multitasking Mode First
iPadOS gives you several ways to multitask, and the right approach depends on how you work. You can toggle Stage Manager on or off in Settings > Multitasking & Gestures > Stage Manager, or enable it directly from Control Center if you’ve added the Stage Manager toggle there.

- Full Screen: One app at a time. Good for focused reading, video, or anything where you don’t want distractions.
- Split View / Slide Over: Two apps side by side or a floating panel on top. A solid middle ground for most people.
- Stage Manager: Desktop-style overlapping windows grouped into persistent stages. The power-user option, especially with a Magic Keyboard and external display. Requires a 12.9-inch iPad Pro (3rd generation or later), 11-inch iPad Pro (1st generation or later), or iPad Air (5th generation or later); see Apple’s Stage Manager support page for the full compatibility list.
You can switch modes any time, so don’t overthink the initial choice. Most people use Split View for everyday work and enable Stage Manager when they need more complex window arrangements.
The iPadOS Dock
If you’ve used the Dock on a Mac, the iPadOS version will feel familiar. Your pinned apps sit on the left, recently used apps appear on the right, and you can drag apps directly from the Dock into your current workspace or Stage Manager stage.
To add an app to the Dock, tap and hold it for about a second, no waiting for the jiggle mode, then drag it down. That’s it.
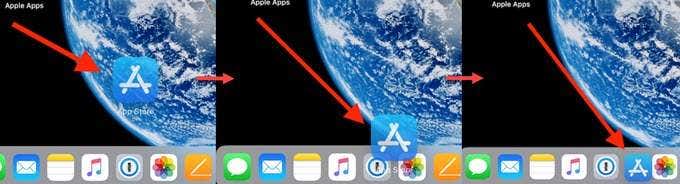
To access the Dock while inside an app, swipe up from the bottom edge of the screen, just a short flick. Swipe all the way up to the center and you’ll go to the Home Screen instead.

Split View: Two Apps Side by Side
Split View puts two apps in equal (or adjustable) panes. There are several ways to get there; use whichever clicks for you.
Method 1: Three-Dot Multitasking Menu
- Open your first app.
- Tap the three-dot (•••) multitasking control that appears at the top center of the app window.
- Select Split View from the menu that appears.
- The app slides to one side and a picker appears, tap the second app you want to open alongside it.
This is the most reliable method and works in both landscape and portrait orientation. If you don’t see the three-dot control, make sure the app supports Split View (a small number don’t).
Method 2: Traffic-Light Buttons
- Open your first app.
- Long-press the window control buttons in the top-left corner of the window. These are the macOS-style close/minimize/maximize buttons that arrived in recent iPadOS versions.
- Select Dock Left or Dock Right from the menu that appears.
- Choose your second app from the picker.
This method also works in both landscape and portrait.
Method 3: Drag from the Dock
- Open your first app.
- Swipe up to reveal the Dock.
- Tap and hold a second app icon, then drag it to the left or right edge of the screen until you see the split indicator appear.
- Release to snap it into Split View.

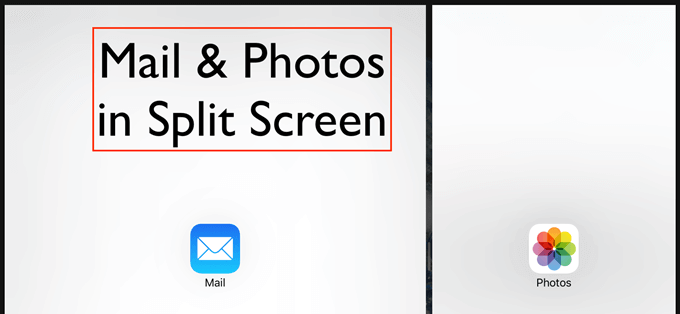
Once you’re in Split View, drag the center divider left or right to resize the panes. You can give one app more screen real estate depending on what you’re focused on.

Slide Over: A Floating App on Top
Slide Over puts a single app in a floating panel over your main workspace, handy for quick reference without committing to a full split.
How to Open Slide Over
Via the three-dot menu: Tap the three-dot (•••) multitasking control at the top of any app window and select Slide Over. The app will move into a floating panel.
Via traffic-light buttons: Long-press the window controls in the top-left corner of any app window and select Enter Slide Over.
Via the Dock: Tap and hold an app in the Dock, drag it toward the left or right edge of the screen until you see an arrow indicator, then release.

To dismiss the Slide Over panel, swipe it off the right edge of the screen. Swipe back from the right edge to bring it back. You can also keep multiple apps in Slide Over at once. Swipe up from the bottom of the Slide Over panel to reveal a vertical app switcher inside it, then tap whichever app you want to bring forward. This is the same carousel behavior that’s been in iPadOS for several versions.
Stage Manager: The Power-User Mode
Stage Manager is where the iPad starts to feel more like a laptop replacement. Apps are grouped into persistent “stages”, which work similarly to macOS Spaces, and you can have multiple overlapping, resizable windows in each one. Stage Manager is supported on 12.9-inch iPad Pro (3rd generation or later), 11-inch iPad Pro (1st generation or later), and iPad Air (5th generation or later).
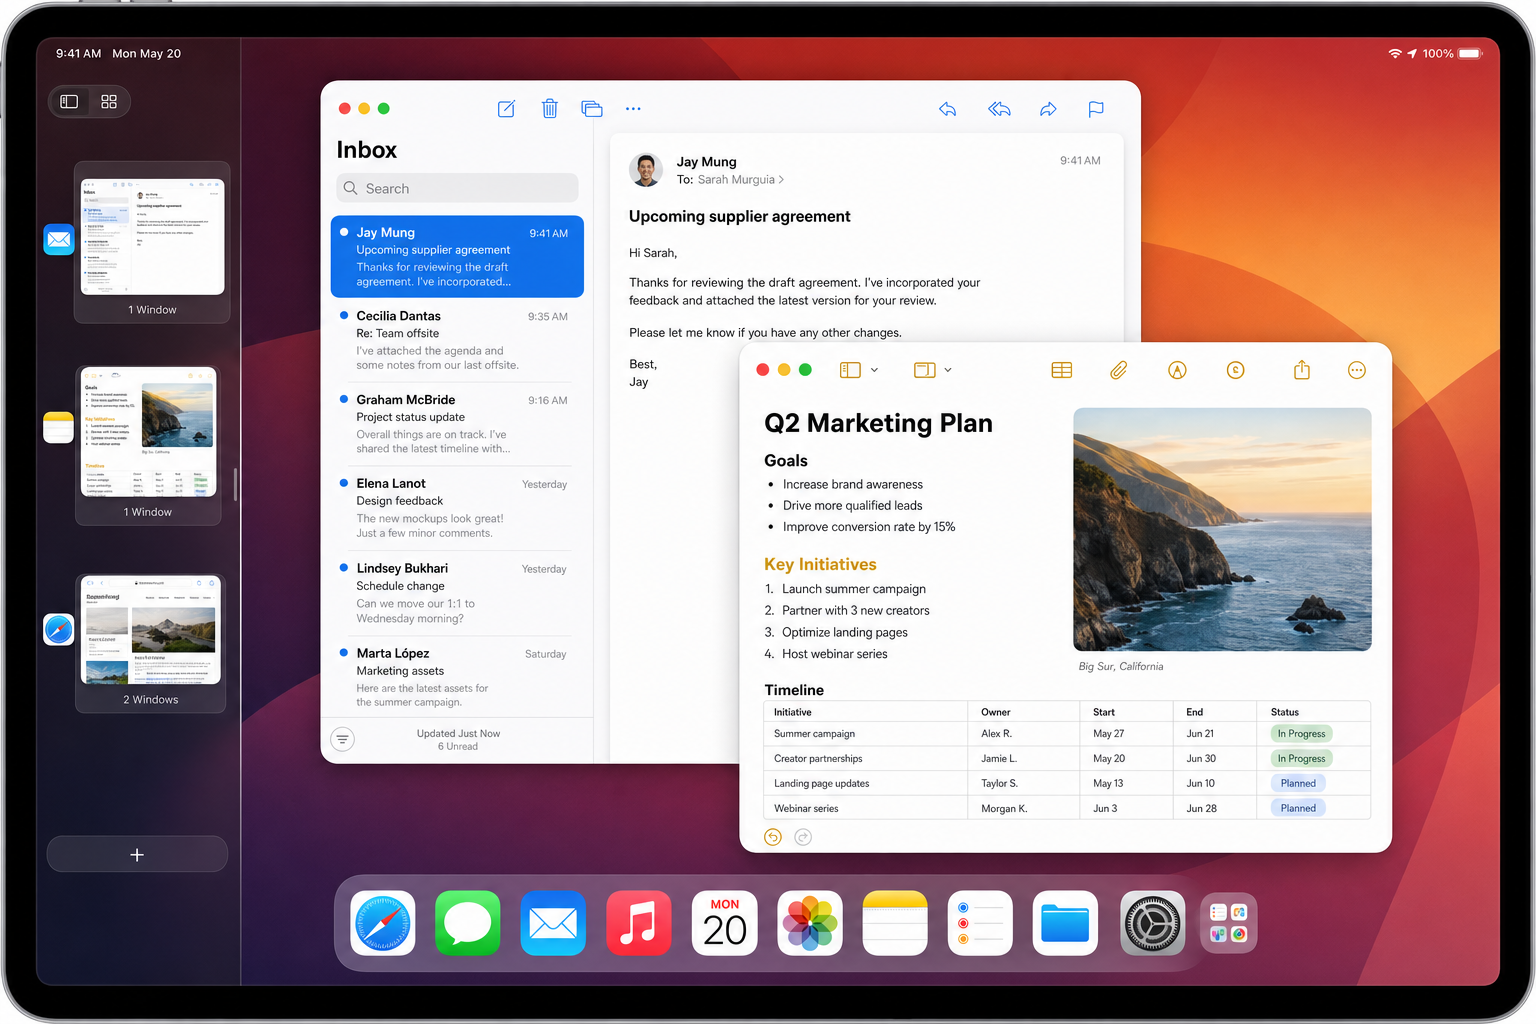
Switch between stages using the sidebar thumbnails on the left, or use Cmd + Tab if you have a Magic Keyboard connected. You can group apps by task, such as a writing stage with Pages and Safari, a communication stage with Mail and Messages, and so on.
Stage Manager Keyboard Shortcuts
If you’re using a Magic Keyboard, these shortcuts will speed up your Stage Manager workflow considerably:
| Shortcut | Action |
|---|---|
Cmd + Tab | Switch between recent apps / stages |
Cmd + Space | Open Spotlight (useful for quickly launching apps into a stage) |
Cmd + H | Go to Home Screen |
Cmd + ` | Cycle between windows in the current stage |
Stage Manager on External Displays
Stage Manager extends to external displays on iPads with an M1 chip or later, including certain iPad Pro models and iPad Air (5th generation and later). This is one of the most compelling reasons to use a compatible iPad as a desktop replacement.
Here’s what you can do with an external display connected:
- Run a completely independent set of stages on the external monitor while keeping a separate workspace on the iPad screen.
- Drag windows between the iPad display and the external monitor freely.
- Use the iPad as a secondary input surface (with Apple Pencil) while your main work lives on the larger screen.
To enable it, connect your iPad (M1 or later) to an external display via USB-C or a compatible hub, then make sure Stage Manager is turned on. The external display will automatically show its own Stage Manager workspace. If you’re doing serious work on an iPad Pro M4, this setup is worth exploring in depth. It’s the closest the iPad gets to a true dual-monitor desktop experience.
Drag and Drop Between Apps
Once you have two apps open side by side, drag and drop becomes very practical. The classic example: Photos open in one pane, Mail in the other.
- In Split View, open Photos on one side and Mail on the other.
- Resize the Photos pane so you can see the photo you want.
- Tap and hold the photo until it lifts, then drag it across into your email.
- Release to drop it in.
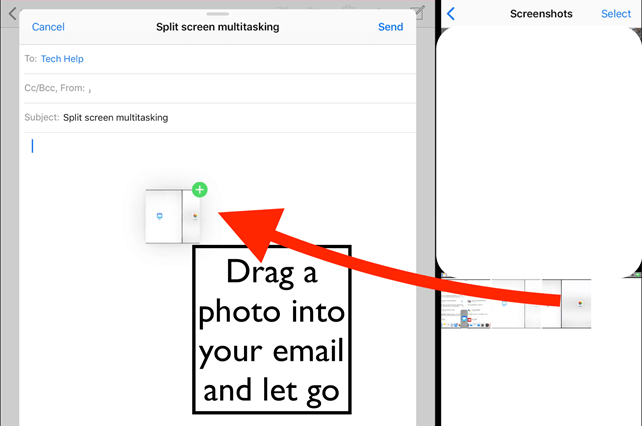
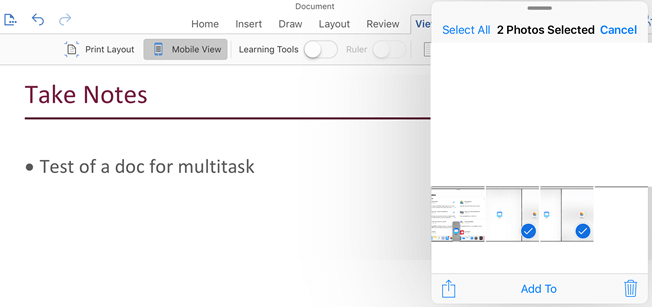
This works across most app combinations, including Pages and Safari, Word and Photos, and Notes and Files. If an app doesn’t accept drops, it’ll just ignore the gesture rather than doing anything weird.
Practical Split View Combinations Worth Trying
Here are some pairings that actually earn their screen space:
- Mail + Calendar: Check your schedule while composing a meeting reply.
- Pages or Word + Safari: Research on one side, write on the other. Drag URLs and images directly into your document.
- Pages + Photos: Drop graphics straight into a document without copy-paste.
- YouTube + Notes: Watch a tutorial while taking notes. The video keeps playing in its pane.
- 1Password + Any App: Open 1Password in Slide Over, search for your credentials, and drag the username and password fields directly into the login form. Much faster than copy-paste, and it works with any app that has text fields.


Gestures Worth Knowing
- Swipe app off screen: In Slide Over or Split View, drag the app from its top handle off the edge to dismiss it.
- Pinch five fingers together: Returns you to the Home Screen from anywhere, even mid-split.
- Stage Manager toggle: Enable or disable Stage Manager in Settings > Multitasking & Gestures > Stage Manager, or via the Control Center toggle if you’ve added it.
Troubleshooting Common Issues
Split View won’t activate
Stage Manager is a separate multitasking mode that replaces classic Split View behavior; you can’t use both at the same time. When Stage Manager is on, windows work differently and the traditional Split View layout won’t appear. To get standard Split View back, turn Stage Manager off entirely in Settings > Multitasking & Gestures or via the Control Center toggle, then try again.
Three-dot menu or traffic-light buttons aren’t appearing
These controls only appear when the app is in a multitasking-compatible context. Make sure you’re not in full-screen video playback or a modal sheet. If the controls are still missing, the app may not support Split View or Slide Over.
An app won’t go into Split View
A small number of apps don’t support Split View. Most of these still work in Slide Over, so try Slide Over as a fallback.
Stage Manager feels cluttered
Group your apps into dedicated stages rather than piling everything into one. Think of each stage as a task context, such as writing, communication, or research, and switch between them using the sidebar.
Battery draining faster with Stage Manager on
Stage Manager is more demanding than standard multitasking modes, especially with multiple windows active. If you’re on battery and doing lighter work, turn Stage Manager off manually via the Control Center toggle or Settings > Multitasking & Gestures. It only takes a second. Note that iPadOS Shortcuts does not currently include a built-in action to toggle Stage Manager directly, so there’s no automated way to do this. As an alternative battery-saving measure, you can create a Shortcuts automation (Shortcuts > New Automation > Battery Level) to enable Low Power Mode when your battery drops below a set threshold.
iPadOS has made real progress on the iPad’s productivity promise. The combination of Split View, Slide Over, Stage Manager, and the upgraded Dock makes the iPad a capable work machine, and understanding which mode to reach for, and when, is most of the battle.