
Been struggling with testing different macOS versions or running isolated environments on your Apple Silicon Mac? VMware Fusion now handles ARM-based macOS virtual machines natively, solving the compatibility headaches that plagued earlier versions.
Since VMware Fusion 13 (released in 2022), you can run macOS virtual machines directly on M1, M2, M3, and M4 Macs without emulation slowdowns. This addresses the pain point of needing separate test environments or wanting to isolate potentially risky software from your main system.
Apple’s licensing still allows multiple macOS installations on the same hardware through virtualization, but only ARM versions of macOS Big Sur 11 and later work on Apple Silicon. No more Intel-based macOS VMs unless you want glacial emulation speeds.
What You’ll Need
Before starting, make sure you have:
- Apple Silicon Mac (M1, M2, M3, or M4) running macOS Big Sur 11 or later
- VMware Fusion 13.5+ or VMware Fusion Pro (free for personal use)
- At least 8GB RAM (16GB recommended for smooth performance)
- 100GB+ free disk space for the virtual machine
- Stable internet connection for downloading macOS
Install VMware Fusion
Download the latest VMware Fusion from VMware’s website. Fusion Player is free for personal use, while Fusion Pro includes additional features like snapshots and advanced networking.
After installation, you’ll need to grant permissions in System Settings > Privacy & Security. macOS will prompt you to allow VMware’s system extensions — this is normal and required for virtualization.
Get the macOS Installer
Here’s where things get tricky. The App Store doesn’t provide direct ISO files, and you can’t use Intel-based macOS installers on Apple Silicon.
The easiest method:
- Open the App Store and search for your desired macOS version (Sequoia, Ventura, or Monterey)
- Click Get or Install — the installer will download to your Applications folder
- Don’t let it actually install on your main system; just cancel when it launches
Alternative method for advanced users: Use Terminal with createinstallmedia to create a bootable installer, then convert it for VM use. VMware’s partner documentation at partnerweb.vmware.com/GOSIG/MacOS_13.html has detailed conversion scripts, though they’re updated sporadically.
Create Your Virtual Machine
Launch VMware Fusion and click the + button, then Create a Custom Virtual Machine.
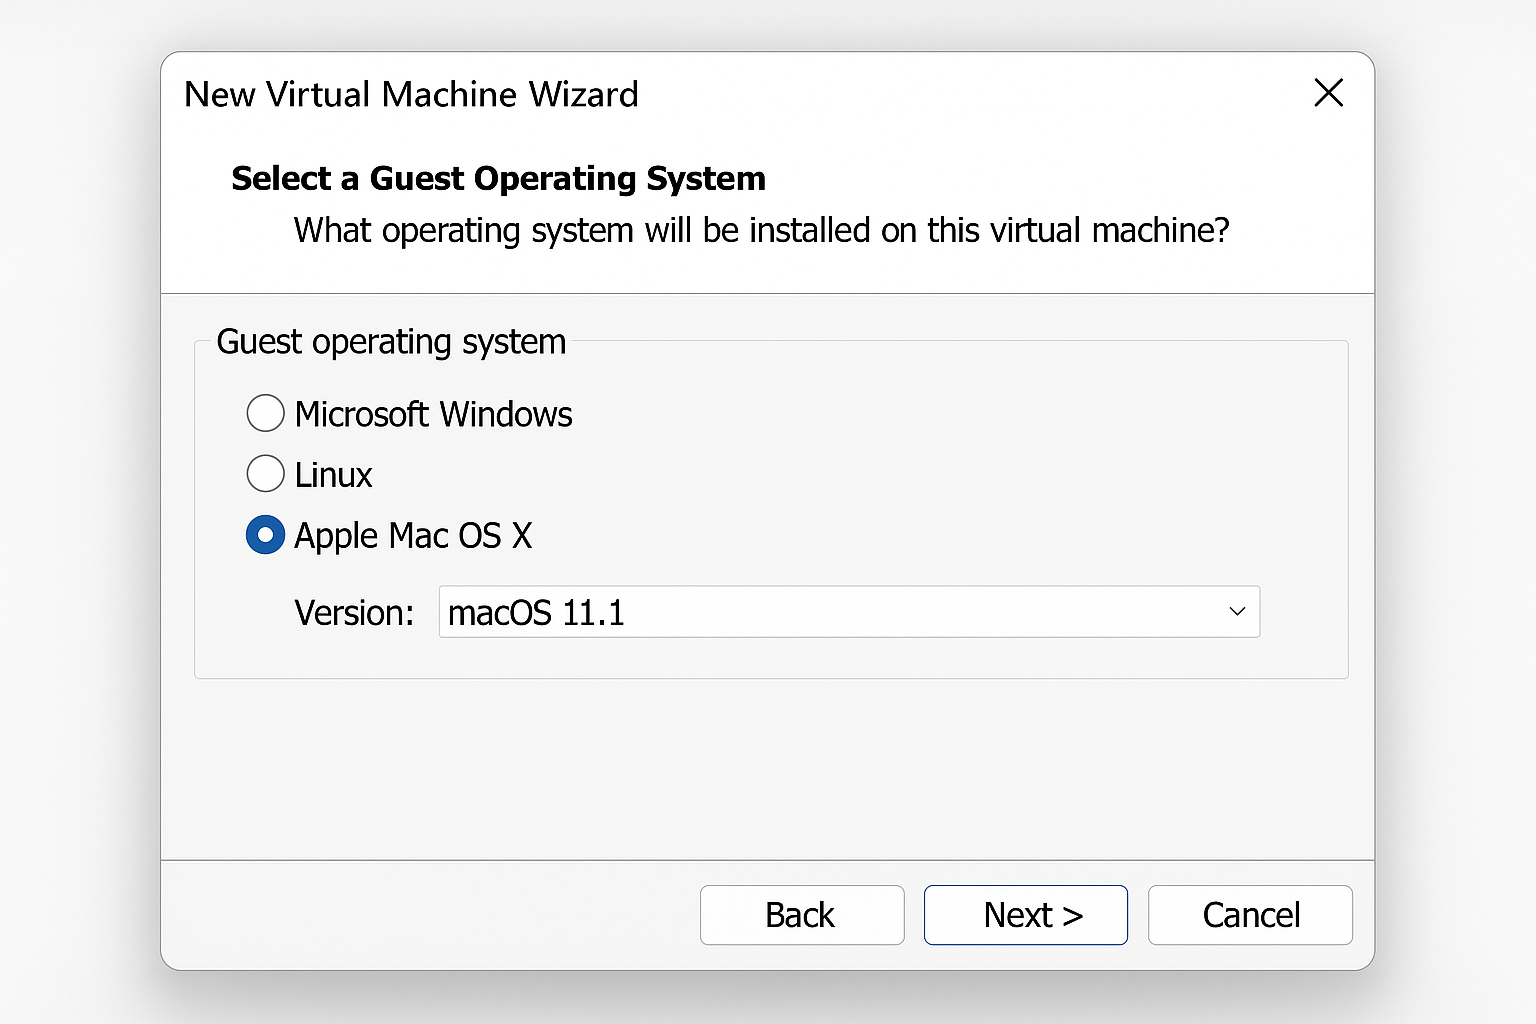
Select Apple macOS as the guest operating system family. Choose the specific version you’re installing (like macOS 15 for Sequoia).
Configure your VM resources:
- Processors: 4+ cores (more is better for performance)
- Memory: 8GB minimum, 16GB if your Mac has enough RAM
- Hard Disk: 100GB+ to avoid storage headaches later
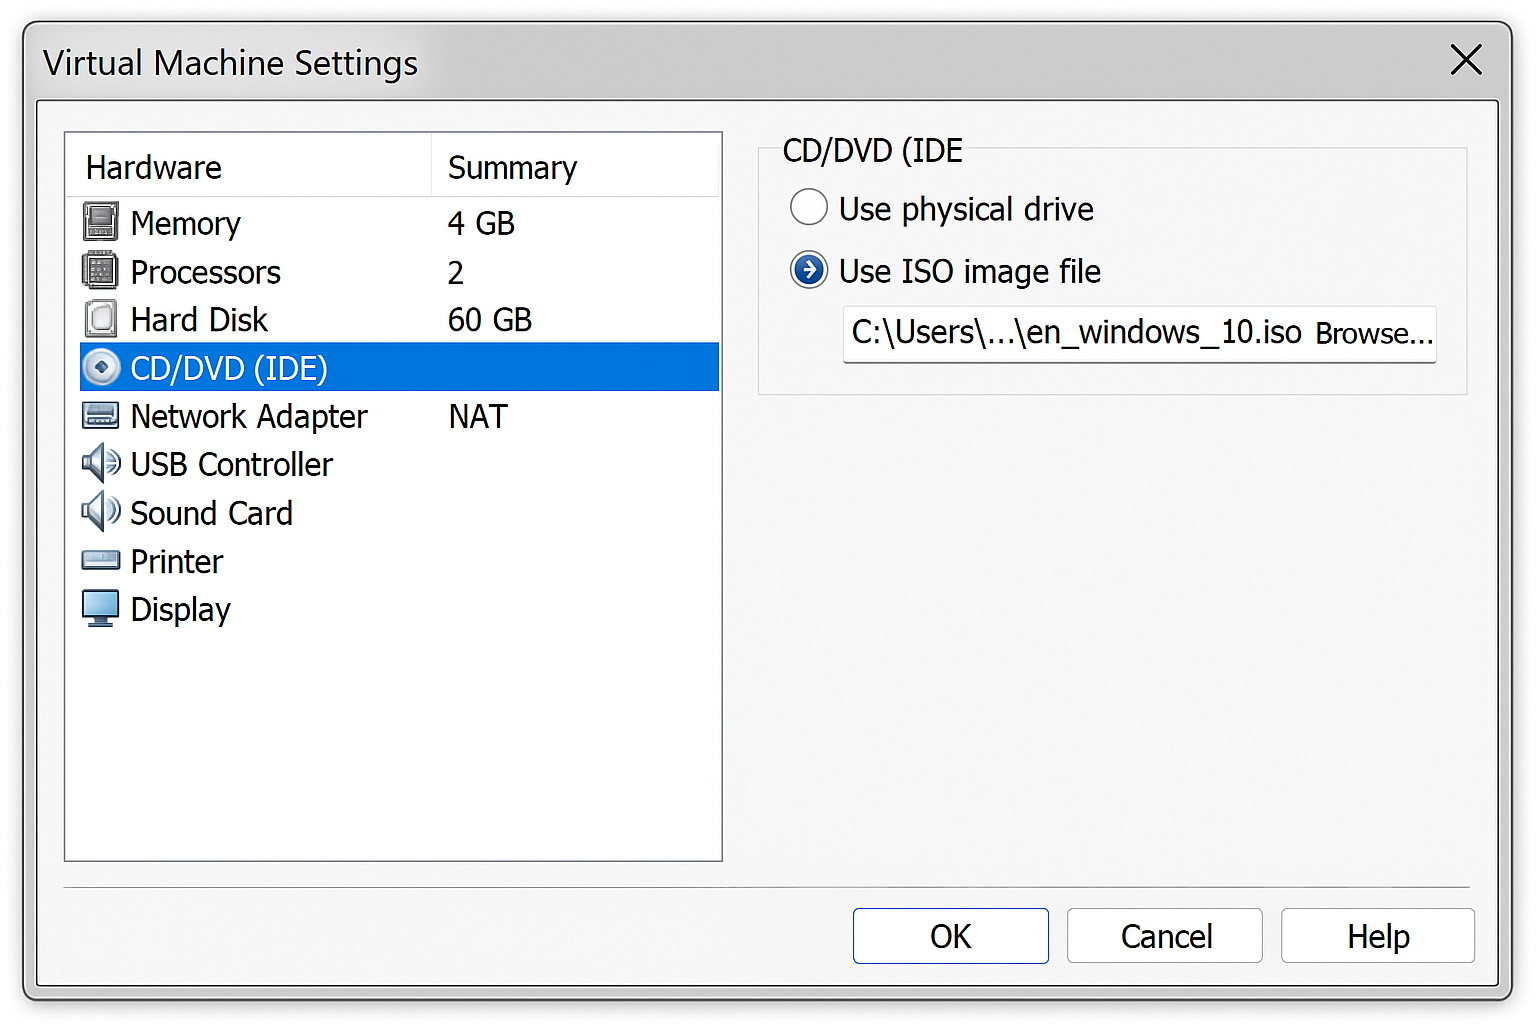
In the VM settings, go to CD/DVD and attach your macOS installer. If you downloaded from the App Store, navigate to /Applications/ and select the installer app (like “Install macOS Sequoia.app”).
Install macOS
Power on your virtual machine. You’ll see the Apple logo and progress bar as the installer loads.

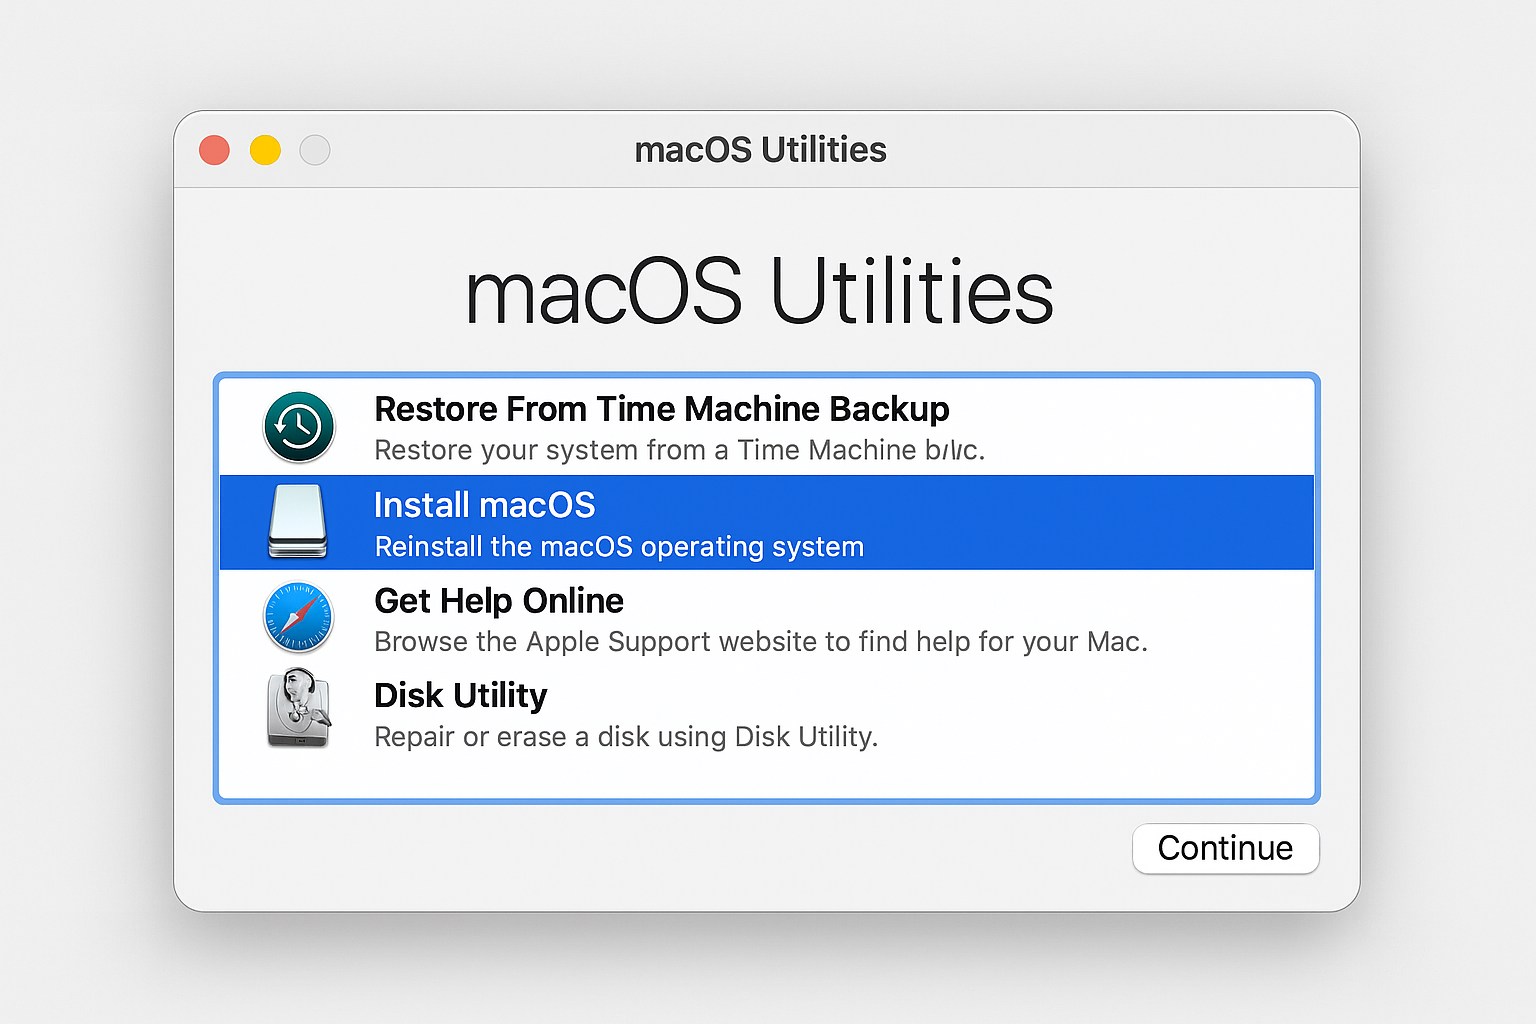
Select your language, then you’ll reach macOS Utilities. Choose Install macOS (not “Reinstall” — that’s for recovery scenarios).
Accept the license agreement, then select your virtual hard disk for installation. It should show as “Macintosh HD” with the size you configured.
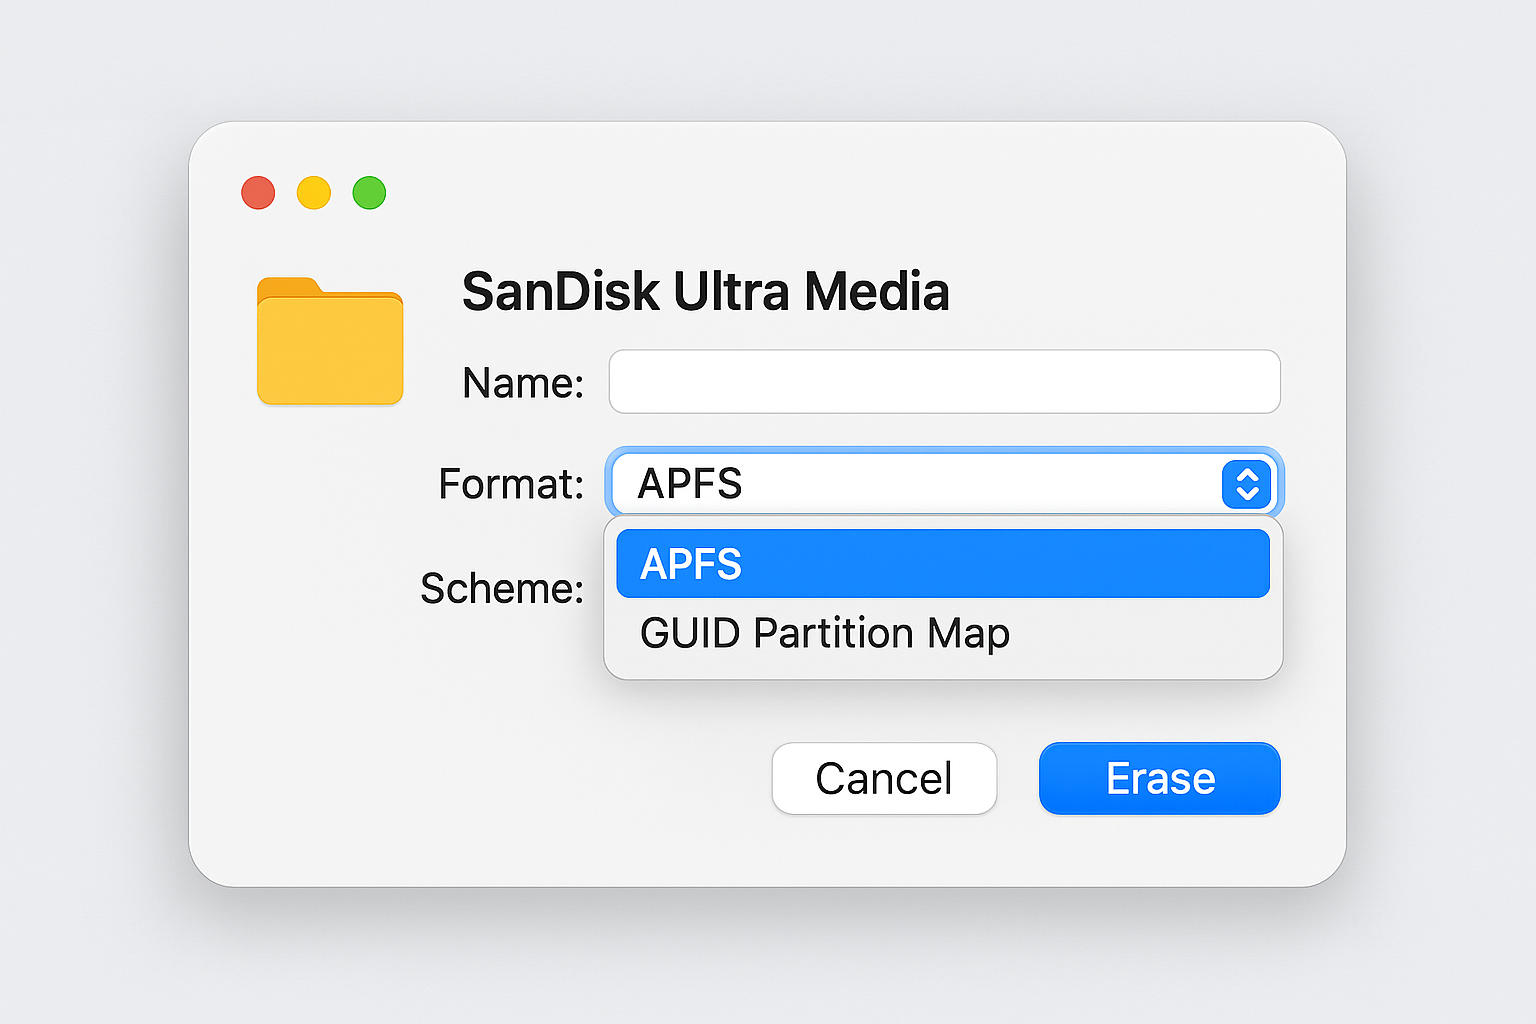
Before clicking Install, you might need to format the disk. If prompted, open Disk Utility, select your virtual disk, and format it as APFS (the default for modern macOS).
Click Install and wait. The installation takes 30-60 minutes depending on your Mac’s speed and the macOS version. The VM will restart automatically during this process.
Complete the Setup
After installation, you’ll go through the standard macOS setup process — language, user account, Apple ID (optional), etc. This is identical to setting up a physical Mac.
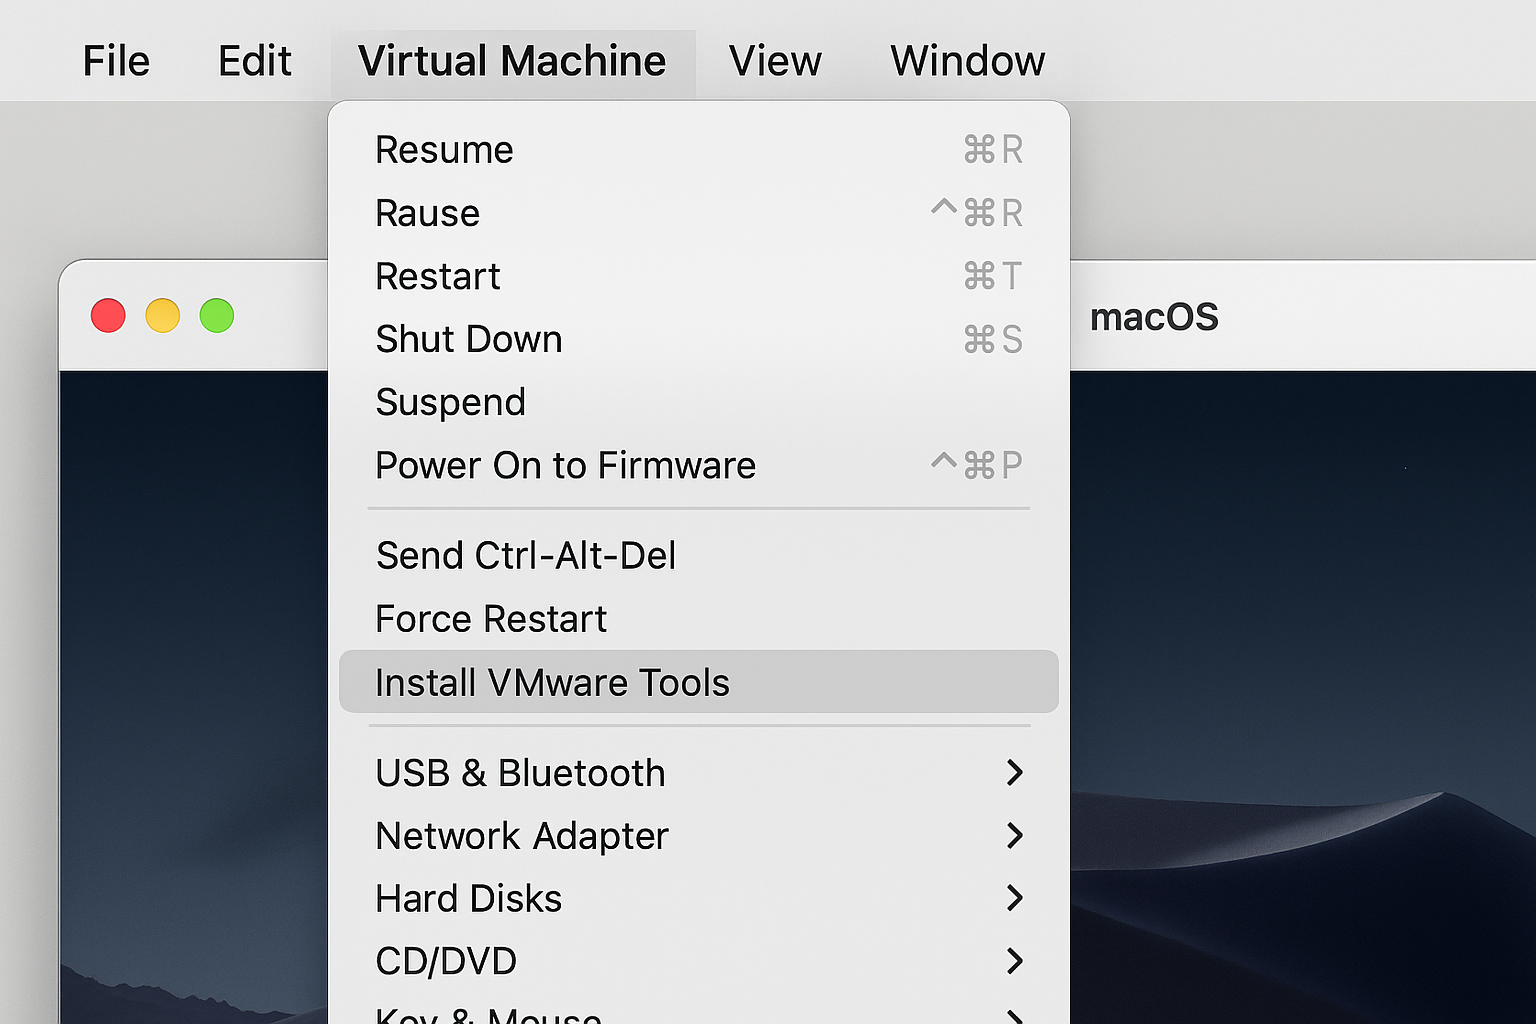
Once you reach the desktop, install VMware Tools immediately. Go to Virtual Machine > Install VMware Tools in Fusion’s menu bar.
VMware Tools enables:
- Shared clipboard between host and VM
- Drag-and-drop file sharing
- Better display scaling and resolution options
- Improved mouse and keyboard integration
Troubleshooting Common Issues
VM Won’t Boot or Crashes
Most boot failures stem from using Intel-based macOS installers. Apple Silicon Macs can only run ARM versions natively. Download macOS Big Sur 11 or later from the App Store — older versions won’t work.
If you’re getting kernel panics, reduce the VM’s RAM allocation. Some M1 Macs struggle with VMs using more than 8GB.
Installer Not Recognized
VMware sometimes doesn’t recognize App Store installers directly. Try this workaround:
- Right-click the installer app in Applications
- Select Show Package Contents
- Navigate to
Contents/SharedSupport/ - Look for files like
InstallInfo.plistorBaseSystem.dmg - Use the .dmg file as your VM’s CD/DVD source instead
Poor Performance
Allocate more CPU cores and RAM to your VM. Apple Silicon handles virtualization well, but macOS is resource-hungry. Also ensure you’ve installed VMware Tools — the performance difference is dramatic.
For M3 and M4 Macs, some users report USB/Thunderbolt passthrough issues. Update to the latest Fusion version if you need these features.
Can’t Download macOS During Installation
If you chose the recovery partition method and downloads fail, it’s usually a network issue within the VM. Try:
- Switching VM network adapter to Bridged mode in settings
- Restarting your router/modem
- Using the App Store download method instead
Alternatives to Consider
VMware Fusion isn’t your only option on Apple Silicon:
Parallels Desktop offers the smoothest experience for beginners. It automates much of the macOS VM setup and handles Windows 11 ARM brilliantly. The downside? It costs around $100/year, while Fusion Player is free for personal use.
UTM (free, open-source) uses QEMU under the hood and supports ARM macOS guests. It’s lightweight and perfect if you want a no-cost solution, though setup requires more technical knowledge.
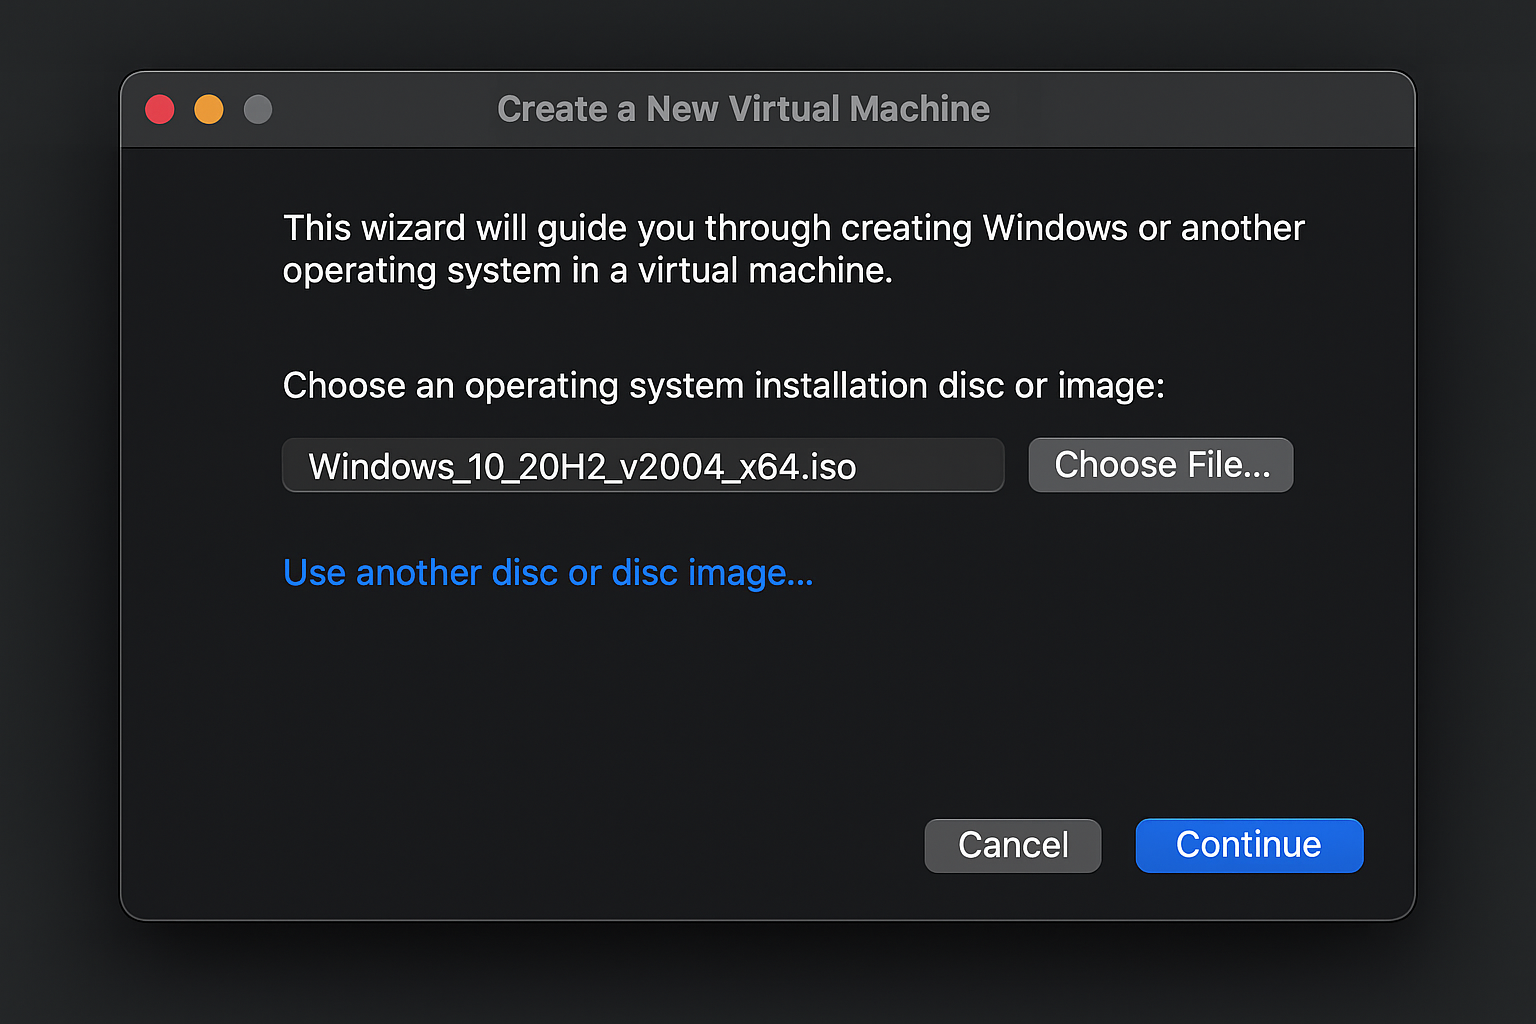
For Windows-only VMs, Fusion’s “Get Windows from Microsoft” wizard auto-downloads ARM ISOs — no manual hunting required.
What’s Changed Since Intel Macs
The shift to Apple Silicon solved major virtualization headaches but created new constraints. You can no longer run Intel-based macOS versions natively as everything must be ARM-compatible. The upside? Performance is significantly better than the old Intel VM experience.
VMware also simplified the licensing model. Fusion Player is now free for personal use, removing the cost barrier that kept many users on inferior alternatives.
The UI has modernized too. No more cryptic terminal commands or kernel extension warnings — Fusion 13+ handles permissions through standard macOS dialogs.
Running macOS in a VM on Apple Silicon finally feels like a first-class experience rather than a hacky workaround. Whether you need isolated testing environments or want to experiment with different macOS versions safely, VMware Fusion addresses these workflow needs without the performance penalties that plagued earlier solutions.