
If you’ve been struggling to keep your digital life in sync – your iPhone, your Mac, your smart home, your web services – you already know that Apple’s built-in tools only go so far. Automator handles local Mac tasks well, and the Shortcuts app has gotten genuinely powerful in iOS 18 and macOS Sequoia. But neither of them bridges the gap between your Apple devices and the wider web the way IFTTT does.
IFTTT (If This Then That) is a cloud-based automation platform that connects over 1,000 apps and services. It’s the tool you reach for when you want your iPhone to automatically save new photos to Dropbox, or when you want a text message every time your favorite team’s game ends. Shortcuts can’t do that. IFTTT can.

What Is IFTTT?
IFTTT works by connecting two services through what it calls an Applet. An Applet has a trigger (“if this happens…”) and an action (“…then do that”). You pick both, connect your accounts, and IFTTT handles the rest in the cloud, no code required.
The platform connects to Apple Reminders, Contacts, Photos, Calendar, and Shortcuts natively on iOS, plus thousands of third-party services like Spotify, Gmail, Google Sheets, Dropbox, and smart home platforms. There’s no native Mac app, but you can manage everything through ifttt.com in your browser, or trigger automations from your iPhone and have them affect your Mac indirectly through shared services.
What You Can Actually Do With It
Here’s a taste of what IFTTT handles well in 2026:
- Get an iOS notification with the final score whenever your favorite team plays
- Automatically tweet your Instagram photos as native images (not links)
- Save every new photo you take to a Dropbox folder
- Get a morning weather alert if rain is forecast
- Add new Spotify releases from artists you follow to a playlist
- Log completed Apple Reminders to a Google Sheet
- Get notified when the ISS passes overhead (yes, really)
- Trigger smart home lights based on your iPhone’s location

How to Set Up IFTTT on iPhone or iPad
Prerequisites
- An iPhone or iPad running iOS/iPadOS 16.4 or later
- A free IFTTT account (create one at ifttt.com)
- The IFTTT app installed from the App Store
The free tier lets you run up to five Applets. IFTTT Pro starts at $3/month and unlocks multi-step Applets, faster trigger speeds, and more advanced features.
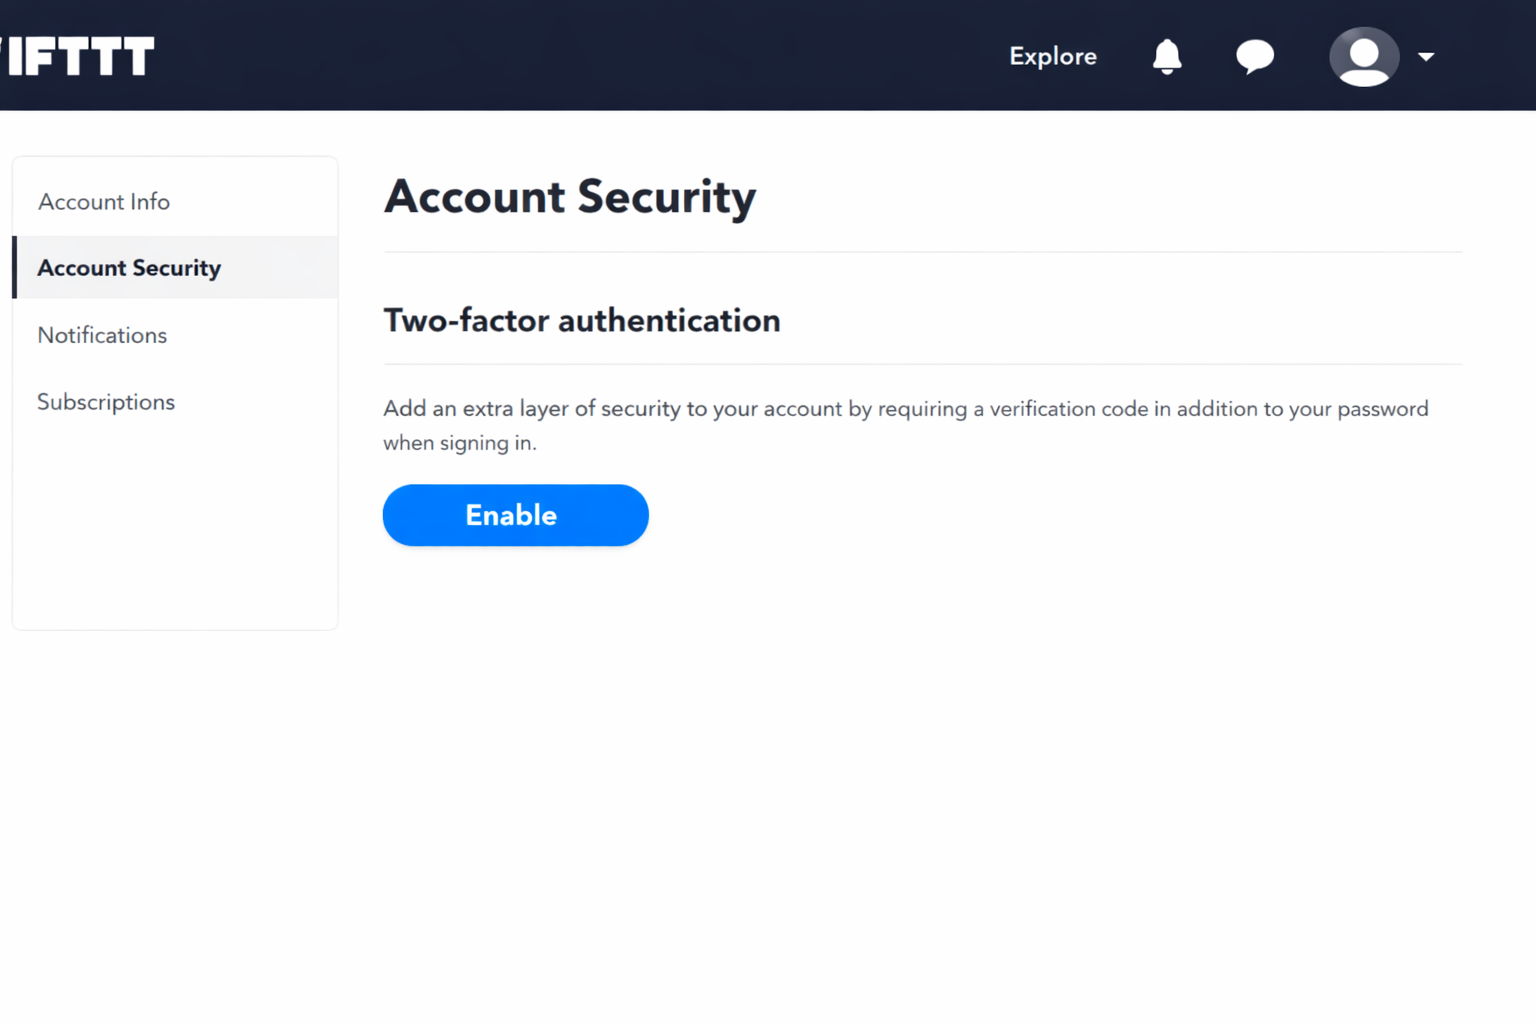
Step 1: Create Your Account and Enable Two-Factor Authentication
Go to ifttt.com and sign up. Before you do anything else, enable two-factor authentication in your account security settings. You’re about to connect IFTTT to your social accounts, email, and potentially your smart home, so lock down the account first.
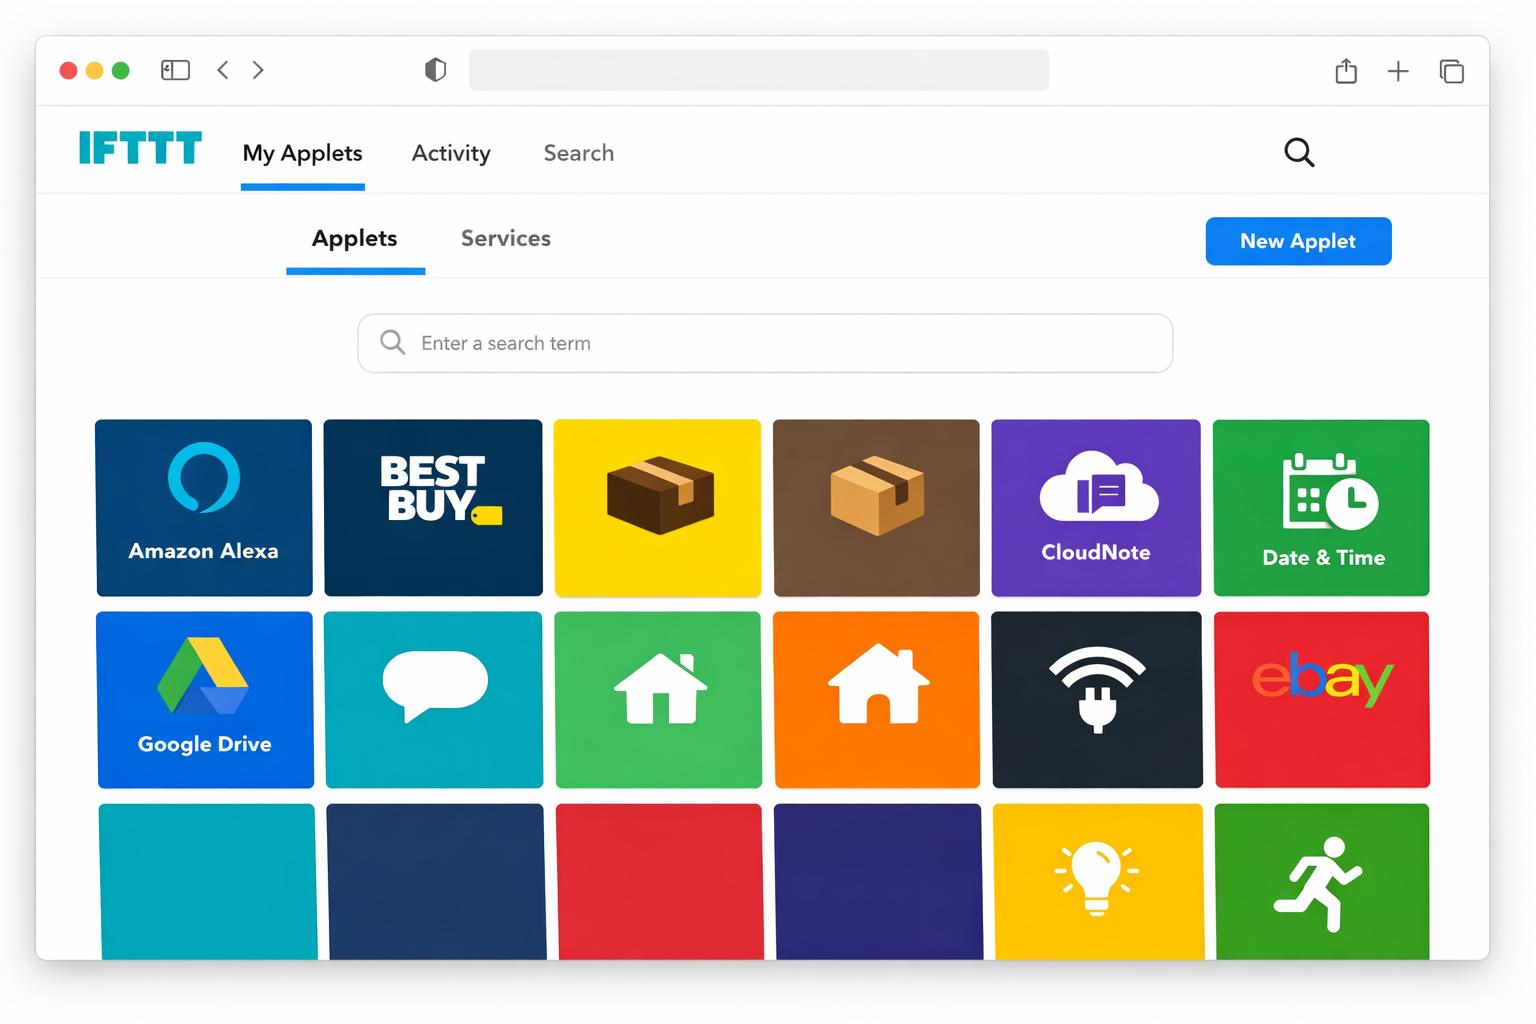
Step 2: Connect Your Services
Before an Applet can use a service, you need to authorize IFTTT to access it. Go to your profile, tap Services, and search for whatever you want to connect: Facebook, Instagram, Spotify, Dropbox, Google, or any Apple service.
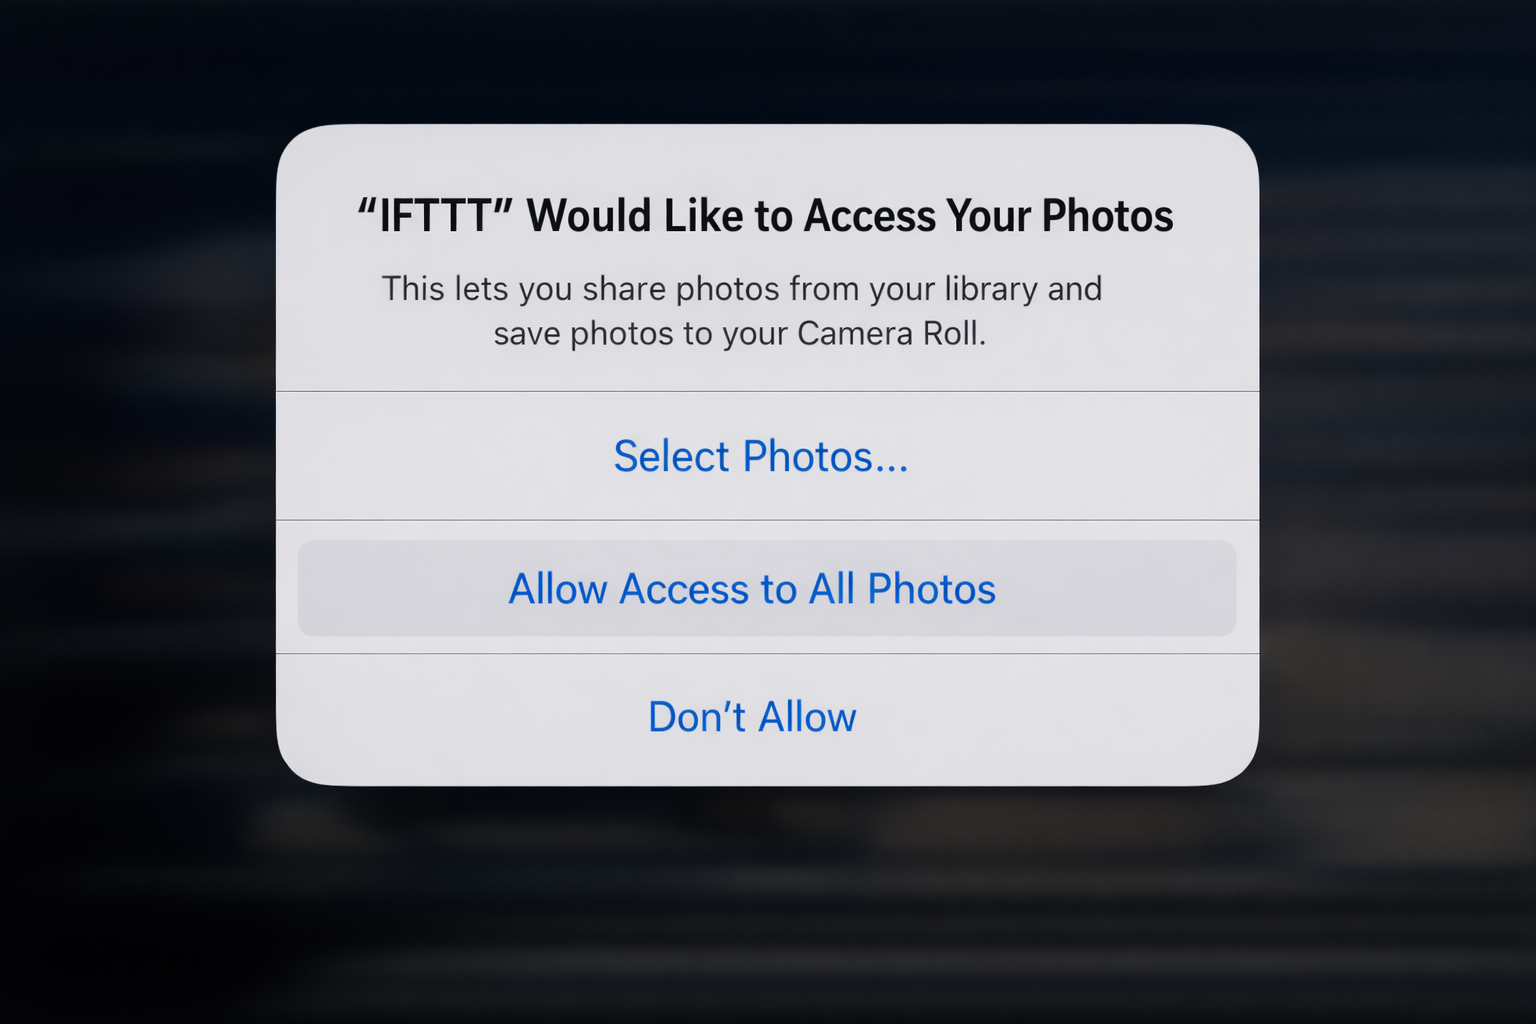
For Apple services specifically, IFTTT will prompt iOS for permission when you first use an Applet that needs Photos, Reminders, Contacts, or Calendar. Grant full access as restricted access will cause Applets to fail silently.
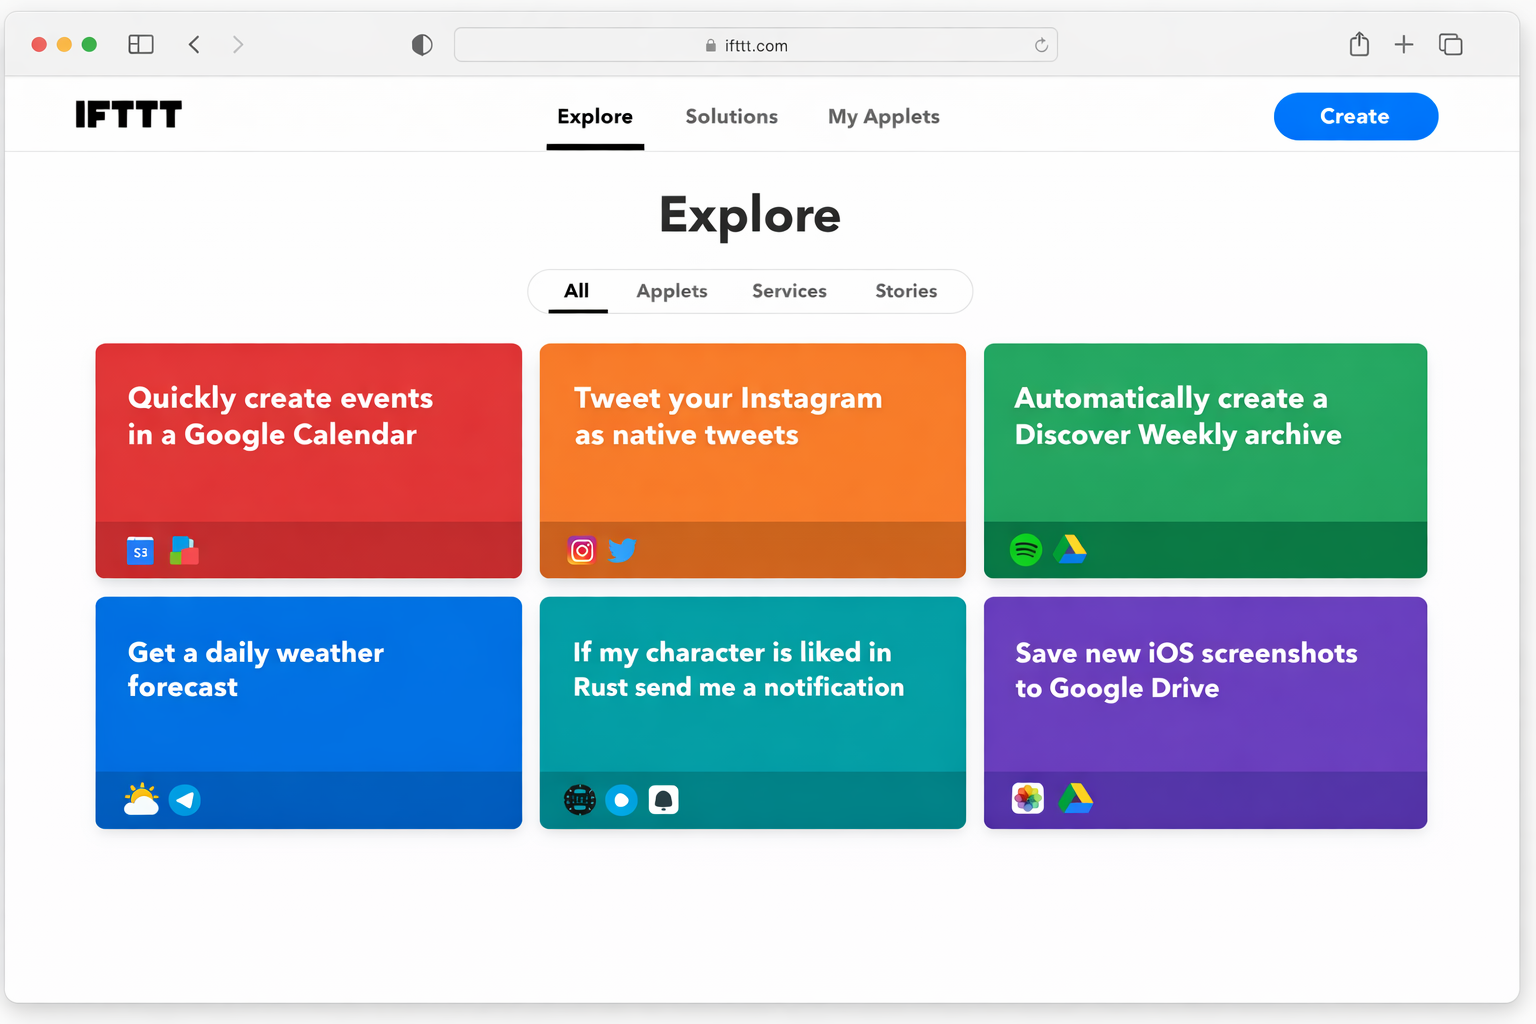
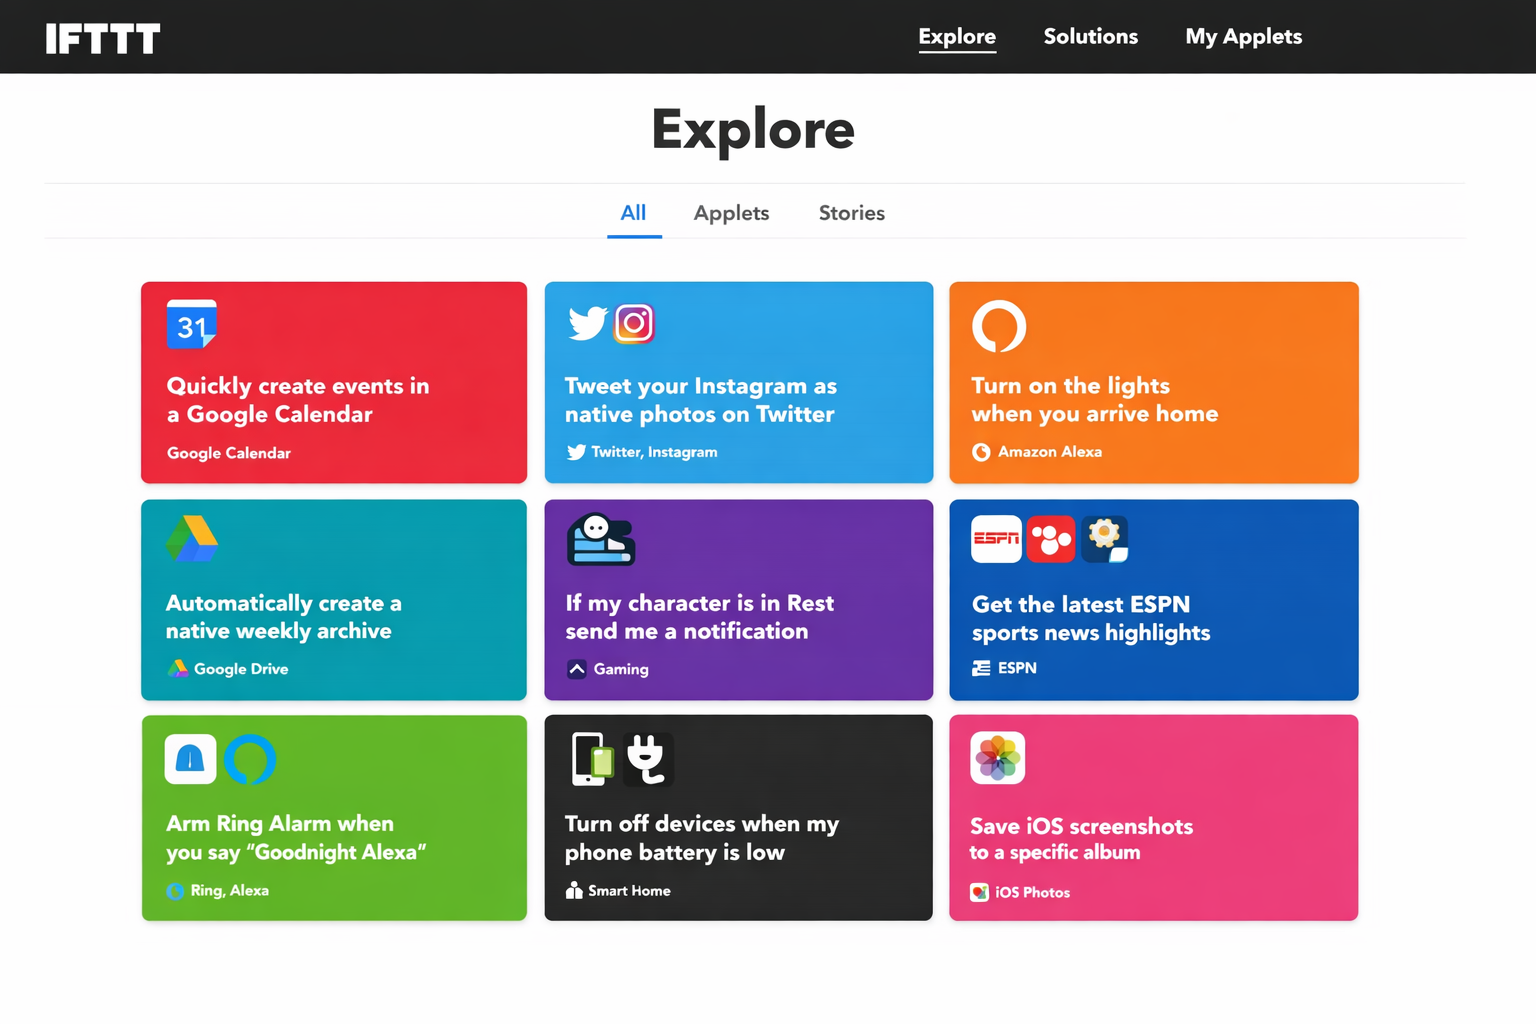
Step 3: Find and Enable an Applet
Tap Explore in the IFTTT app to browse thousands of pre-built Applets, or search for something specific. Let’s use the sports score example as it’s a good one for seeing how everything fits together.
- Open the IFTTT app and tap Explore.
- Search for sports score.
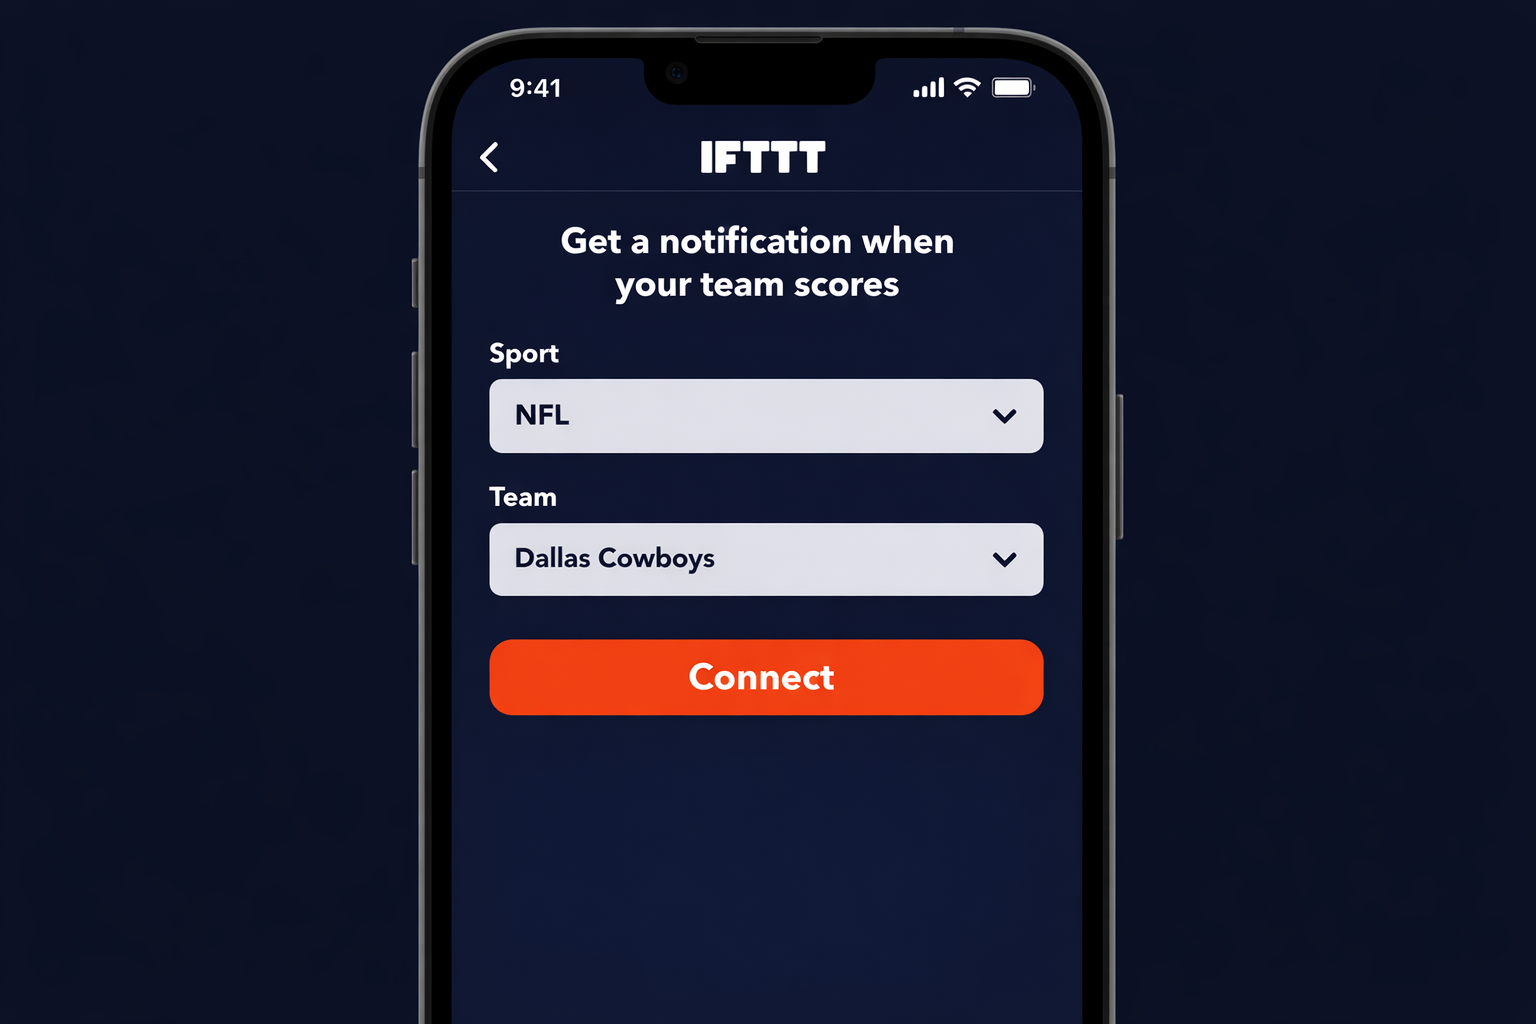
- Find the Applet that matches what you want — for example, one that sends an iOS notification with your NFL team’s final score.
- Tap the Applet to open it, then tap the toggle to turn it On.
- Select your sport and team from the dropdown menus that appear.
- Tap Save.
That’s it. The Applet is now live. When your team’s game ends, you’ll get a notification.

Step 4: Create Your Own Applet
Pre-built Applets cover a lot of ground, but building your own is where IFTTT gets interesting. Here’s how:
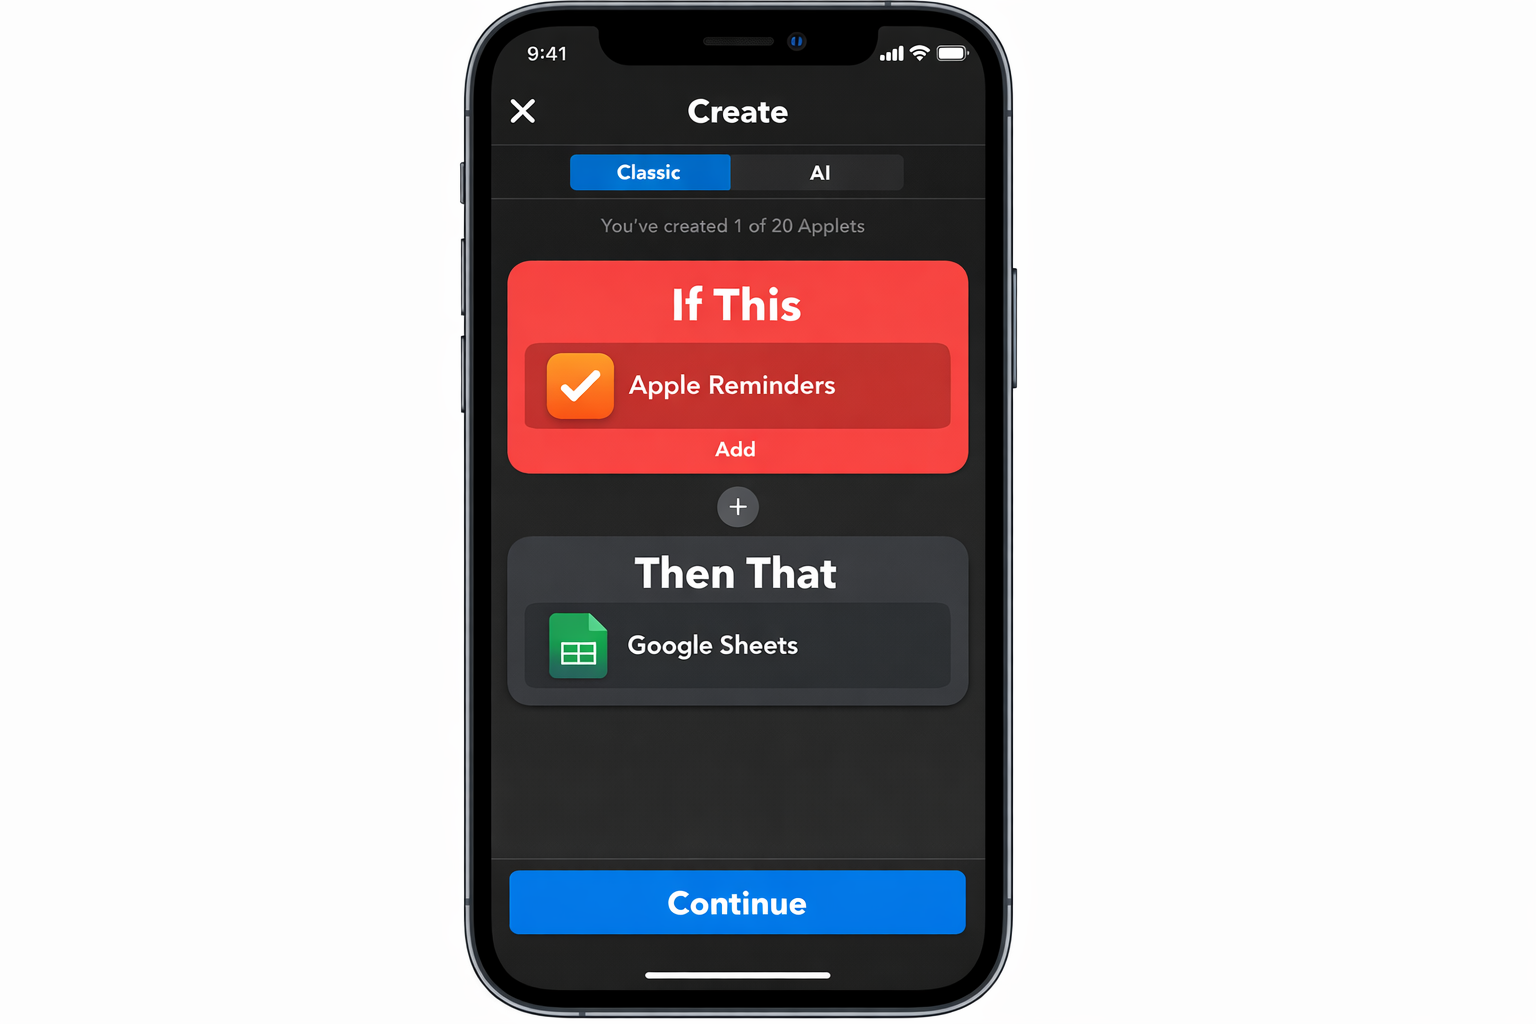
- Tap Create in the top-right corner of the IFTTT app (or click it on the web).
- Tap Add under the “If This” section and choose your trigger service — for example, Apple Reminders.
- Select a trigger event — such as New reminder added to list.
- Configure the trigger (choose which Reminders list to watch).
- Tap Add under “Then That” and choose your action service — for example, Google Sheets.
- Select an action — such as Add row to spreadsheet.
- Configure the action (choose your spreadsheet, map the fields).
- Tap Continue, give your Applet a name, and tap Finish.
Your Applet is now running. Check the Activity tab in the IFTTT app to see a log of every time it fires.
IFTTT vs. Apple Shortcuts: Which Should You Use?
This is worth addressing directly, because Shortcuts has gotten powerful enough in iOS 18 and macOS Sequoia that the overlap is real.
Use Apple Shortcuts when:
- Your automation stays entirely within Apple’s ecosystem
- You want on-device execution with no cloud dependency
- Privacy matters (your data never leaves your device)
- You need Siri or Focus Mode integration
Use IFTTT when:
- You need to connect Apple services to third-party web services
- You want automations that run even when your phone is off or in your pocket
- You’re bridging platforms (iOS to Dropbox, Instagram to Twitter, Reminders to Google Sheets)
- You want pre-built automations without building from scratch
They’re not competitors so much as tools for different jobs. Most power users run both.
Troubleshooting Common IFTTT Problems
Applet isn’t firing
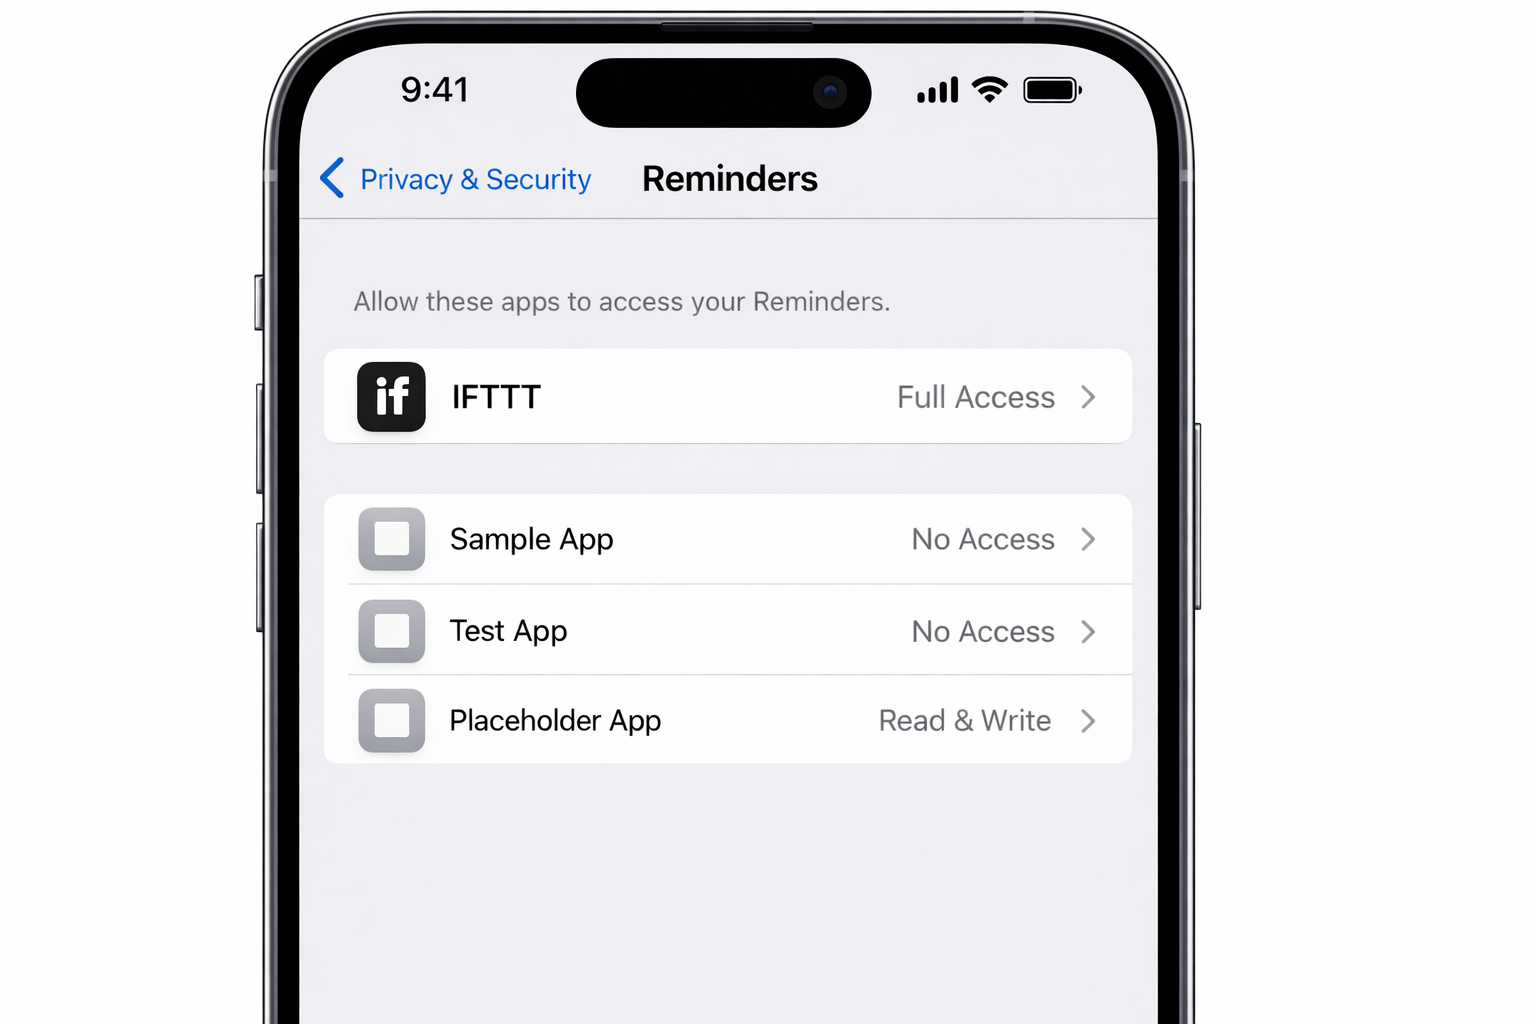
Check the Activity tab in the IFTTT app. If you see errors, the most common cause is a disconnected service. Go to Services, find the service in question, and tap Reconnect. iOS updates sometimes reset permissions too — check Settings > Privacy & Security on your iPhone and make sure IFTTT still has the access it needs.
Dropdowns are empty when configuring an Applet
This is almost always a service connection issue. Disconnect the service from your IFTTT account completely, then reconnect it. If the dropdown is still empty, try configuring the Applet on the web at ifttt.com instead of the mobile app.
Photo-based Applets stop working after a few minutes
iOS limits how long apps can monitor your Photos library in the background. If you’re using an Applet that watches for new photos, it may stop triggering after around 10 minutes of the app being in the background. The workaround is to use a Shortcuts automation to open IFTTT periodically, or switch to a Shortcuts-based photo workflow for anything time-sensitive.
iOS update reset my permissions
This happens. After any major iOS update, open the IFTTT app and check that your connected services are still authorized. If you see any services showing as disconnected, reconnect them before your Applets start failing.
A Few Applets Worth Enabling Right Now
If you’re not sure where to start, these are reliable and genuinely useful in 2026:
- Sports score notifications — Get an iOS notification with your team’s final score via ESPN
- Instagram to X (Twitter) — Post your Instagram photos as native images on X, not just links
- New iOS photos to Dropbox — Automatically back up every photo you take to a Dropbox folder
- Rain alert — Get a morning notification if rain is in the forecast for your location
- Reminders to Google Sheets — Log completed reminders to a spreadsheet for tracking
- Smart lights by location — Turn your Philips Hue or LIFX lights on when you arrive home
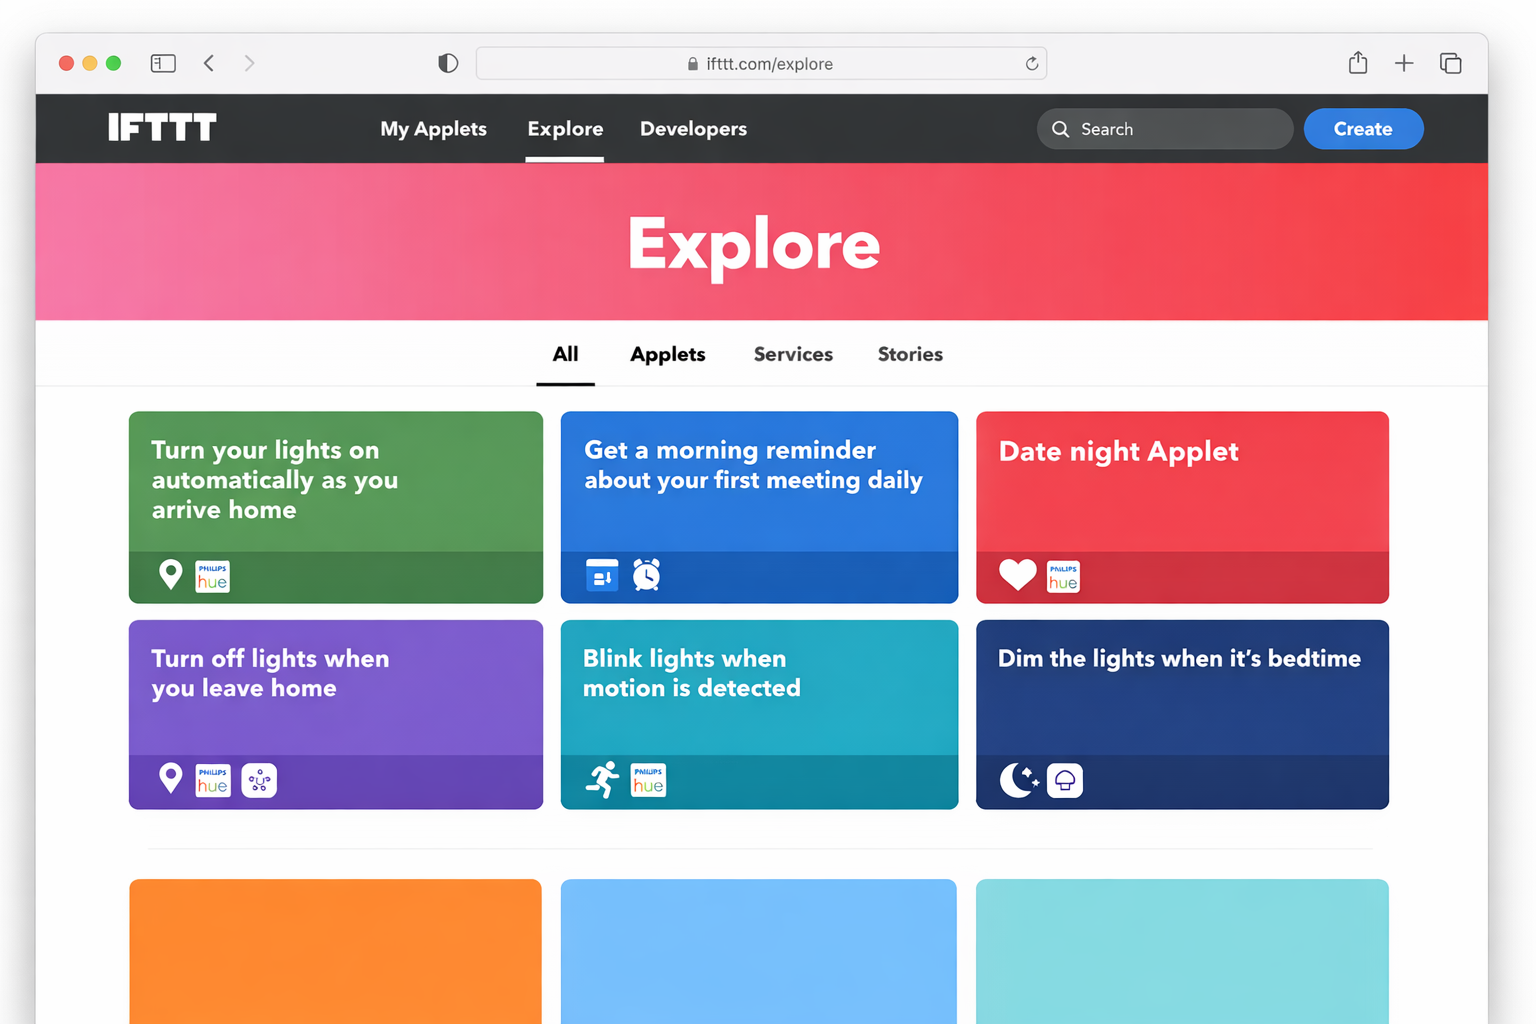
Browse the Explore tab and you’ll find hundreds more organized by category – the sports, weather, and smart home sections alone are worth an hour of your time.
Once you’ve set up a handful of Applets, you’ll stop thinking about them entirely. That’s the point! The automations run quietly in the background, and you’re no longer manually doing things that a machine can handle. That’s a workflow problem solved.