
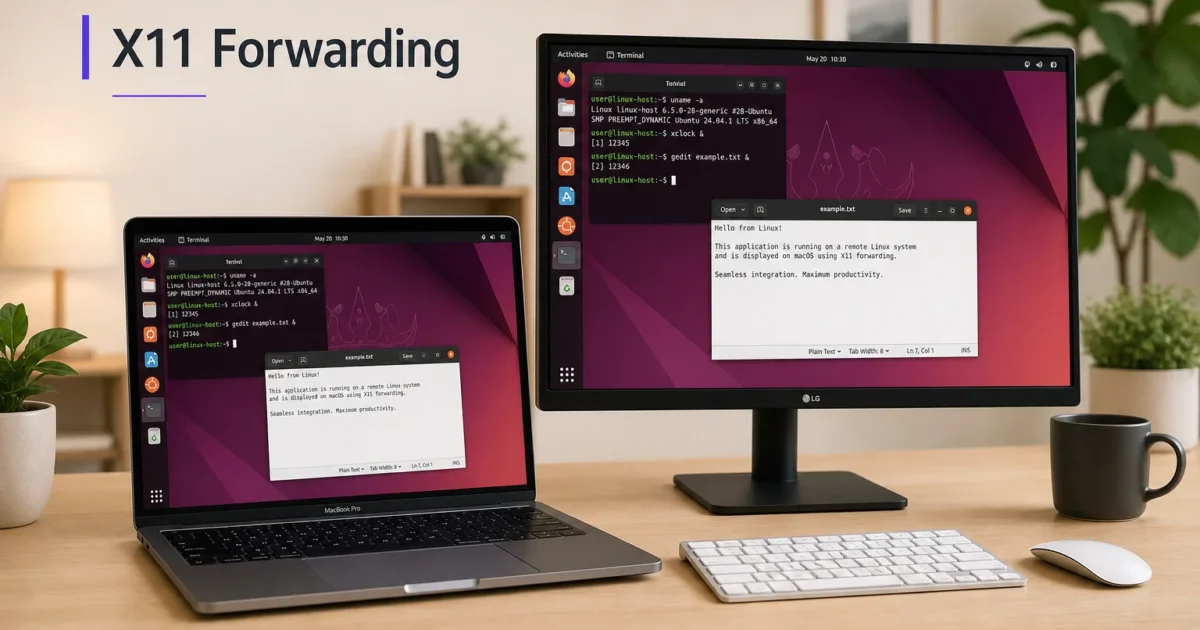
Want to run Linux apps on your Mac without a heavy virtual machine? An X11 forwarding setup with Lima delivers Linux GUI apps alongside your regular macOS applications. It performs better than traditional VM solutions while maintaining compatibility.
What is X11 Forwarding?
X11 forwarding is a proven method for running remote graphical applications. It works by running Linux apps in a lightweight virtual machine (Lima) and displaying them on your Mac through the X11 protocol. Unlike heavy virtualization, this approach uses minimal resources while providing full GUI functionality.
This setup works great for developers working across platforms. It’s also perfect for users who need Linux-specific tools. You can test Linux software without separate hardware or resource-intensive virtual machines.
Prerequisites
Before starting, make sure you have:
- macOS 12 Monterey (2021) or later (including macOS 26 Tahoe) (check in Apple Menu > About This Mac)
- At least 8GB of RAM (16GB recommended for better performance)
- Administrative privileges on your Mac
- Xcode Command Line Tools (we’ll install these if needed)
- At least 5GB of free disk space for the setup
Note: Apple Silicon Macs (M1/M2/M3/M4/M5) handle virtualization natively — no extra setup is needed beyond the steps below.
| Requirement | Details |
|---|---|
| macOS Version | 12.0 (Monterey, 2021) or later (including macOS 26 Tahoe) |
| RAM | 8GB minimum, 16GB recommended |
| Storage | 5GB free space for installation |
| Network | Internet connection for downloading packages |
Step-by-Step Installation Guide
Step 1: Verify System Requirements
First, check your macOS version and available resources.
Click the Apple Menu > About This Mac to verify you’re running macOS 12 or later.
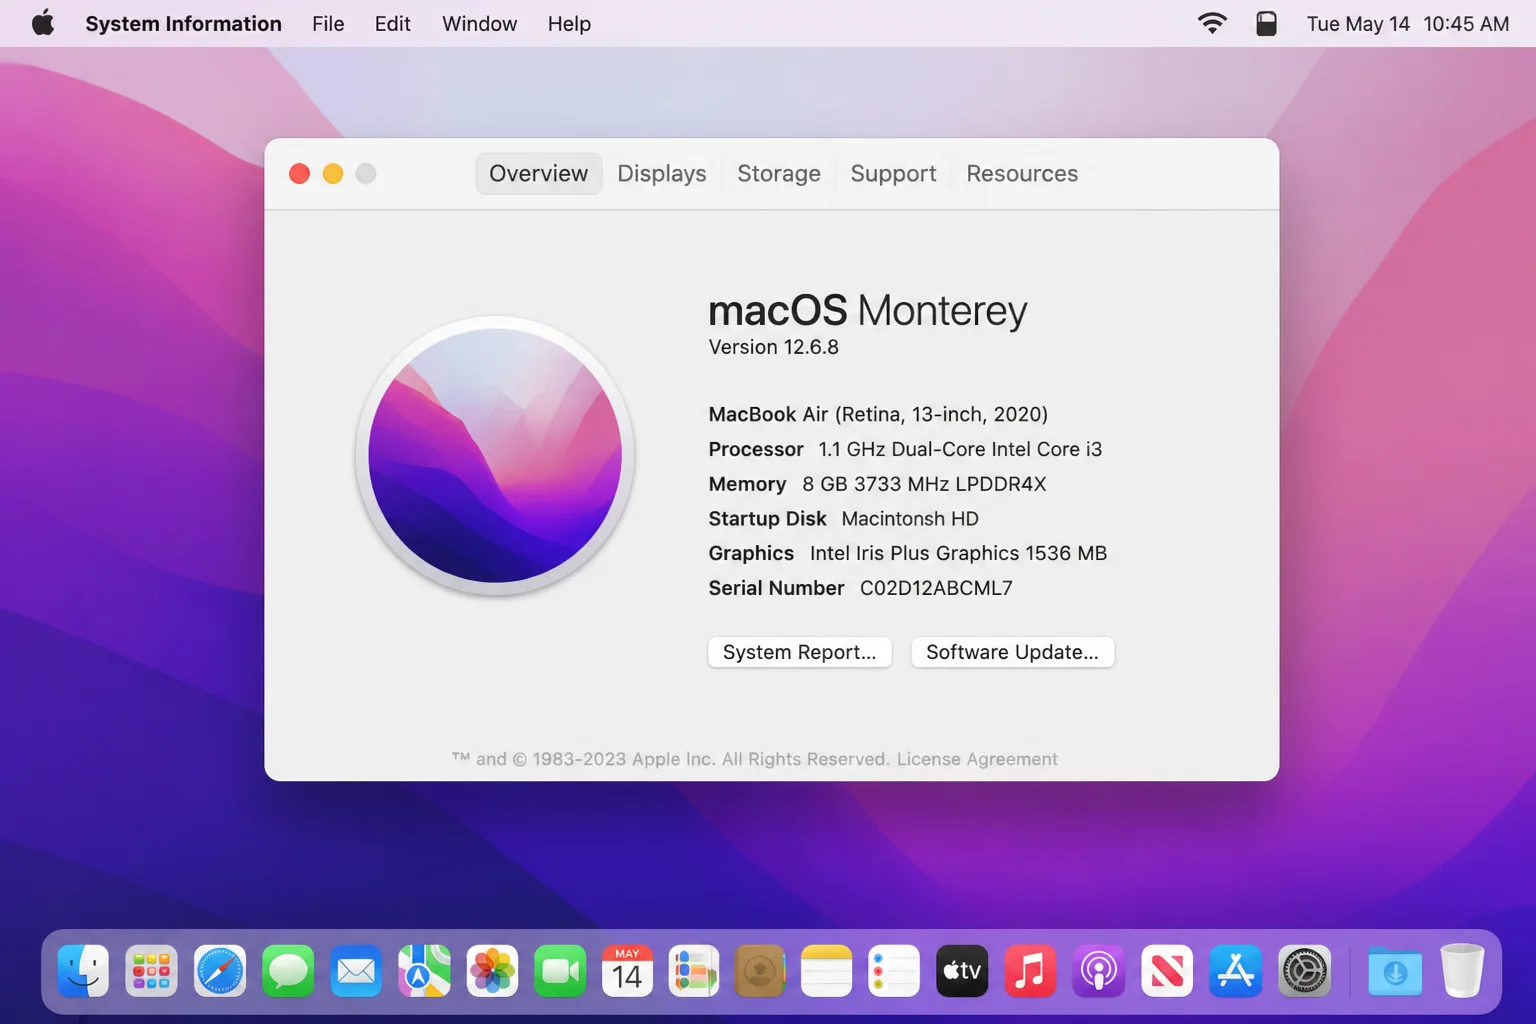
Open Terminal (press Cmd + Space, type “Terminal”, and press Enter) and run:
system_profiler SPSoftwareDataType | grep "System Version"
vm_stat | head -n 10
Step 2: Install Homebrew Package Manager
Homebrew manages the packages we’ll need. If you don’t have it installed:
/bin/bash -c "$(curl -fsSL https://raw.githubusercontent.com/Homebrew/install/HEAD/install.sh)"Follow the prompts. Enter your password when requested. After installation, add Homebrew to your PATH (this block works for both Intel and Apple Silicon Macs):
if [[ -d "/usr/local/bin/brew" ]]; then
  eval "$(/usr/local/bin/brew shellenv)"
elif [[ -d "/opt/homebrew/bin/brew" ]]; then
  eval "$(/opt/homebrew/bin/brew shellenv)"
fi
To make this permanent, add the same block to your shell profile:
cat << 'EOF' >> ~/.zprofile
if [[ -d "/usr/local/bin/brew" ]]; then
  eval "$(/usr/local/bin/brew shellenv)"
elif [[ -d "/opt/homebrew/bin/brew" ]]; then
  eval "$(/opt/homebrew/bin/brew shellenv)"
fi
EOF
Verify the installation:
brew --version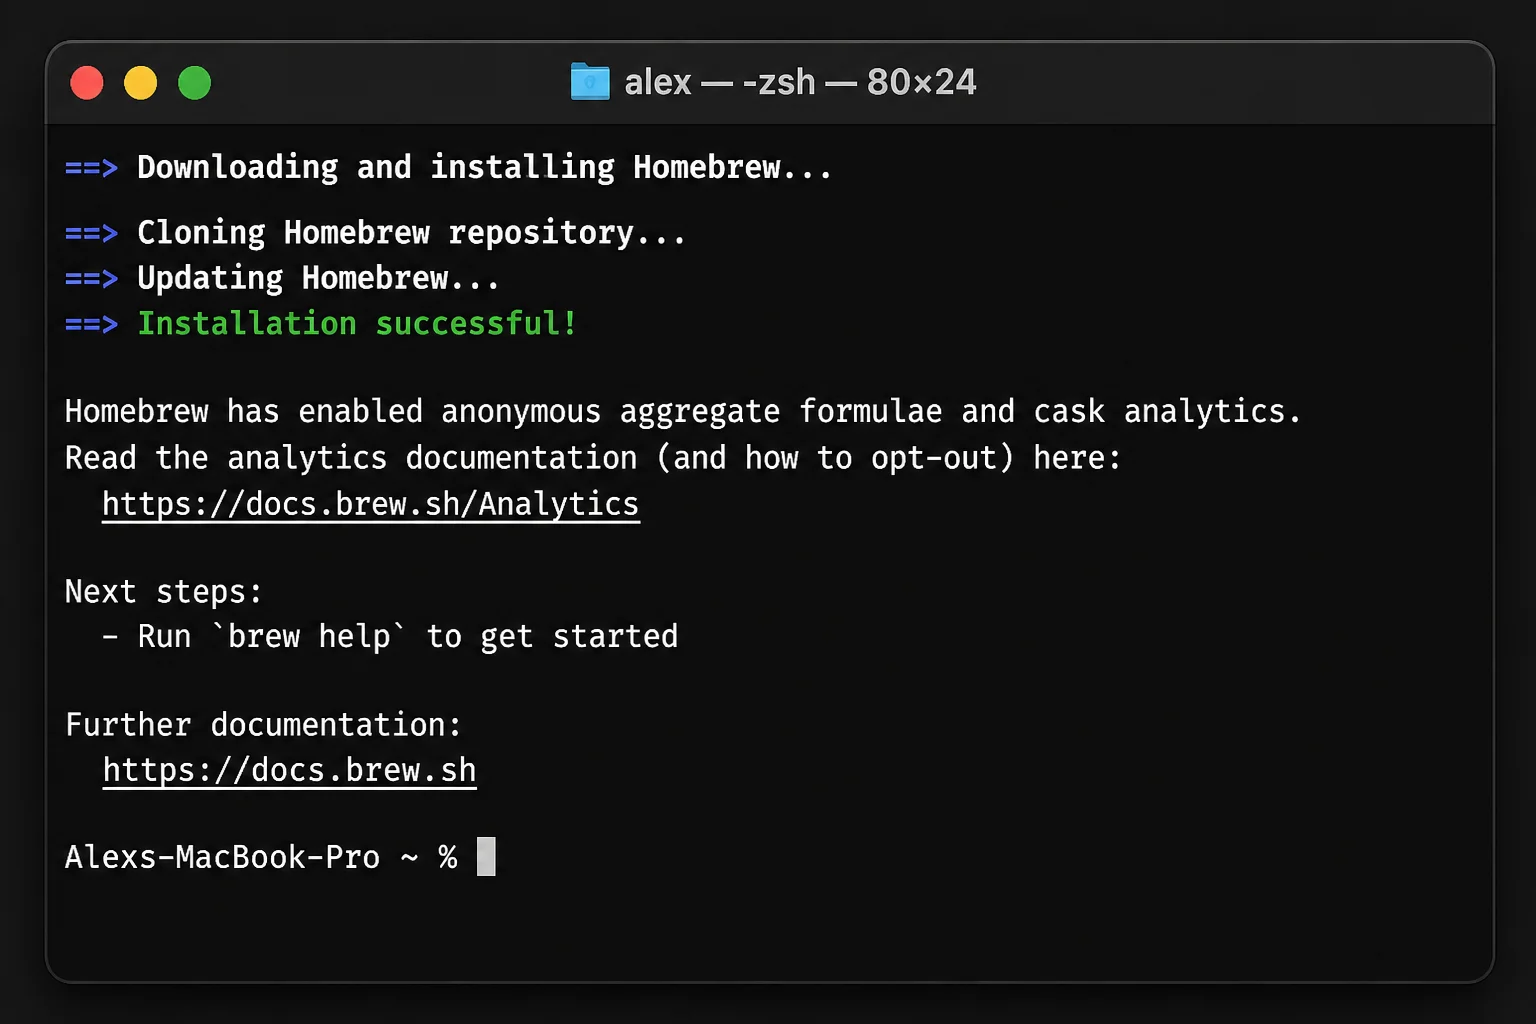
Step 3: Install Xcode Command Line Tools
Install the development tools needed for compiling packages:
xcode-select --installClick Install in the popup dialog. Then click Agree to the license terms.
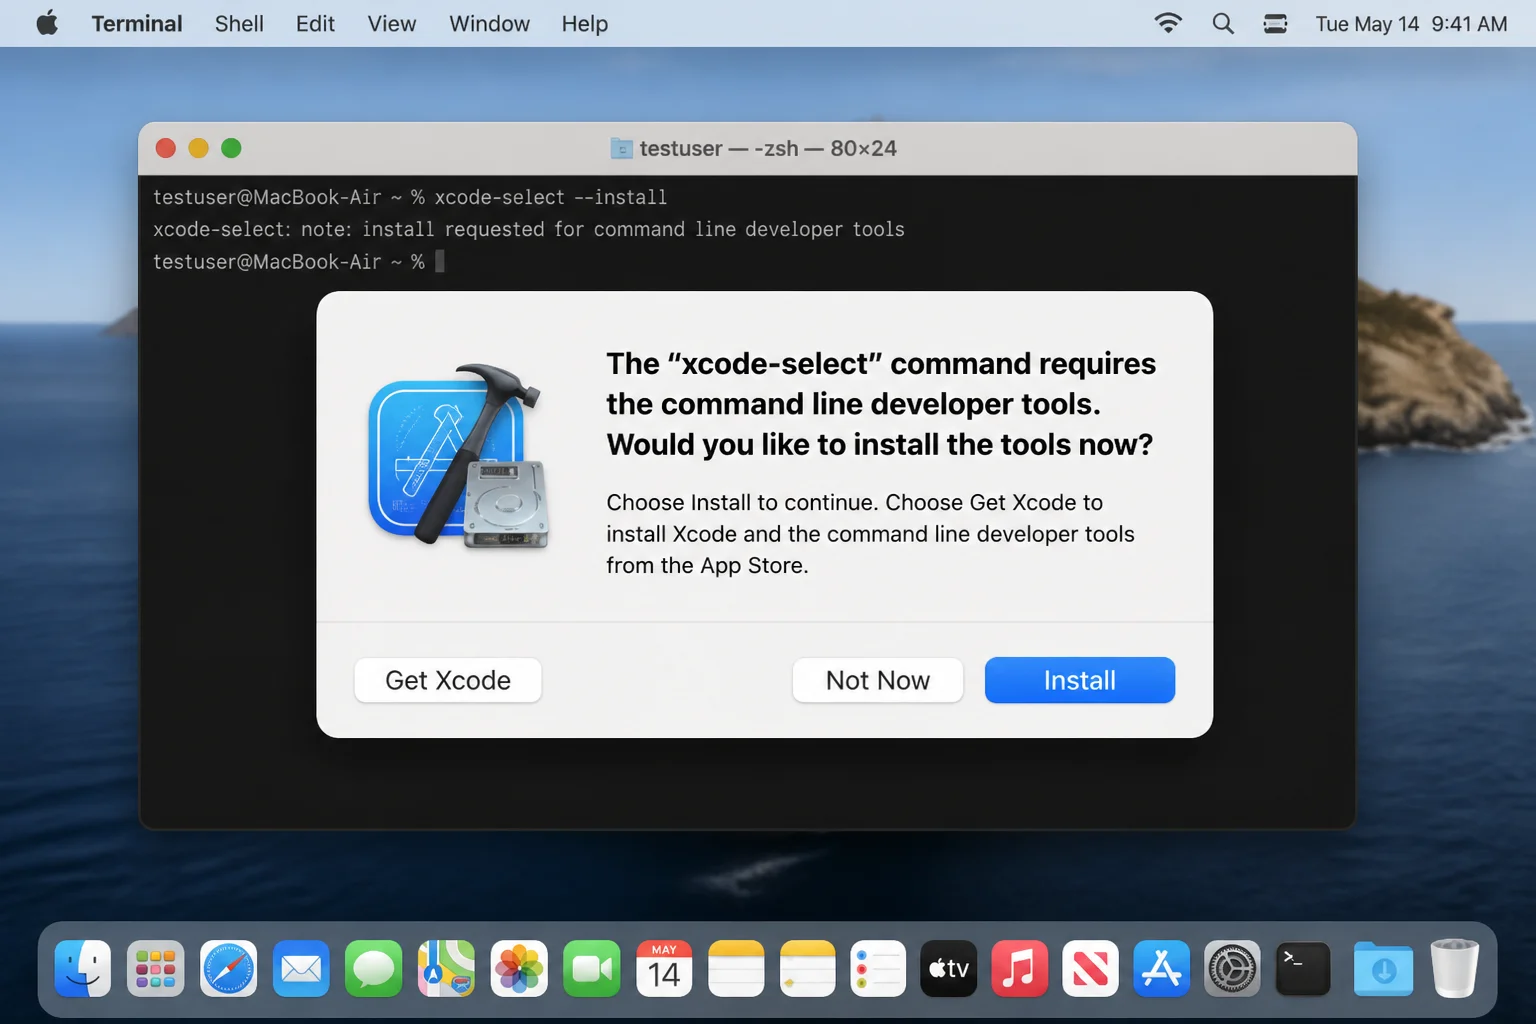
Wait for the installation to complete (this can take 10-15 minutes). Then verify:
xcode-select -pYou should see output like /Applications/Xcode.app/Contents/Developer or /Library/Developer/CommandLineTools.
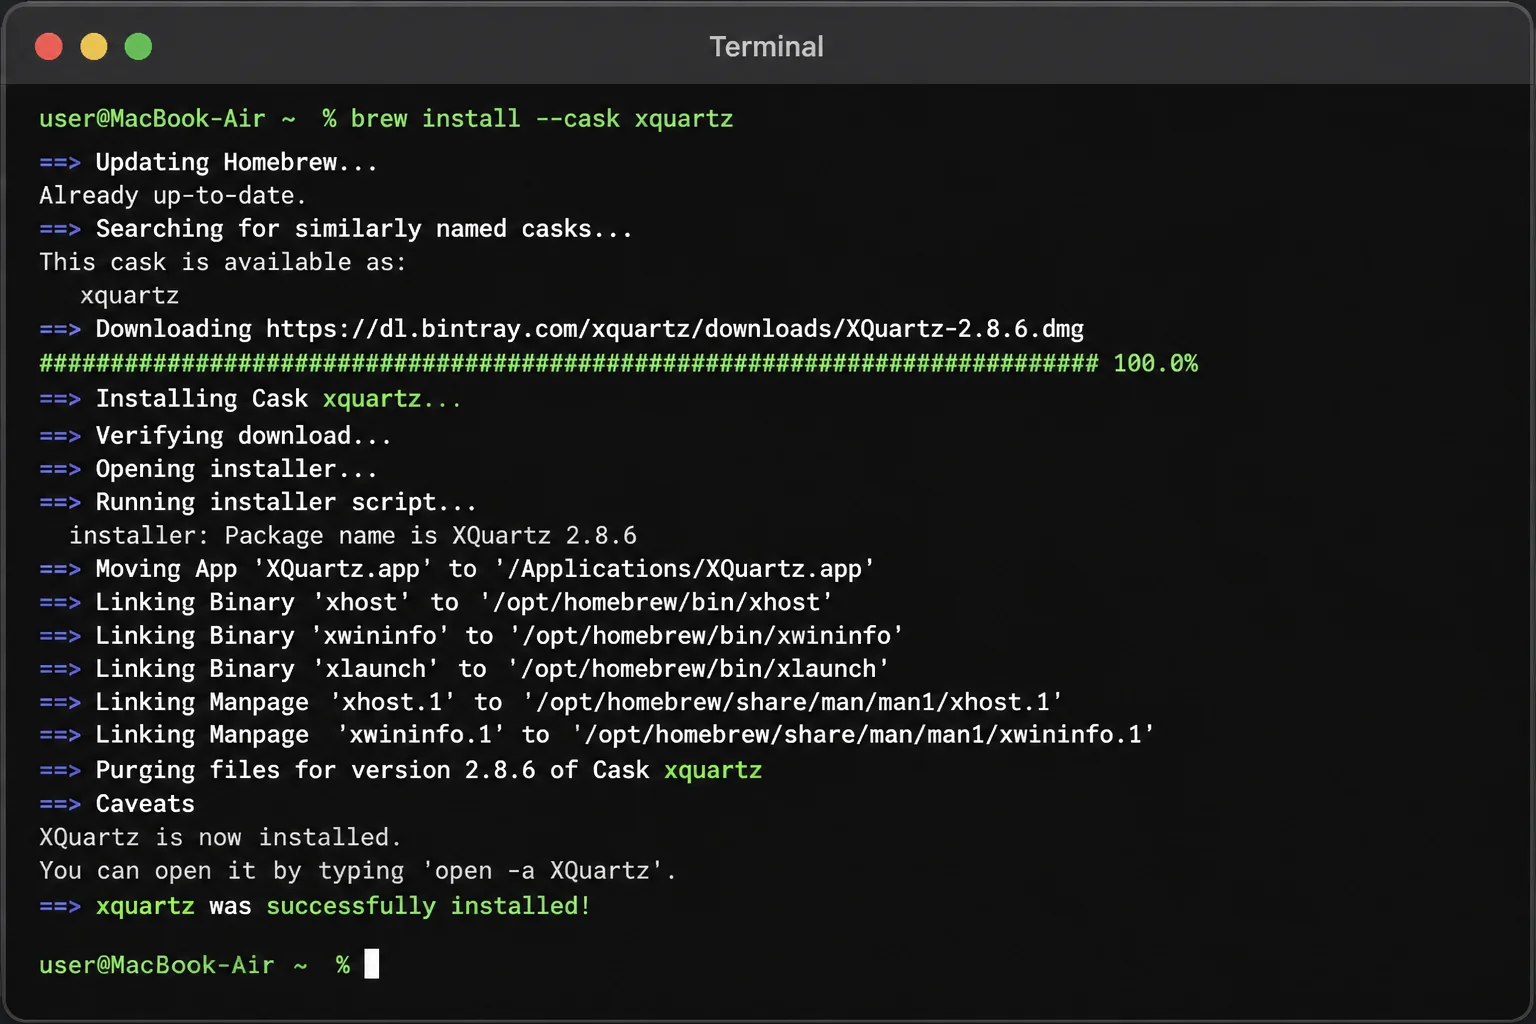
Step 4: Install XQuartz
XQuartz provides the X11 server that will display Linux applications on macOS. This is essential for X11 forwarding to work.
brew install --cask xquartzAfter installation, log out and log back in to your macOS account. This lets XQuartz initialize properly.
Step 5: Install Lima
Install Lima to provide a lightweight Linux environment:
brew install limaCreate a new Lima instance optimized for GUI apps with X11 forwarding enabled:
limactl create --name=linux-desktop template://ubuntu-ltsStart the Lima instance:
limactl start linux-desktop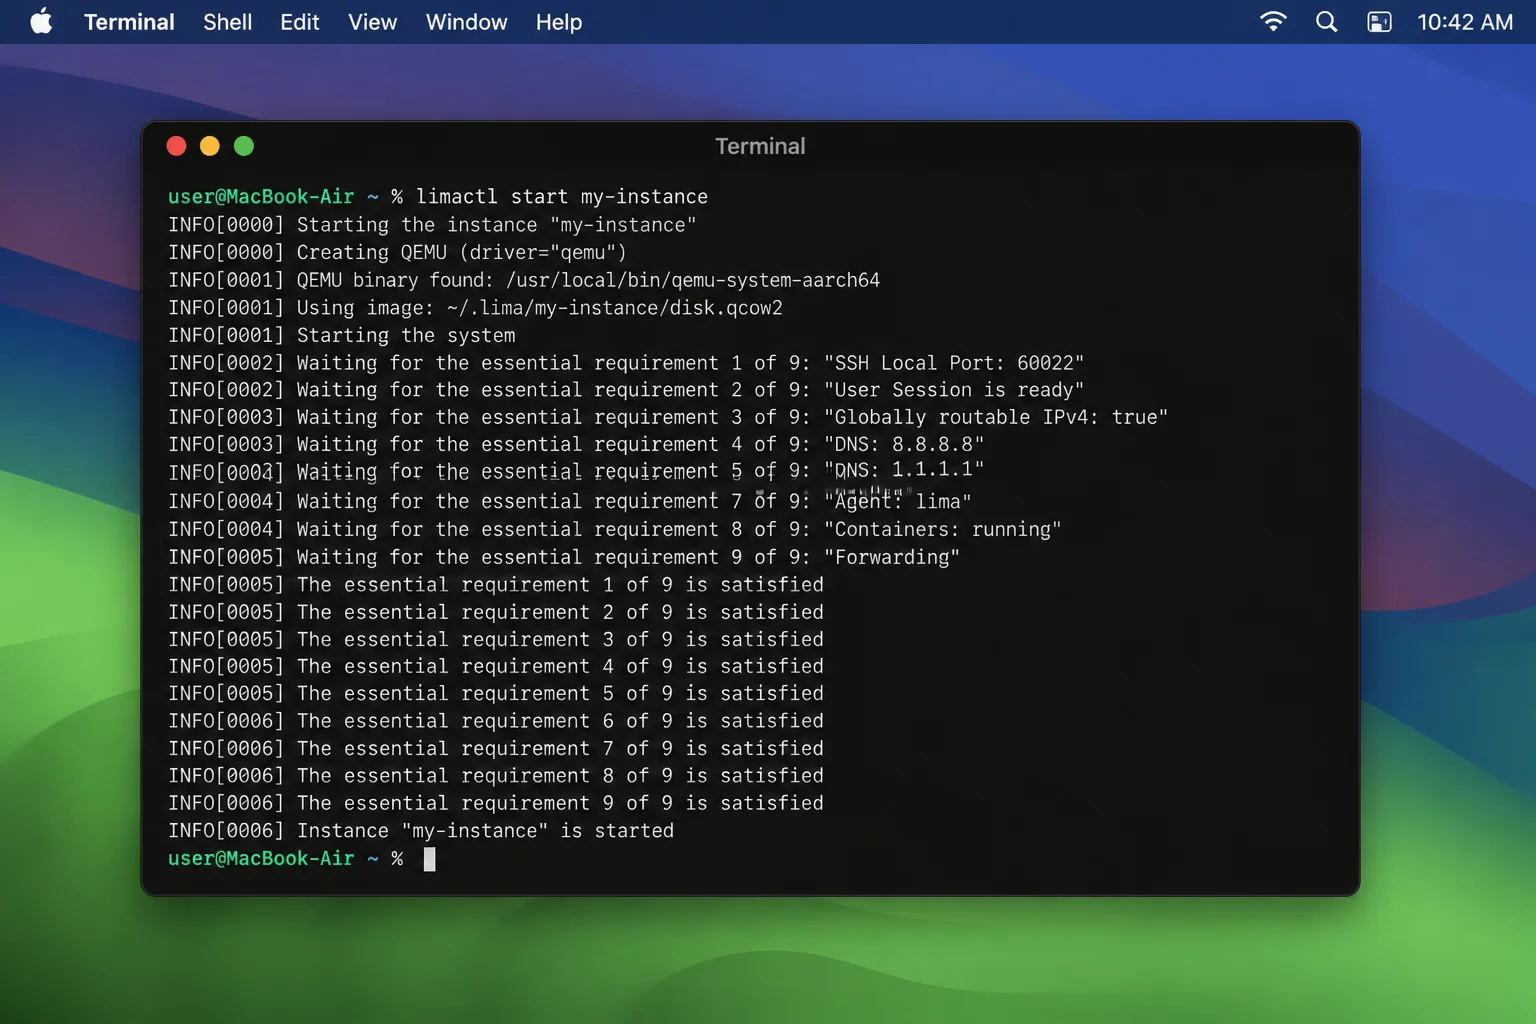
Step 6: Configure Lima for X11 Forwarding
Edit the Lima configuration to enable X11 forwarding:
limactl edit linux-desktopAdd the following lines to the configuration file. If env or mounts sections already exist, add these entries under them — preserving the existing structure and using exactly 2-space indentation:
# Enable X11 forwarding
env:
  DISPLAY: host.lima.internal:0

# Forward X11 socket
mounts:
  - location: "/tmp/.X11-unix"
    writable: false
Restart the Lima instance to apply changes:
limactl stop linux-desktop
limactl start linux-desktop
Step 7: Set Up the Linux Environment
Enter the Lima shell:
lima linux-desktopInside the Lima environment, update the package list and install essential packages:
sudo apt update && sudo apt upgrade -y
sudo apt install -y x11-apps x11-utils
Install some test applications:
sudo apt install -y firefox gedit gnome-calculator xeyesStep 8: Configure X11 Display
Still in the Lima shell, set up the display environment:
echo 'export DISPLAY=host.lima.internal:0' >> ~/.bashrc
source ~/.bashrc
Test the X11 connection:
xeyesYou should see a pair of eyes appear on your macOS desktop. If not, make sure XQuartz is running.
Step 9: Create Launch Scripts
Exit the Lima shell (exit) and create convenient launch scripts on macOS:
mkdir -p ~/bin
nano ~/bin/linux-app
Add this content:
#!/bin/bash
# Ensure XQuartz is running
if ! pgrep -x "Xquartz" > /dev/null || pgrep -f "X11" > /dev/null; then
    open -a XQuartz
    sleep 3
fi

# Launch the Linux application
lima linux-desktop "$@"
Make it executable:
chmod +x ~/bin/linux-appAdd the bin directory to your PATH:
echo 'export PATH="$HOME/bin:$PATH"' >> ~/.zprofile
source ~/.zprofile
Step 10: Test the Setup
Test your X11 forwarding setup by launching a Linux application:
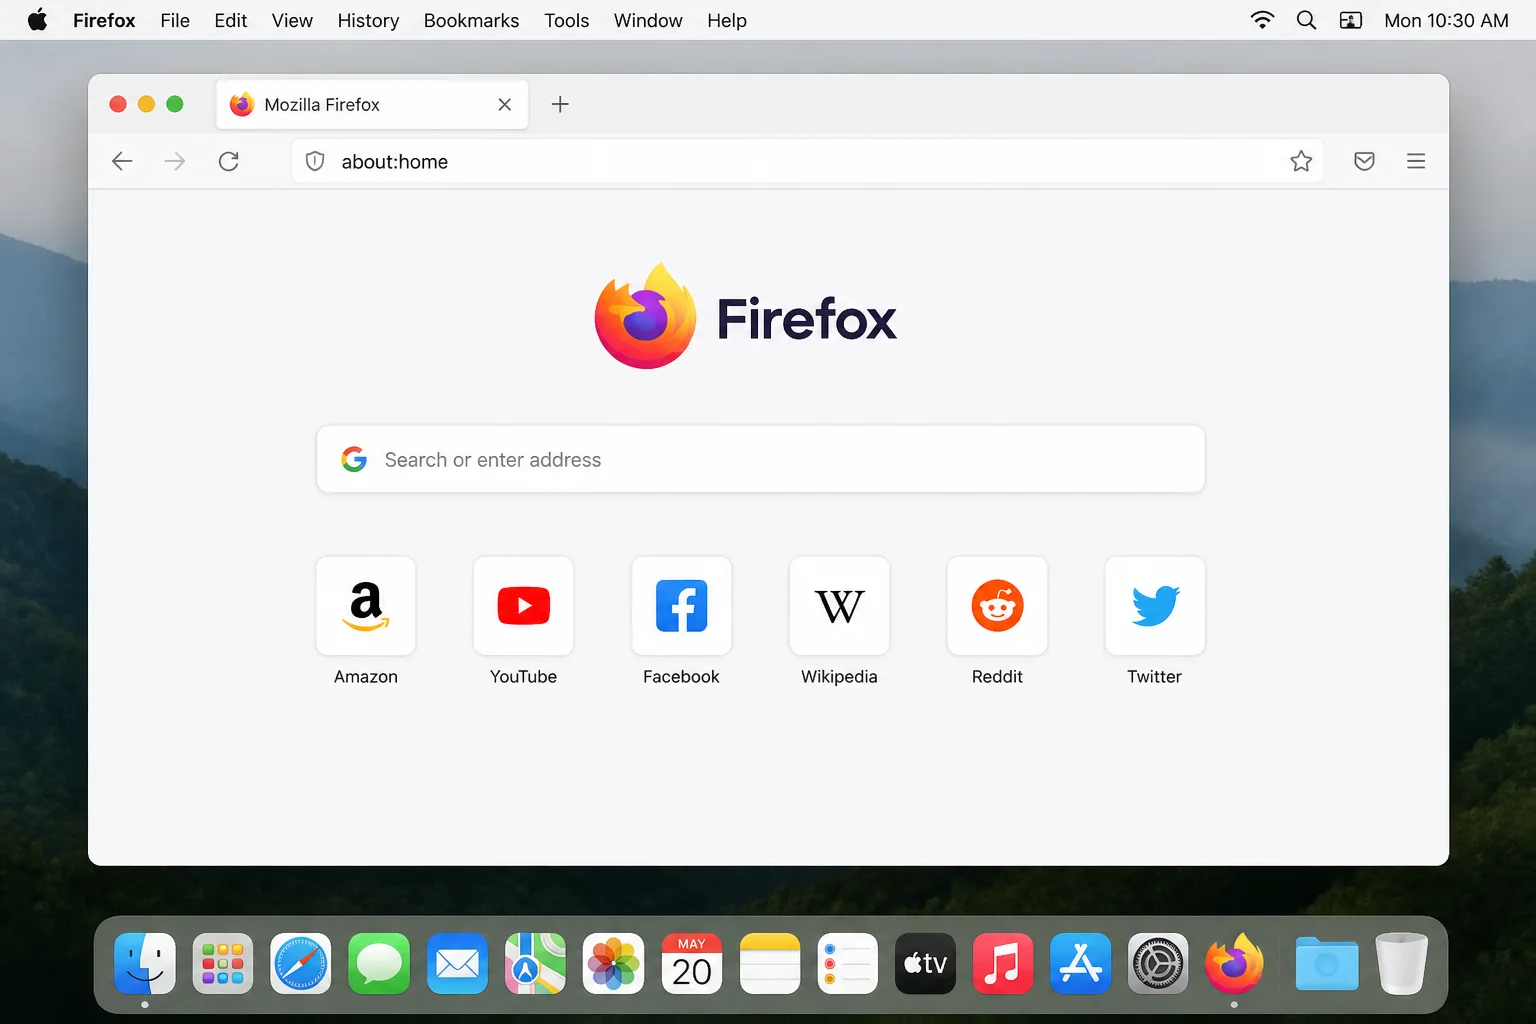
linux-app firefoxFirefox should open in a new window on your macOS desktop, running from the Linux environment.
Try other applications:
linux-app gedit
linux-app gnome-calculator
Configuration Options
Display Settings
Adjust display scaling for high-DPI monitors by configuring XQuartz. Open XQuartz preferences and adjust the DPI settings under the “Output” tab.
Performance Tuning
For better performance, you can adjust Lima’s resource allocation:
limactl edit linux-desktopModify these settings based on your system:
memory: "4GiB"
cpus: 2
Application-Specific Settings
Create specific launchers for frequently used apps:
nano ~/bin/linux-firefoxAdd:
#!/bin/bash
linux-app firefox "$@"
Make it executable:
chmod +x ~/bin/linux-firefoxTips and Troubleshooting
Applications Won’t Start
Problem: Linux apps fail to launch or show display errors.
Solution: Verify XQuartz is running and the DISPLAY variable is set:
lima linux-desktop echo $DISPLAYIf empty, restart your Lima instance and ensure XQuartz is running.
Poor Graphics Performance
Problem: Apps run slowly or have visual glitches.
Solution: X11 forwarding has inherent limitations. For graphics-intensive apps, consider:
linux-app firefox --disable-gpuInput Devices Not Working
Problem: Keyboard or mouse input doesn’t work properly in Linux apps.
Solution: This is usually handled automatically by X11 forwarding. If issues persist, restart XQuartz:
pkill XQuartz
open -a XQuartz
Audio Not Working
Problem: Linux apps don’t produce sound.
Solution: Install PulseAudio forwarding in your Lima instance:
lima linux-desktop
sudo apt install -y pulseaudio pulseaudio-utils
pulseaudio --start
Memory Usage Issues
Problem: High memory consumption or system slowdown.
Solution: Limit Lima instance resources by editing the configuration:
limactl edit linux-desktopAdjust these settings:
memory: "2GiB"
cpus: 1
Common Application Compatibility
| Application | Status | Notes |
|---|---|---|
| Firefox | ✅ Works | May need --disable-gpu for stability |
| GIMP | ✅ Works | Full functionality available |
| LibreOffice | ✅ Works | Some fonts may need configuration |
| VS Code | ✅ Works | Use code --disable-gpu if needed |
| Blender | ⚠️ Limited | Graphics performance may be poor |
Performance Comparison
Compared to alternatives:
- vs. Full VM: Significantly less memory usage and faster startup
- vs. Docker Desktop: Better GUI support, more native feel
- vs. VNC: Lower latency, better integration with macOS
- vs. remote desktop apps: No network dependency, native input handling
Wrapping Up
You now have a working bridge between macOS and Linux apps using proven X11 forwarding technology. This setup shines for developers and power users who need Linux-specific tools regularly. While it won’t replace every virtualization need, it hits a sweet spot between performance and functionality.