
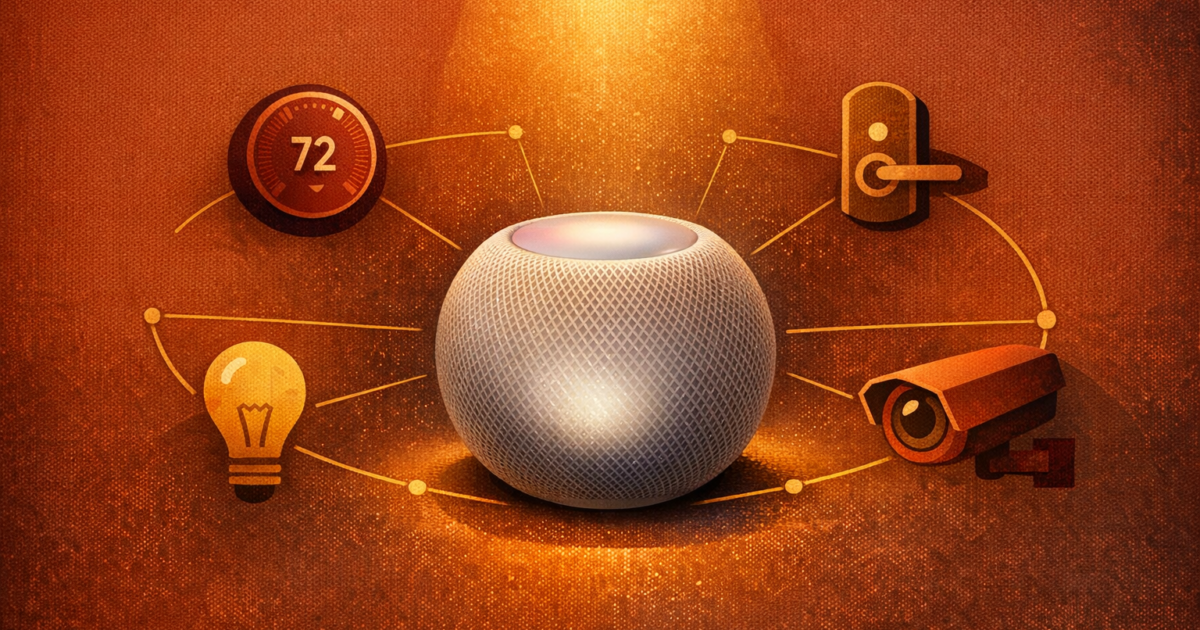
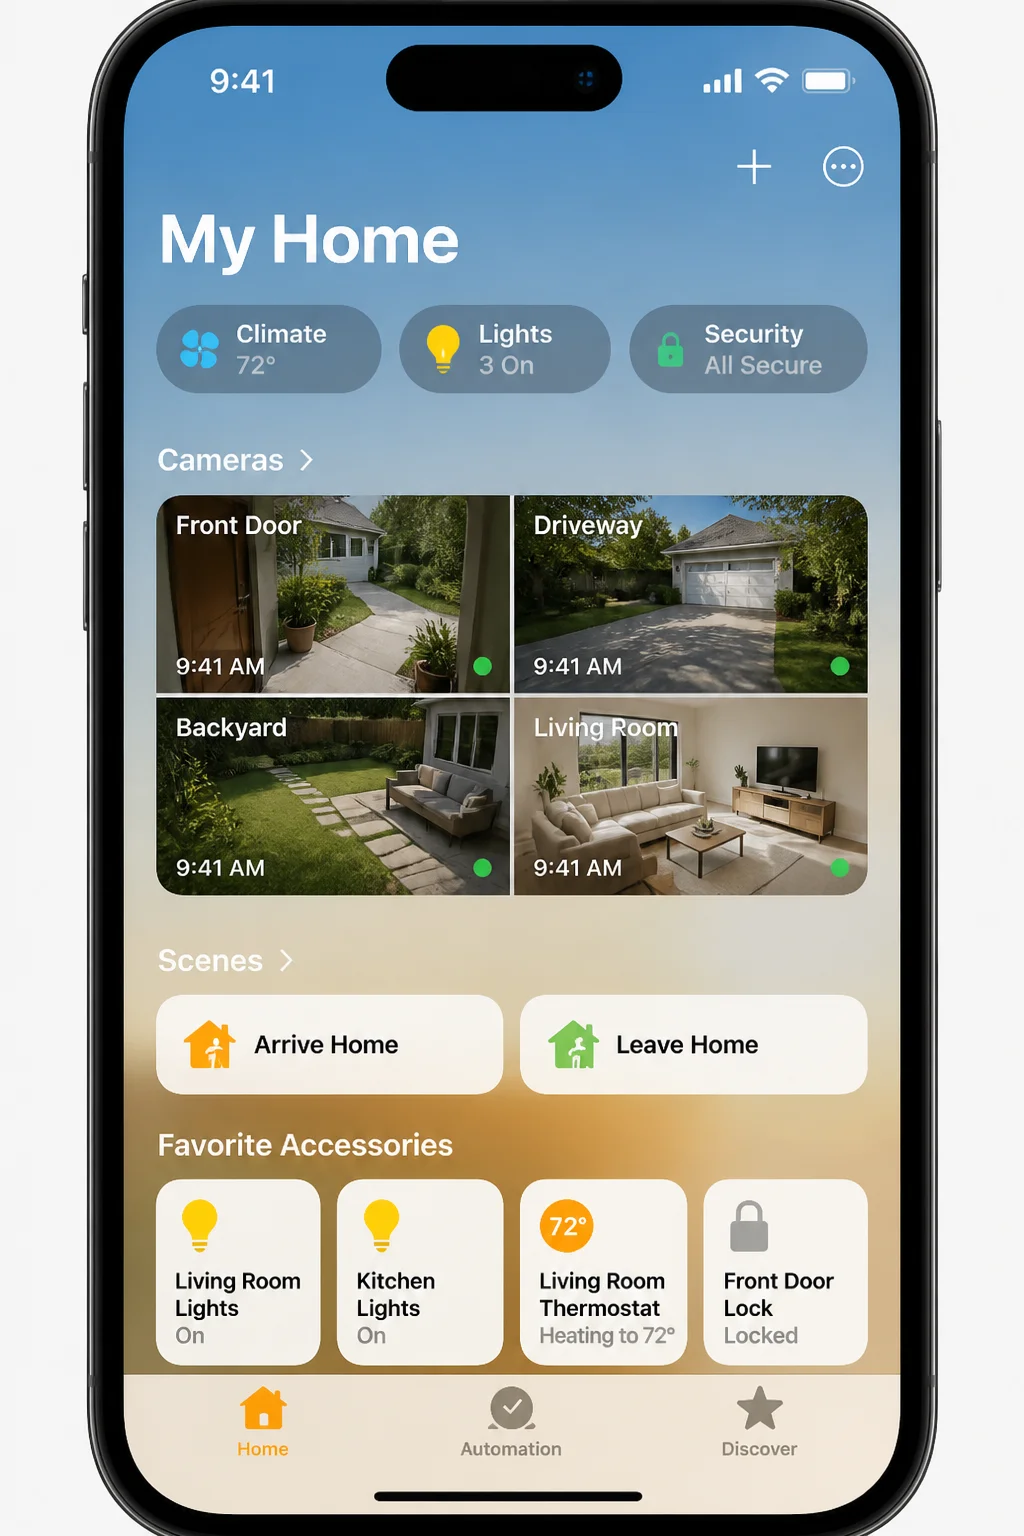
If you’ve been struggling with several smart-home apps, separate accounts, and accessories that refuse to cooperate, Apple Home can clean up the mess. It puts compatible lights, locks, cameras, thermostats, and sensors in one app.
The catch is compatibility. Apple Home works best when you buy Matter accessories or products that clearly list Apple Home support. Older HomeKit equipment may require a compatible bridge, and some legacy devices won’t work with the current Apple Home system.
What You Need
Apple’s Apple Home app comes with current iPhones, iPads, and Macs. You can download it again from the App Store if you removed it.
Before setting up your home, gather the following:
- An iPhone or iPad signed in to your Apple Account
- A compatible smart-home accessory
- The accessory’s Matter or Apple Home setup code
- A working Wi-Fi network
- The accessory manufacturer’s app, if its setup instructions require one
- A compatible home hub if you want remote access and automations
Apple Home has replaced the original HomeKit architecture. If an older accessory only mentions HomeKit, check the manufacturer’s current compatibility information before buying another unit or resetting the one you have.
Matter support is the safest purchasing criterion in 2026. It gives you a wider selection from brands such as Aqara, Philips, IKEA, and SwitchBot, though a Matter logo doesn’t guarantee that every accessory feature appears in Apple Home.
Add an Accessory on iPhone or iPad
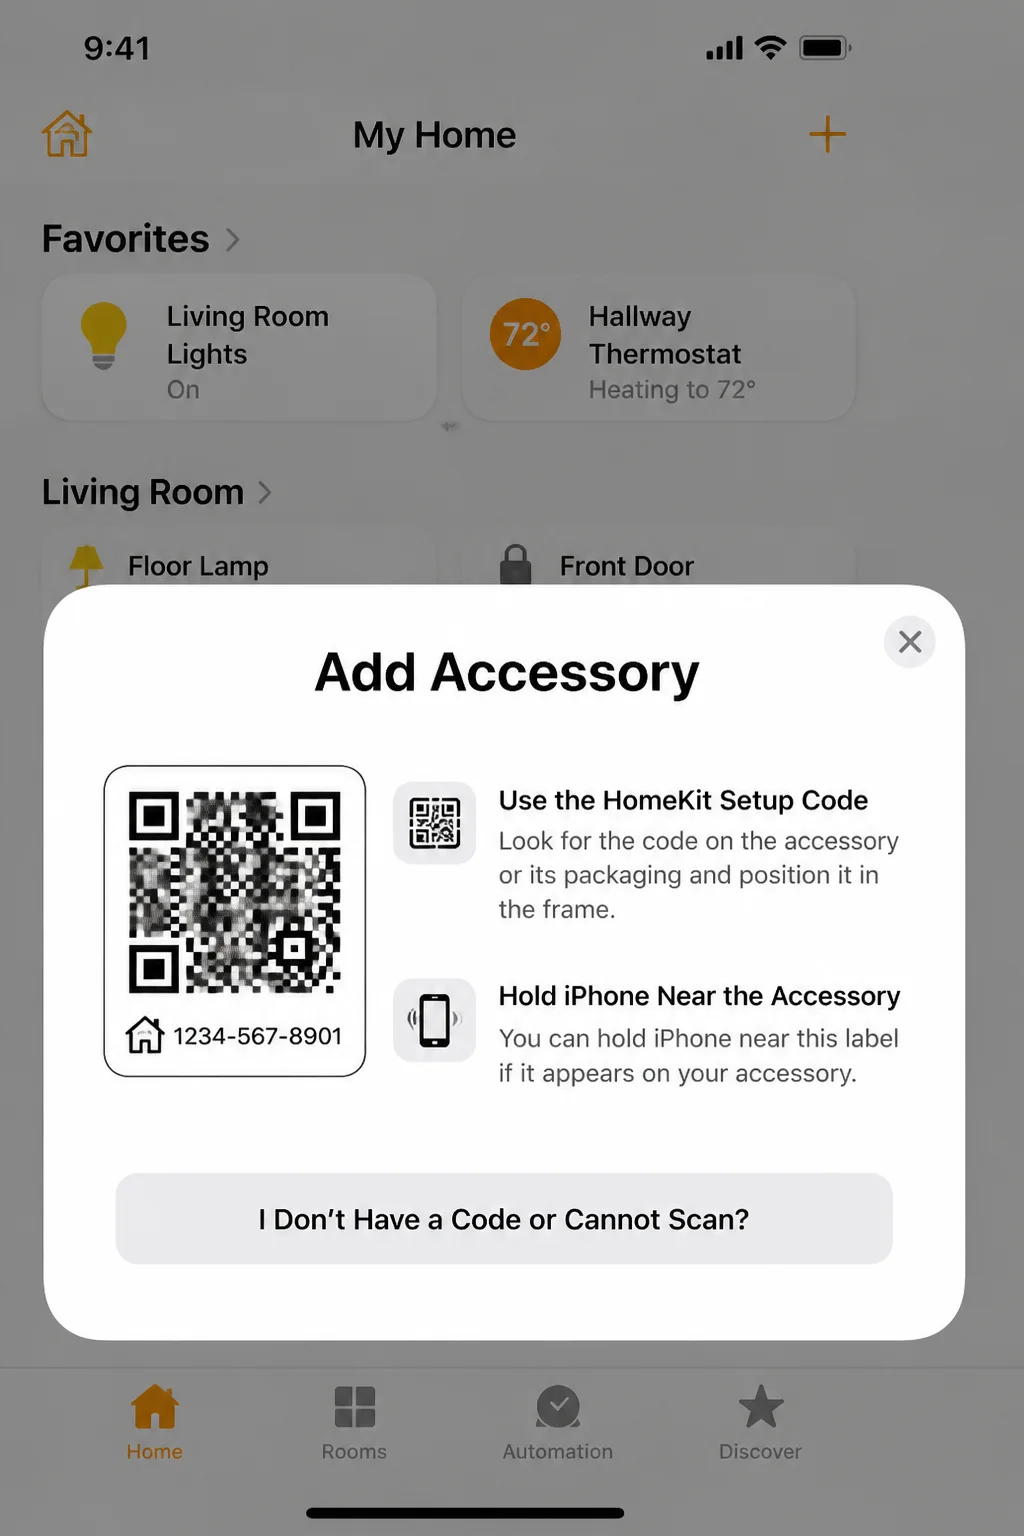
Your iPhone is usually the quickest setup device because its camera can scan the accessory code. Keep the code nearby; you’ll need it again if you reset or move the accessory.
- Power on the accessory and place it near your iPhone or iPad.
- Open the Home app.
- Tap the Add button, then choose the option for adding an accessory. The wording or placement can vary by the current system version.
- Scan the Matter or Apple Home setup code. If the accessory supports proximity pairing, hold your device near it instead.
- Follow the accessory’s prompts. Some products need an initial connection through the manufacturer’s app before Apple Home can add them.
- Assign the accessory to a room and give it a useful name.
Use names that sound natural in Siri commands. “Desk Lamp” works better than a product model such as “A19-RGB-02.”
If you’re adding several lights in one fixture, group them after setup so they respond as a single accessory. This solves the annoyance of tapping three separate controls every time you enter the room.
Organize Accessories by Room
Rooms keep a growing Apple Home setup manageable. Assigning devices correctly also makes voice commands more precise.
Open the accessory’s settings in the Home app, select its room, and rename it if necessary. The exact edit control can move between system versions, but it’s available from the accessory’s detail view.
A practical room setup might include:
- “Ceiling Light” and “Floor Lamp” in the living room
- “Desk Lamp” and “Air Purifier” in the office
- “Front Door” and “Porch Camera” near the entrance
- “Thermostat” in the room where its temperature reading matters
Avoid repeating the room in every accessory name. Apple Home already knows that “Floor Lamp” belongs in the living room, so “Living Room Floor Lamp” adds clutter.
Control Apple Home Across Your Devices
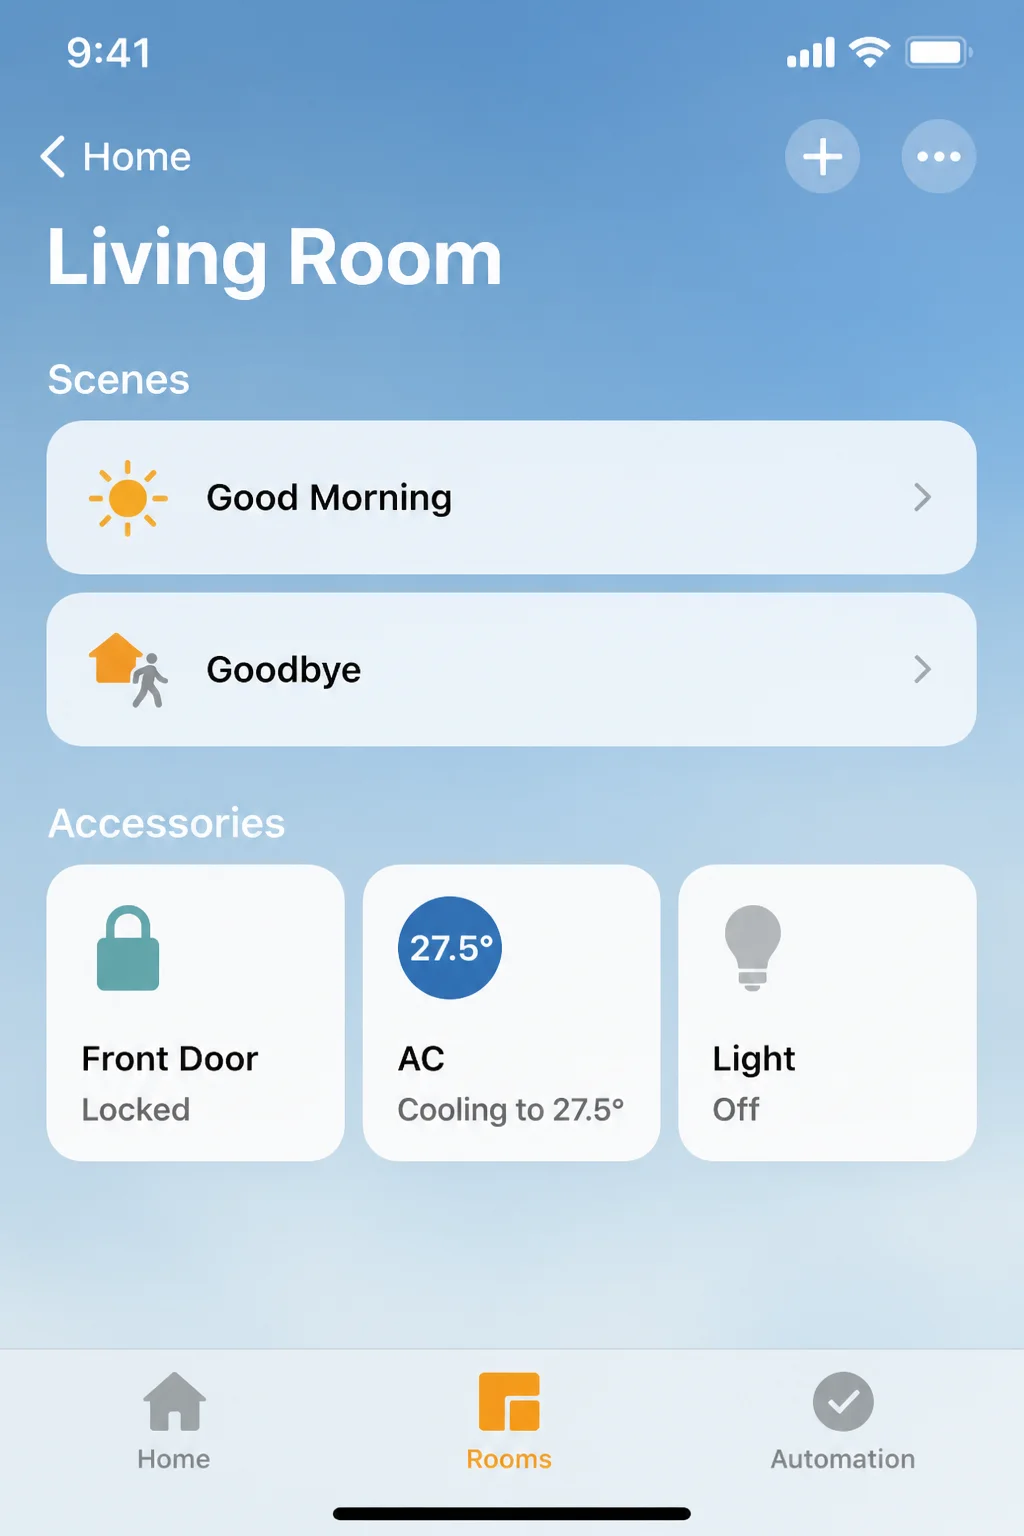
Once your accessories appear in Apple Home, you can control them from your other Apple devices signed in to the same Apple Account.
iPhone and iPad
Open Home, select a room or category, and tap an accessory to control it. Press and hold an accessory tile to open extra controls such as brightness, color, temperature, or lock status.
The iPad interface gives you more room for cameras and accessory tiles, but the controls work the same way. You can also ask Siri to control a named accessory, room, or scene.
Mac
Open the Home app from Applications or Spotlight. Select your home and choose a room from the sidebar, then click an accessory tile.
Clicking a tile usually toggles the device. Open its detail controls when you need options such as dimming, temperature changes, or camera playback.
Apple Watch
Open the Home app on your Apple Watch, select the appropriate room, and tap an accessory. You can also raise your wrist and ask Siri to run a scene or control a device.
The Watch app is good for quick actions, but managing rooms and adding accessories is easier on an iPhone or iPad.
Siri and HomePod
Siri can control accessories by name, room, or scene. Commands such as “Turn off the office lights” or “Lock the front door” work when your accessory names and room assignments are clear.
Siri’s smart-home controls cover routine commands well, though Apple’s more advanced Siri and Apple Intelligence work remains behind competing assistants in some areas. For dependable results, use short commands that match the names stored in Home.
Set Up Remote Access
Remote access lets you check a lock, view a supported camera, or control lights while you’re away. Apple Home handles this through a compatible home hub, such as an Apple TV or HomePod.
Set up the hub with the same Apple Account used for your home and keep it connected to your network. Apple Home manages the hub role automatically when the hardware and account are compatible.
A former iPad-based hub shouldn’t be part of a new setup. Use an Apple TV or HomePod if remote access and automations matter to you.
Create a Scene
A scene controls several accessories with one command. For example, a “Good Night” scene could turn off downstairs lights, lower the thermostat, and lock supported doors.
- Open the Home app on your iPhone or iPad.
- Tap the Add button and choose the option for creating a scene. Its exact label or location can vary by system version.
- Pick a suggested scene or create a custom one.
- Add the accessories you want the scene to control.
- Set the desired state for each accessory. You could turn one light off, dim another, and set a thermostat temperature.
- Test the scene before saving it.
- Give the scene a short, distinct name that Siri can recognize.
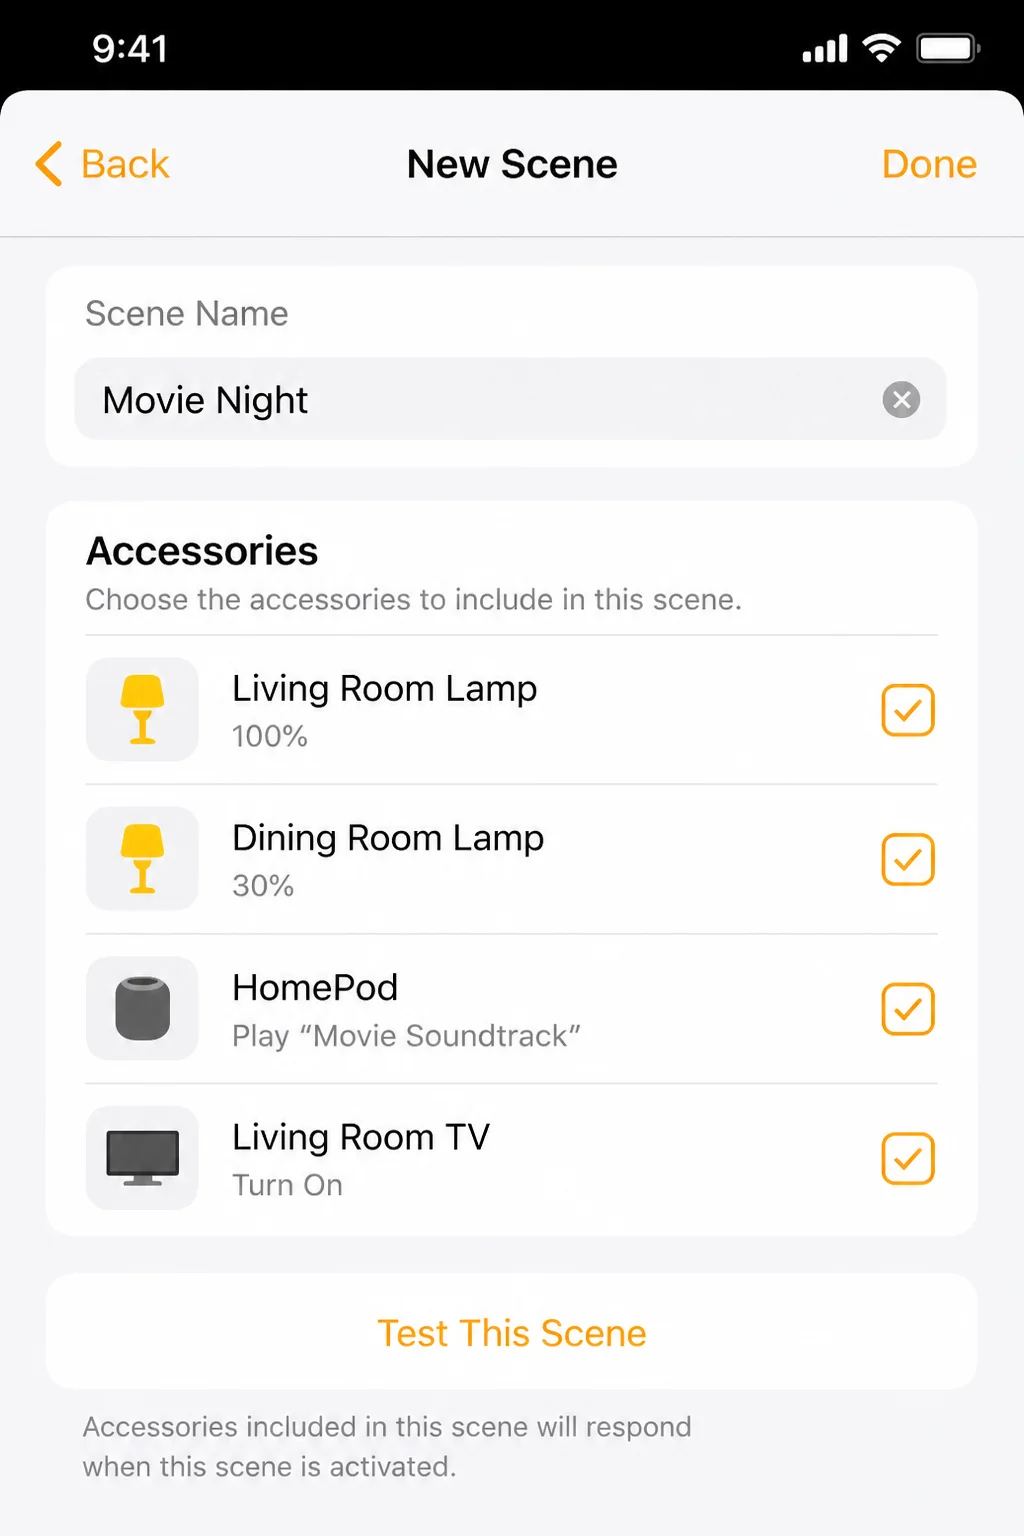
Scenes work well for repeated household routines:
- “Leaving” can turn off lights and lock doors.
- “Movie” can dim selected lights and close compatible shades.
- “Good Morning” can adjust lights and temperature.
- “Away” can switch off nonessential accessories.
Check every security-related action during testing. A scene can request that a compatible lock secure the door, but you should confirm the final status in Apple Home.
Create an Automation
Automations run accessories or scenes when a condition is met. Apple Home can use triggers such as time, location, sensor activity, or another accessory changing state.
Open the Home app, use the Add control, and select the available automation option. Choose a trigger, select the accessories or scene, and test the result.
Useful examples include:
- Turn on the porch light at sunset.
- Switch off downstairs lights when everyone leaves.
- Run a scene when a motion sensor detects movement.
- Adjust a thermostat at a scheduled time.
Location automations depend on account, location, and home-hub settings. If an automation involves locks or other security devices, Apple may require confirmation before running it.
I’d skip complicated automations until your accessories respond reliably on their own. A ten-step routine becomes frustrating when one flaky Wi-Fi plug holds up the entire sequence.
Fix Accessories That Won’t Connect
When an accessory refuses to join Apple Home, try these checks in order.
- Confirm that the product supports Matter or the current Apple Home system.
- Keep your iPhone or iPad near the accessory during setup.
- Check that Bluetooth and Wi-Fi are enabled.
- Update your iPhone or iPad through Settings > General > Software Update.
- Update the accessory through its manufacturer’s app if an update is available.
- Restart the accessory, your iPhone, and your router.
- Check whether the device requires a manufacturer bridge or Matter bridge.
- Reset the accessory only after checking its manual. A factory reset removes its current network and account configuration.
Legacy HomeKit accessories are the hardest cases. Some still work through a supported bridge, while others can’t join the current Apple Home architecture. The manufacturer’s current support page should confirm which category your device falls into.
Build Around Compatibility
Apple Home addresses app clutter by giving compatible devices one dashboard, shared rooms, voice control, scenes, and automations. Matter has also made the accessory selection less restrictive than Apple’s older smart-home setup.
Still, don’t assume every smart device works with every Apple Home feature. Check for Matter or Apple Home support, confirm whether a bridge is required, and read the manufacturer’s feature list before paying.
Once your rooms, names, and first few scenes are configured, the original problem is solved: you’re no longer dealing with a different app for every light, lock, and sensor. Apple Home becomes the control panel your setup needed.