
Got a new Apple TV 4K and want to get it running properly? The setup process has stayed mostly the same since 2017, but there are important optimization steps you’ll want to handle right after the initial setup to get the best video and audio quality.
This guide walks you through the complete setup process, plus the post-setup tweaks that make a real difference for 4K HDR content.
What You’ll Need
Before starting, make sure you have:
- An HDMI 2.1 cable (HDMI 2.0 works but limits some features)
- Your Apple TV 4K plugged into power
- An iPhone with iOS 26.4.1 or later (makes setup much easier)
- Wi-Fi network password (if not using Ethernet)
For the best 4K streaming experience, use a wired Ethernet connection if possible. Wi-Fi works fine for most content, but wired connections handle bandwidth spikes better.
Initial Setup Process
Connect your Apple TV 4K to your TV’s HDMI port, plug it into power, and turn on your TV. Switch to the correct HDMI input.
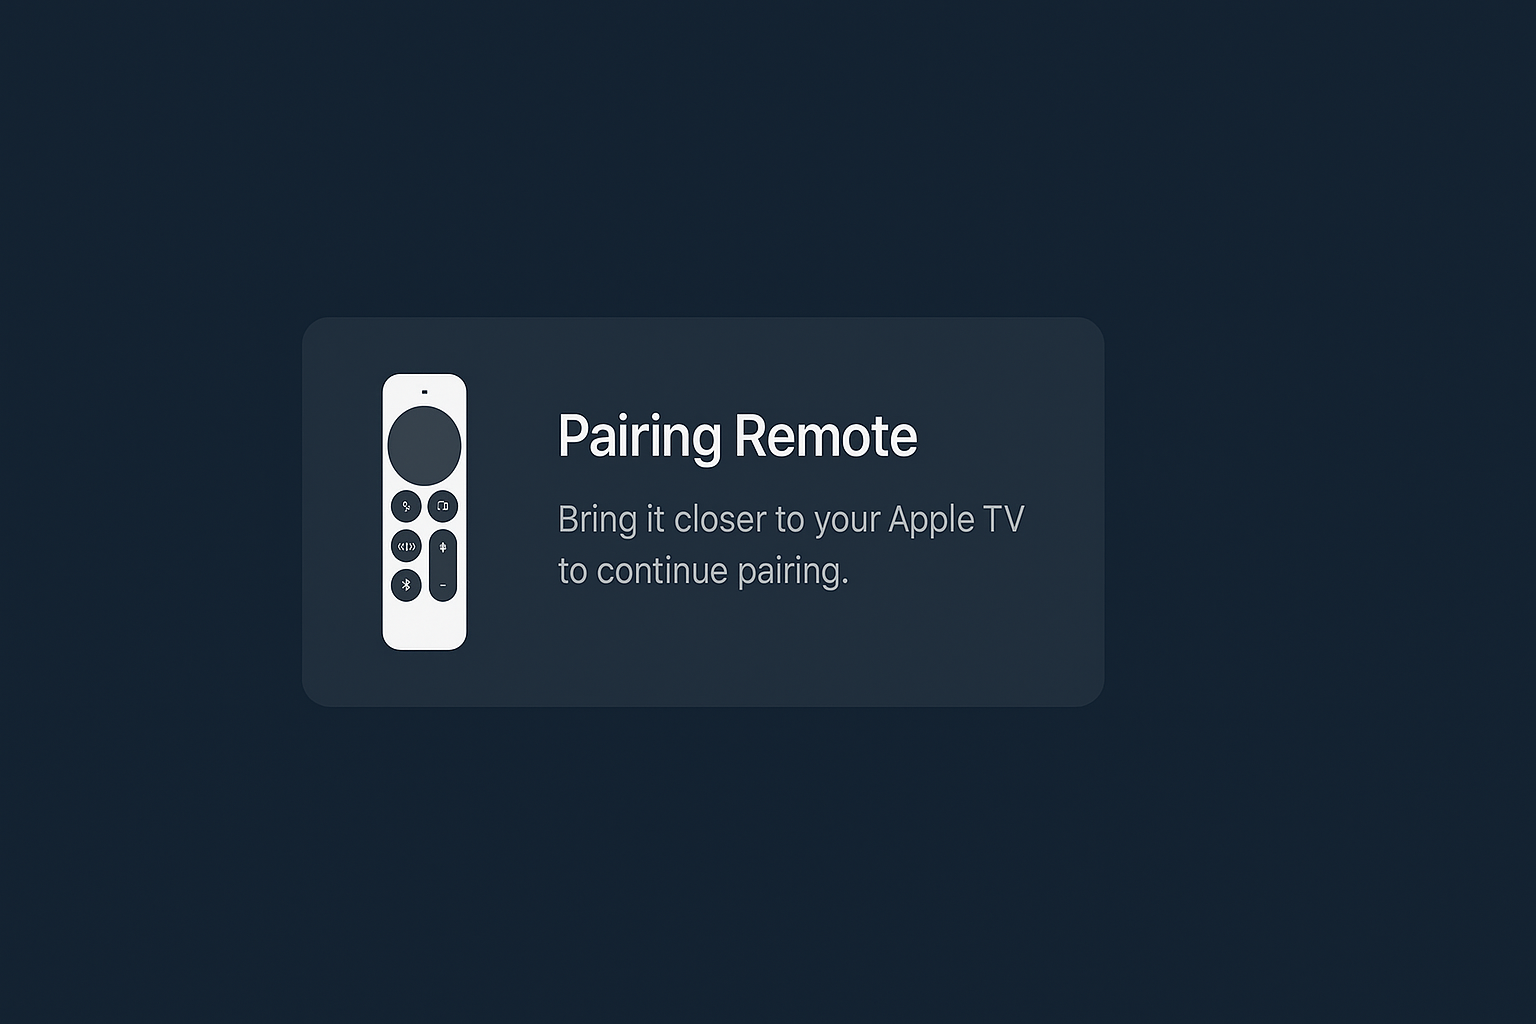
Pairing the Remote
You’ll see instructions to pair the Siri Remote. Hold the Back and Volume Up buttons together until you see the pairing confirmation.
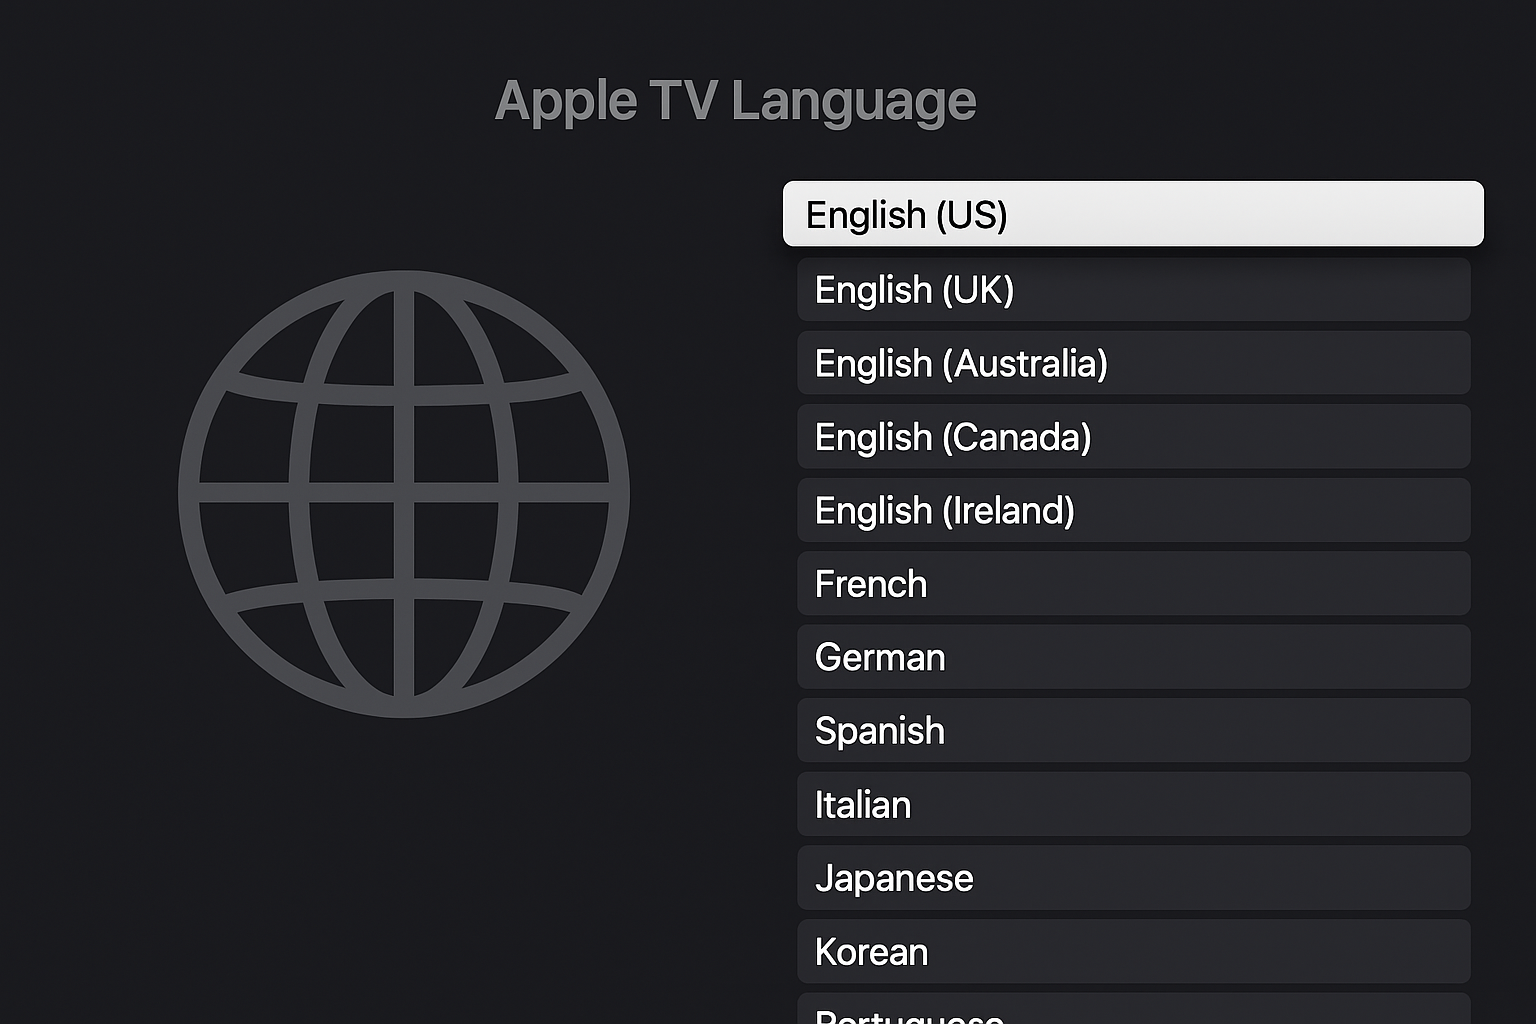
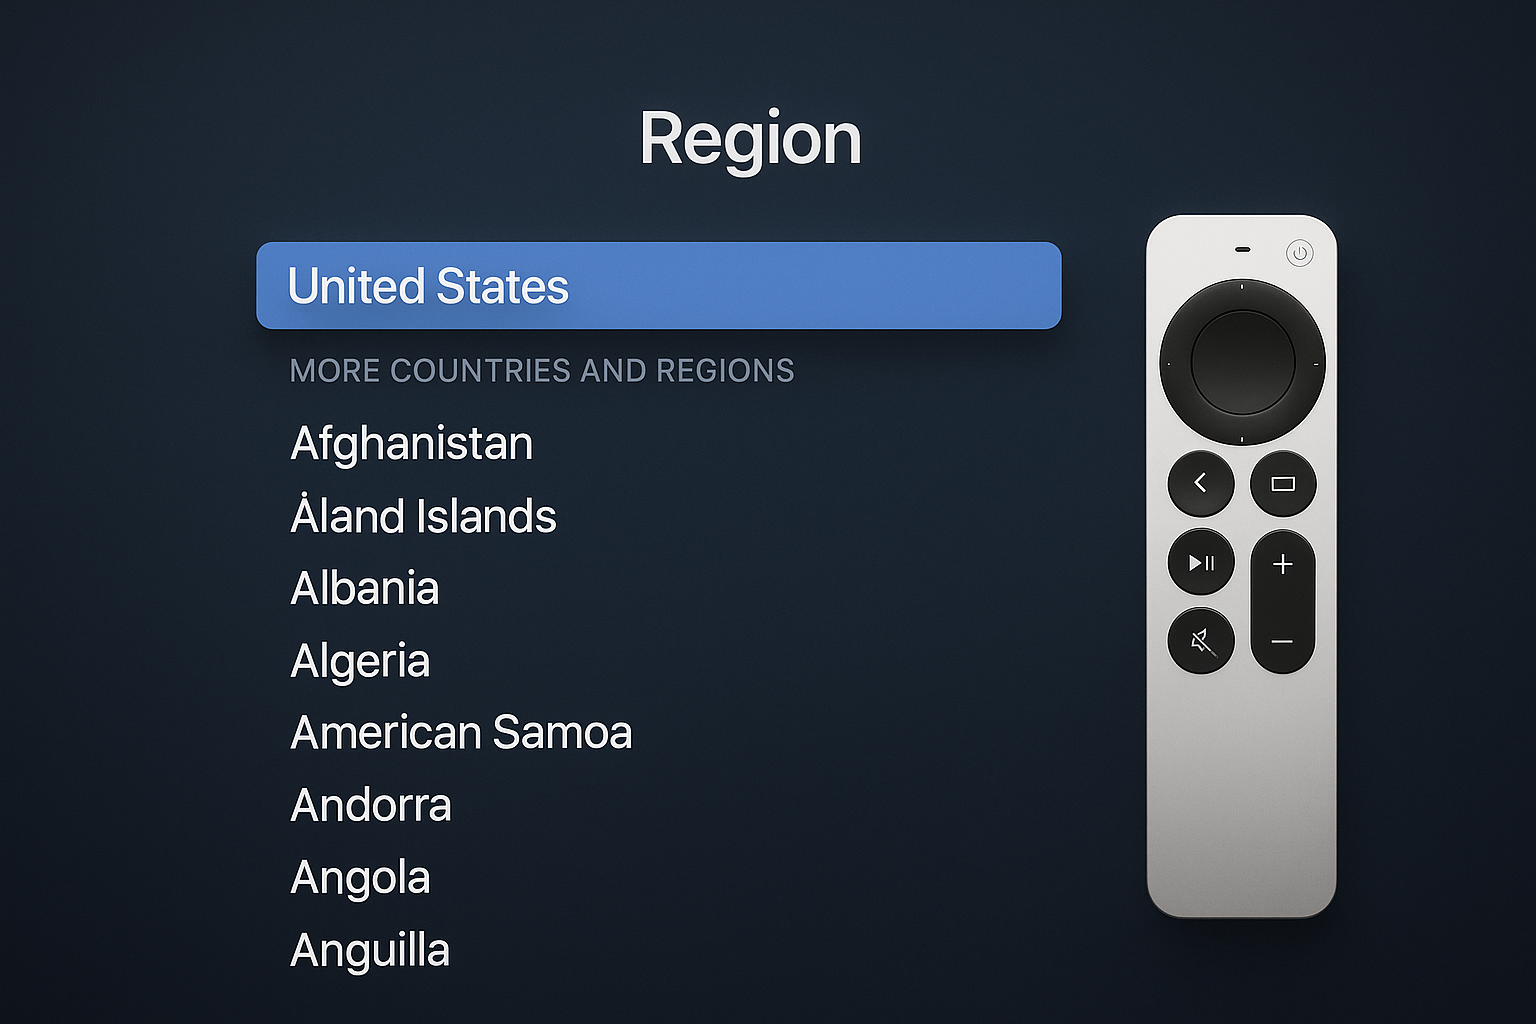
Language and Region
Select your language first. The Apple TV will suggest your region based on your IP address, but you can change this if needed.
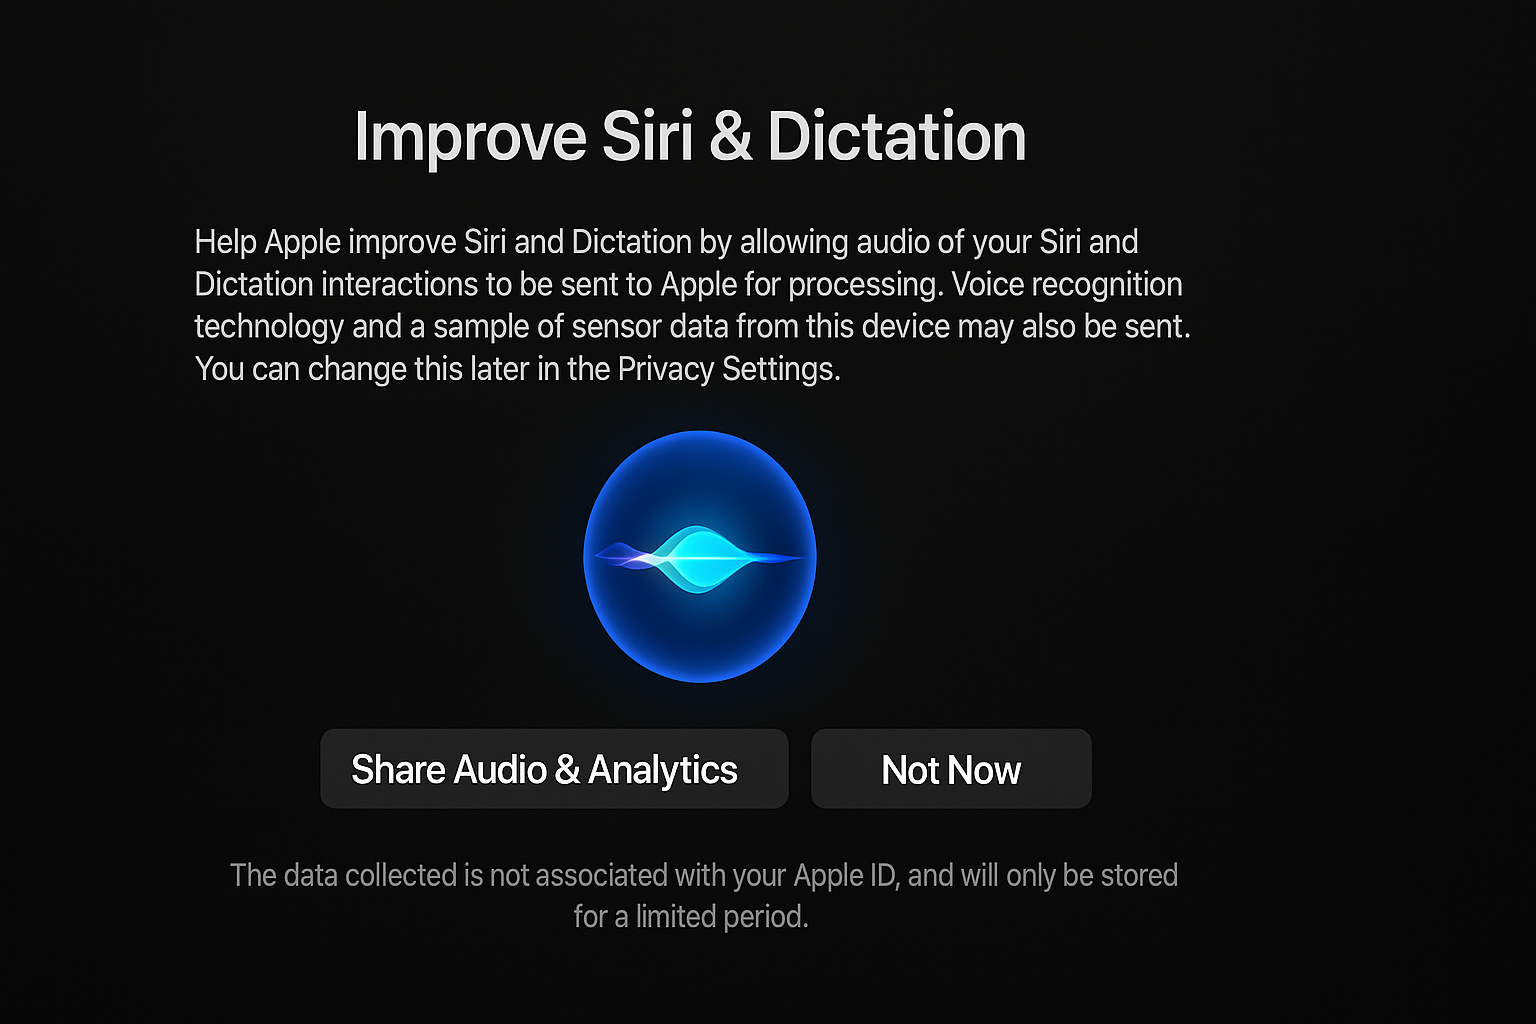
Siri and Voice Control
Enable Siri and Dictation unless you have privacy concerns. Voice search is genuinely useful for finding content across apps, and you can always disable it later in Settings.
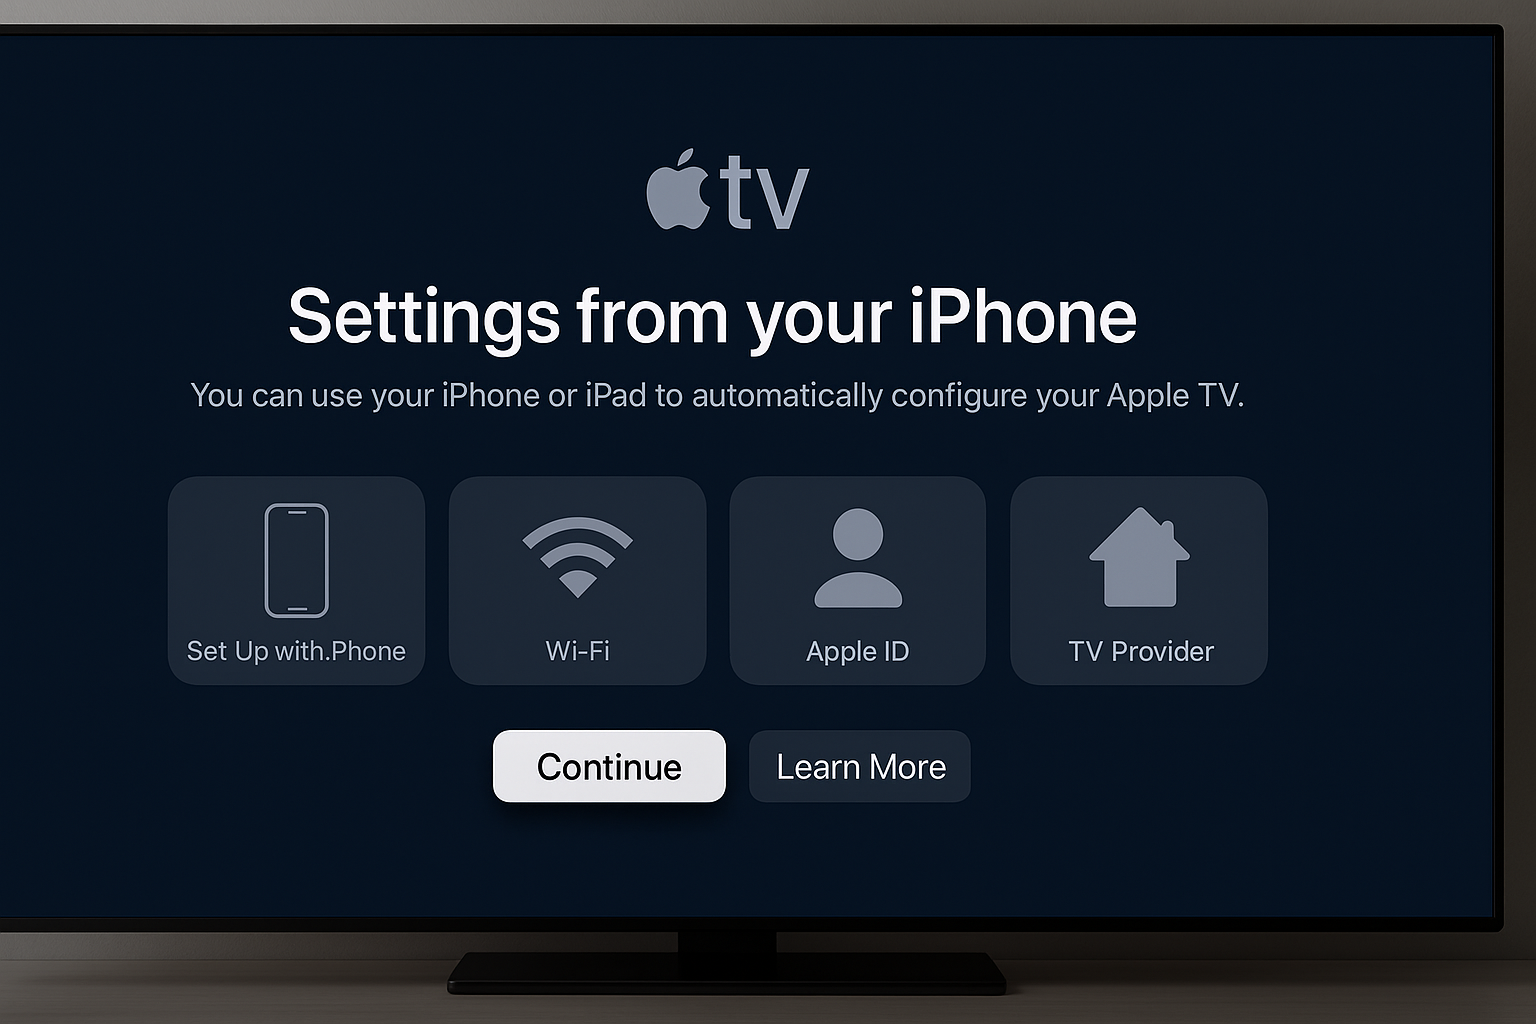
Quick Setup with iPhone
Choose Set Up with Device instead of manual setup. This transfers your Apple ID, Wi-Fi credentials, and some preferences automatically.
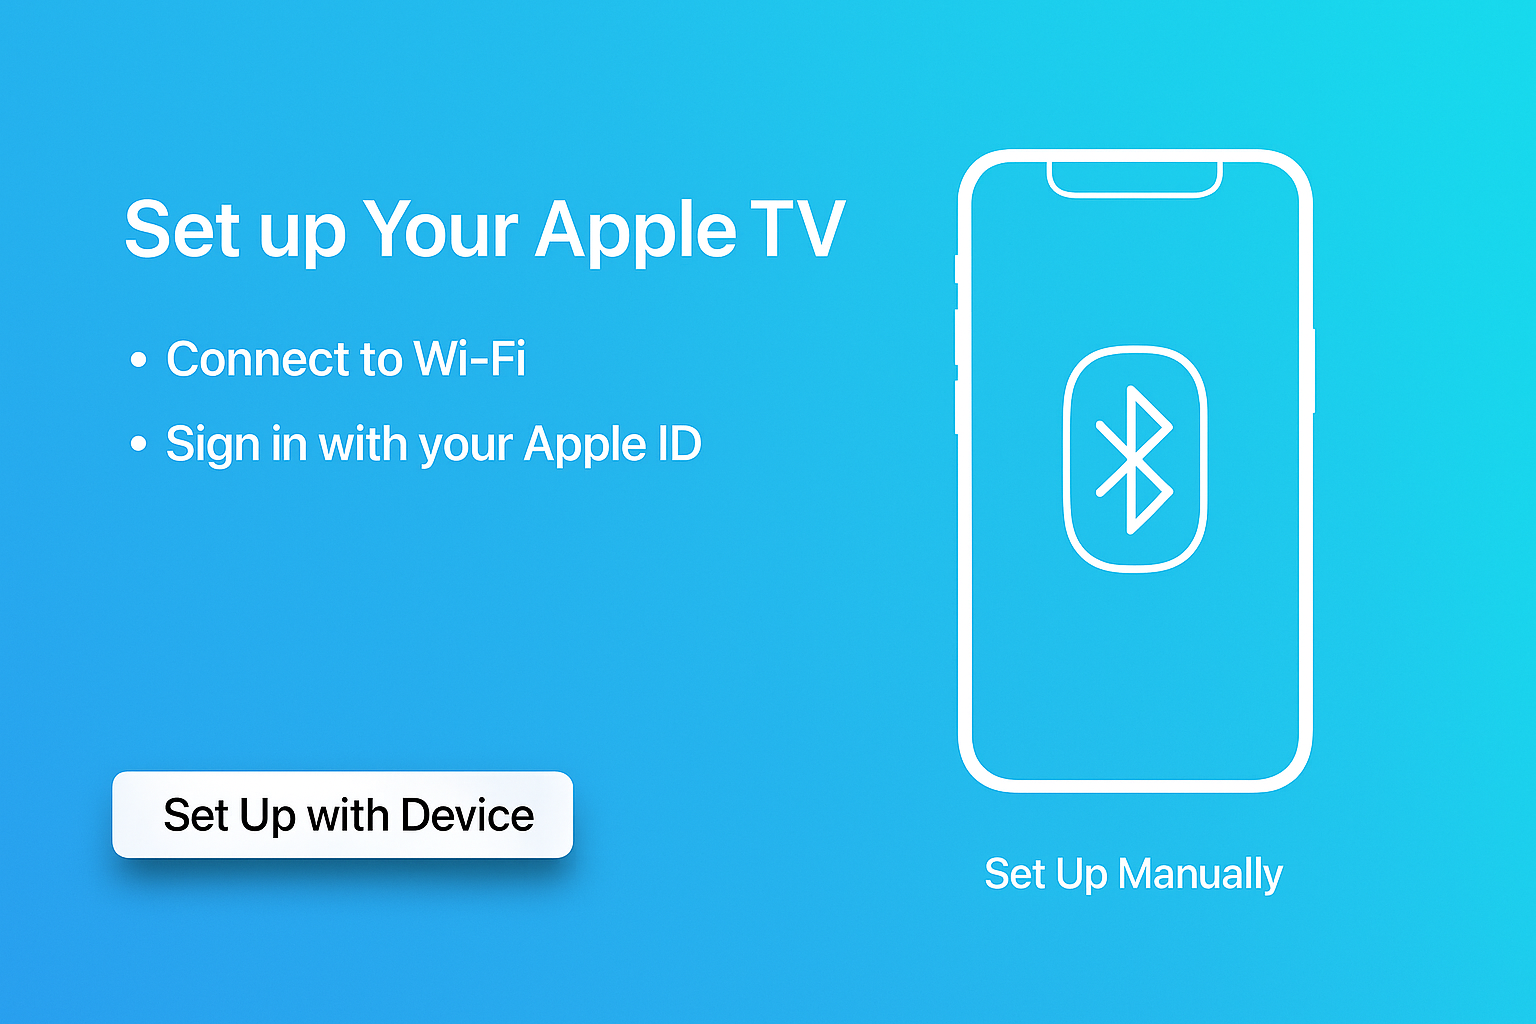
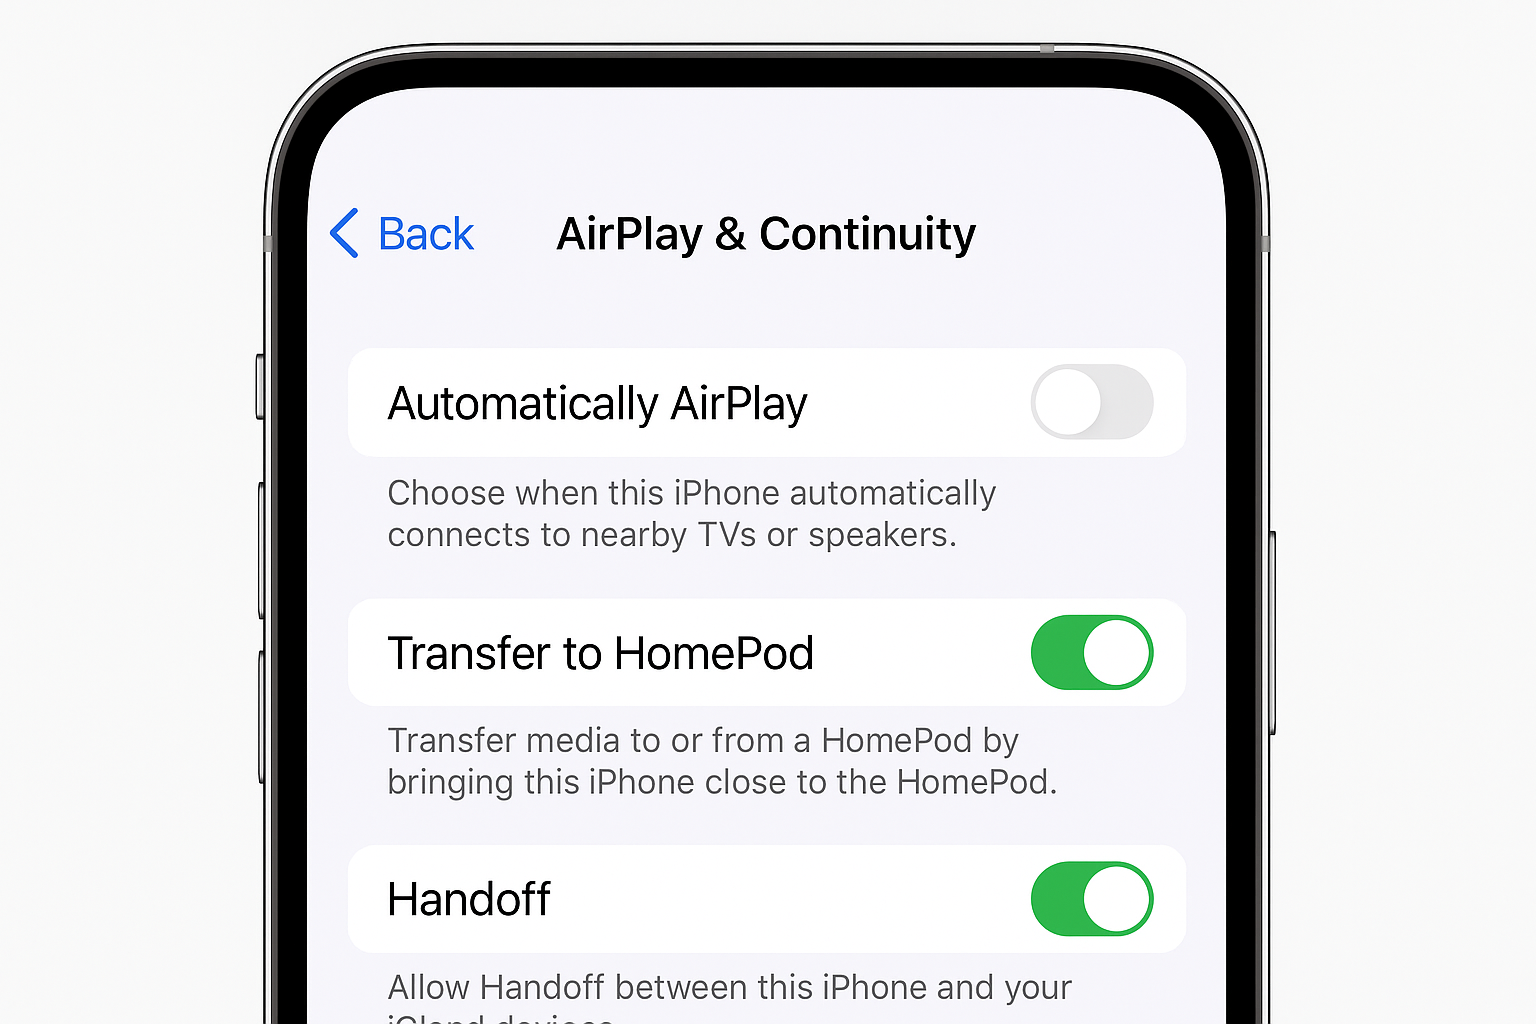
Unlock your iPhone, make sure Wi-Fi and Bluetooth are enabled, then hold it near the Apple TV. A setup prompt will appear on your phone.
Tap Set Up on your iPhone. The process takes 2-3 minutes and handles most of the configuration automatically.
Purchase Settings and Services
You’ll be asked about password requirements for purchases. Choose what makes sense for your household – requiring a password prevents accidental purchases but adds friction.
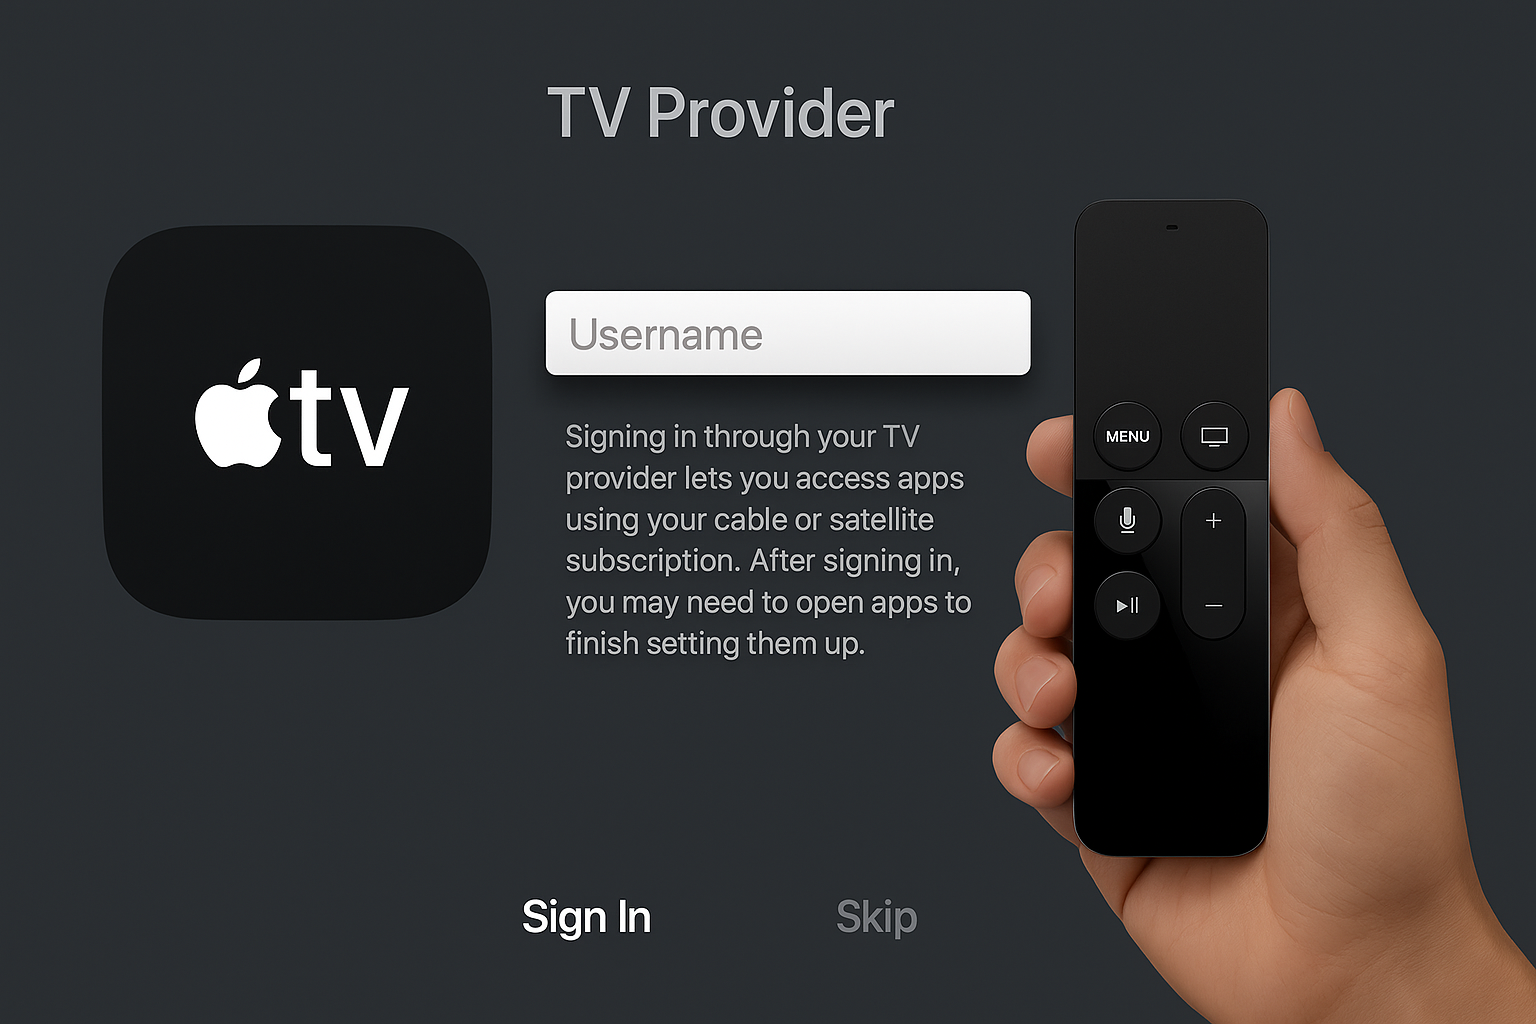
Sign in to your TV provider if you have cable or satellite service. This enables single sign-on for supported apps. Skip this if you’re cord-cutting.
Privacy and Features
Location Services enable weather information and location-based recommendations. Not essential, but useful for the TV app’s suggestions.
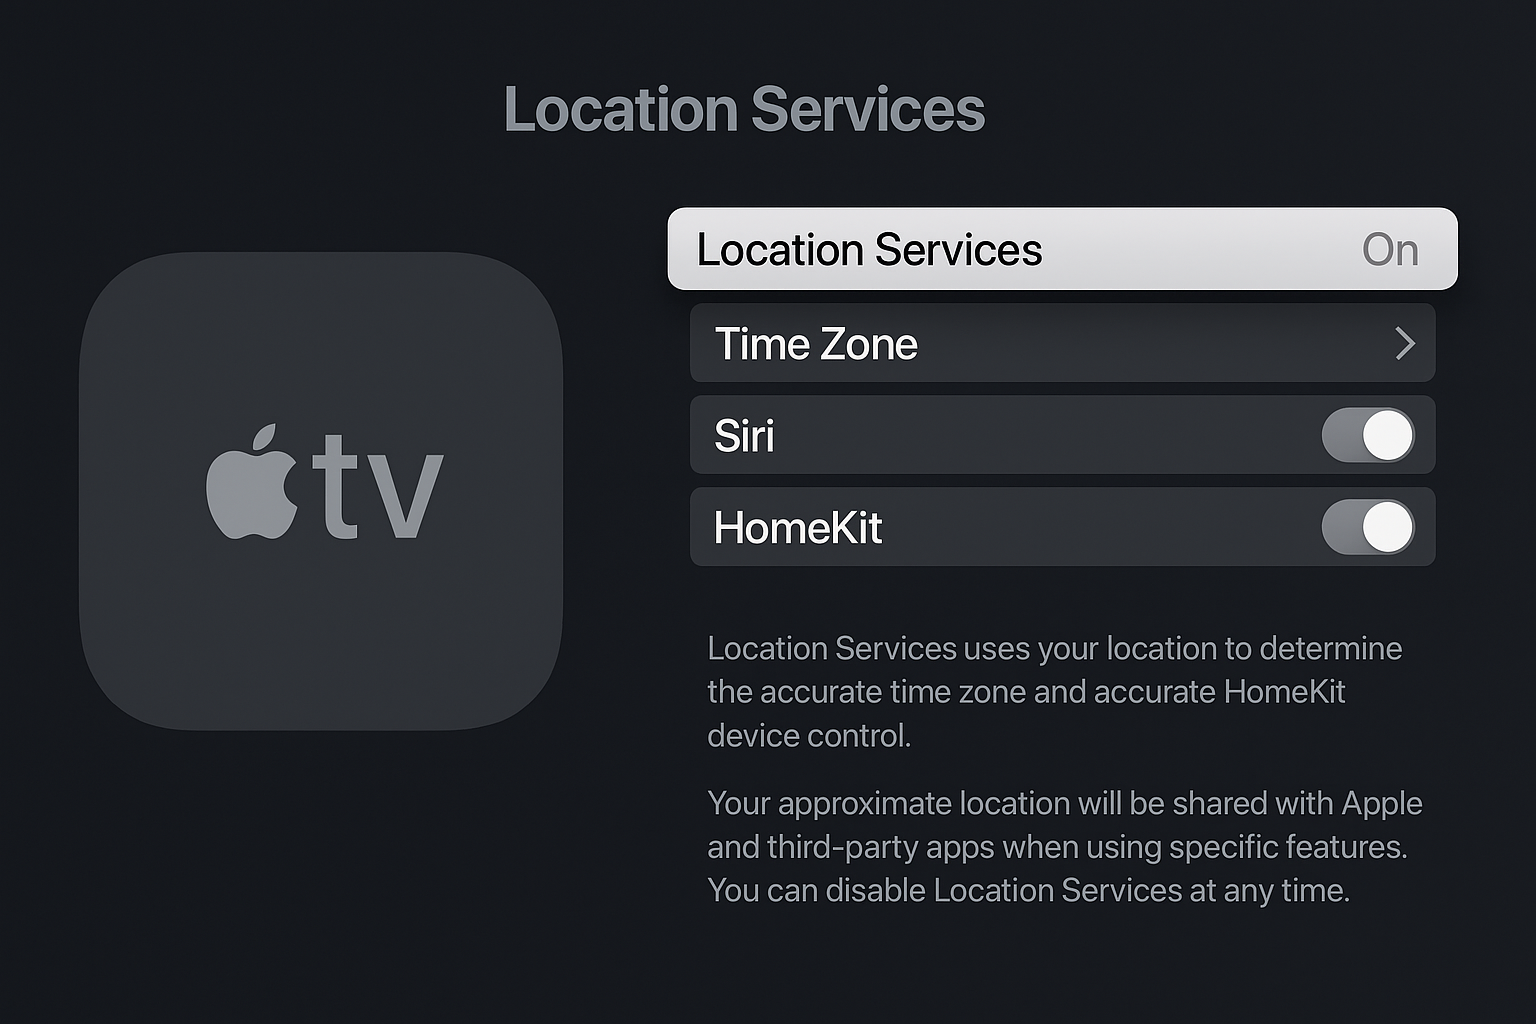
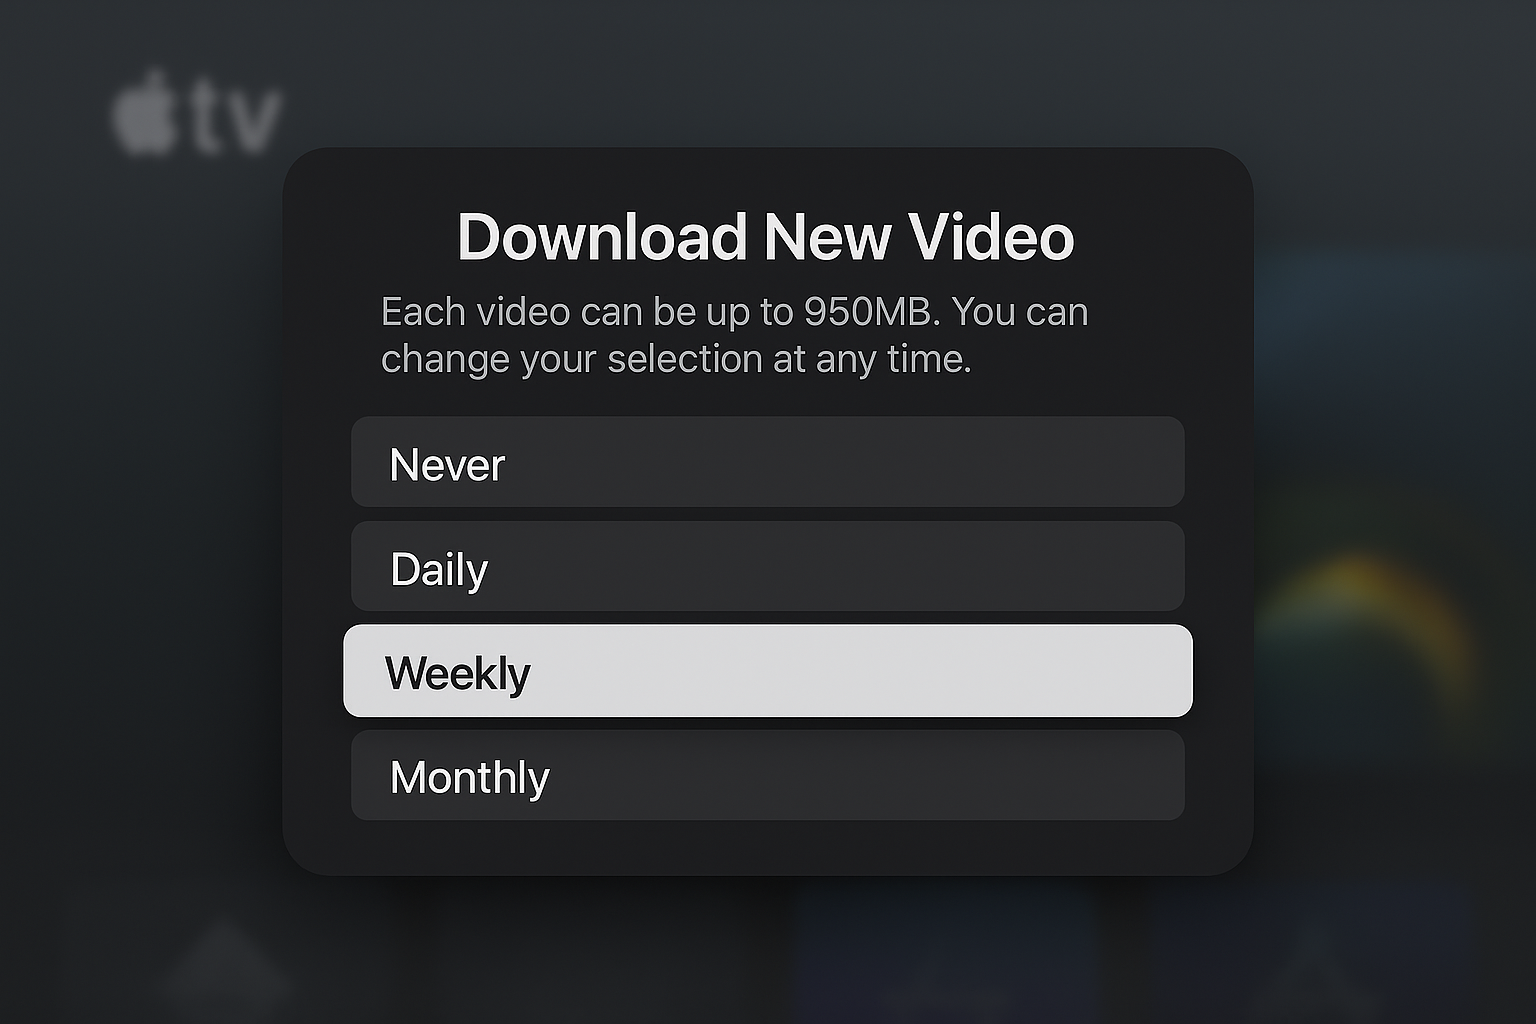
The 4K screensavers look spectacular but use significant storage space, so consider your available space before downloading them all.
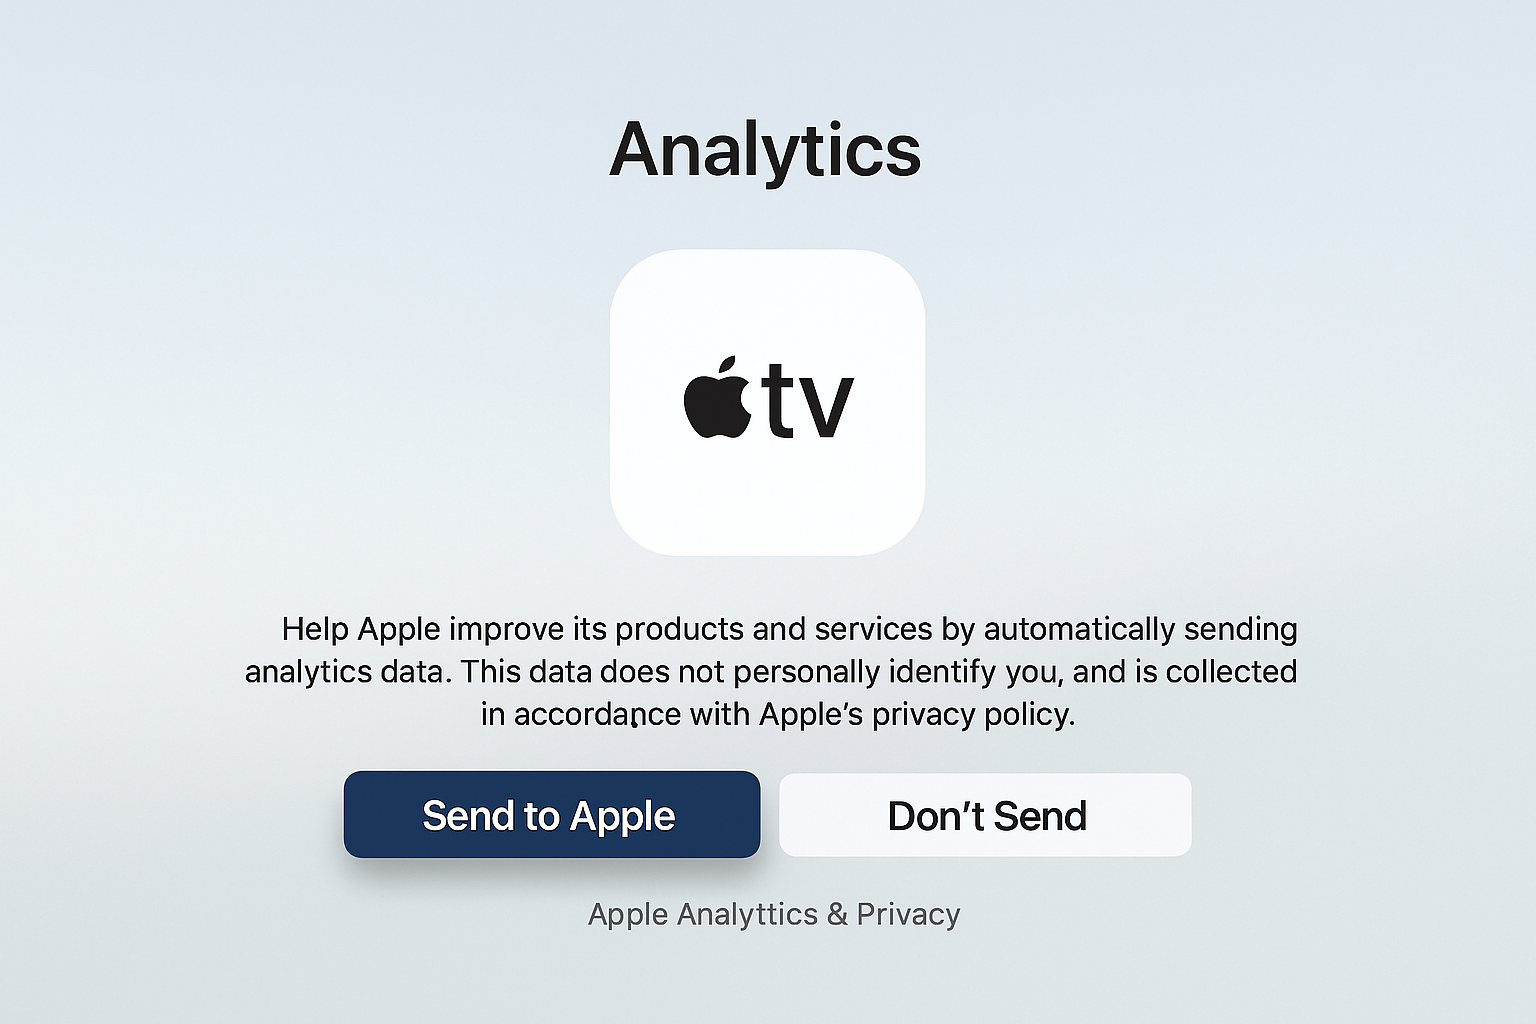
Analytics sharing is optional. It helps Apple improve tvOS but doesn’t affect functionality.
Essential Post-Setup Optimization
The basic setup gets you running, but these settings make a huge difference for video and audio quality.
Video Format Settings
On tvOS 26.4, go to Settings > Video and Audio > Format. Set your format to 4K SDR 60Hz for the interface, then enable both:
- Match Dynamic Range — switches to HDR/Dolby Vision automatically
- Match Frame Rate — uses 24Hz for movies, 60Hz for other content
This setup gives you the best of both worlds: a responsive interface and proper format matching for content.
Audio Configuration
On tvOS 26.4, go to Settings > Video and Audio > Audio Format, then choose:
- Dolby Atmos if you have a compatible soundbar or AV receiver
- Stereo for TV speakers or basic audio setups
Enable Reduce Loud Sounds if you watch content late at night — it’s more effective than most TV night modes.
Home App Integration
If you use HomeKit devices, assign your Apple TV to a room in the Home app. This turns it into a home hub for automation and remote access to smart home devices.
Open the Home app on your iPhone, tap the house icon, then Home Settings > Home Hubs. Your Apple TV should appear automatically.
Downloading Apps and Content
Open the App Store and download your streaming apps. Most major services are available: Netflix, Disney+, Max, Hulu, and dozens of others.

The TV app aggregates content from multiple services and provides decent recommendations, though it heavily favors Apple TV+ content.
Troubleshooting Common Setup Issues
Remote won’t pair: Hold Back + Volume Up for 10 seconds. If that fails, unplug the Apple TV for 10 seconds and try again.
No 4K option in video settings: Check your HDMI cable (needs to be HDMI 2.0 or later) and verify your TV supports 4K on the HDMI port you’re using.
iPhone setup not working: Make sure both devices are on the same Wi-Fi network and Bluetooth is enabled on your iPhone. Try restarting both devices.
Poor streaming quality: Use an Ethernet connection if possible, or move your router closer to the Apple TV. 4K HDR content needs consistent bandwidth.
What’s Different in 2026
The core setup process hasn’t changed much since 2017, but the ecosystem around Apple TV 4K has expanded significantly. You now get:
- Multiple user profiles for sharing the device with family
- Improved Home hub functionality for smart home control
- Better app ecosystem with more streaming services and games
- Enhanced audio features including HomePod integration
The video and audio optimization steps are more important now because 4K HDR content is everywhere, and getting the settings right makes a noticeable difference in quality.
Your Apple TV 4K should now be set up properly and optimized for the best possible streaming experience. The initial setup takes about 10 minutes, but those post-setup tweaks are worth the extra time.