
Partitioning a Mac drive isn’t as scary as it sounds, but it’s also not always necessary anymore. Since macOS switched to APFS (Apple File System), you can often create multiple volumes instead of traditional partitions—which is usually what you actually want.
Here’s when you’d still want to partition: dual-booting different operating systems, creating physically separate storage areas, or working with older drives that need specific file systems. For most other uses like separating work files, testing beta software, or organizing storage, APFS volumes are easier and safer.
This guide covers both approaches, so you can choose what works for your situation.
APFS Volumes vs Traditional Partitioning
Before diving in, understand the difference. APFS volumes share space dynamically within one container – perfect for multiple macOS installs or organizing data without fixed size limits. Traditional partitioning creates physically separate sections with fixed boundaries—necessary for different file systems or operating systems.
Use volumes for: testing macOS betas, separating work/personal files, multiple macOS installations, or Time Machine backups.
Use partitioning for: Windows compatibility (via VM), Linux installations, or when you need specific file systems like exFAT.
Before You Start
Back up your Mac with Time Machine first. While adding APFS volumes is generally safe, partitioning can go wrong and erase everything. Don’t skip this step.
For internal drives, the process can take several hours if you’re resizing your startup volume. Plan accordingly.
Adding an APFS Volume (Recommended Method)
This method doesn’t erase data and works on both internal and external drives already formatted with APFS.
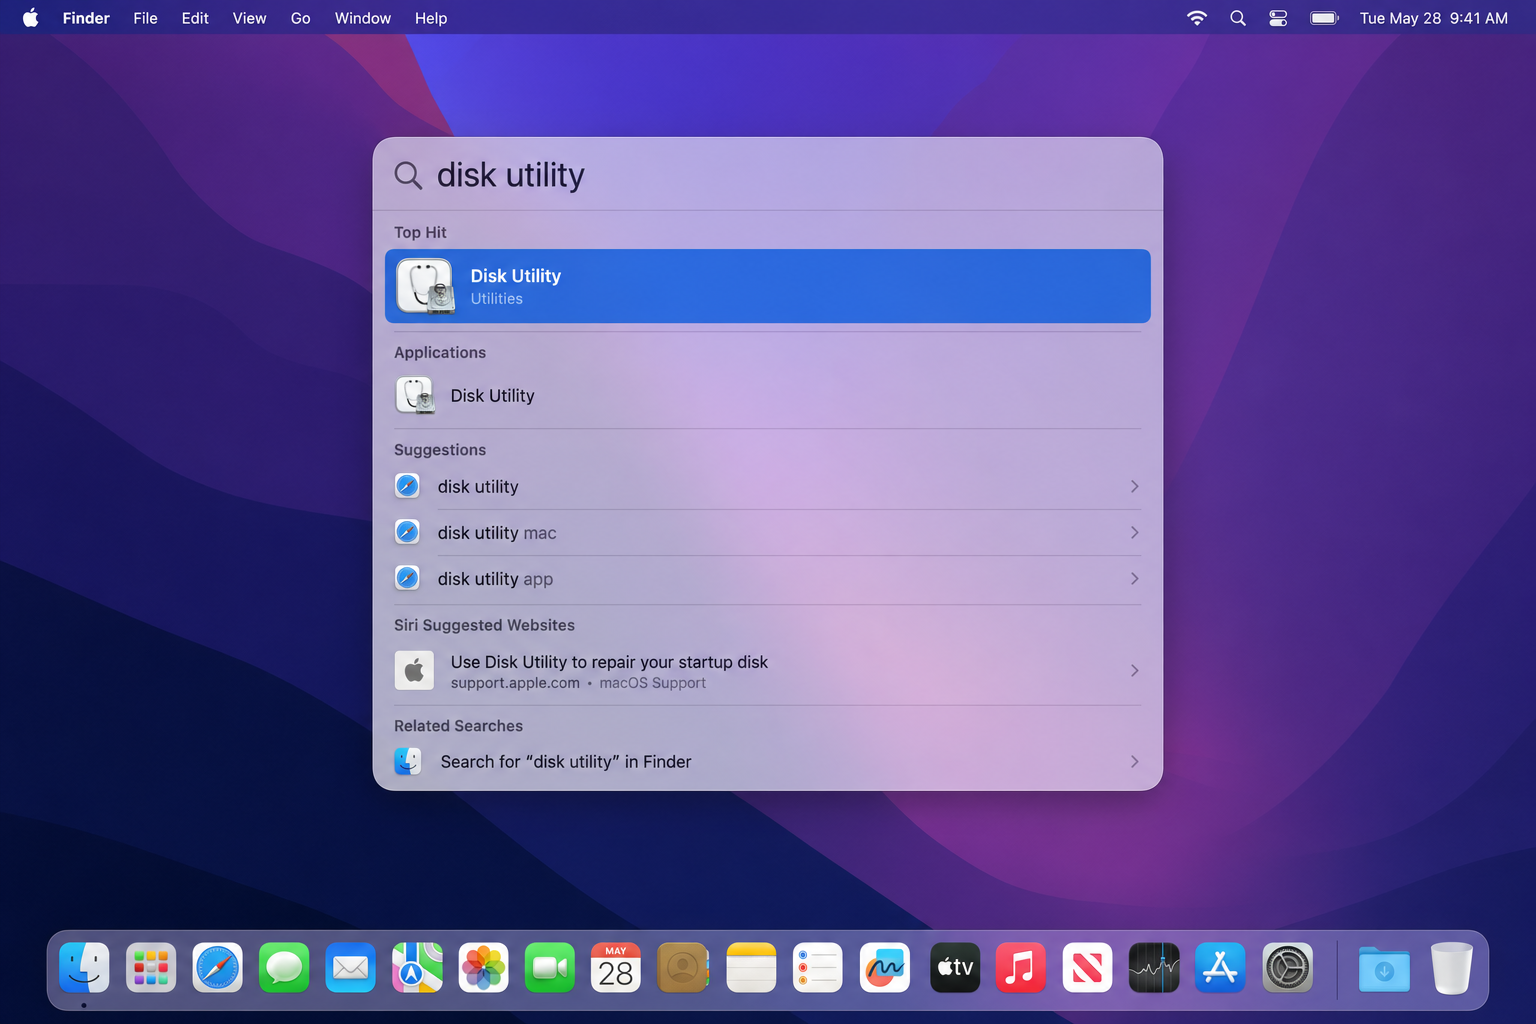
Open Disk Utility by pressing Cmd + Space and typing “disk utility”.
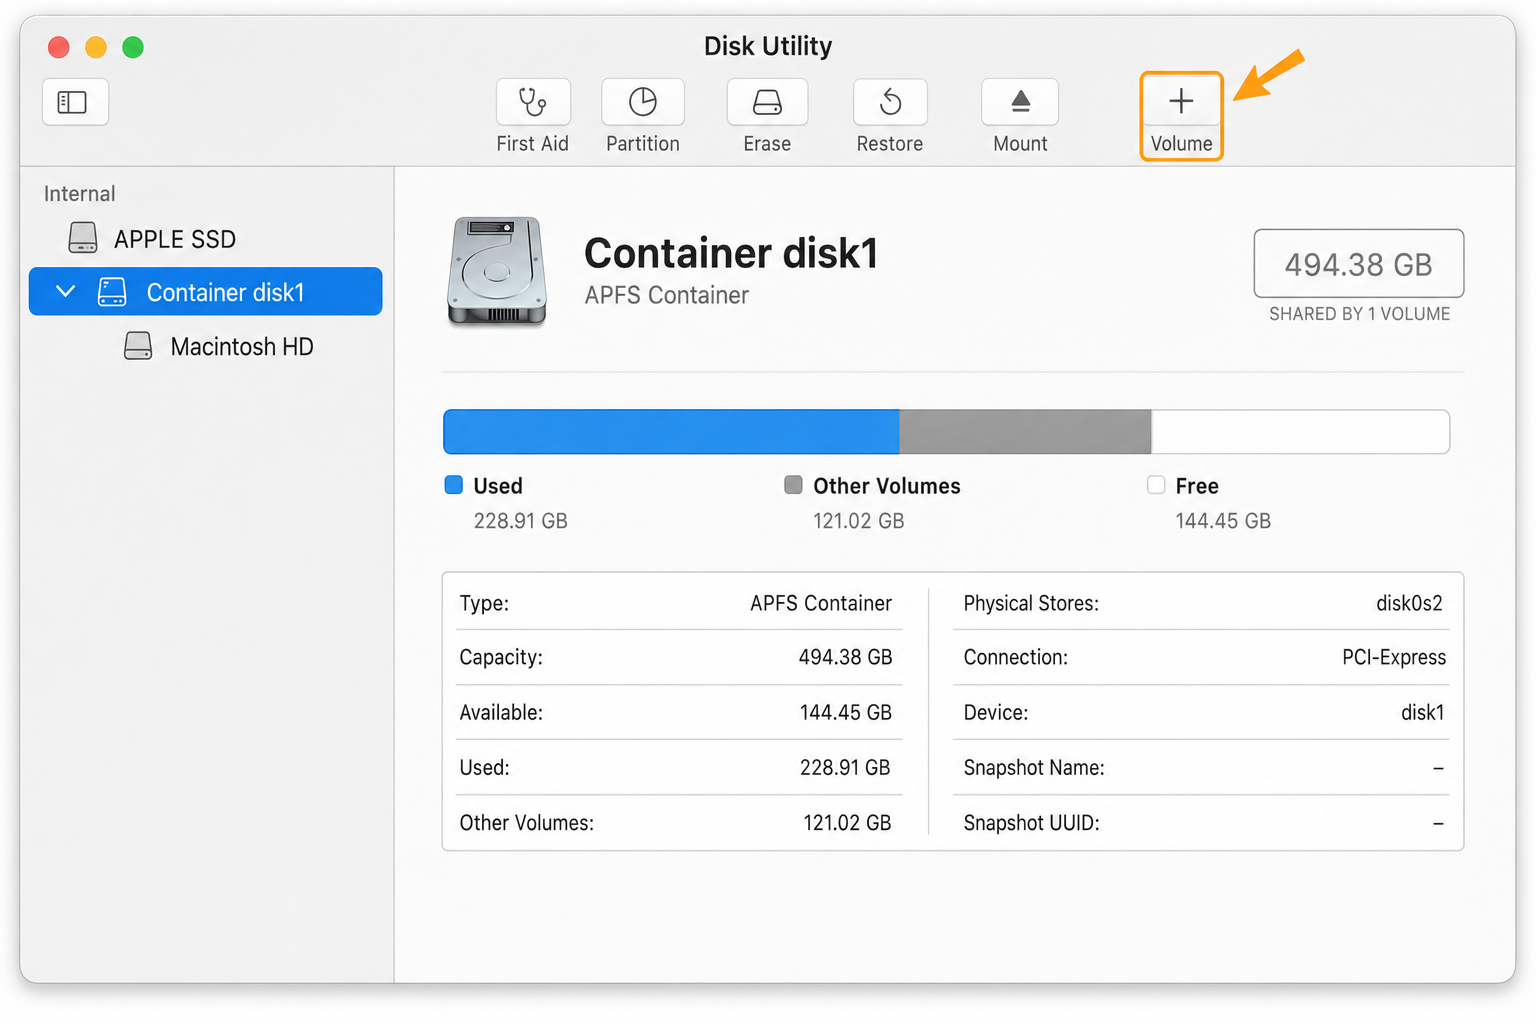
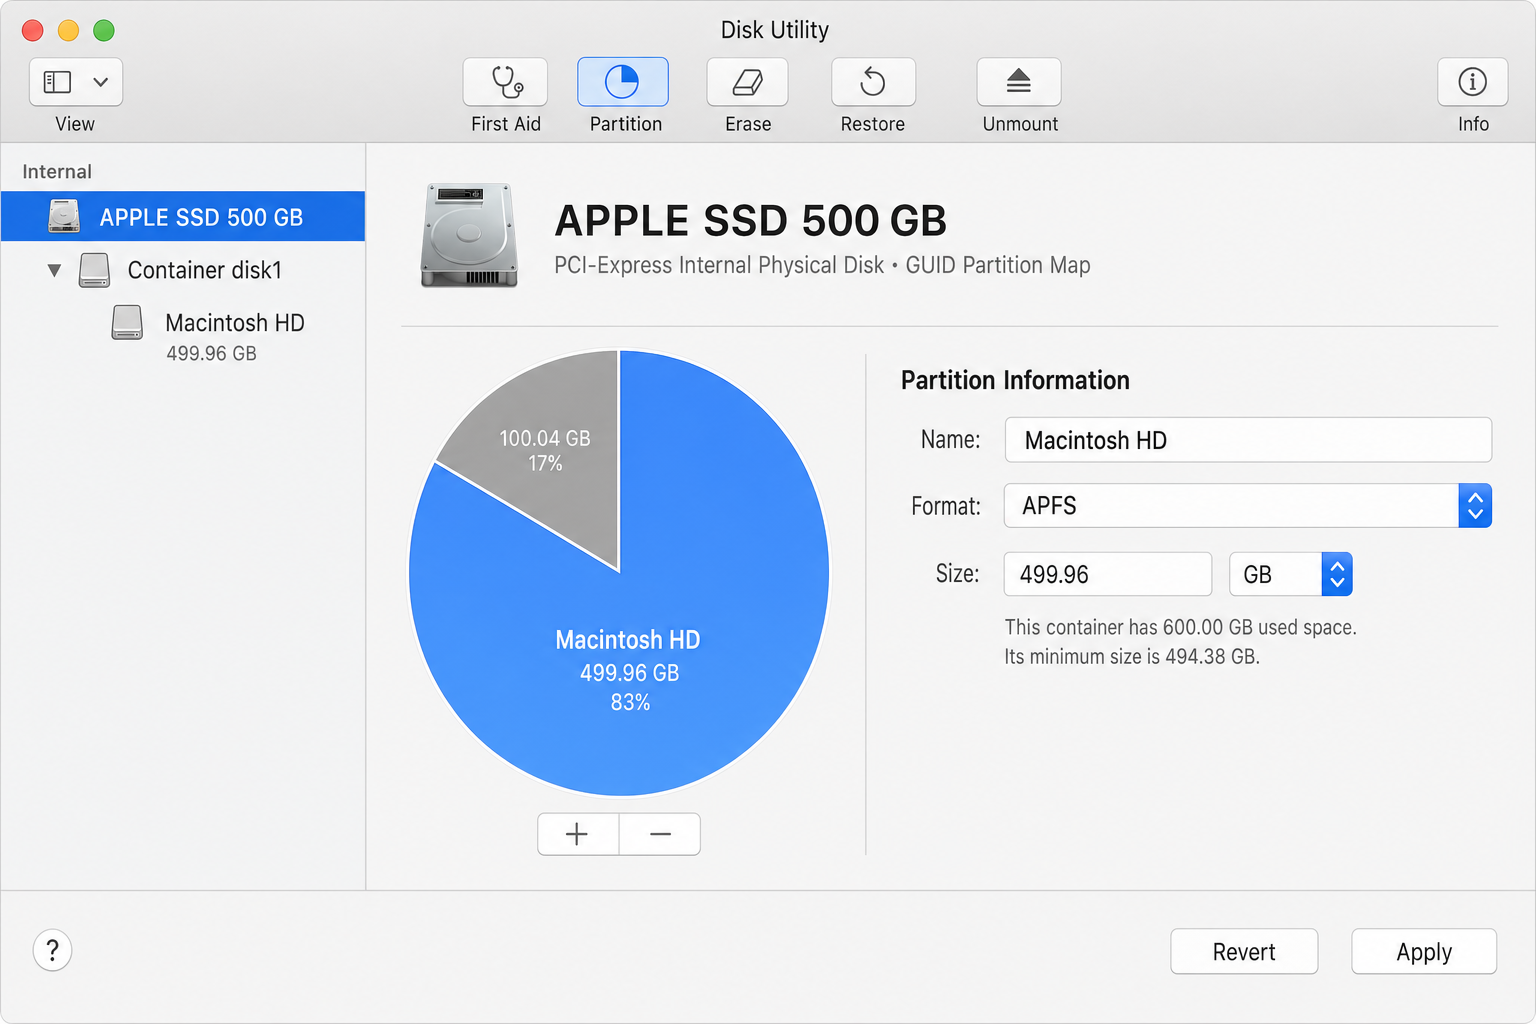
In the sidebar, you need to select the right level. Look for your drive’s container as it’ll be labeled something like “Container disk1” under your main drive. If you don’t see containers, go to View > Show All Devices.
Select the container (not the individual volume inside it), then click the + Volume button in the toolbar.
Give your volume a name and keep APFS as the format (unless you need Windows compatibility—then choose exFAT).
Click Size Options if you want to set limits. Reserve size is the minimum space guaranteed to this volume. Quota is the maximum it can use. For a macOS beta installation, 64-128GB reserve usually works well.
Click Add. The volume appears immediately—no waiting, no risk to existing data.
Traditional Partitioning for External Drives
If you need actual partitions (for cross-platform compatibility or specific workflows), here’s the process for external drives.
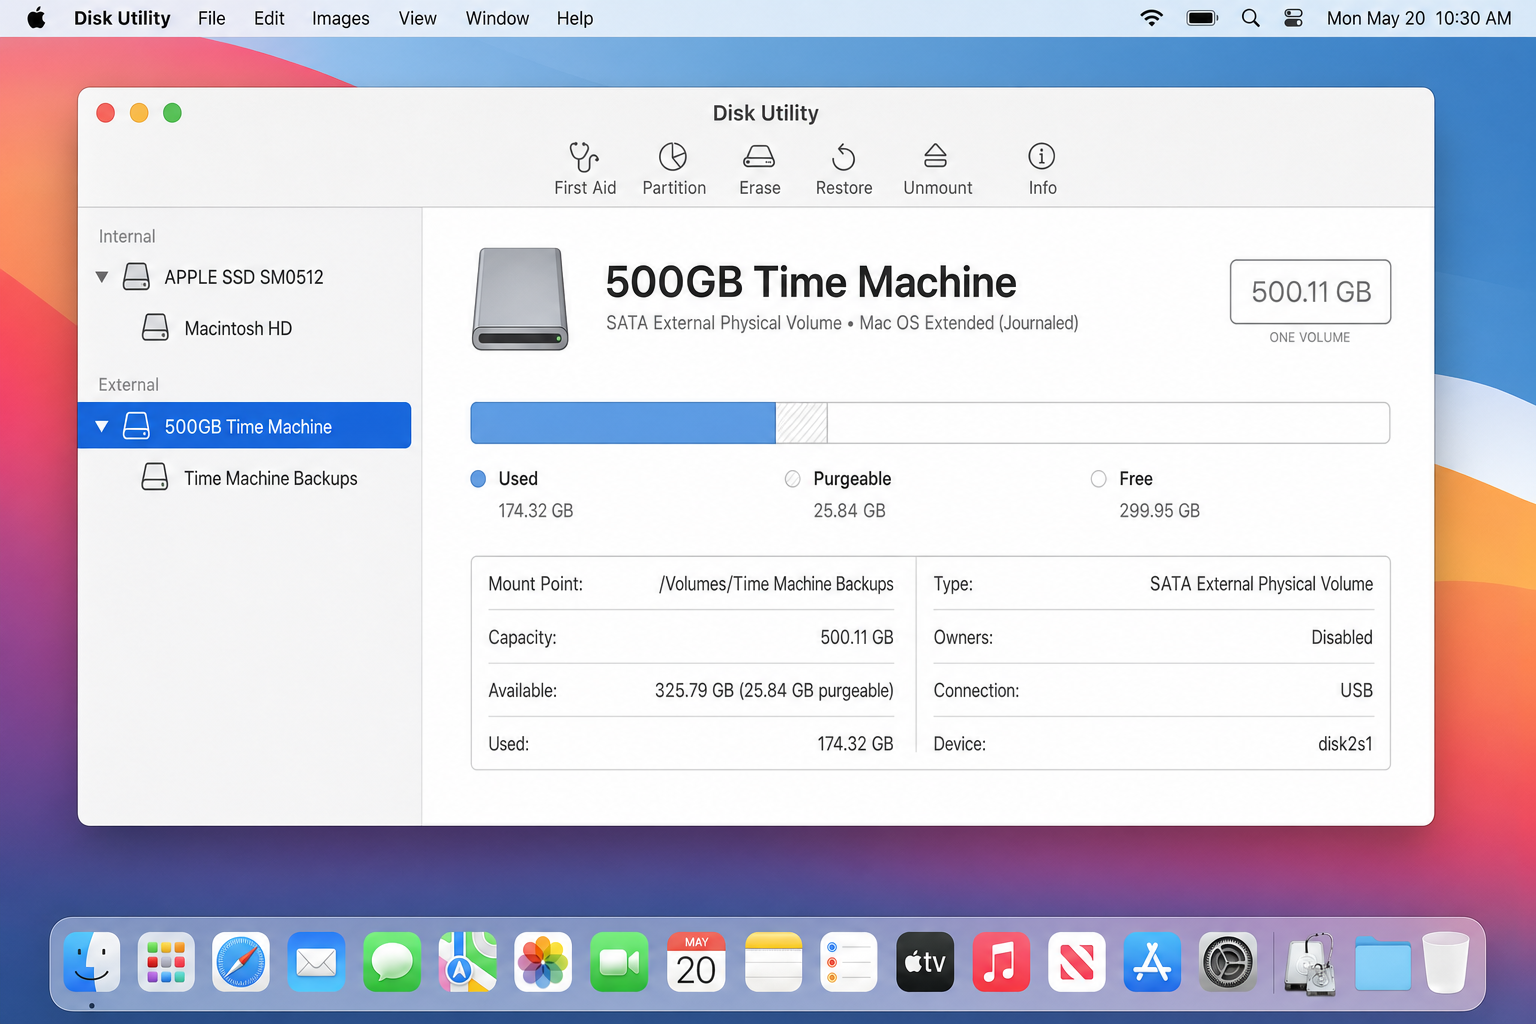
Connect your external drive and open Disk Utility. In the sidebar under External, select your drive.
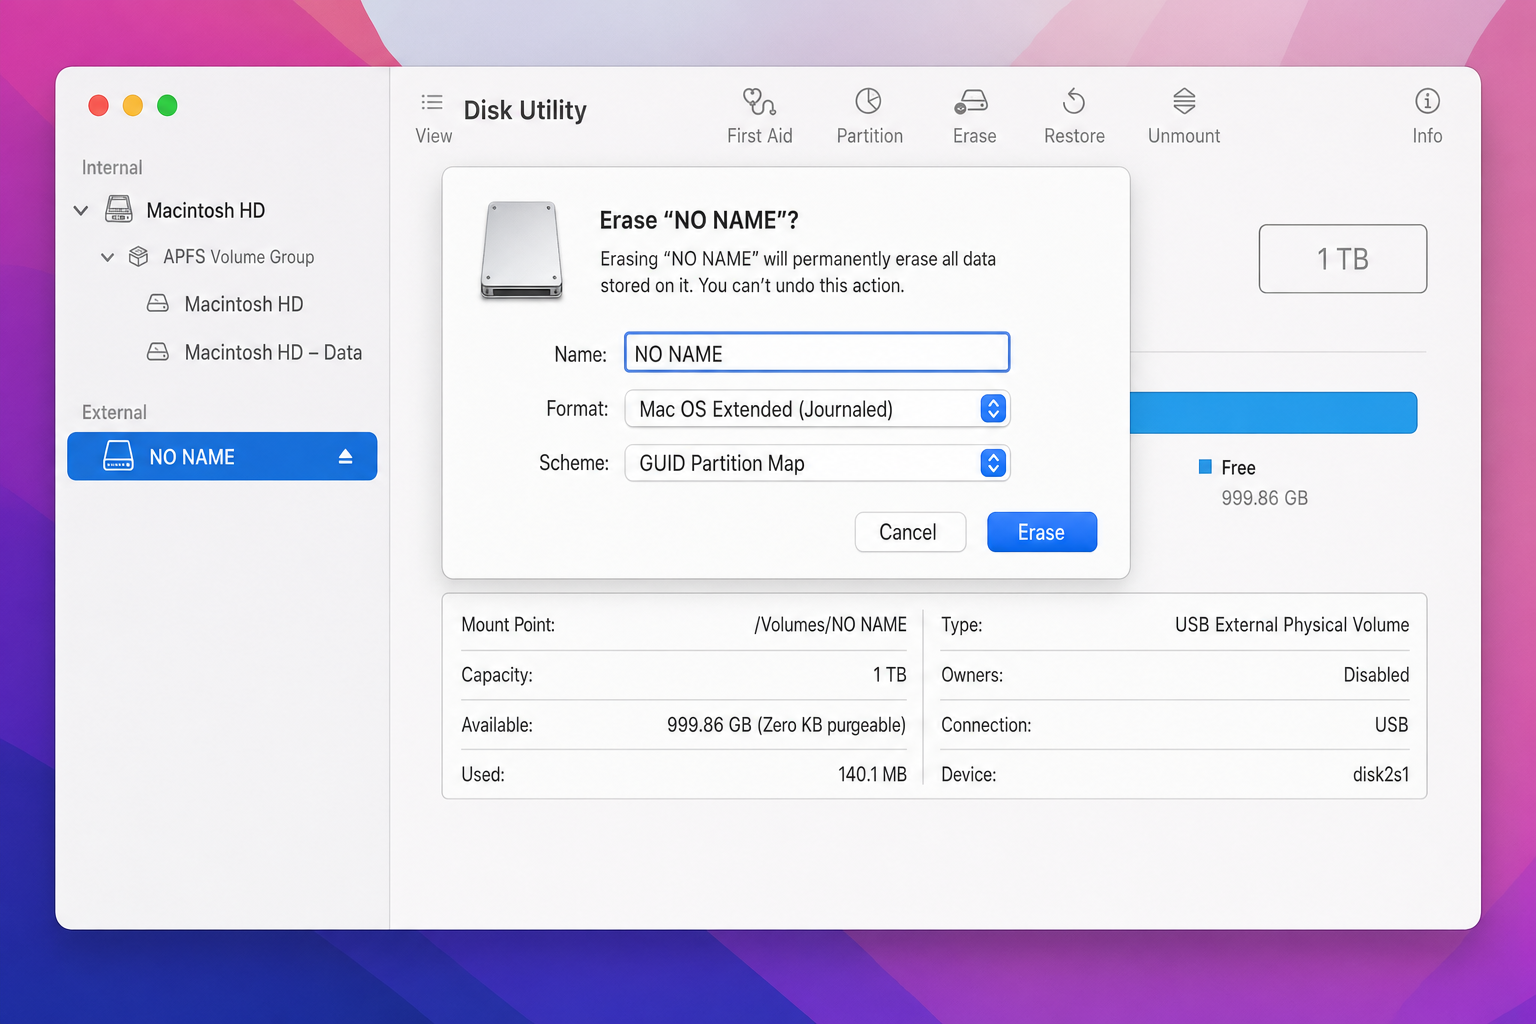
If the drive isn’t Mac-formatted, you’ll need to erase it first. Click Erase, give it a name, and choose your format:
- APFS: Best for Mac-only use, supports volumes
- Mac OS Extended (Journaled): Legacy Mac format, still works
- exFAT: Works with both Mac and Windows
- MS-DOS (FAT32): Universal but limited to 4GB files
For Scheme, choose GUID Partition Map for modern compatibility.
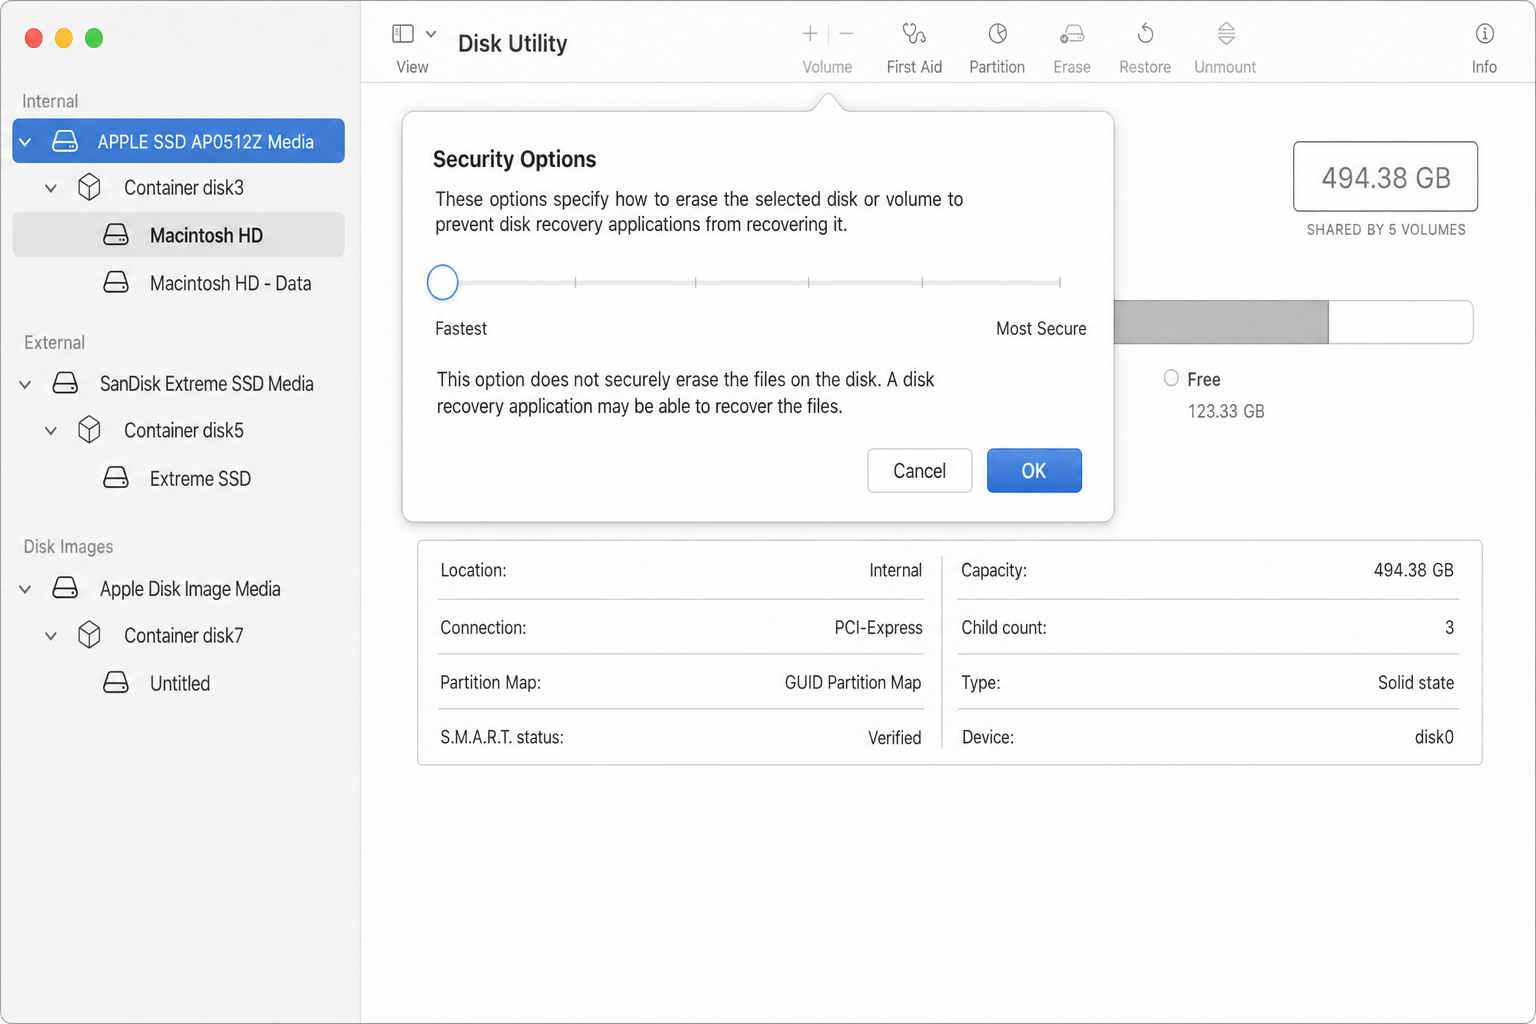
Click Security Options if you want secure erasure. The default “Fastest” option doesn’t actually erase data, it just marks space as available. “Most Secure” overwrites data multiple times but takes much longer.
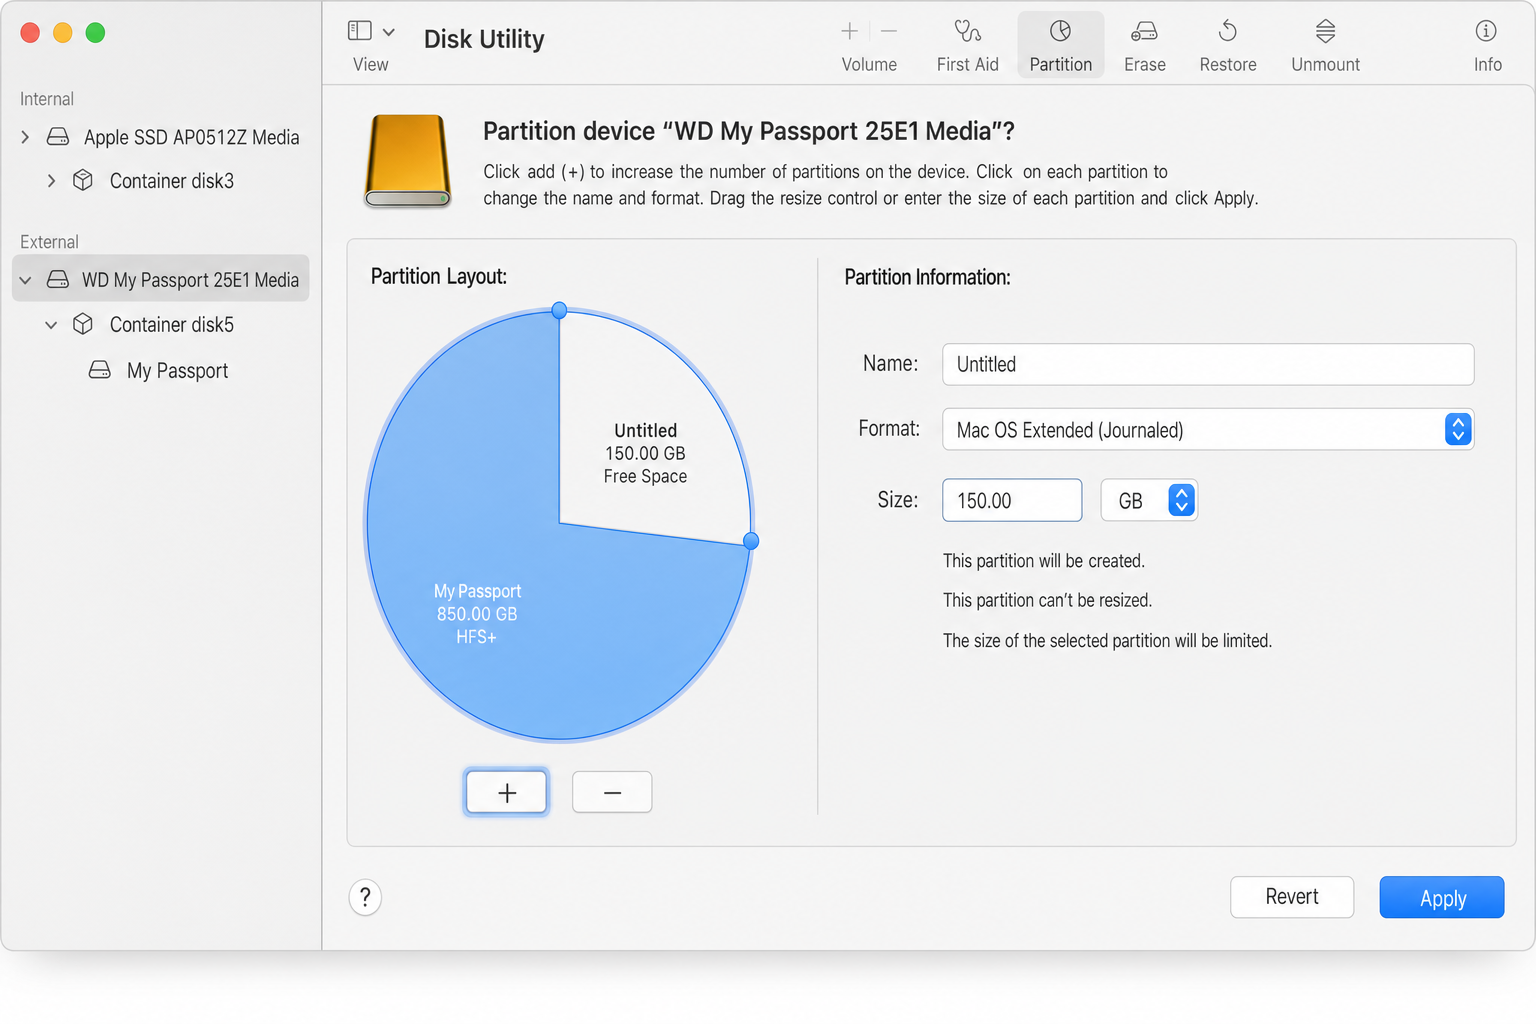
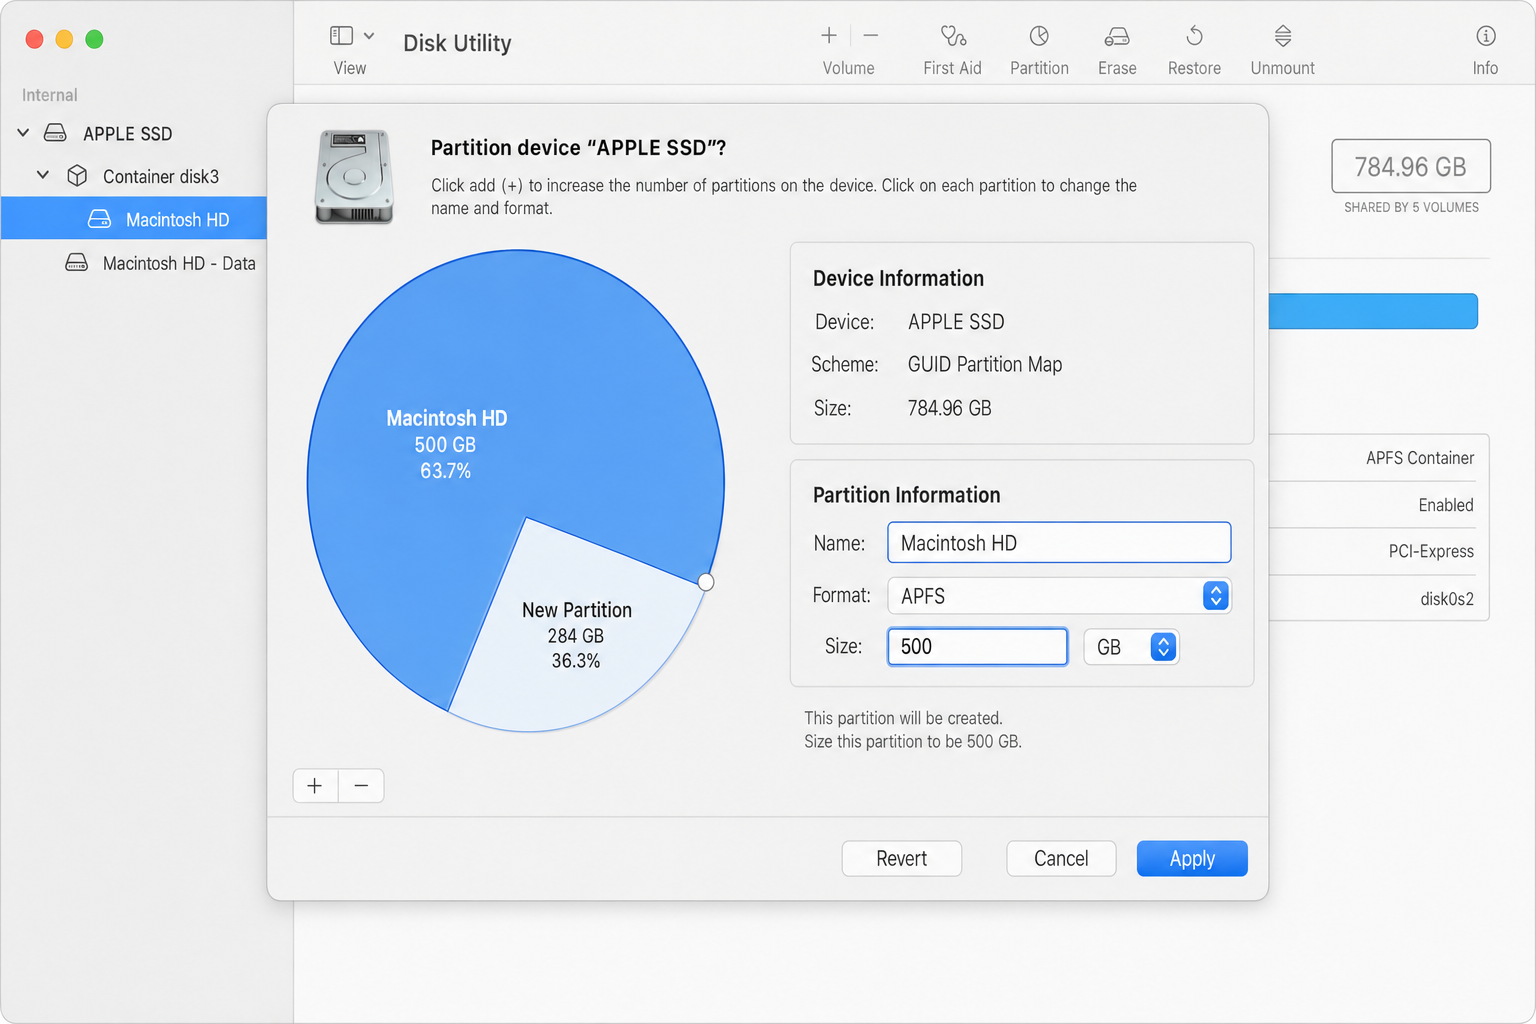
After erasing, select your drive again and click Partition in the toolbar. Click the + button to add partitions, or drag the pie chart to resize existing ones.

Name each partition and choose appropriate formats. For a multi-OS setup, you might use:
- Partition 1: APFS or Mac OS Extended for Mac storage
- Partition 2: APFS for Time Machine backups
- Partition 3: exFAT for Windows/Mac shared files
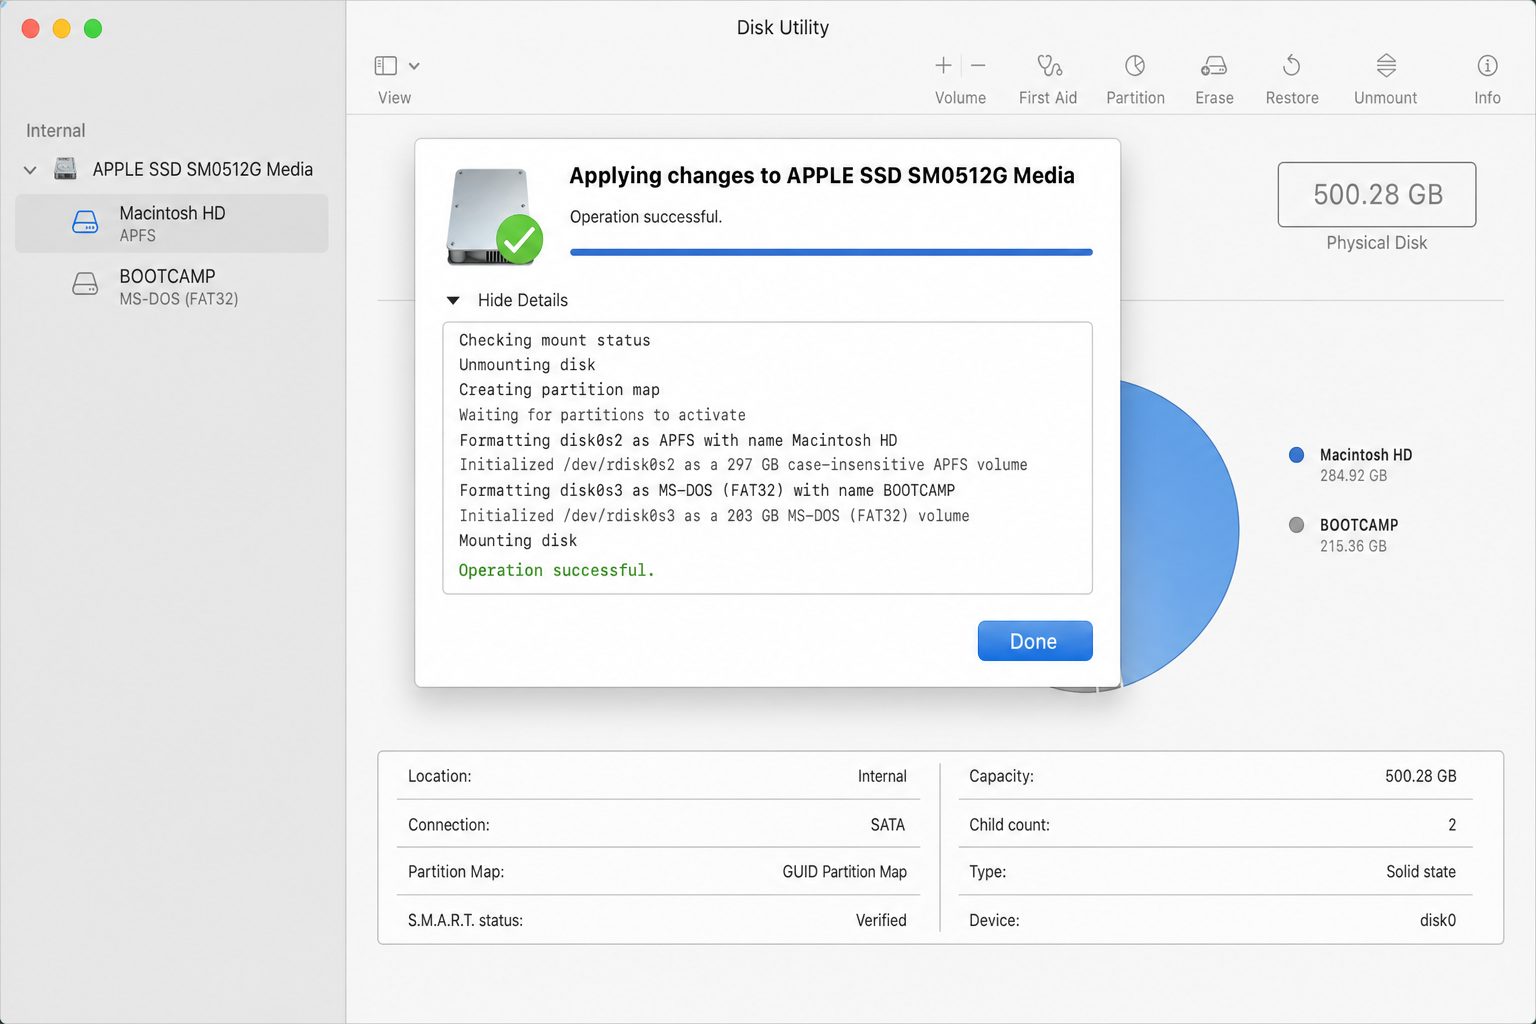
Click Apply, then Partition. This takes a few minutes depending on drive size.
To partition remaining space, select the “Untitled” section and repeat the process.
Partitioning Internal Drives
Partitioning your Mac’s internal drive is trickier and usually unnecessary. APFS volumes handle most use cases better.
If you must partition (for Boot Camp alternatives or specific workflows), the process is similar but with important caveats.
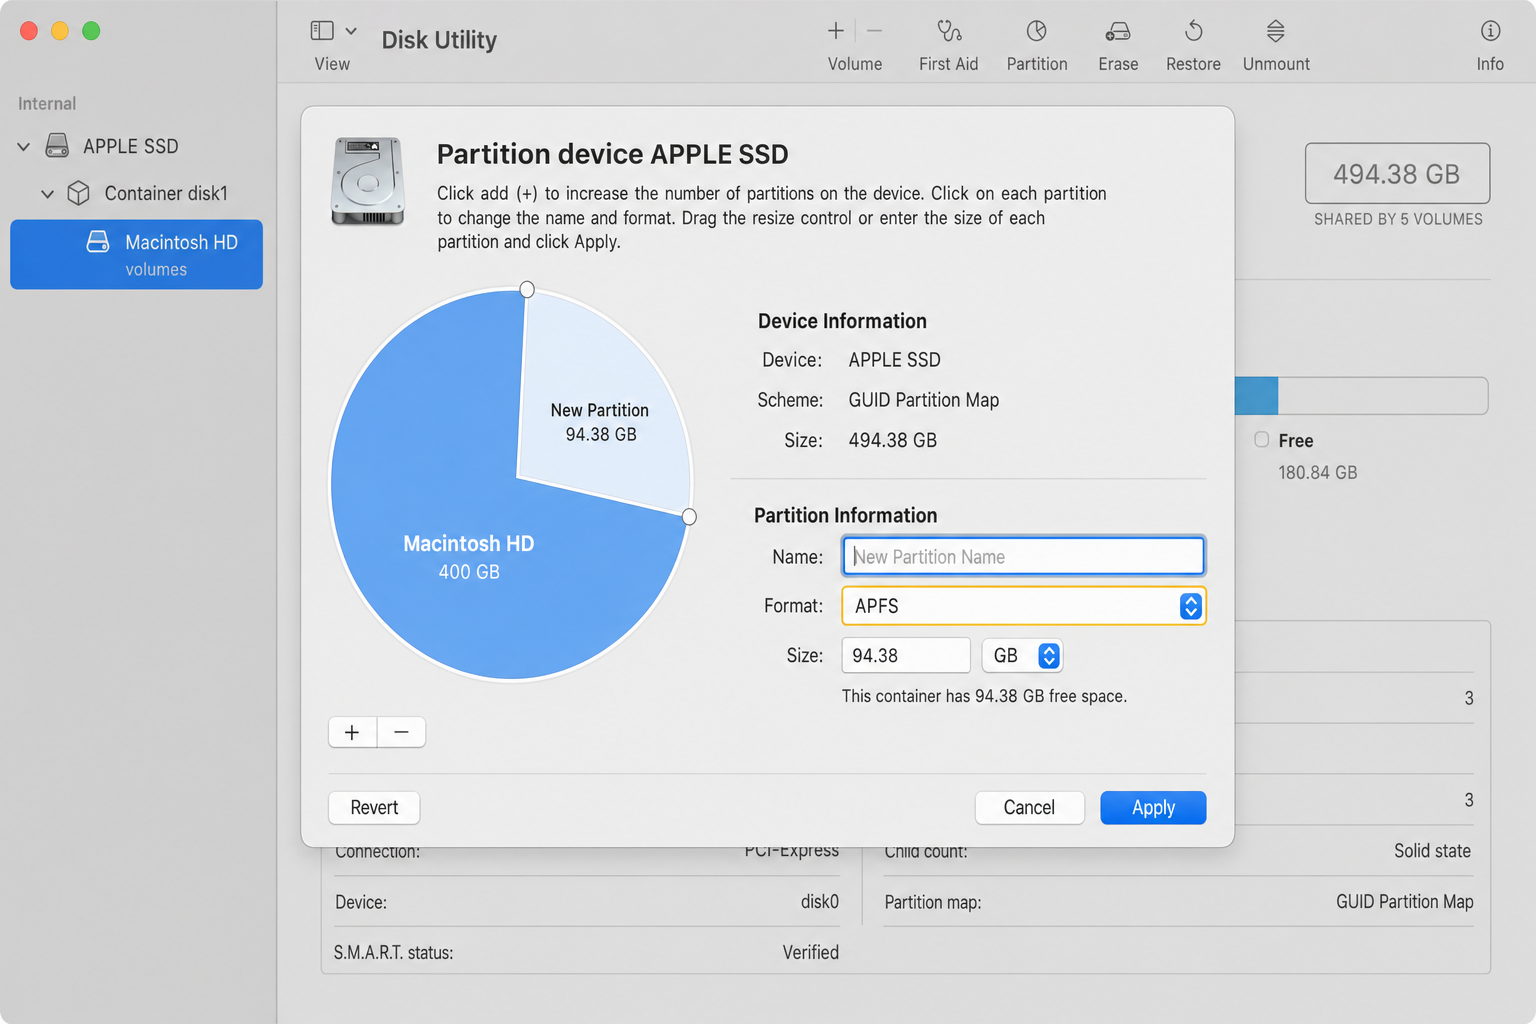
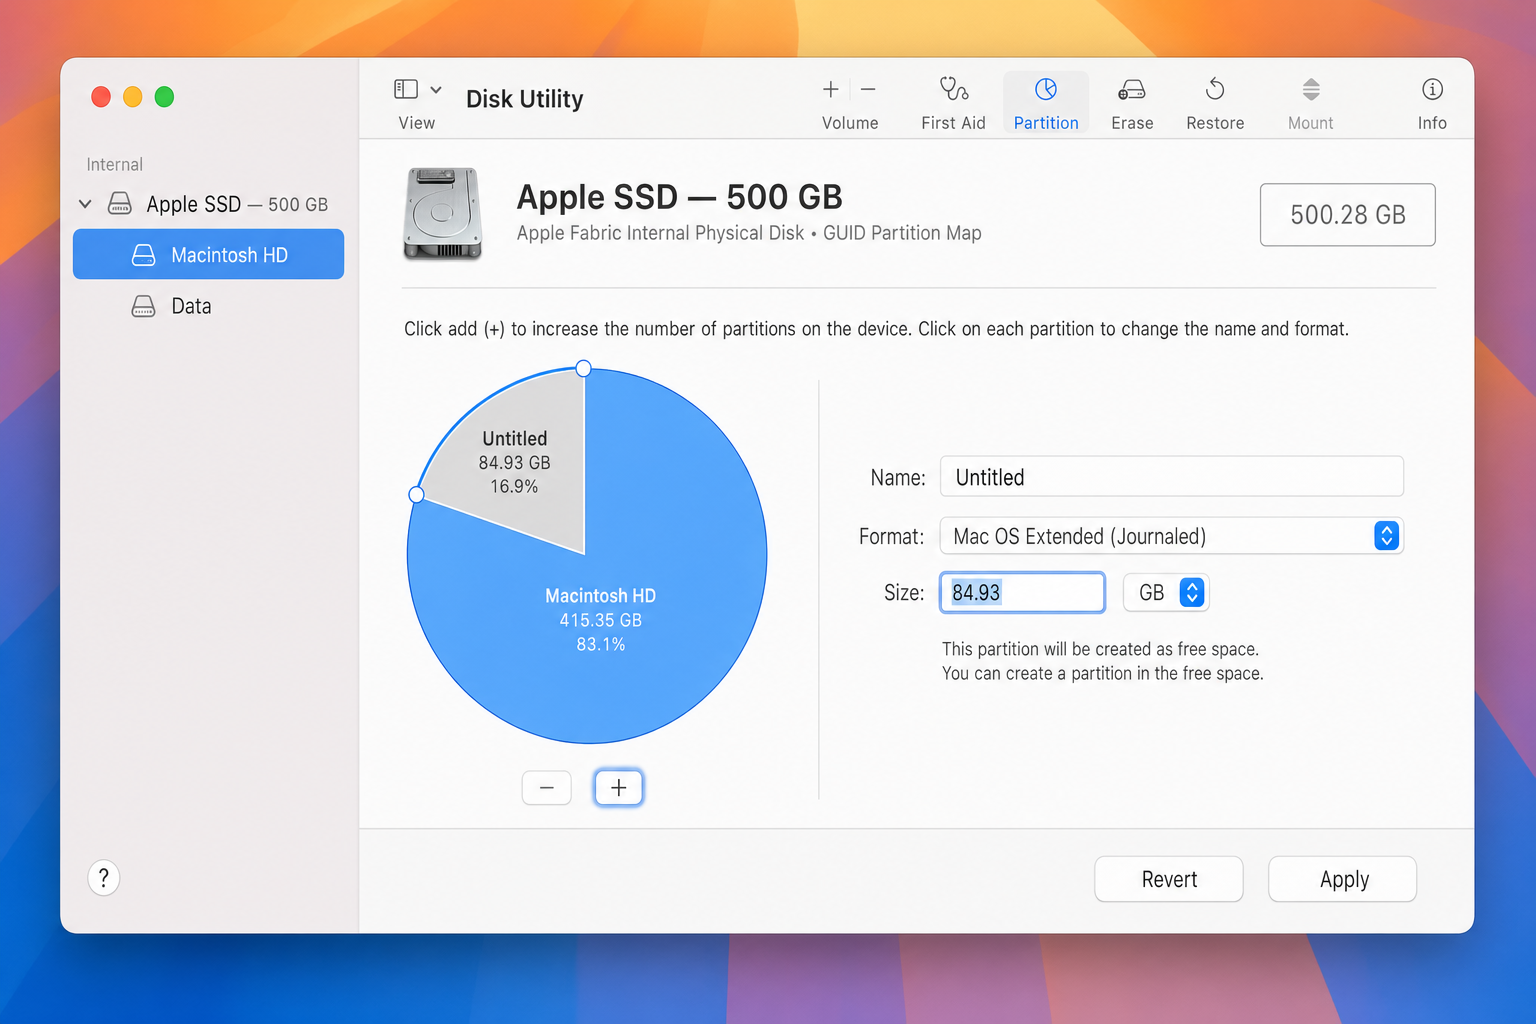
In Disk Utility, select your physical internal drive (the top-level device, not a volume). Click Partition.
You can’t make the first partition smaller than your currently used space. If you’re using 400GB, the first partition must be at least 400GB.
Resizing the startup volume can take hours and may require Recovery Mode if it fails. The system needs to move data around while maintaining a bootable state.
Troubleshooting Common Issues
Can’t see the physical disk? Go to View > Show All Devices in Disk Utility’s menu bar.
Partition button grayed out? Make sure you’ve selected the physical disk or container, not a volume inside it. You might need to unmount the drive first.
Resize operation fails? For internal drives, this can take several hours. If it fails completely, restart into Recovery Mode (Cmd + R while booting) and try again.
Confused about APFS vs volumes? Remember: volumes share space dynamically and are perfect for most uses. Only partition when you need different file systems or operating systems.
Modern Alternatives to Consider
Since Apple silicon Macs dropped Boot Camp support, you can’t dual-boot Windows anymore. Use Parallels Desktop or VMware Fusion to run Windows in a virtual machine instead—no partitioning required.
For testing beta software, APFS volumes are safer than partitions. Create a volume for macOS betas, and if something breaks, you can easily delete it without affecting your main system.
External SSDs with APFS work great for extending storage without the complexity of partitioning. They’re fast enough for most workflows and simpler to manage.
Which Method Should You Use?
For most people in 2026, APFS volumes are the better choice. They’re safer, more flexible, and handle modern Mac workflows better than traditional partitioning.
Stick with partitioning only when you specifically need different file systems for cross-platform compatibility or have legacy requirements that volumes can’t meet.
The good news? Both methods work reliably once you understand which tool fits your needs. APFS has made Mac storage management much more forgiving than the old days of rigid partition boundaries.