
If you’re setting up multiple Macs, working in a repair shop, or dealing with a sketchy internet connection, downloading macOS fresh every time is a nightmare. A bootable USB installer solves all of that. Plug it in, boot from it, and you’re reinstalling macOS Sequoia in minutes without touching the internet.
The process has changed significantly since the old Mojave days. The Mac App Store no longer offers full macOS installers for recent versions, so the workflow is a bit different now. Here’s how to do it properly in 2026.
What You’ll Need
- A Mac running macOS Catalina 10.15 or later (required for the
--fetch-full-installerflag; which specific installers you can fetch also depends on what macOS version your Mac originally shipped with) - A USB drive with at least 16 GB of free space, USB 3.0 or faster
- Around 14 GB of free space on your Mac for the installer download
- A decent internet connection for the initial download (after that, you’re offline-capable)
Back up anything on the USB drive before you start. The process wipes it completely.
Step 1: Download the Full macOS Sequoia Installer
This is where things differ from the old App Store method. You need the full installer, not the partial update package that Software Update downloads. There are two ways to get it.
Option A: Download via Terminal (Recommended)
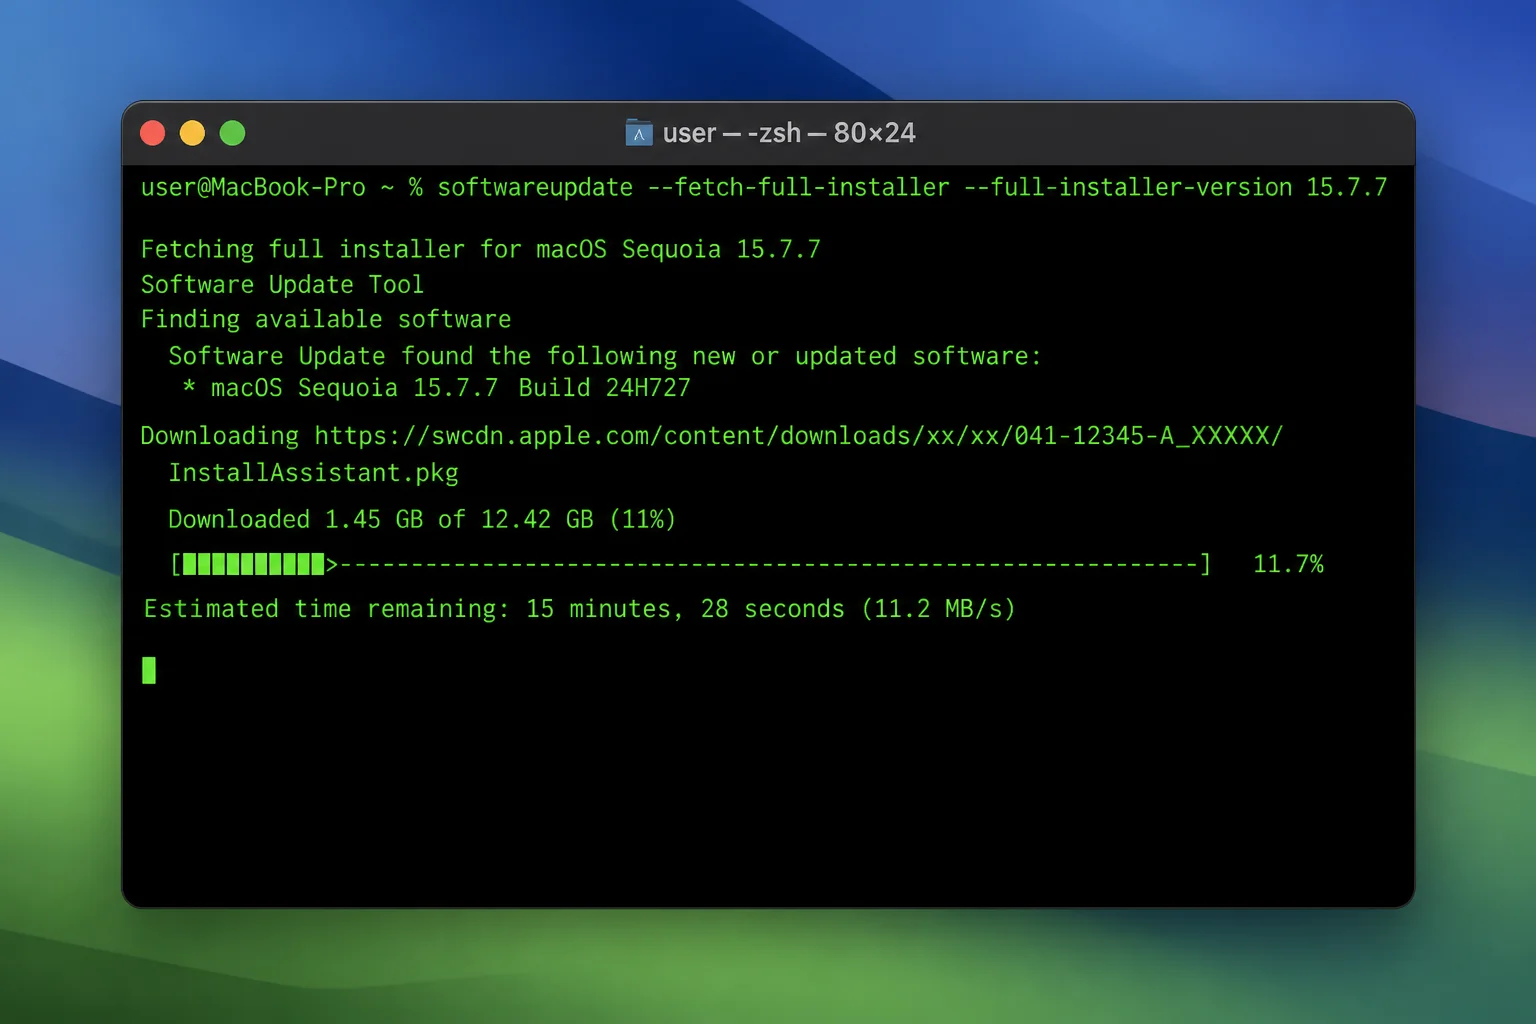
Open Terminal (you’ll find it in Applications > Utilities) and run:
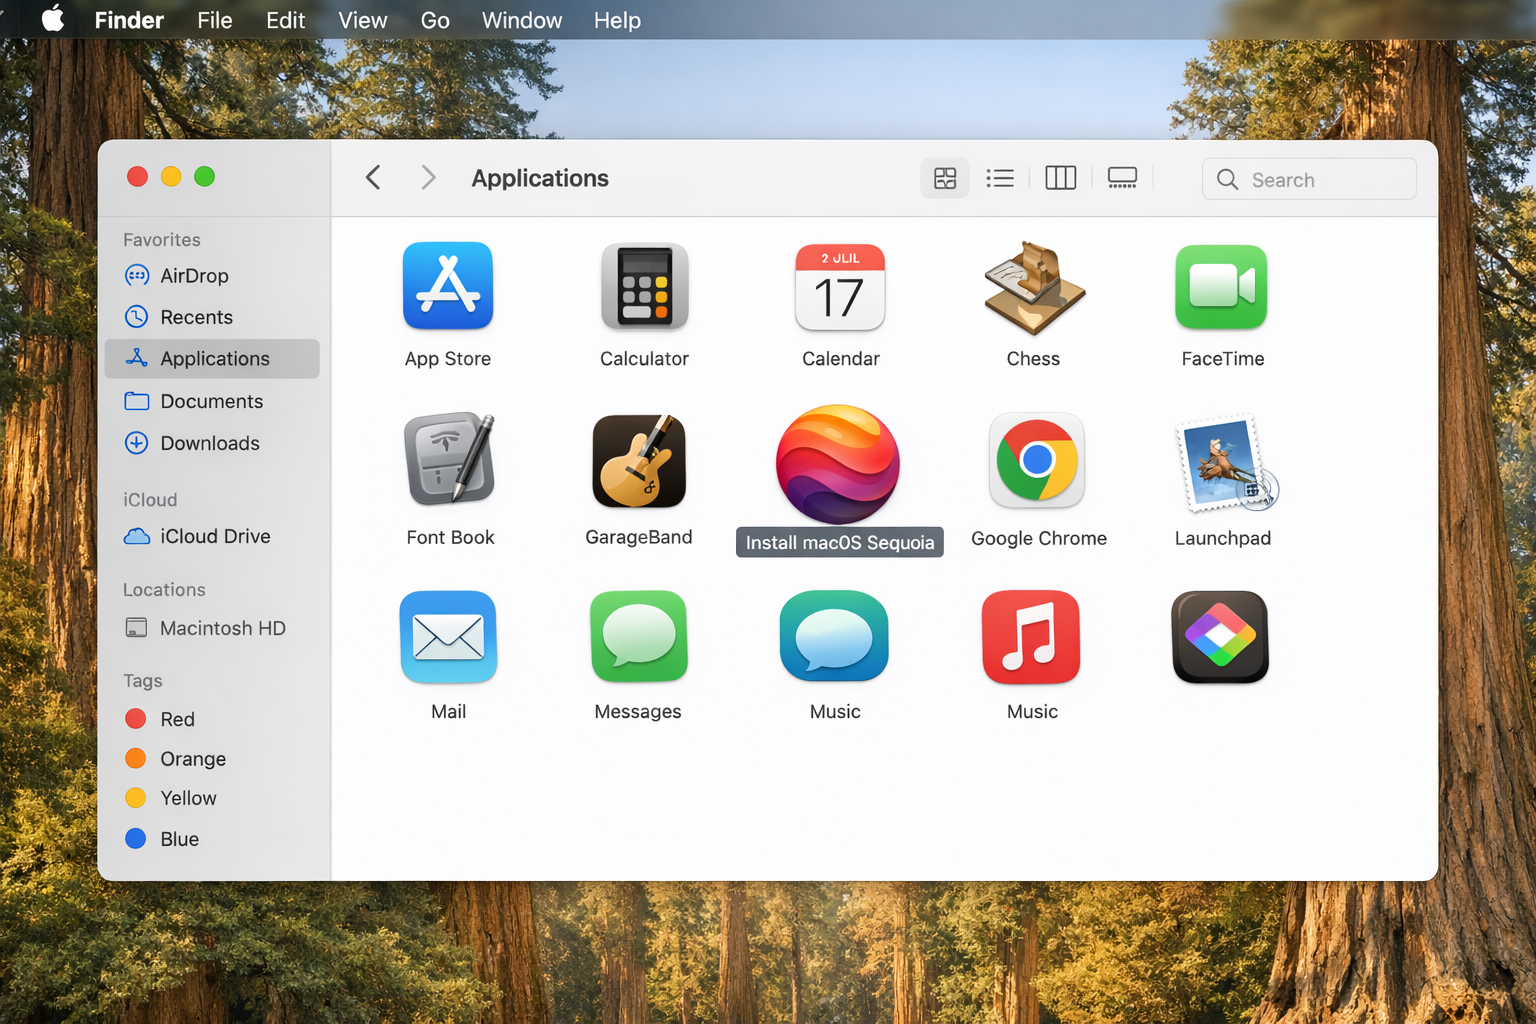
softwareupdate --fetch-full-installer --full-installer-version 15.7.7This pulls the full installer directly from Apple’s servers and drops it into your Applications folder as Install macOS Sequoia.app. No browser, no middleman.
Option B: Download from Apple’s Support Page
Go to Apple’s macOS Sequoia download page and grab the full installer from there. Once downloaded, it’ll appear in your Applications folder.
Either way, confirm the installer is in /Applications before moving on. If it launched the installer automatically, quit it. You don’t want to upgrade your Mac right now.
Step 2: Prepare the USB Drive
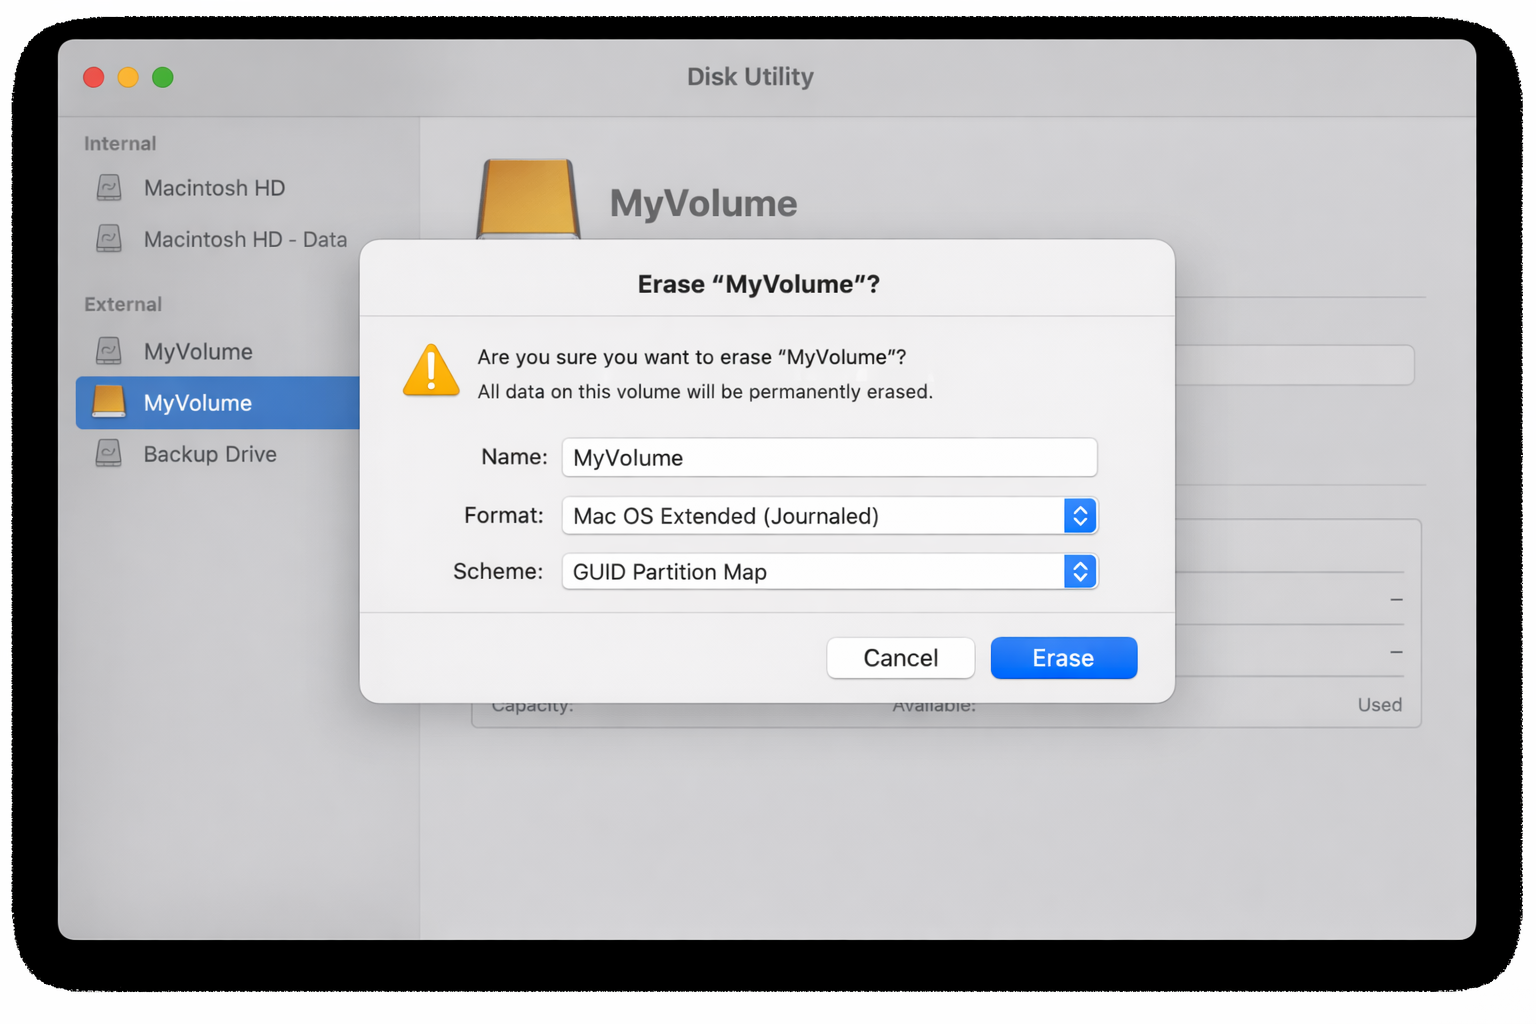
Plug in your USB drive and open Disk Utility (Applications > Utilities > Disk Utility).
- Select your USB drive from the left sidebar. Make sure you select the top-level drive, not a partition below it.
- Click Erase.
- Set the format to Mac OS Extended (Journaled) and the scheme to GUID Partition Map.
- Name it something simple like MyVolume (you’ll reference this name in the Terminal command).
- Click Erase to confirm.
Step 3: Create the Bootable Installer
Back in Terminal, run this command:
sudo /Applications/Install\ macOS\ Sequoia.app/Contents/Resources/createinstallmedia --volume /Volumes/MyVolumeEnter your administrator password when prompted. Terminal will ask you to confirm, type Y and press Return. Then wait. This takes anywhere from 10 to 30 minutes depending on your USB drive’s write speed.
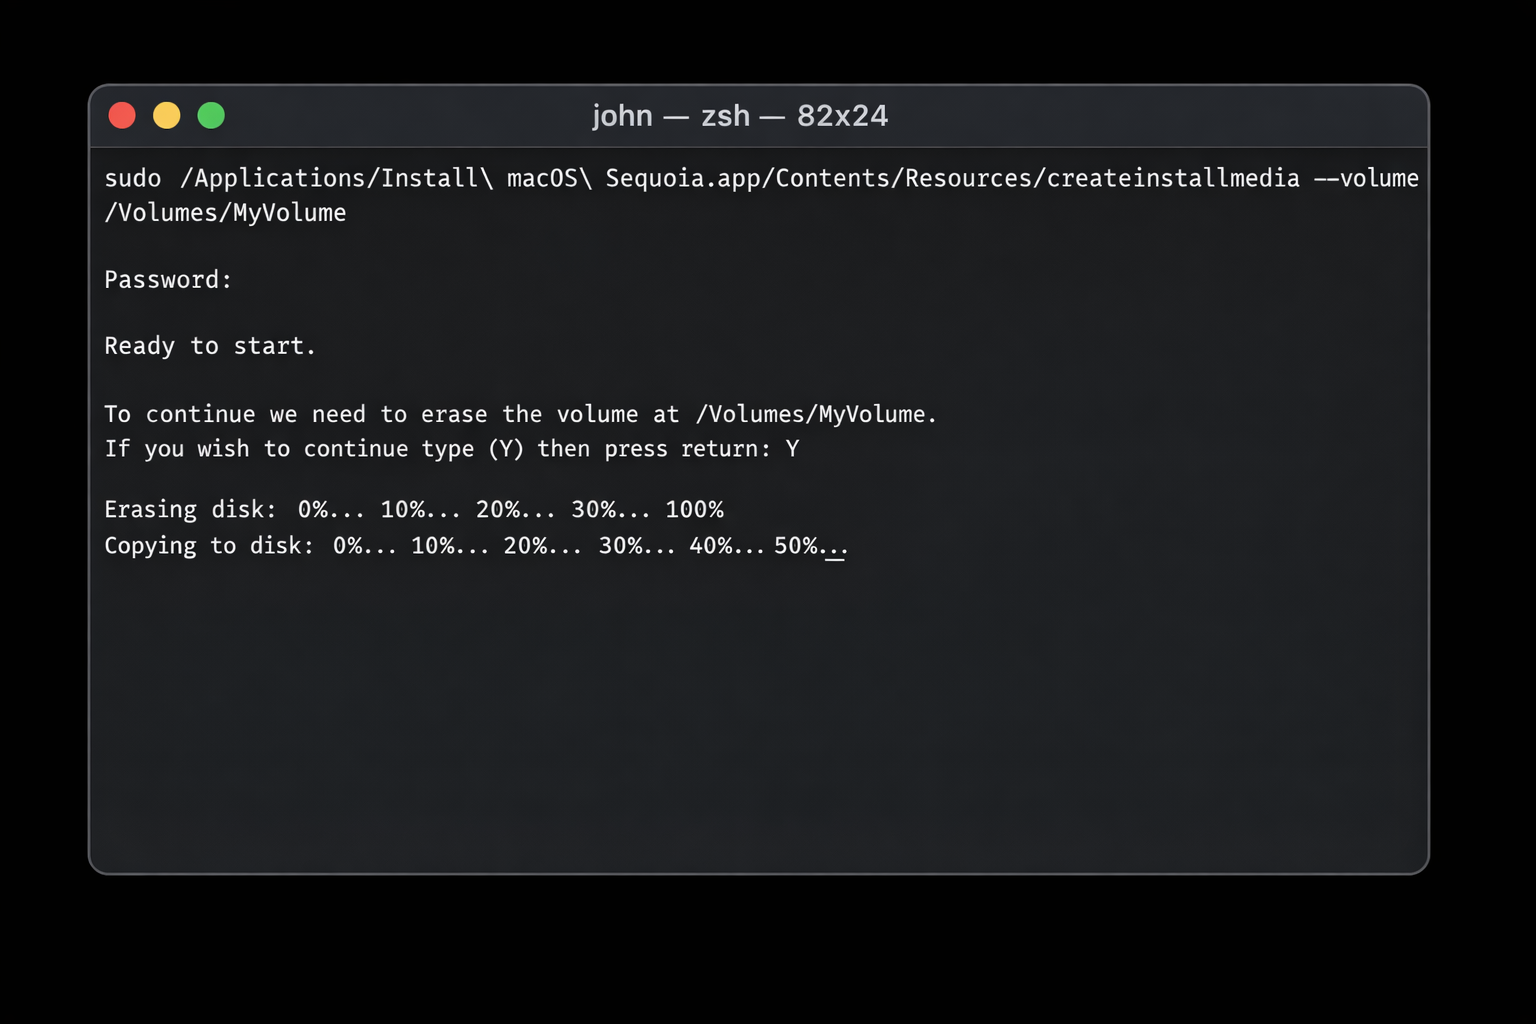
When it’s done, Terminal prints “Copy complete. Done.” That’s your cue to eject the drive.
Step 4: Boot From the USB Installer
How you boot from the USB depends on which Mac you’re using it on.
Apple Silicon Macs (M1, M2, M3, M4)
Shut the Mac down completely. Hold the Power button until you see “Loading startup options.” Select your USB drive from the list and click Continue.
Intel Macs
Restart and hold Option (⌥) immediately after the startup chime. Select the USB drive from the boot picker.
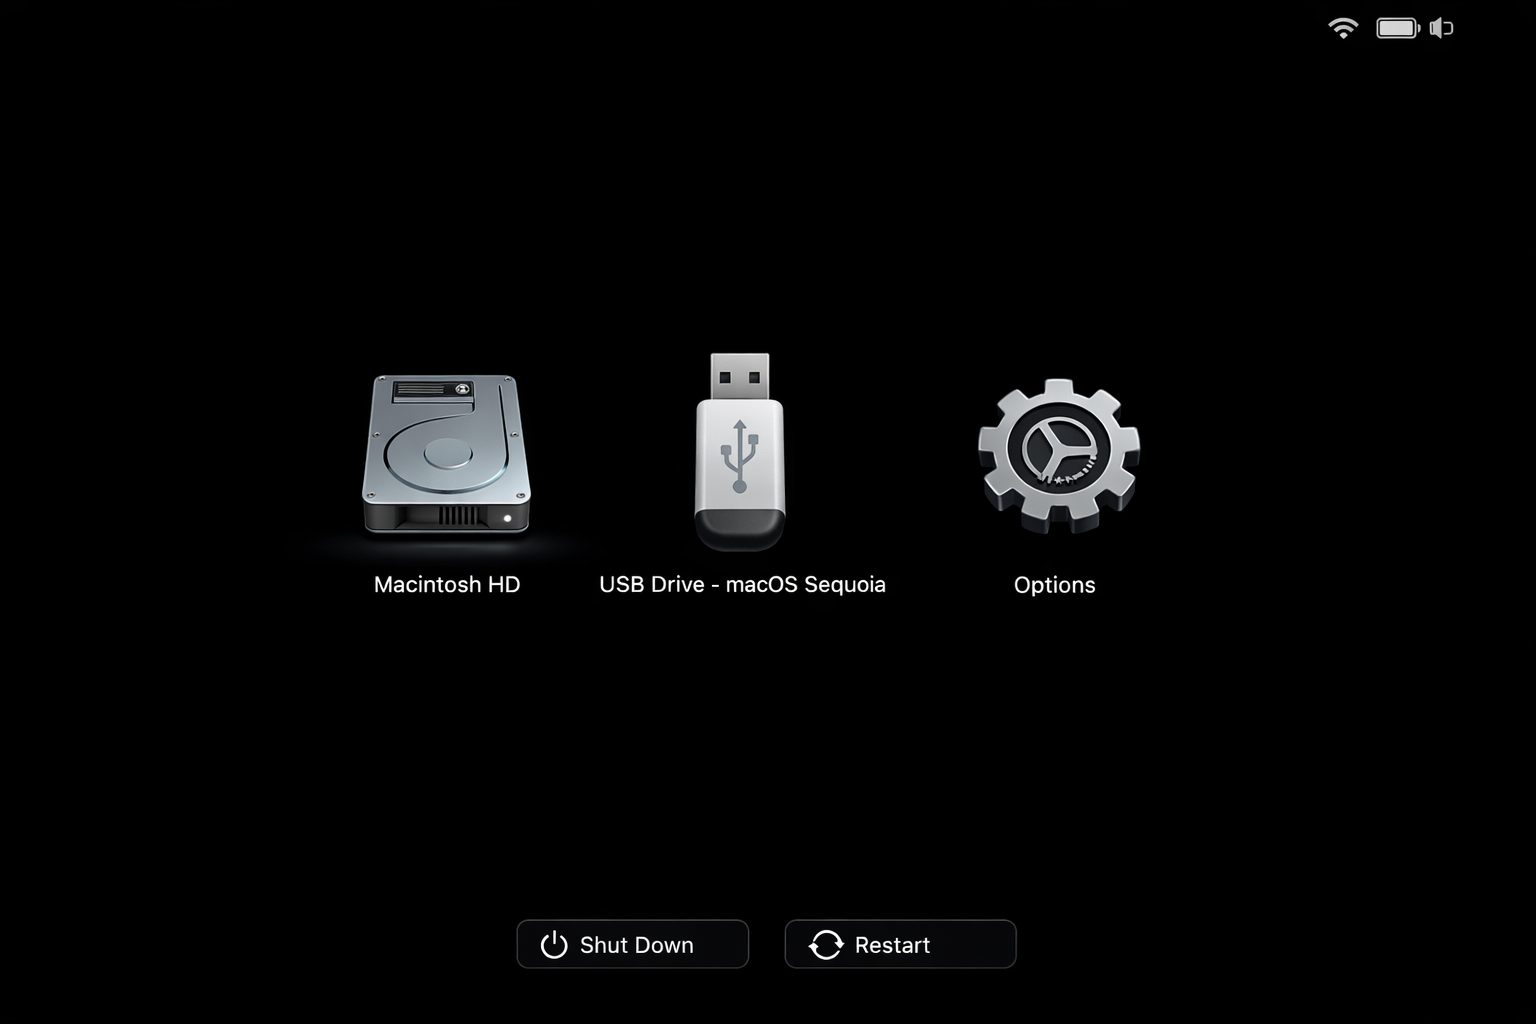
From there, the macOS installer launches and you can do a clean install, reinstall over an existing macOS, or use Disk Utility to wipe the target drive first.
Troubleshooting
The installer app is only 5–6 GB
That’s a partial Software Update download, not the full installer. It won’t work with createinstallmedia. Delete it and use the Terminal command in Step 1 to fetch the full version.
“Command not found” error in Terminal
The spaces in the path need to be escaped with backslashes. Copy the command exactly as written above. Don’t retype it manually.
Volume erase errors
If createinstallmedia complains about the volume, try unmounting it first:
diskutil unmountDisk /dev/diskXReplace diskX with your actual disk identifier (find it in Disk Utility by selecting the drive and looking at the bottom of the window).
The USB won’t show up in the boot picker
On Apple Silicon, make sure you’re holding the Power button long enough. You need to hold it until the startup options screen appears, not just until the Apple logo shows. On Intel, hold Option (⌥) immediately after pressing the power button, before anything appears on screen.
Installer rejected on Apple Silicon
Apple Silicon Macs require signed installers. If you’re getting a signing error, re-download the installer using the official softwareupdate command rather than a third-party source.
Prefer a GUI? Use a Third-Party Tool
If you’d rather skip Terminal entirely, a few apps wrap the createinstallmedia process in a proper interface:
- Mister Retro’s Install macOS, a clean GUI wrapper for
createinstallmedia. Handles volume selection and the command for you. Good option if you’re doing this regularly. - OpenCore Legacy Patcher, worth knowing about if you’re creating installers for older Intel Macs that Apple no longer officially supports. It patches Sequoia onto hardware Apple dropped.
The Terminal method is faster and more reliable once you’ve done it once, but these tools are legitimate options, not sketchy workarounds.
One Thing to Keep in Mind
macOS gets security updates regularly, which means your USB installer will drift out of date over time. That’s fine for a clean install. You can always run Software Update afterward. But if you’re maintaining a fleet of Macs in a repair or IT context, plan to refresh the USB drive every few months. The whole process takes under an hour once you have a fast USB drive.
Keep the softwareupdate command handy, update the version number to whatever the latest Sequoia release is, and you’ll always have a current installer ready to go.