
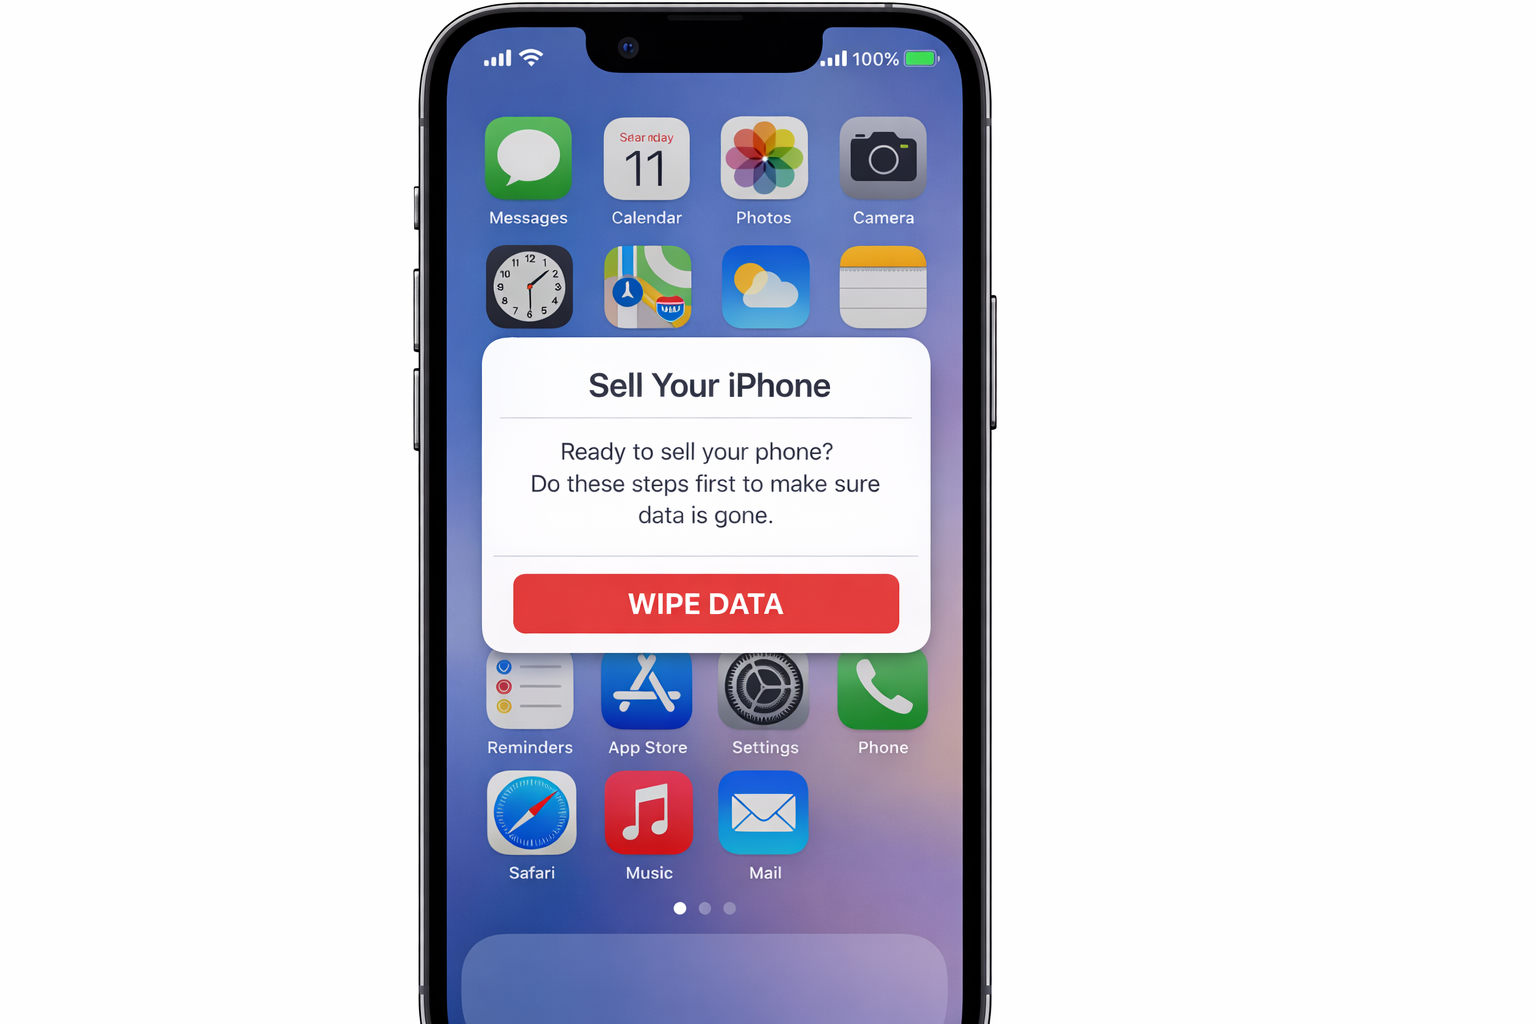
Planning to upgrade to the latest iPhone and wondering how to get the most from your current device? Whether you’re eyeing a trade-in deal or selling privately, there’s a right way to prepare your iPhone that’ll save you headaches and potentially hundreds of dollars.
The process has evolved since the early iPhone days as Apple’s security measures are tighter, eSIM handling is now a factor, and trade-in programs have become more sophisticated. But the core principle remains: preparation pays off.
Here’s hoping these steps work as smoothly for you as they have for most iPhone sellers. We’ll walk through each one carefully.
Step 1: Back Up Everything First
Don’t skip this step, even if you think there’s nothing important on your phone. I’ve seen too many people realize weeks later that they lost years of messages, photos, or app data.
You have two solid backup options in 2026:
iCloud Backup: Go to Settings > [Your Name] > iCloud > iCloud Backup > Back Up Now. Make sure you have enough iCloud storage – if you’re running low, consider upgrading temporarily or use the computer method below.
Computer Backup: Connect to your Mac and open Finder, or use the Apple Devices app on Windows 11. Select your iPhone and click Back Up Now. This method handles larger backups without iCloud storage limits.
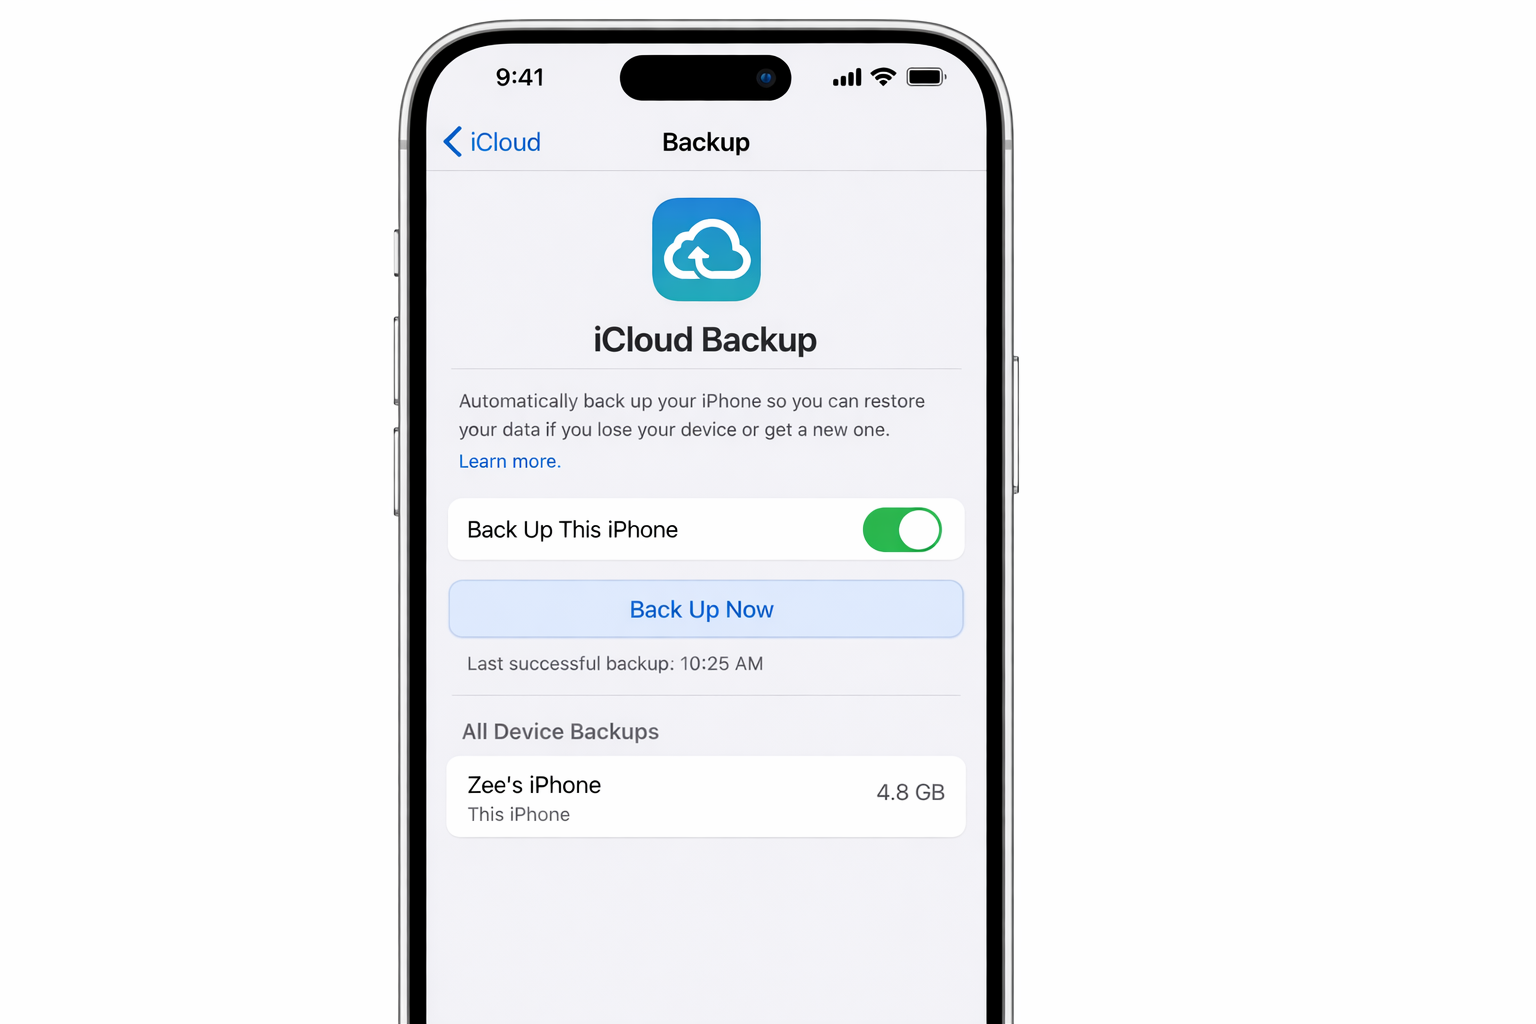
Pro tip: If you have health or fitness data you want to preserve, make sure to encrypt your backup. iCloud does this automatically, but computer backups need you to check the encryption box.
Step 2: Sign Out of Everything (Including Find My)
This is where things get more serious than they used to be. Apple’s Activation Lock means if you don’t properly sign out, your buyer literally can’t use the phone and trade-in programs will reject it outright.
Here’s the correct sequence for iOS 26:
- If you have an Apple Watch paired, unpair it first through the Watch app > My Watch > All Watches > Info (i) > Unpair
- Go to Settings > [Your Name] > Sign Out
- Enter your Apple ID password when prompted
- Choose what data to keep on the device (usually none if you’re selling)
- Separately, turn off Find My at Settings > [Your Name] > Find My > Find My iPhone > Turn Off
This removes your iCloud account, App Store access, and — crucially — deactivates Activation Lock. Skip this step and you’ll be getting frustrated calls from whoever buys your phone.
Step 3: Handle Your SIM and eSIM
Modern iPhones often have both physical SIM cards and eSIM profiles. You need to deal with both.
Physical SIM: Use the SIM ejection tool (or a paperclip) to remove the SIM card tray. Keep the SIM if you’re transferring service, or destroy it if you’re done with that number.
eSIM: For iPhone XS and newer, go to Settings > Cellular > [Your Plan] > Remove Cellular Plan. Do this for each eSIM profile you have active.
Your carrier can help transfer service to your new phone, but removing these profiles prevents the new owner from seeing your account information.
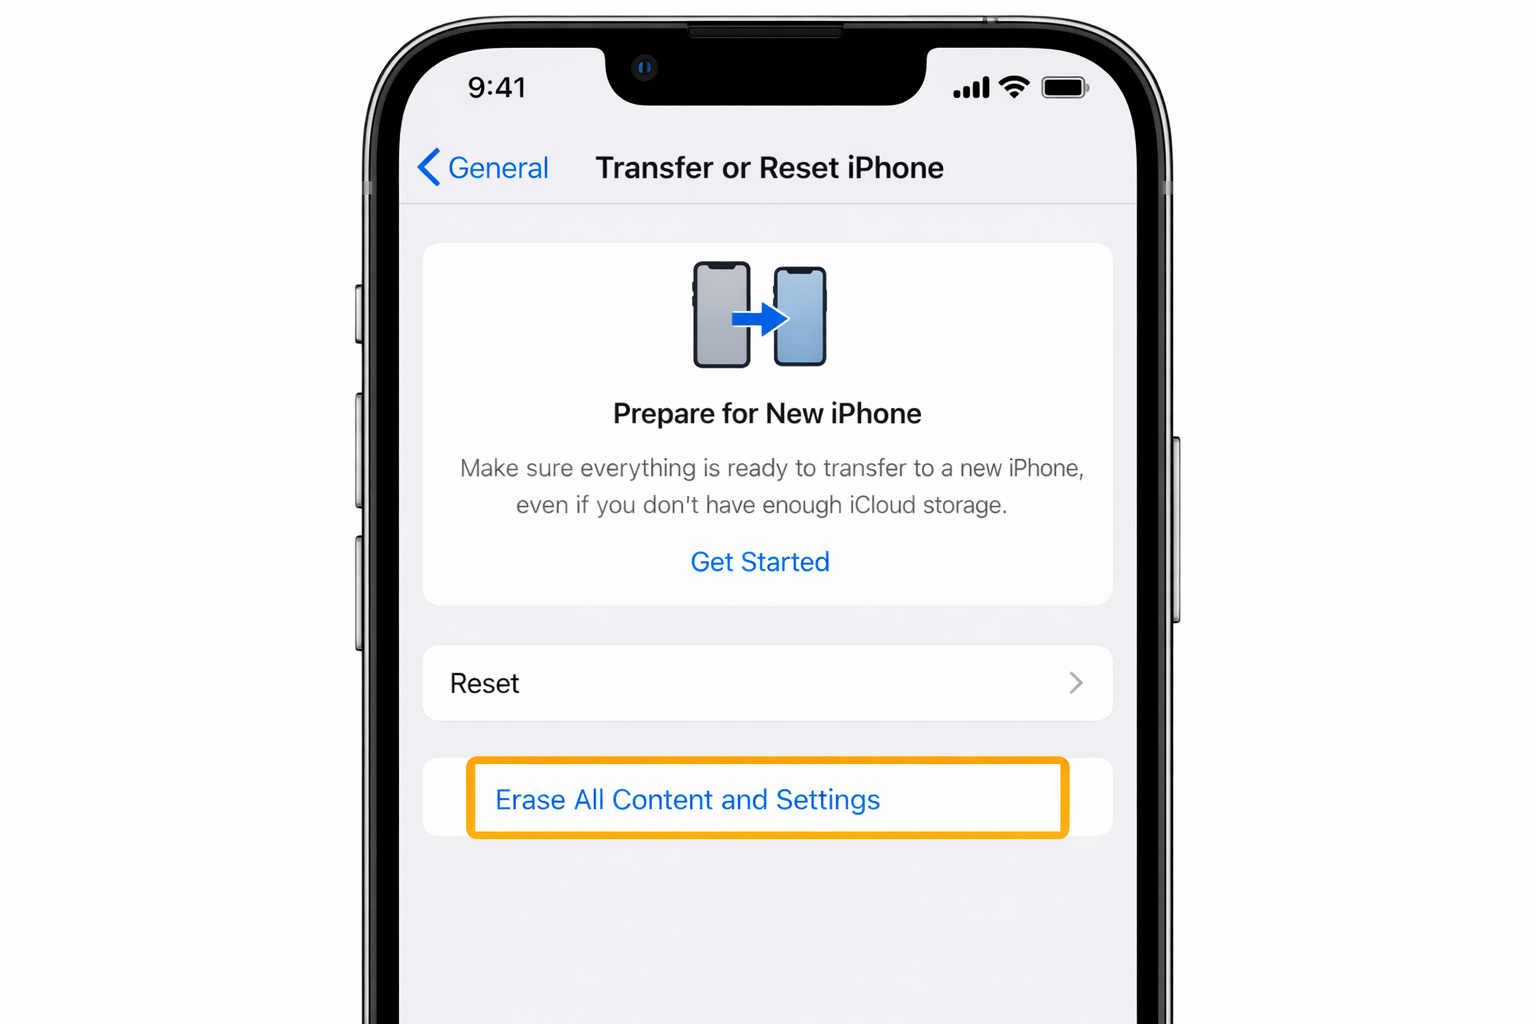
Step 4: Erase All Content and Settings
Now for the nuclear option. This step has gotten more streamlined in recent iOS versions, but it’s still the most important security step.
Go to Settings > General > Transfer or Reset iPhone > Erase All Content and Settings. The phone will double-check that Find My is disabled and offer one final backup if you haven’t done one recently.
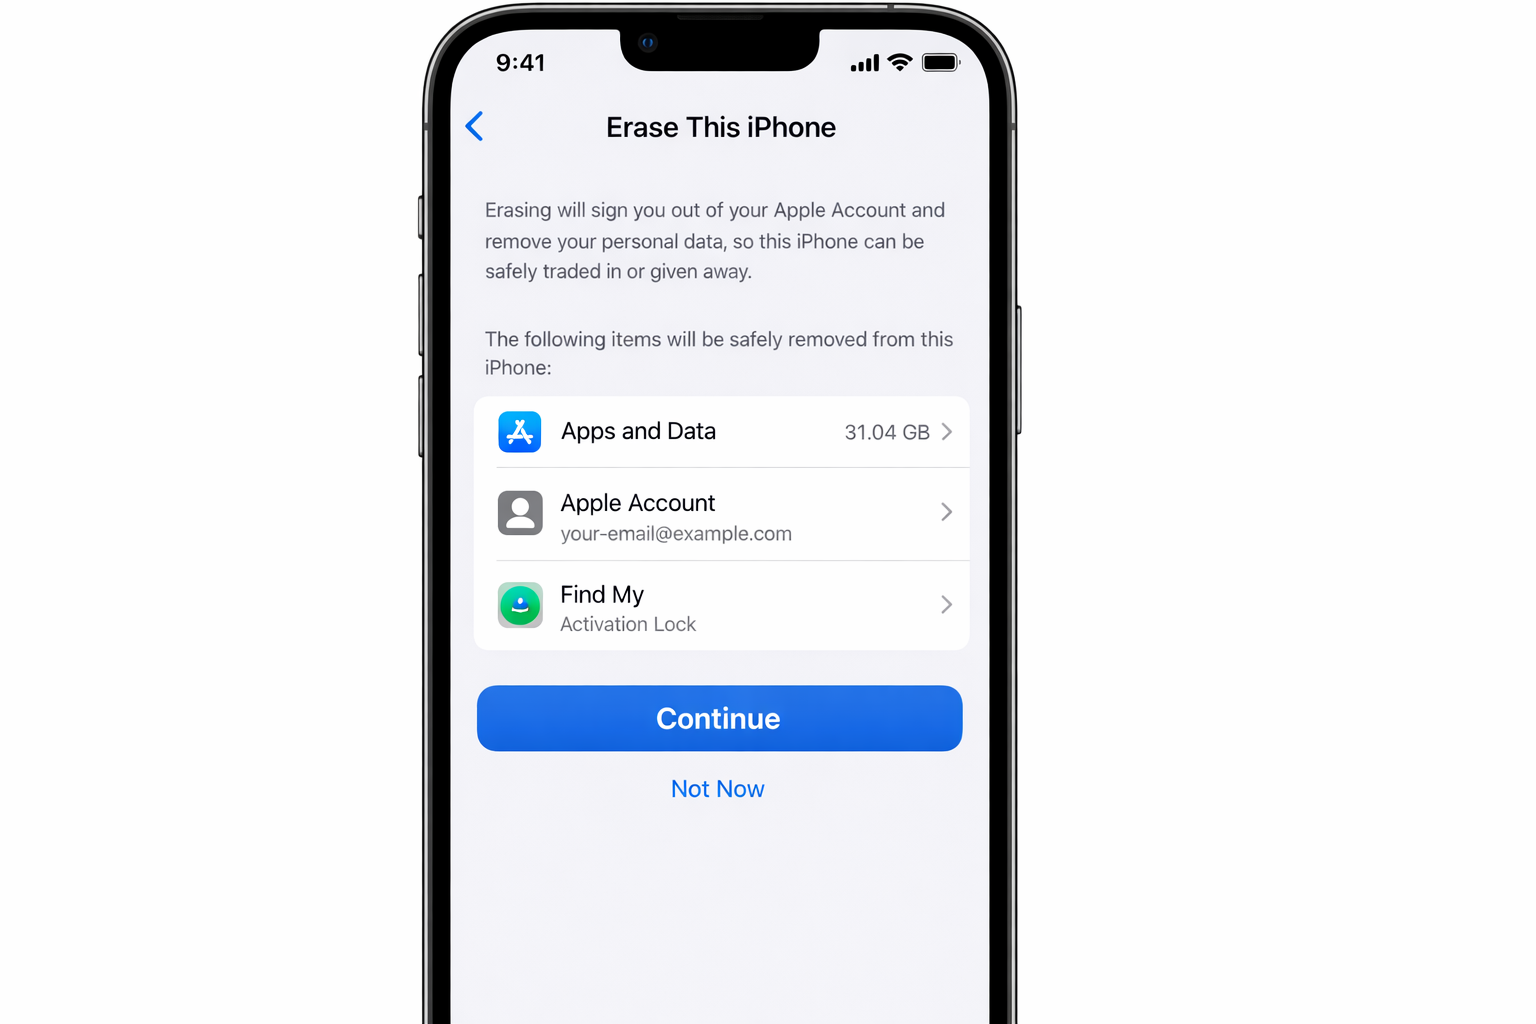
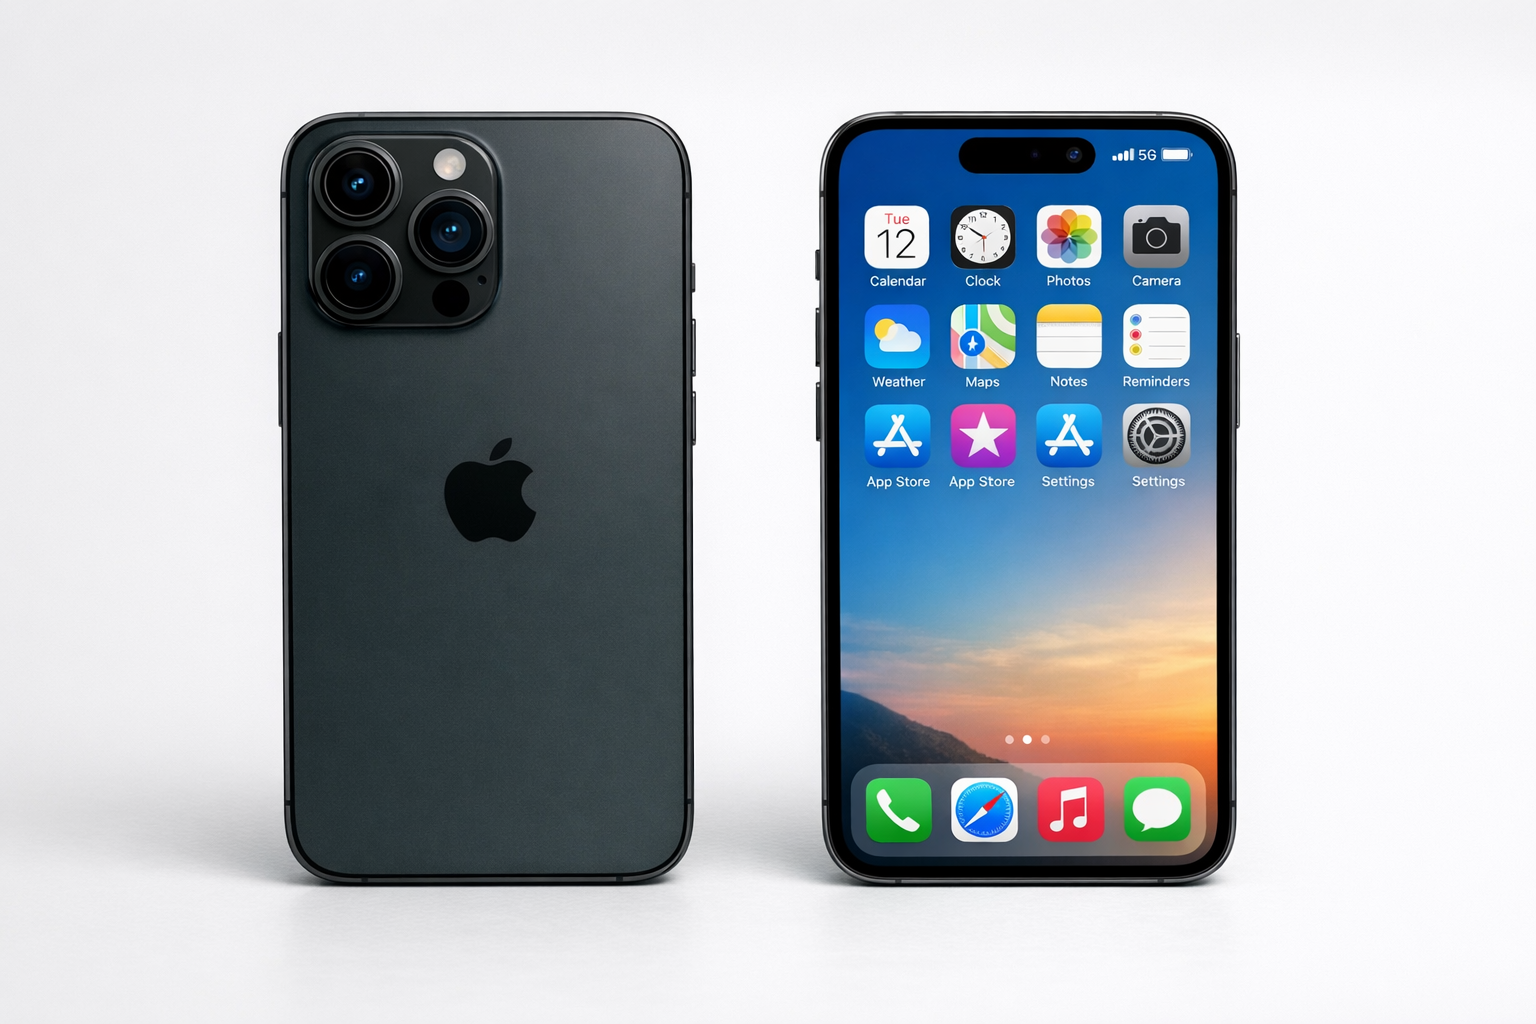
This process takes 15-30 minutes depending on your storage size. When it’s done, your iPhone will show the “Hello” welcome screen, exactly what the new owner should see when they power it on.
Step 5: Maximize Your Sale Value
With your iPhone properly prepared, it’s time to get the best price. The resale market in 2026 is competitive, so presentation matters.
Check carrier unlock status: Unlocked phones sell for significantly more. Contact your carrier if you’re unsure — most phones are automatically unlocked after contracts end or devices are paid off.
Clean and photograph: A microfiber cloth works wonders. Take photos of the phone powered on, showing it’s functional, plus shots of all sides to document condition honestly.
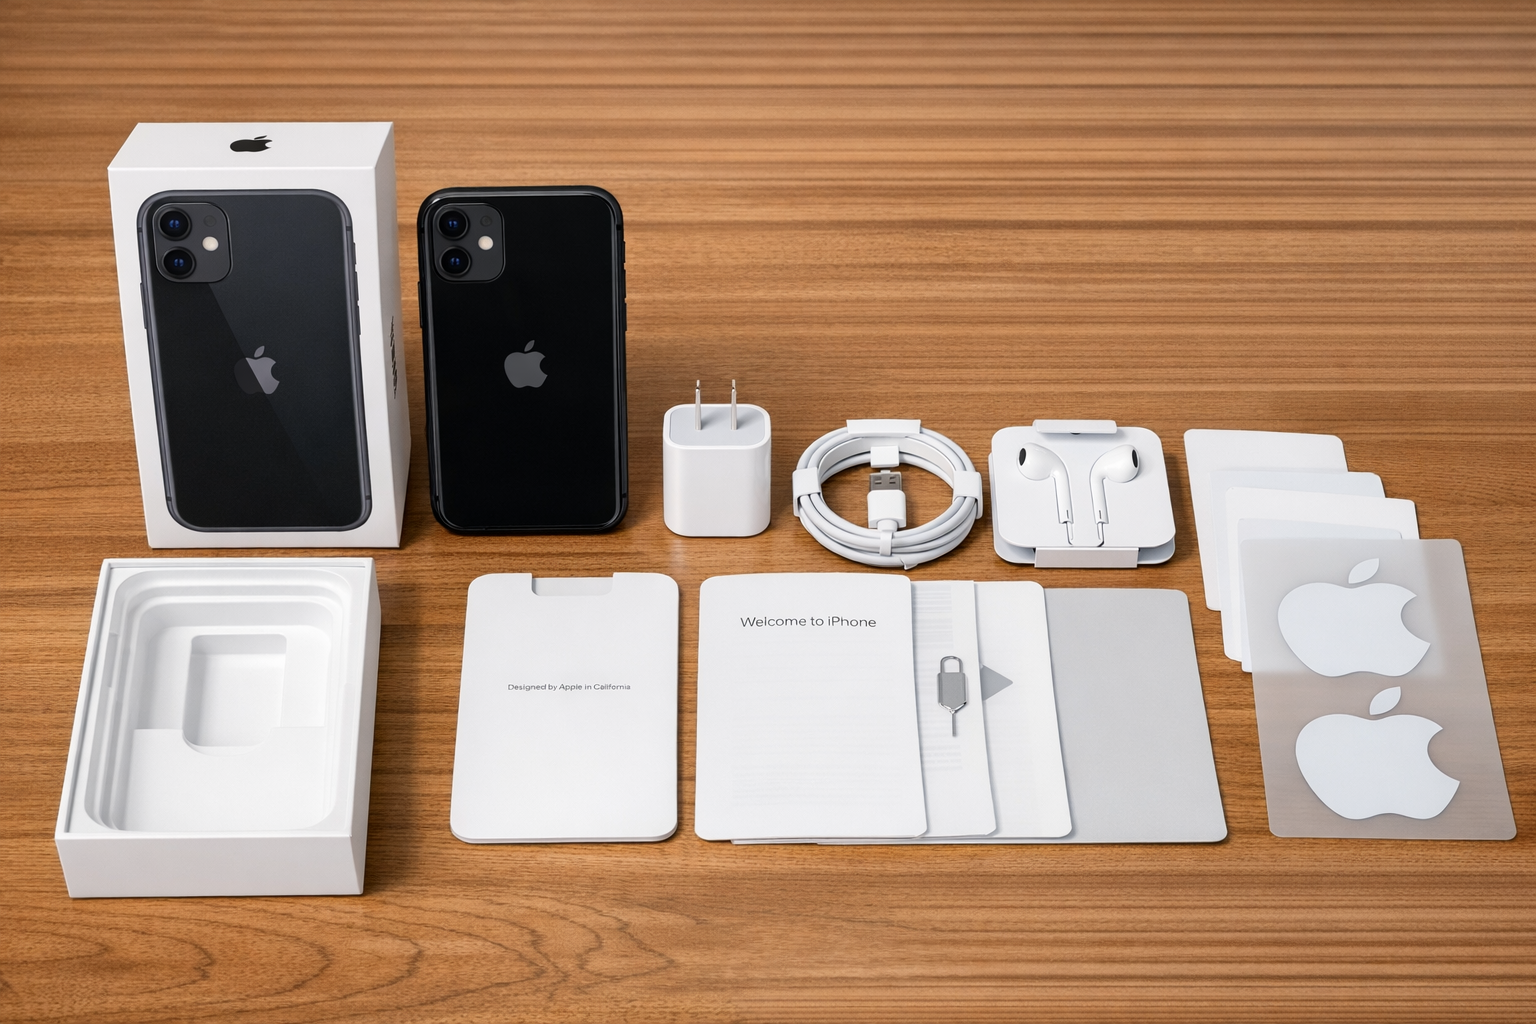
Gather accessories: Original box, charging cable, and any cases add value. Even if the cable is worn, including it saves the buyer $20-30.
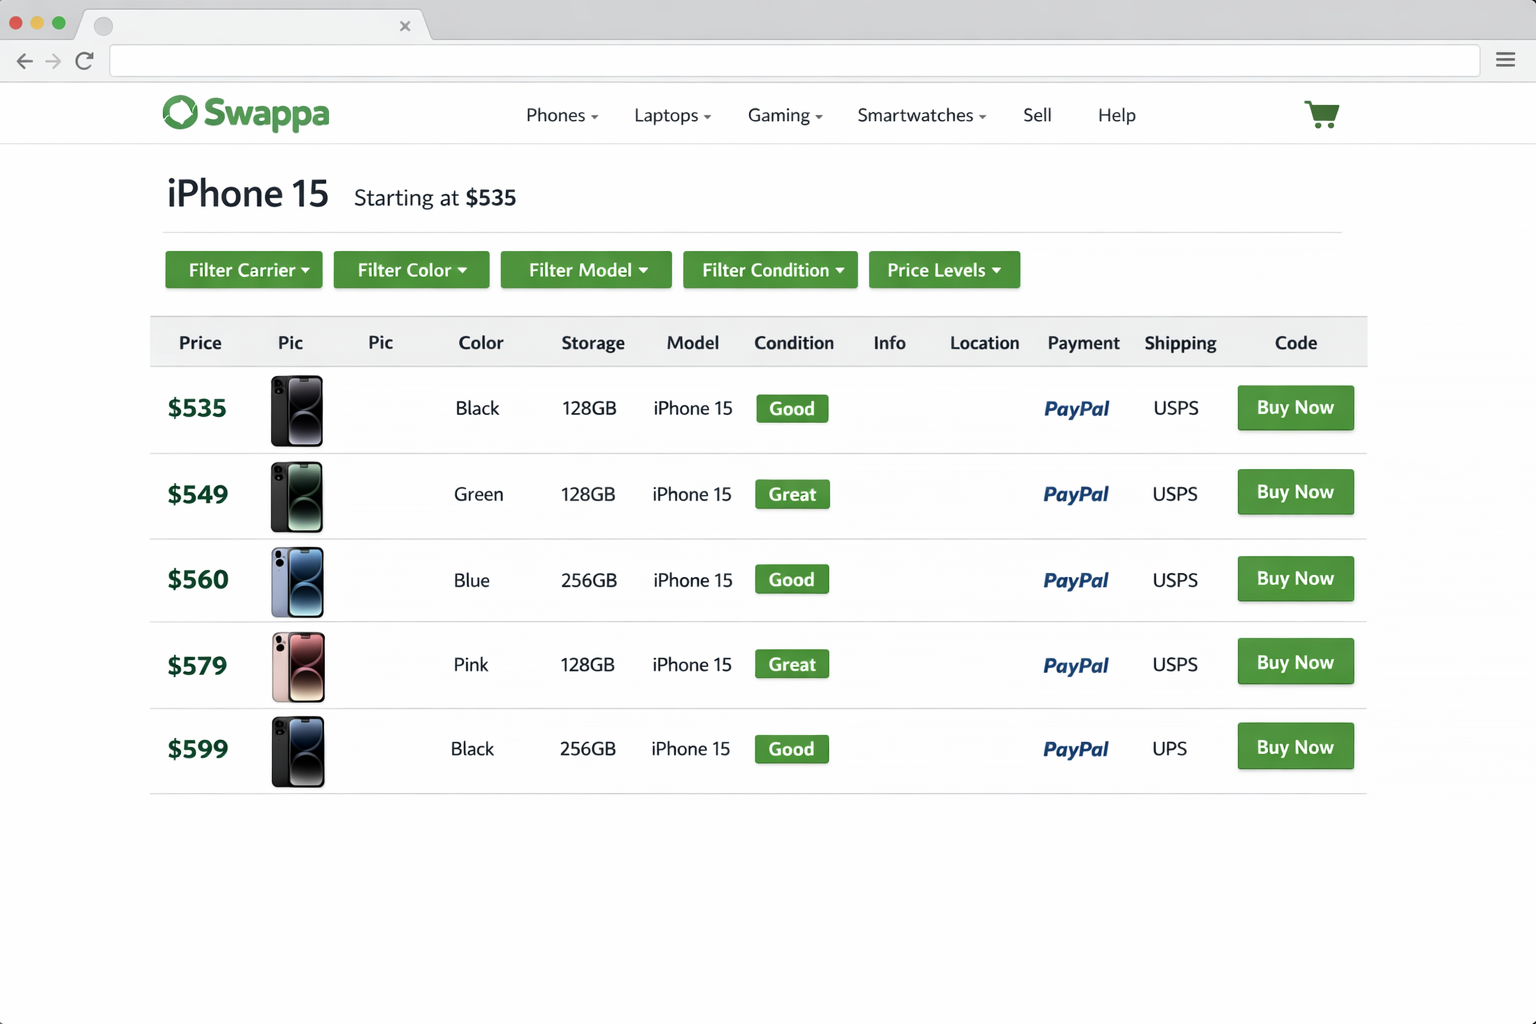
Compare prices across platforms: Apple Trade In offers convenience but rarely the highest payout. Check Swappa for market rates, Gazelle for quick sales, or eBay if you want maximum return (with more effort).
Timing matters: Prices drop significantly when new iPhones launch. If you’re reading this in August or September, move quickly.
Common Issues and Fixes
“Activation Lock is still on”: You forgot to disable Find My. If you still have the phone, sign back into iCloud and turn it off properly. If not, you’ll need to contact Apple Support with proof of purchase.
“Backup failed”: Usually an iCloud storage issue. Either upgrade storage temporarily or use a computer backup instead.
“eSIM won’t remove”: Contact your carrier as some business plans have restrictions on eSIM transfers.
“Trade-in value lower than expected”: Check for scratches you missed, verify the phone isn’t carrier-locked, and ensure you’re comparing similar storage capacities.
Worth the Effort
Following these steps properly can mean the difference between a smooth sale and weeks of headaches. The process is more involved than it used to be, but Apple’s security improvements are ultimately protecting you and future owners.
Take your time with each step! Rushing through the sign-out process especially can create problems that are genuinely difficult to fix later. Done right, you should have a clean, valuable device ready for its next owner.