Adding a printer to a Mac is straightforward, but the process is different for wireless and wired devices. If your printer is AirPrint-enabled, it’s easier to add it to your Mac because macOS uses AirPrint to connect to printers or to download the printer’s software.
For wired printers, you can plug a wired USB into your Mac and use a couple of extra steps to set the printer up, provided it’s compatible with your Mac.
If you have an older printer that isn’t AirPrint-enabled, your Mac may install the printer driver software automatically, thereby allowing you to use the printer with your Mac.
Here’s what you need to know to add a printer to a Mac. You can add a wired printer that doesn’t have networking capabilities or a wireless printer on a Mac in a few easy steps.
Note: We’re using a Mac running macOS Big Sur for this guide.
Add a USB Printer to a Mac
If you have a USB printer, update macOS before adding the printer to your Mac otherwise you may get an error message that the software isn’t available when connecting the printer.
Your Mac will automatically detect the printer and download the required software to use the device.
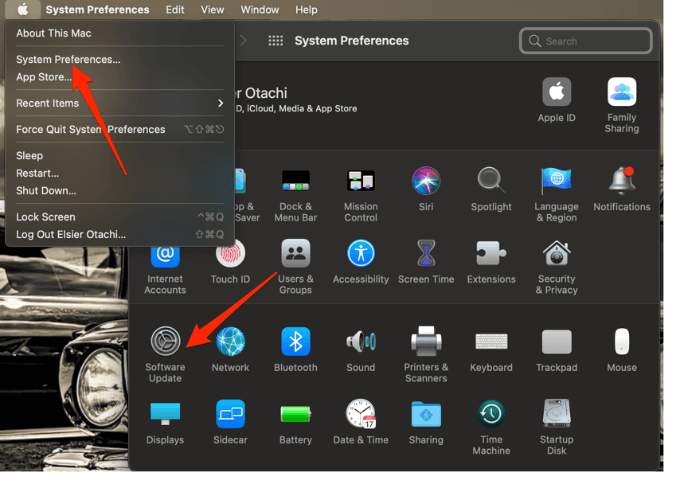
- Select the menu > System Preferences > Software Update on your Mac and install any pending updates listed. This way, macOS will have the latest information about the printer’s software and can download it from Apple.
- Power on the printer to ensure that it’s not showing any errors and then connect the USB cable to your Mac. Download and install any new software if you’re prompted to.
- Your Mac should automatically detect the printer and begin the installation process. If nothing happens, your printer may not be compatible with your version of macOS.
Note: If your Mac has one USB-C port, use an adapter cable or docking station to connect your printer.
Add a Network or WiFi Printer on a Mac
If you have a wireless printer, you can quickly add it to your Mac without any setup as long as both devices are on the same WiFi network.
Note: You may need to connect your printer via USB cable to your Mac to set up and install your printer’s software. Use the printer’s setup assistant to connect the printer to your WiFi network and then unplug the USB cable from both devices.
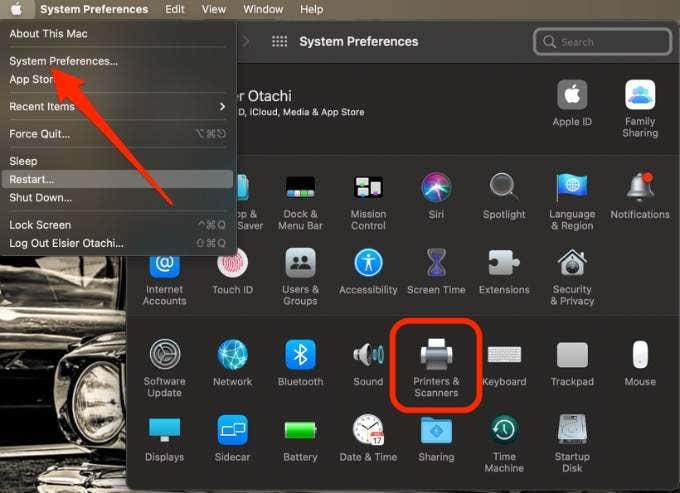
- Select Menu > System Preferences > Printers & Scanners.
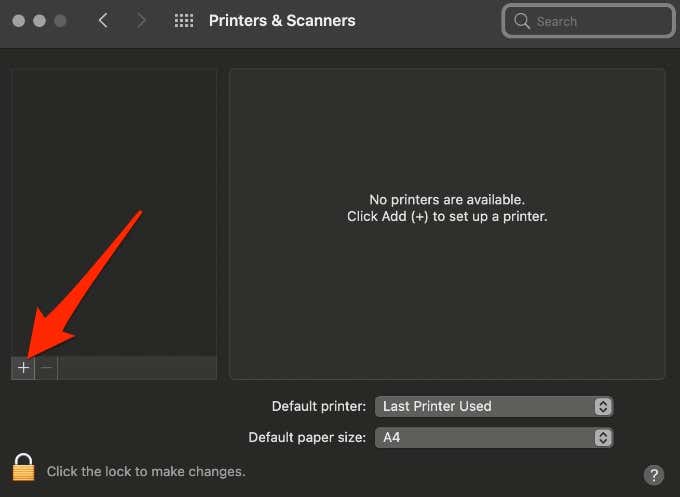
- Next, select the Add (plus) icon to set up your wireless printer.
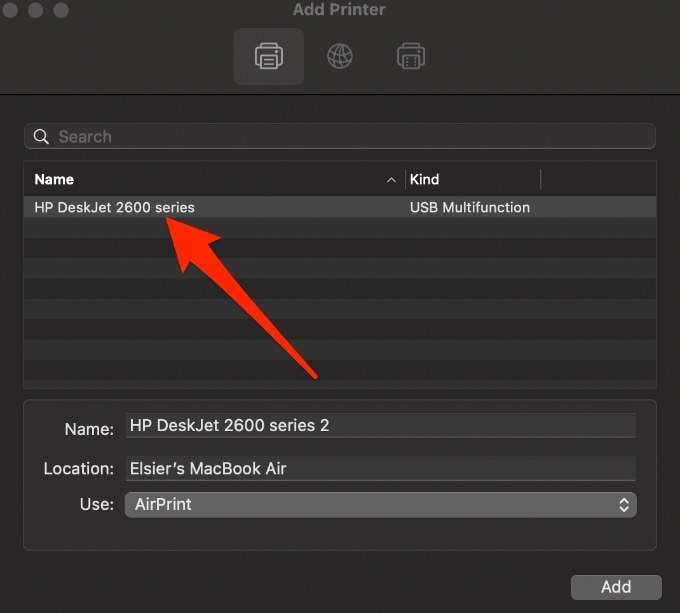
- Select the printer you want to add. macOS will automatically scan the network for any compatible wireless or network printers.
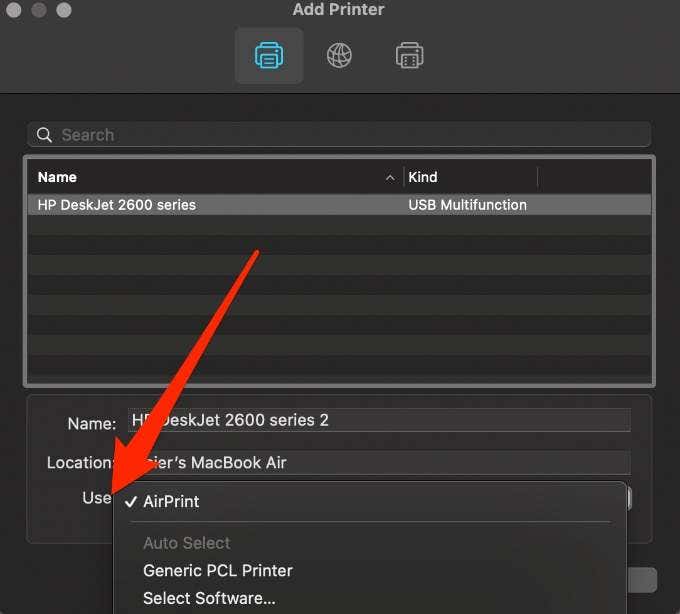
- In the Use field, select your printer’s software or driver. You can choose from AirPrint, your printer’s driver, or Auto Select for your Mac to download the correct driver once it updates.
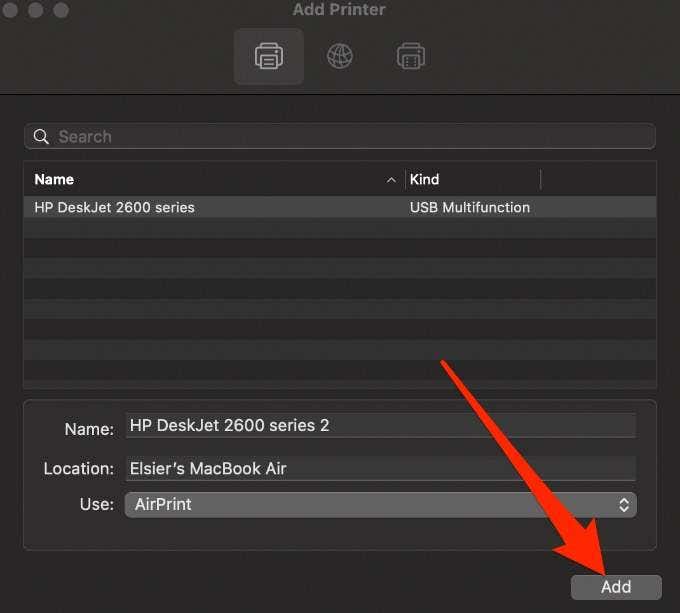
- Select Add and your wireless printer will be added to the list of printers.
Note: If your printer isn’t listed, check if it’s connected to the WiFi network and then select the Add button. Wait a minute or two for the printer’s name to appear on the list and then choose Add again.
Add a Network Printer to a Mac Using an IP Address
Follow the steps below to add your printer by its IP address. For this to work, the printer must support AirPrint, Line Printer Daemon, HP Jetdirect (Socket), or Internet Printing Protocol.
Before adding your network printer by its IP address, find out its host name or IP address. You can find this information by going to your printer’s control panel and printing out the network configuration.
- Update the printer software on your Mac, turn on the printer, and then connect it to your network.
- Select Menu > System Preferences > Printers & Scanners > Add and then select the IP button.
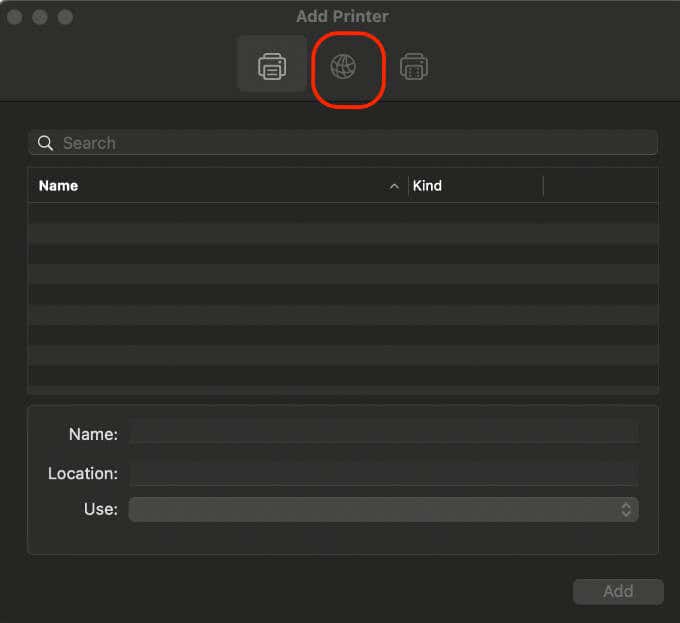
- Enter the printer information including the host name or IP address, which looks like 192.168.20.11.
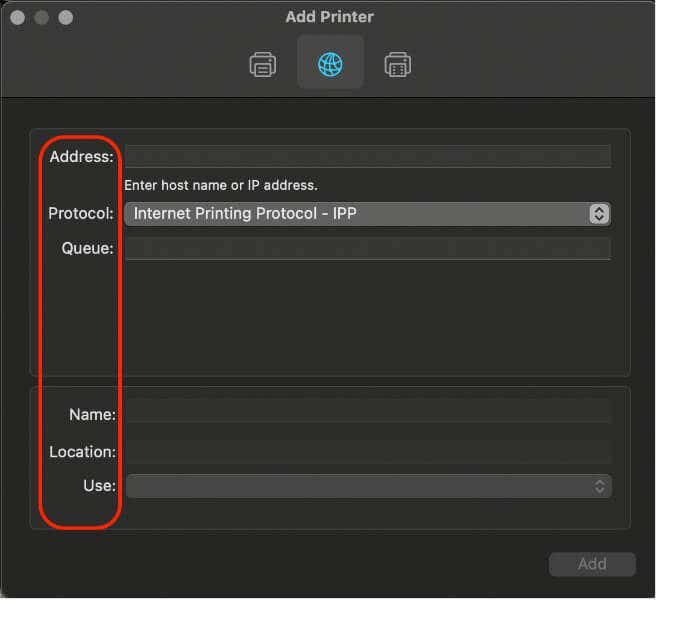
In the Use field, select the printer driver you would like to use.
Bonus Tips:
When you’re ready to print, check out our guides on how to print double-sided on Mac and how to print in black and white on Mac.