If taking screenshots or sharing photos doesn’t help you communicate information effectively, you can capture the action on your iPhone using screen recording complete with audio.
Screen recording on your iPhone screen is an easy, convenient, and effective way to document something in a video. You can use it for online training, education purposes, or for giving presentations.

Here are the steps to screen record on your iPhone.
How to Screen Record on iPhone
You can screen record iPhone activity using the built-in screen recording tool or using a third-party app.
How to Screen Record on iPhone Using Native Screen Recording Tool
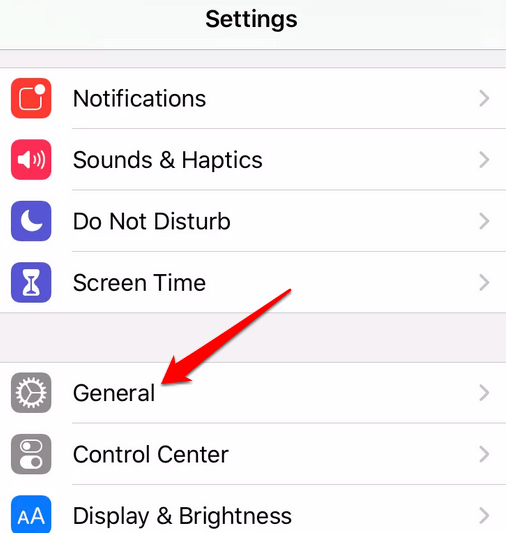
- To start screen recording and capture audio on your iPhone, ensure that your iPhone is running iOS 11 or later. To check if you’re running this version, select Settings > General.
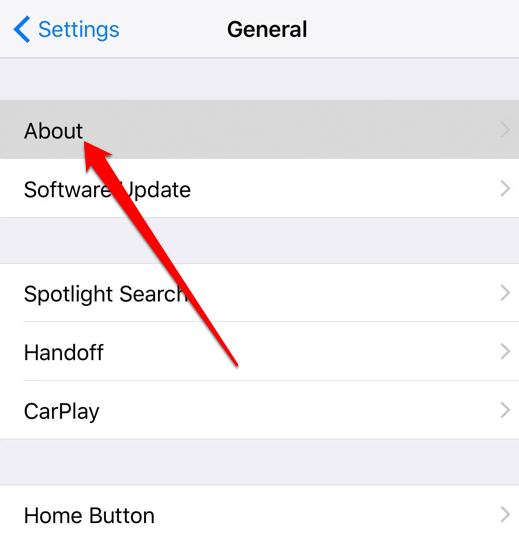
- Tap About.
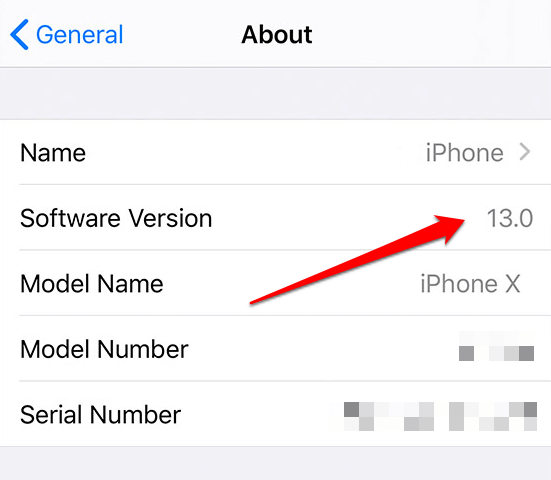
- Check the Software Version section.
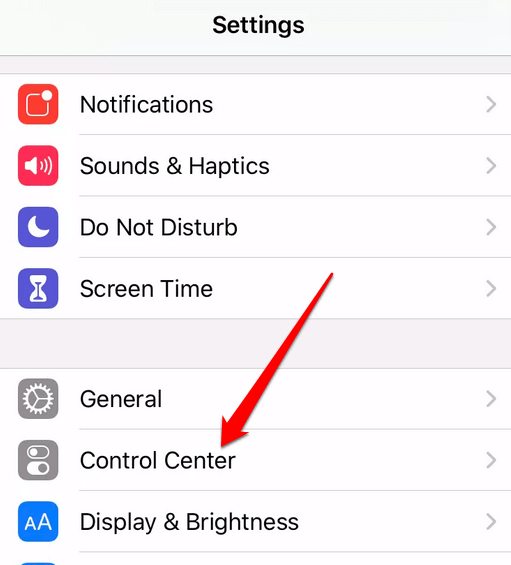
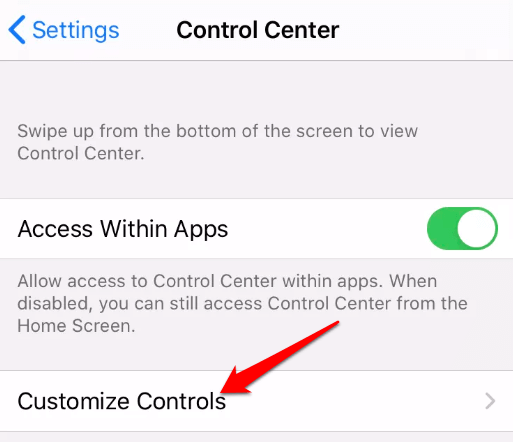
- Next, enable the Screen Recording tool. You can do this by going to Settings > Control Center.
- Tap Customize Controls.
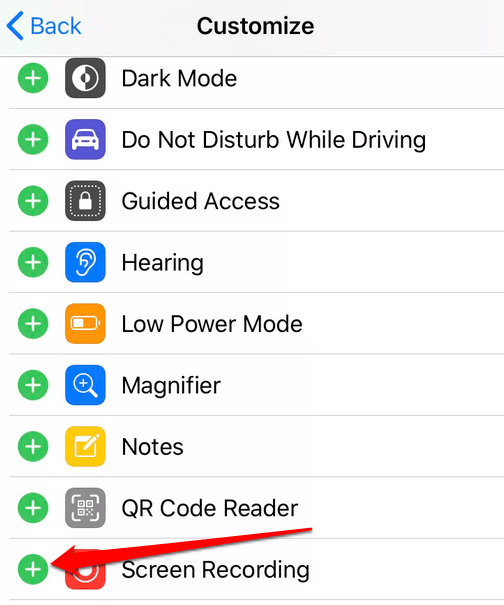
- Tap the + (plus/add) icon next to Screen Recording.z
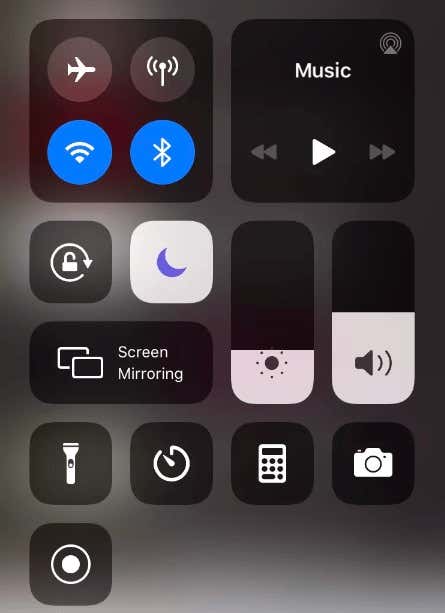
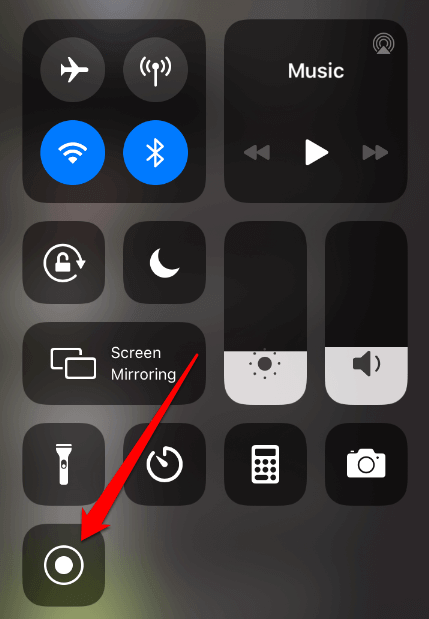
- Pull up the Control Center by swiping up from the bottom edge or swiping down from the top-right side of your screen depending on your iPhone model.
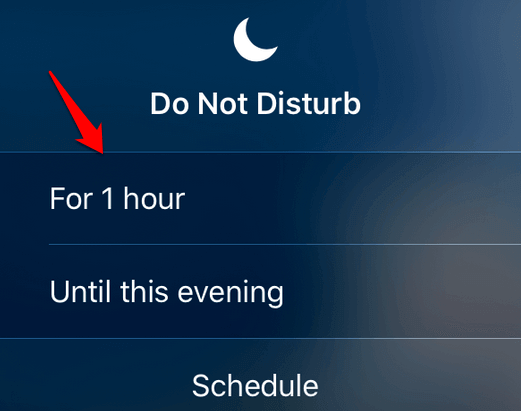
- Next, switch on Do Not Disturb by tapping the crescent moon button. Do Not Disturb is useful as it temporarily pauses all notifications and calls that would otherwise interfere with your screen recording.
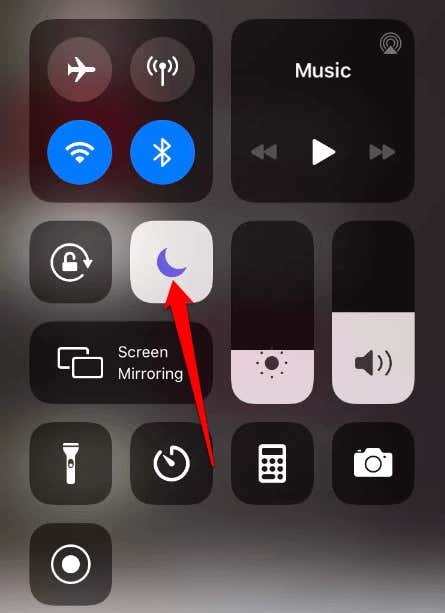
- You can also schedule when you want to pause the notifications or switch them off for a specific period of time. To do this, down press the Do Not Disturb button.
- Down press the Record button.
- Tap Microphone to turn on your microphone.
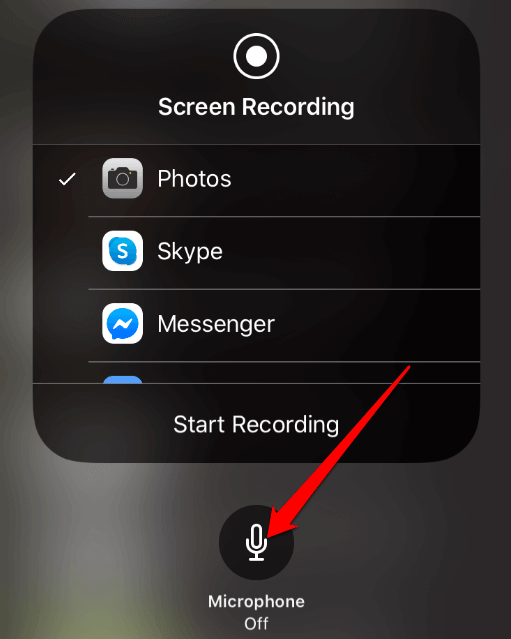
Note: Once your microphone is on, it will stay on for future screen recording purposes unless you disable it.
- Tap Start Recording and wait for the timer to lapse before the recording begins.
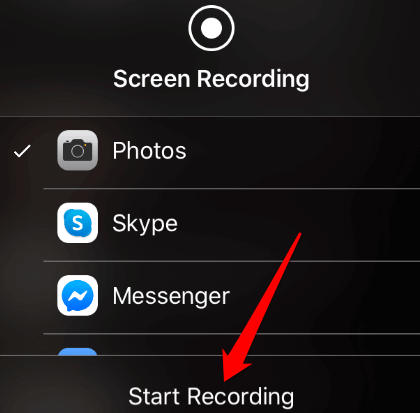
Note: Not all apps allow you to screen record on iPhone.
- Next, tap on your iPhone’s screen to hide the Control Center menu. Now you’re ready to record the video and audio of the activity on your iPhone’s screen. A red status bar will appear at the top of your iPhone’s screen to show that you’re recording.
Tapping on this red bar will display a popup asking if you want to stop recording. However, if you’re watching an Instagram story or YouTube video and other media open, the red bar won’t appear.

Note: Any external audio or sound that isn’t generated from your iPhone won’t be recorded. You have to turn on your microphone to record yourself talking or other audio besides the sound playing on your iPhone itself.
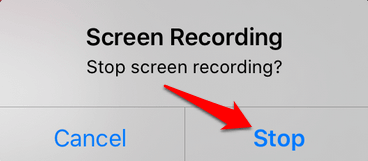
- To stop recording, tap on the red bar and then tap Stop.
Check the Photos app to find your recording among your other photos and videos. From here you can view, edit, crop, and share your video via email, social media, or through Messages.
How to Screen Record on iPhone Using a Third-Party App
If you want more functions than what the native Screen Recording tool on your iPhone offers, for example, video editing or screen capture, you can use a third-party screen recorder for iPhone.
The best iPhone screen recorders not only offer features for you to record video or animations, but also the ability to edit or manipulate the video recordings.
There are several free and paid video editing apps, but sometimes using a dedicated package may be overkill if you just want a simple video editor for your recording.
Among the best screen recorder apps you can find on the iOS App Store include:
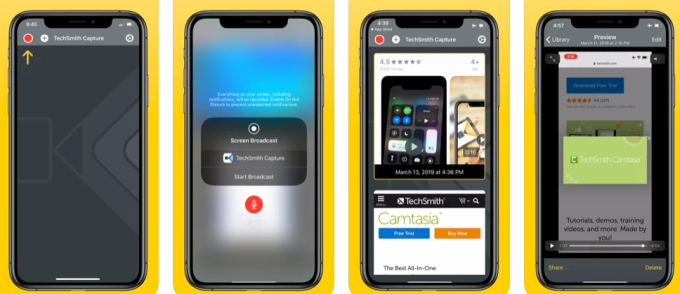
In particular, the TechSmith Capture screen recorder app allows you to record your screen and your microphone so you can add voice-overs or narration to your recordings. The app also stores your recordings in an organized library where you can review, share, or delete them.
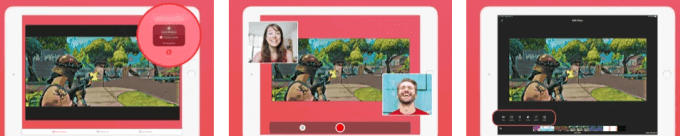
Record It! goes further and lets you record using your front camera and capture your reactions, especially when creating videos for social media like Instagram stories or YouTube. This way, your viewers can see you and your screen simultaneously. Plus, you can import old recordings from your library, and add annotations and video reactions.
Web Recorder captures what’s happening on the web page you’re recording, while Screen Recorder – Livestream lets you create a custom watermark and use the whiteboard feature for annotating and showcasing your skills.
Screen Record iPhone Activity
With the new iPhone Control Center function, you can record your screen activity whether you want to demonstrate a bug, capture gameplay, or walk someone through a tutorial. Plus you can edit, upload your video to YouTube, and share it with fans or friends.
Are there other tips or favorite apps you’d like to share for recording your iPhone screen? Tell us about it in the comments.
Related Posts
- How to Delete Multiple Apps (At Once) On Your iPhone/iPad
- How to Restore the Missing Phone Icon on iPhone/iPad
- How to Dismiss the “Update Apple ID Settings” Notification on iPhone and Mac
- How to Change Your Game Center Nickname (iPhone, iPad, and Mac)
- Guided Access Not Working on iPhone/iPad? Try These 9 Fixes Now