From the simple to the more complex
Are you having trouble connecting your iPhone to a Wi-Fi network? If so, chances are your iPhone is experiencing a software problem or your Wi-Fi connection is faulty. Of course, ensure your internet itself is working in the first place.
A quick way to resolve the issue is to restart your iPhone. Doing so disconnects and reconnects your phone to all your networks. If that doesn’t fix the issue and your iPhone still refuses to connect to your Wi-Fi, try connecting to a different Wi-Fi network and see if that works.
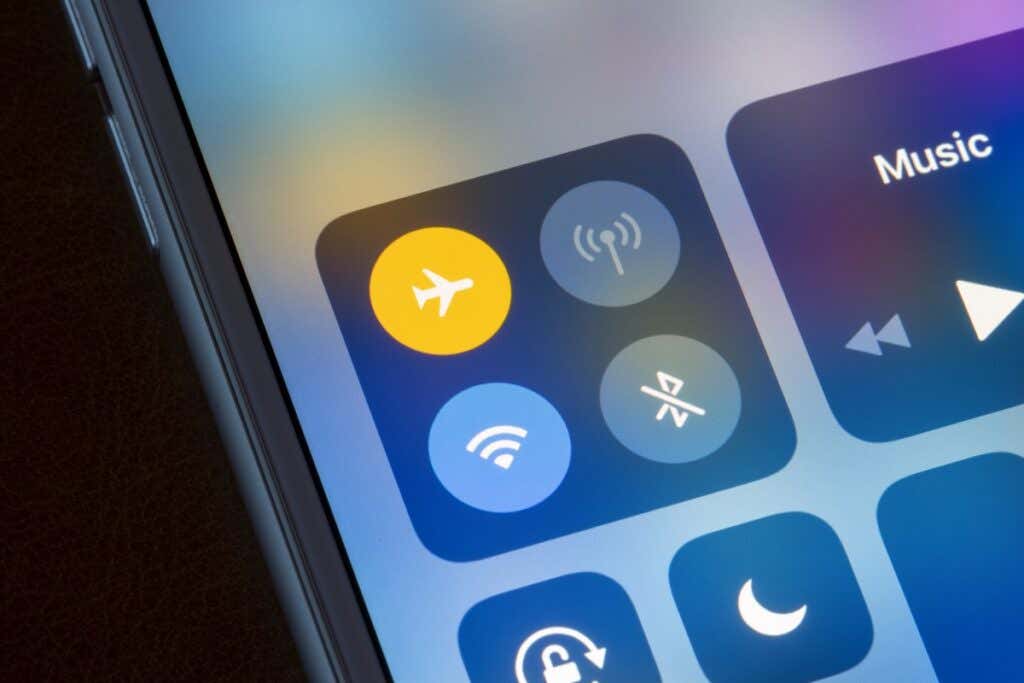
It’s also possible you’re far away from the router, and your phone isn’t within the Wi-Fi network’s coverage. In this case, bring your iPhone closer to your router and see if you can connect to your network. If your problem persists, here are a few advanced tips.
Turn On Wi-Fi on Your Apple iPhone
Your iPhone must have Wi-Fi enabled to scan for and connect to the available networks. If you or someone else has disabled that option, you’ll have to turn it back on to connect your phone to your preferred wireless network.
Here’s how to do that:
- Open Settings on your iPhone
- Tap Wi-Fi in Settings.
- Enable the Wi-Fi toggle to turn on Wi-Fi on your iPhone.
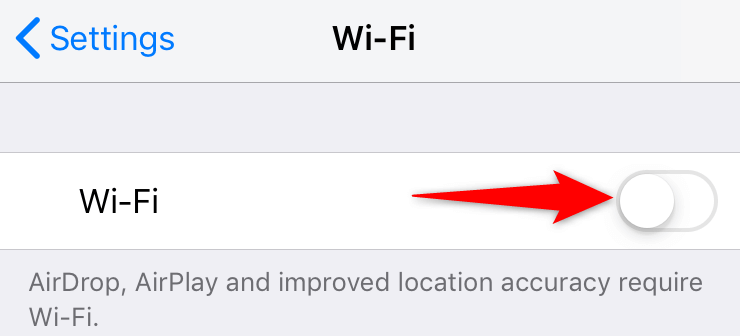
- Select the network you want to connect your iPhone to.
Enter the Correct Password for Your Wi-Fi Network
Because most Wi-Fi networks are password-protected, you must obtain and enter the correct password for your network on your iPhone. Failing to do so will cause your iPhone not to connect to your wireless network.
Reach out to the network admin if you don’t already have the password, or find the password on your devices if you have trouble recalling it. Then, connect your iPhone to your Wi-Fi as follows:
- Launch Settings on your iPhone.
- Tap Wi-Fi and select the network you want to join.
- Type your network’s password and select Join.
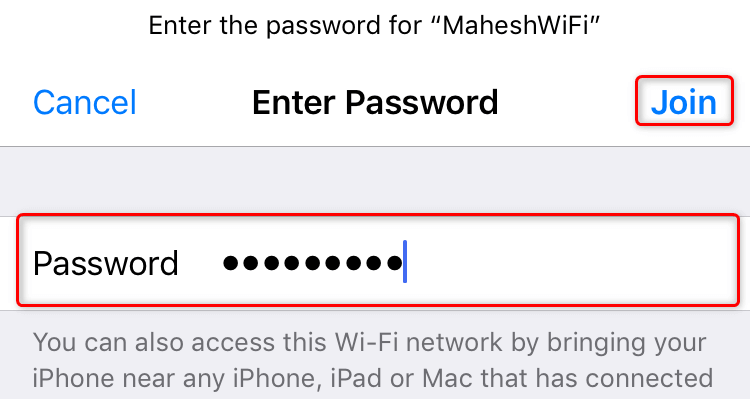
Your iPhone should successfully connect to your chosen Wi-Fi network.
Toggle Airplane Mode on Your iPhone
One quick way to potentially resolve your iPhone’s Wi-Fi issues is to enable and disable airplane mode on your phone. This mode turns off and then back on all network connections on your phone, fixing minor problems with your device.
- Open Settings on your iPhone.
- Enable the Airplane Mode option.
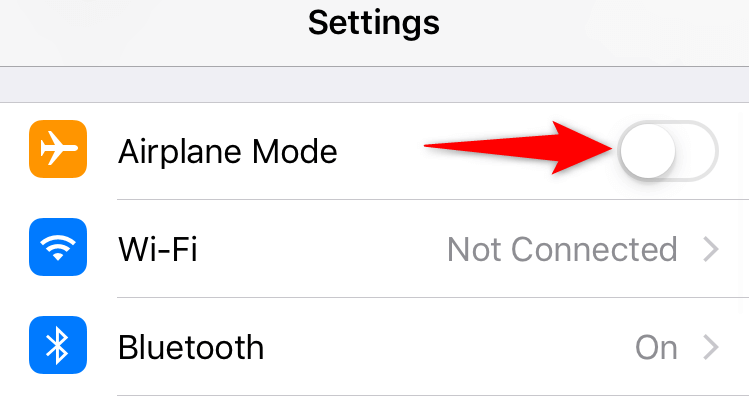
- Wait for about ten seconds.
- Disable the Airplane Mode option.
Turn Off Location Services on Your iPhone
Your iPhone offers location services to your installed apps and system features so they can properly function. Unfortunately, this can sometimes cause interference with your connections, causing your iPhone not to connect to a Wi-Fi network.
In this case, it’s worth disabling your iPhone’s location services to see if that fixes the problem. You can turn location services back on at any time you want.
- Open your iPhone’s Settings app.
- Scroll down and select Privacy.
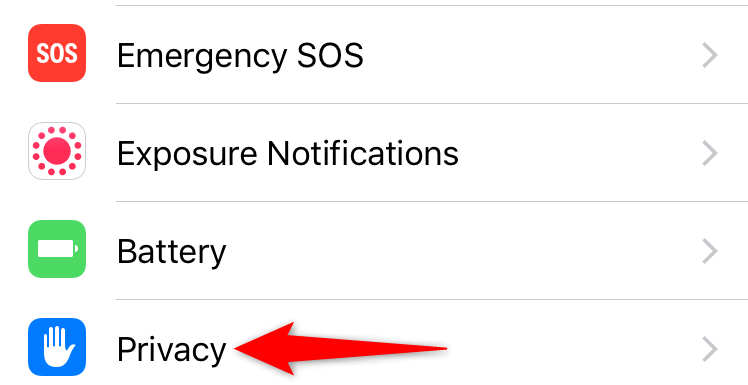
- Choose Location Services.
- Disable the Location Services option at the top.
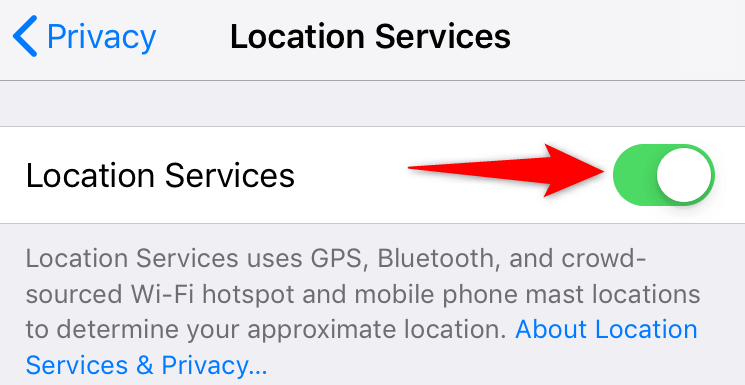
- Go to Settings > Wi-Fi on your iPhone and choose a network name to connect.
Restart Your Router/Modem
Your Wi-Fi router or modem is also equally responsible for connectivity issues. Your iPhone not connecting to a wireless network may be due to router problems.
A quick way to resolve most issues with your router is to turn it off and then back on. That disables and re-enables all functions of your router, fixing minor glitches.
You can power off and back on most wireless routers by pressing the Power button on the device. If that doesn’t work, access your router’s settings in your web browser and reboot the router from there. You may also use the power socket switch if you want.
Reset Network Settings on Your iPhone
If your iPhone still refuses to connect to your Wi-Fi network, try resetting your network settings to see if your problem gets resolved. Doing this erases your current network settings, including the problematic ones, and allows you to configure your settings from scratch.
Keep your Wi-Fi network’s password handy, as you’ll need that to connect your iPhone to your network.
- Open Settings on your iPhone.
- Head into General > Reset in Settings.
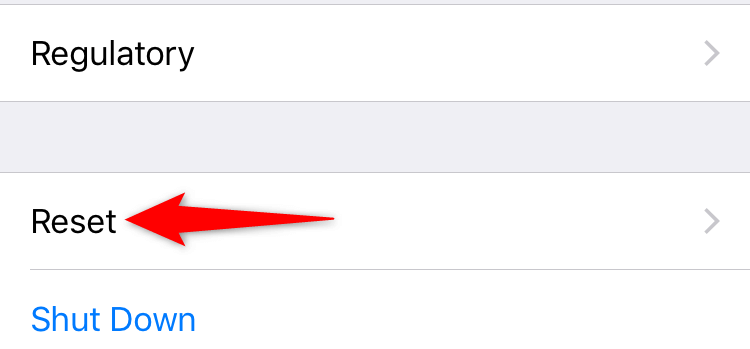
- Tap the Reset Network Settings option.
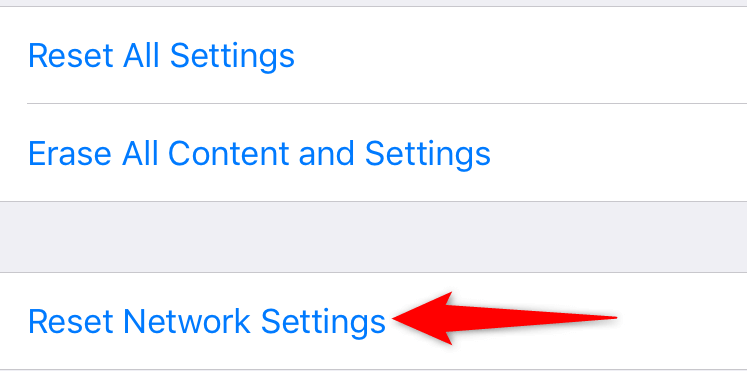
- Authenticate yourself using a passcode or another preferred method.
When your settings are reset, navigate to Settings > Wi-Fi on your iPhone and choose the network you want to connect to. Enter the correct Wi-Fi password so your connection request isn’t denied.
Update the iOS Version on Your iPhone
Lastly, you should ensure your iPhone runs the latest version of iOS. Older versions may cause several issues, including Wi-Fi connectivity problems. Updating to the latest one will fix existing bugs and let you successfully connect to your networks.
You’ll need access to the internet to update your iOS version, though. You may use your phone’s cellular data for this.
- Access Settings on your iPhone.
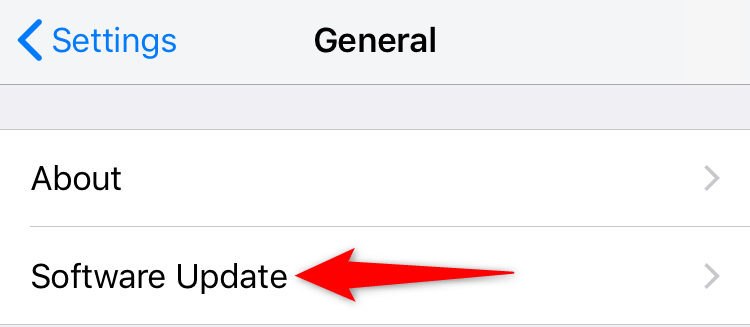
- Navigate to General > Software Update in Settings.
- Wait for your iPhone to check for available updates.
- Tap Download and Install if any updates are available.
Fix iPhone’s Wi-Fi Problems by Tweaking the Phone Settings
Since there are many reasons your iPhone won’t connect to a Wi-Fi network, try each troubleshooting tip from the simple to the more complex. Hopefully, your phone will connect to any of your chosen networks. Good luck!


