Sometimes you want a little breathing room
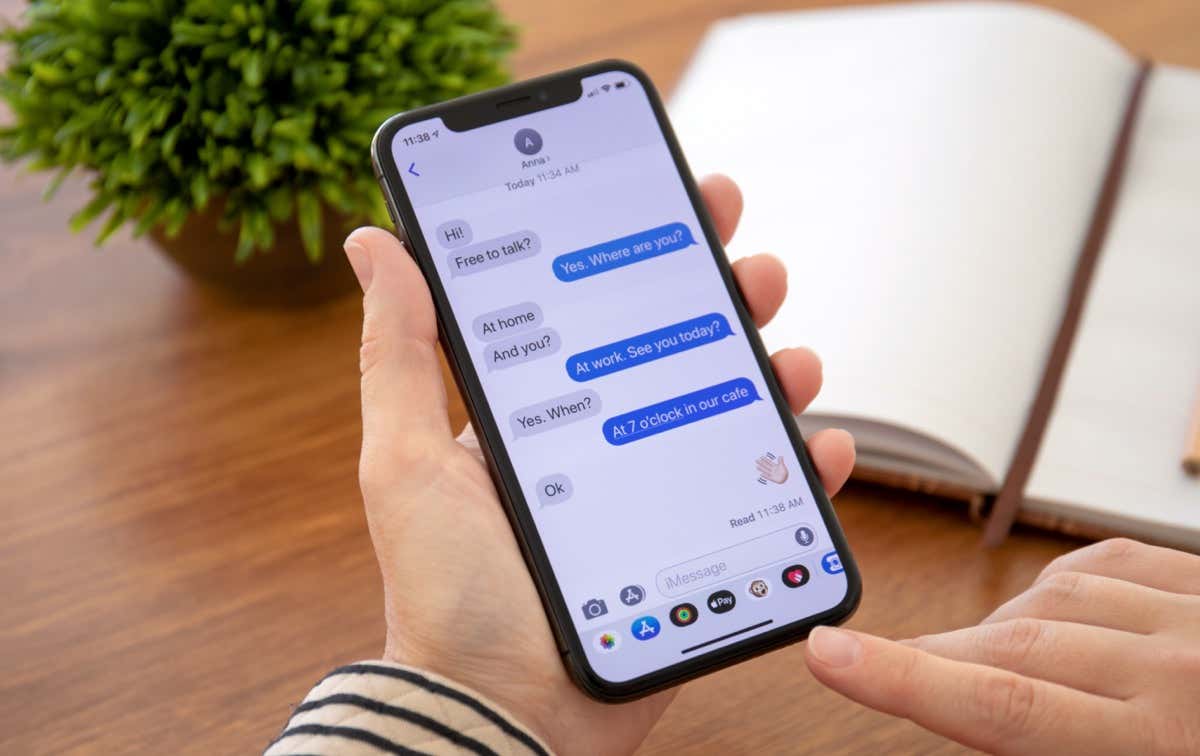
Have you ever left a message without replying to the sender? It’s not a great feeling, but sometimes you do it accidentally. Think about it: you get a text in the middle of a busy day, glance at it, and tell yourself you’ll reply later – and then it’s a week later, and all you can say is “oops.” One way to fix this is to turn off iOS read receipts, so no one knows if you’ve seen the message or not.
Sure, Message users might expect to see a read receipt, but they don’t have to. You can also turn them off for only specific people if you happen to have a particularly pushy friend or family member. You can turn off read receipts on iPhone, Mac, or iPad.
How to Turn off iMessage Read Receipts on iPhone and iPad
There are two ways to turn off iMessage read receipts: globally, which affects everyone in your contacts list, or by specific contact.
To disable read receipts globally:
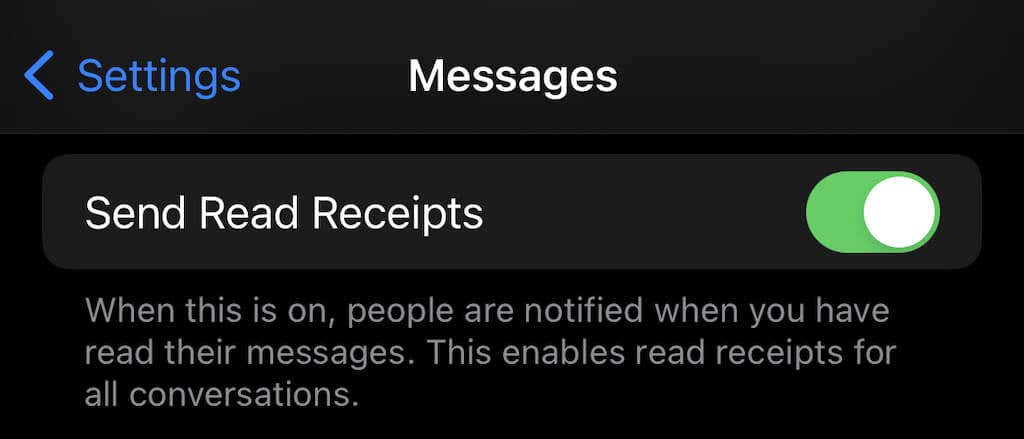
- Open the Settings app > Messages.
- Scroll down until you find Send Read Receipts, then tap the toggle to disable it.
If you do this, you will send no read receipt for any conversation.
To disable by contact:
- Open Messages and select the conversation you want to disable read receipts for.
- Tap the icon above the phone number and then tap the toggle beside Send Read Receipts.
This is an ideal option if you don’t want to eliminate the feature, but one person can follow up too often if they see that you’ve read their message. Of course, we all know someone just like that.
Note that this only works for those that use iMessage. If a person is on Android or sending SMS or text messages, read receipts won’t appear.
There’s another option, too: you can disable iMessage. Note that this means you can only send all messages via text, and you won’t benefit from sending messages over Wi-Fi. In addition, it disables many of the benefits iMessage offers iPhone users. For example, if you’ve been using an Apple ID as your identifier, messages will come through and go with your phone number instead – which means a new message thread will get started. Unfortunately, it also means those messages won’t be saved in iCloud.
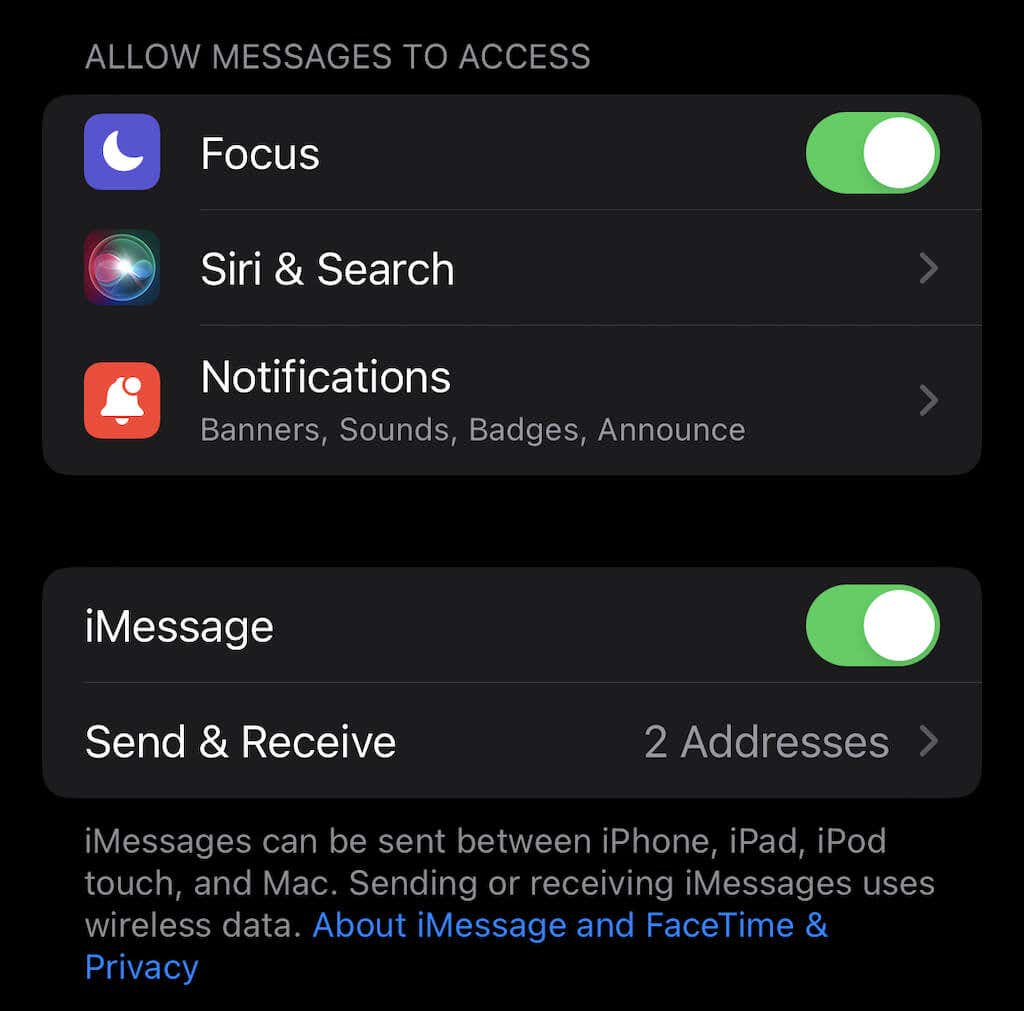
- Open Settings > Messages.
- Tap the toggle beside iMessage to disable messages from your iMessage account.
How to Turn Off iMessage Read Receipts on Mac
Like on iPhone, iMessage on Mac lets you choose whether to globally disable read receipts or shut them off for individual contacts.
To globally disable read receipts:
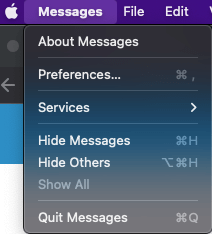
- Open the Messages app.
- Select Messages > Preferences.
- Select iMessage.
- Select the check box to disable read receipts.
The process to disable read receipts for individual users is also similar:
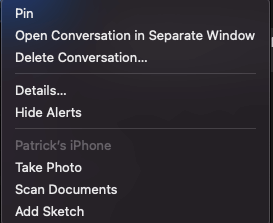
- Open Messages.
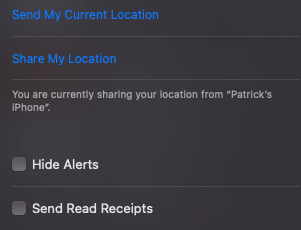
- Right-click the conversation and select Details.
- Scroll down and uncheck the box to send read receipts.
That’s all there is to it. Just repeat this process (but check the box rather than uncheck it) to turn read receipts back on.
Apple devices are known for their privacy features, and iOS, iPadOS, and macOS allow you to customize even minute details like who can see that you’ve read their message. Take advantage of this tool to control your privacy as needed.


